Let’s say thanks to and support Yunee Crochet
Enjoy festive fun with this free crochet gingerbread star pom pattern that adds cozy holiday charm and playful texture to your seasonal decorations.
Nothing feels cozier than a handmade decoration during the holidays. The free crochet gingerbread star pom pattern is a charming little treat to brighten up your home or gift to someone special. It’s perfect for adding a festive touch to your tree, wreaths, or tabletop displays.
This gingerbread star pom looks sweet and soft. Its round star shape is full and puffy, with a warm brown color like a real cookie. White “icing” details made with crochet stitches decorate the edges, giving it a fun and friendly style. The small size makes it easy to hang or place anywhere you want some holiday cheer.
Unique Free Crochet Gingerbread Star Pom Pattern for Gift Giving
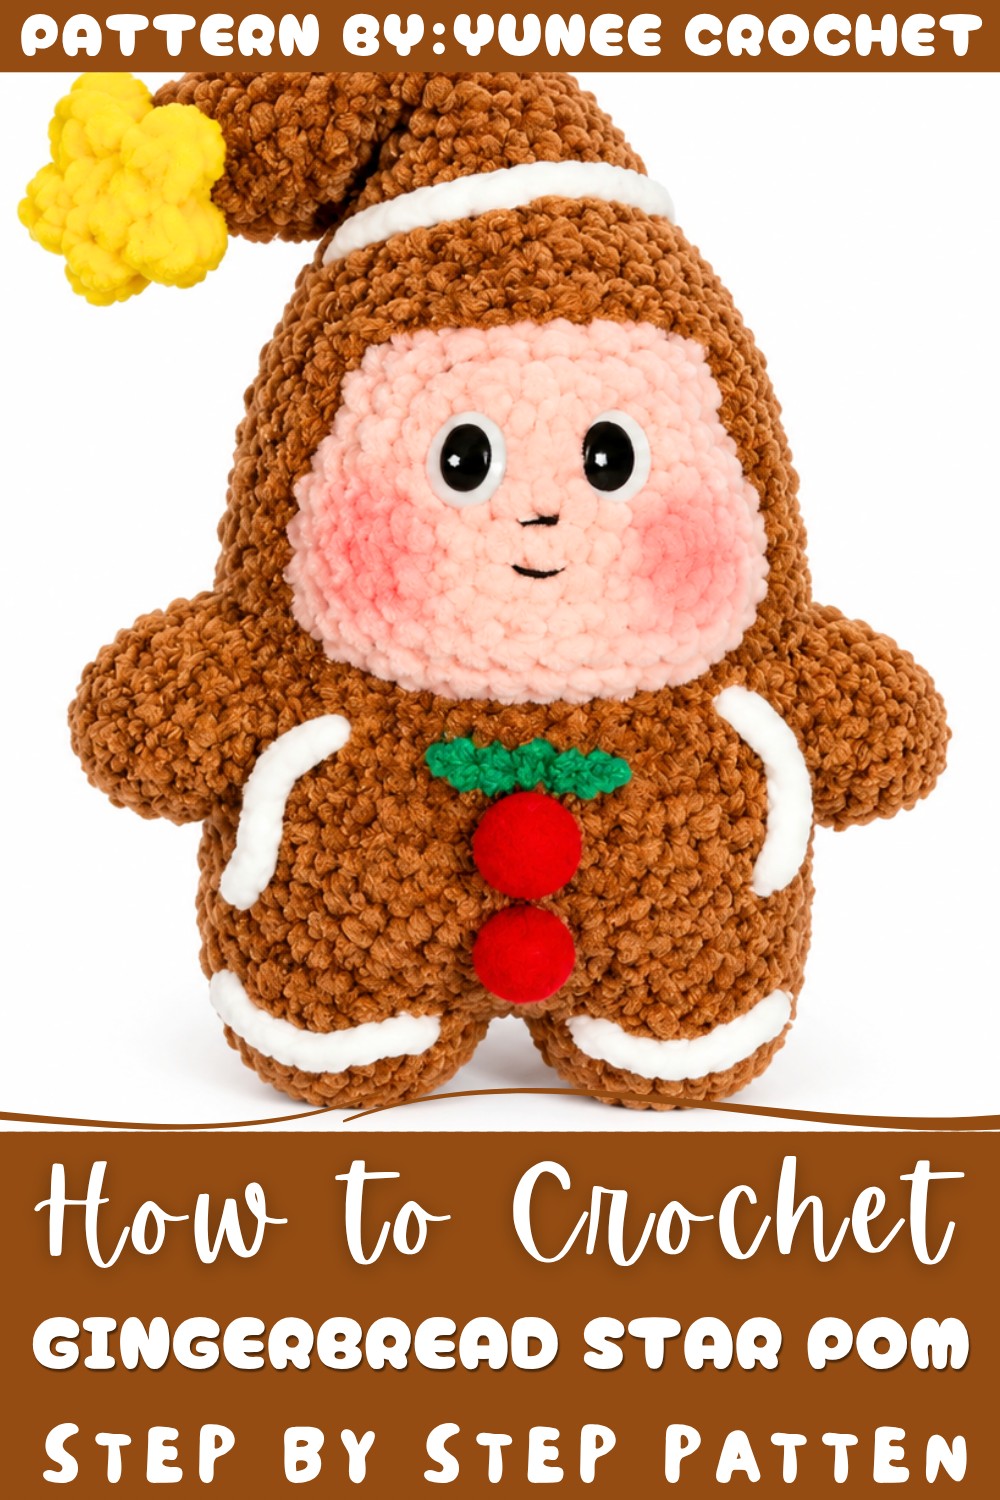
You will love how this cute star adds warmth to any space. It fits great on Christmas trees, wrapped presents, or as a cute ornament to hang around the house. Its soft texture and charming look make it a wonderful handmade gift for friends and family.
About The Channel:
This lovely design comes from Yunee Crochet, who shares helpful and clear video instructions online. The tutorial makes it easy for beginners and experienced crocheters to follow along and finish their own gingerbread star pom quickly.
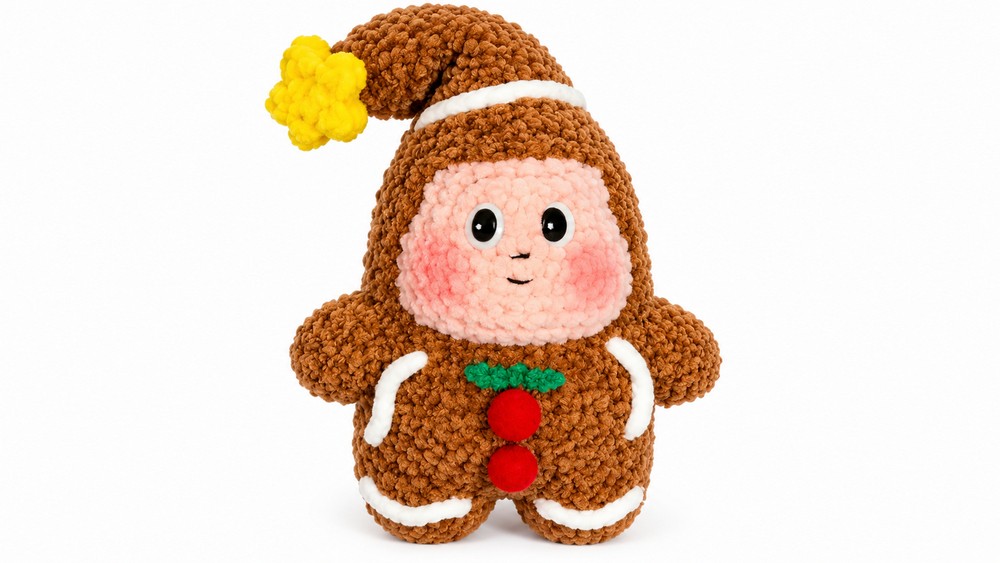
Making this project is simple and fun, plus it helps decorate your home with something special and personal. The free crochet gingerbread star pom pattern is a perfect way to enjoy crocheting and get into the holiday spirit with a sweet, homemade touch.
Gingerbread Twinkle Star Crochet Doll Pattern
This crochet tutorial guides you through making a charming Gingerbread Twinkle Star doll using soft velvet yarn. This engaging pattern details the step-by-step process of constructing the doll’s head, hood, body, legs, and decorative star accents, culminating in a sweet handmade figure perfect for gifting or display. With meticulous round sequences and thoughtful stitch patterns, the finished piece is both textured and cozy.
Pattern Highlights
- Complete Doll Construction: Builds the doll from head to toes including hood and star ornament.
- Textured Velvet Yarn: Soft yarn accentuates plushness, giving a warm, twinkling aesthetic.
- Detailed Body Shaping: Increases and decreases strategically shape the head and body with smooth contours.
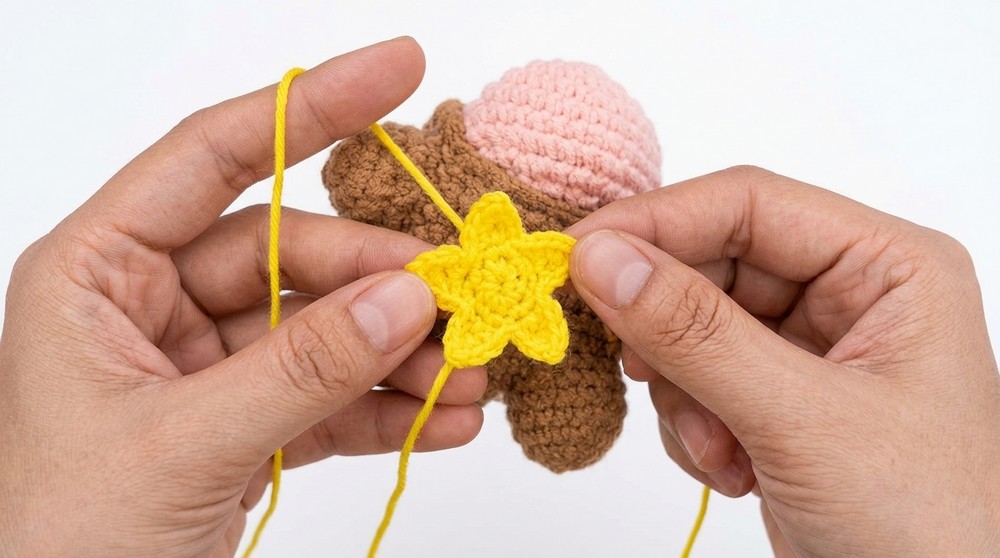
- Star Decoration: A separate star motif with detailed points enhances the doll’s theme.
- Embroidered Details: Finishing touches like bows, edging, and facial features add personality.
Notes
- Work with consistent tension throughout to preserve doll proportions and softness of fabric.
- Use stitch markers to track rounds and stitch counts especially during increases and decreases.
- Magic ring technique creates tight, neat centers in rounds.
- Velvet yarn — or similarly textured fluffy yarn — gives the doll a unique soft feel but may require careful handling to avoid snagging.
- Fiberfill stuffing should be firm enough for structure but soft to maintain doll’s plushness.
- Embroidery details can be adapted to personal style and color choice.
Skill Level
This pattern is suitable for intermediate crocheters who are comfortable with basic crochet stitches worked in rounds and rows, increases and decreases, and who have some experience with amigurumi shaping and embroidery.
Materials
- Yarn: Velvet or fluffy yarn in brown (main body color) and complementary colors for decorative stars and accents.
- Tools: Crochet hook suitable for chosen yarn (commonly 3.5 mm or recommended size on yarn label).
- Other Supplies: Fiberfill stuffing, yarn needle, scissors, stitch markers.
Optional Measurements / Sizing
- Finished doll stands approximately 20–25 cm tall depending on yarn thickness and tension.
- Star decorations measure about 5–7 cm across.
Gauge and Stitch Pattern
- Gauge is flexible; tighter gauge recommended for amigurumi stability.
- Main stitch: single crochet (sc) for dense fabric.
- Star points use chains (ch), single crochet (sc), and half double crochet (hdc) for varied texture.
Stitch Abbreviations
| Abbreviation | Full Term |
|---|---|
| ch | Chain |
| sc | Single Crochet |
| hdc | Half Double Crochet |
| inc | Increase (2 sc in one stitch) |
| dec | Decrease (crochet two stitches together) |
| MR | Magic Ring |
Special Stitches
- Magic Ring (MR): Adjustable ring to start rounds with a closed center.
- Increases (inc): Work 2 SC in one stitch to expand rounds evenly.
- Decreases (dec): Crochet two stitches together to shape fabric symmetrically.
- Half Double Crochet (hdc): Creates slightly taller stitches for textured points.
The Crochet Pattern
1. The Head
Round 1
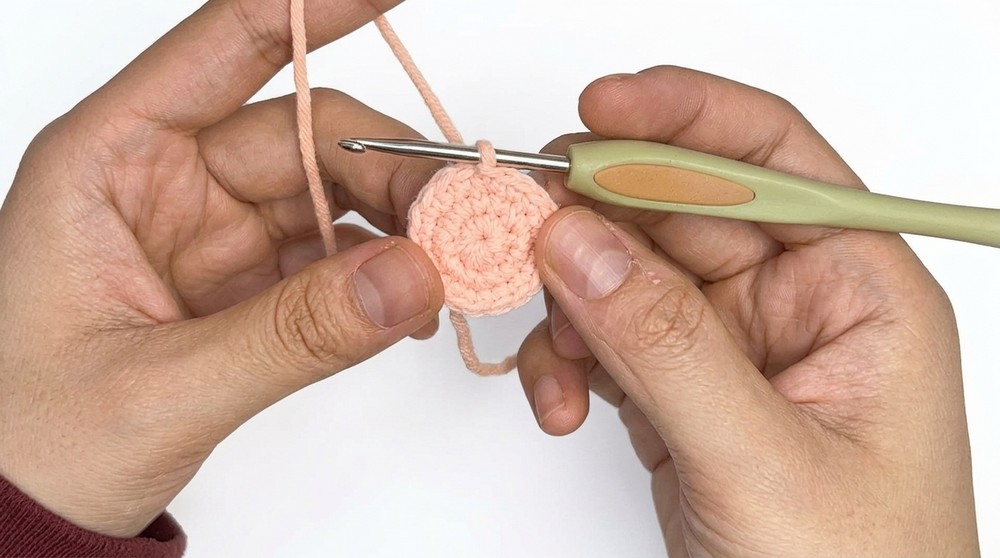
- Form a magic ring (MR), work 6 single crochet (sc) in the ring.
Round 2
- Increase uniformly: 6 increases (2 sc in each stitch) to make 12 stitches.
Round 3
- Work 1 sc, 1 inc; repeat 6 times, resulting in 18 stitches.
Round 4
- Work 1 sc, 1 inc, 1 sc; repeat 6 times, resulting in 24 stitches.
Rounds 5 to 7
- Work 24 sc stitches evenly across each round without increases.
Round 8
- 5 sc, 5 inc, 4 sc, 5 inc, 5 sc, increasing to 34 stitches.
Rounds 9 to 12
- Work 34 sc stitches each round maintaining stitch count.
Round 13
- 5 sc, 5 dec, 4 sc, 5 dec, 5 sc reducing to 34 stitches.
Round 14
- Work 1 sc, 1 dec, 1 sc; repeat 6 times to reach 18 stitches.
Round 15
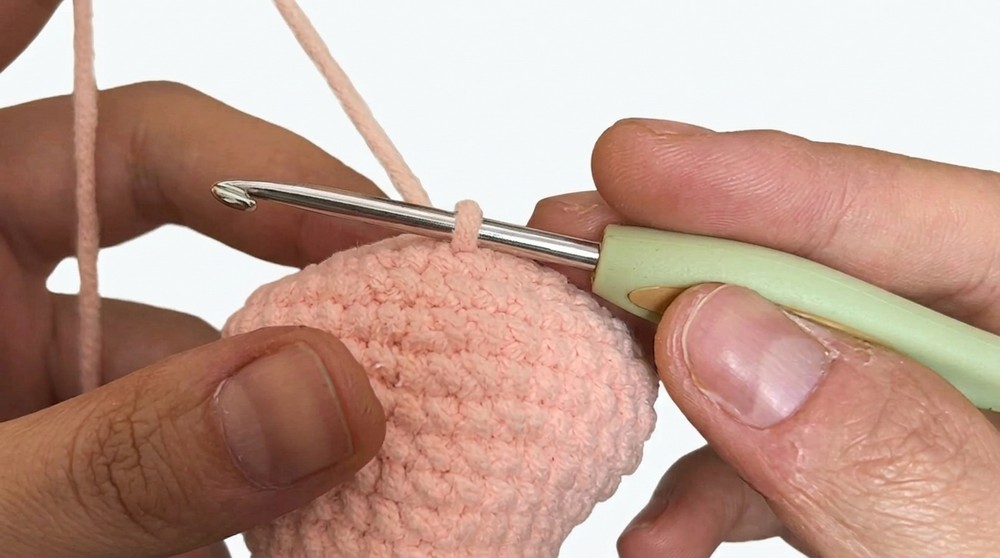
- Work 1 sc, 1 dec; repeat 6 times to reduce to 12 stitches.
Round 16
- Work 6 decreases (dec) to close head, finishing with yarn tail used to sew the opening shut.
2. The Hood and Body
Hood
Round 1
- Begin with a MR, work 6 sc stitches.
Rounds 2 to 5
- Work 6 sc stitches per round.
Round 6
- Increase: 6 inc to total 12 stitches.
Rounds 7 to 9
- Work 12 sc stitches per round.
Round 10
- Work 1 sc, 1 inc; repeat 6 times for 18 stitches.
Rounds 11 to 13
- Work 18 sc stitches per round.
Round 14
- Work 1 sc, 1 inc, 1 sc; repeat 6 times for 24 stitches.
Rounds 15 to 16
- Work 24 sc stitches per round.
Round 17
- Work 3 sc, 1 inc; repeat 6 times for 30 stitches.
Round 18
- Work 30 sc evenly.
Body
Rounds 19 to 25
- Work 22 sc back and forth in rows, not rounds, shaping the torso.
Round 26
- Chain 10, then 22 sc, total 32 stitches.
Rounds 27 to 34
- Work 32 sc stitches per round.
Legs (Rounds 35 to 38)
- Divide the body stitches to form two legs with 16 stitches each.
- Work decreases in each leg to close and shape.
3. Star and Decoration
Star
- Form a magic ring and work 5 sc into it to create star center.
- Work points with chains (ch 3), single crochet (sc), and half double crochet (hdc) to form star arms.
Assembly
- Sew the stars onto the hood or body of the doll for decoration.
- Fold the hood as required to frame the doll’s face.
Decorative Details
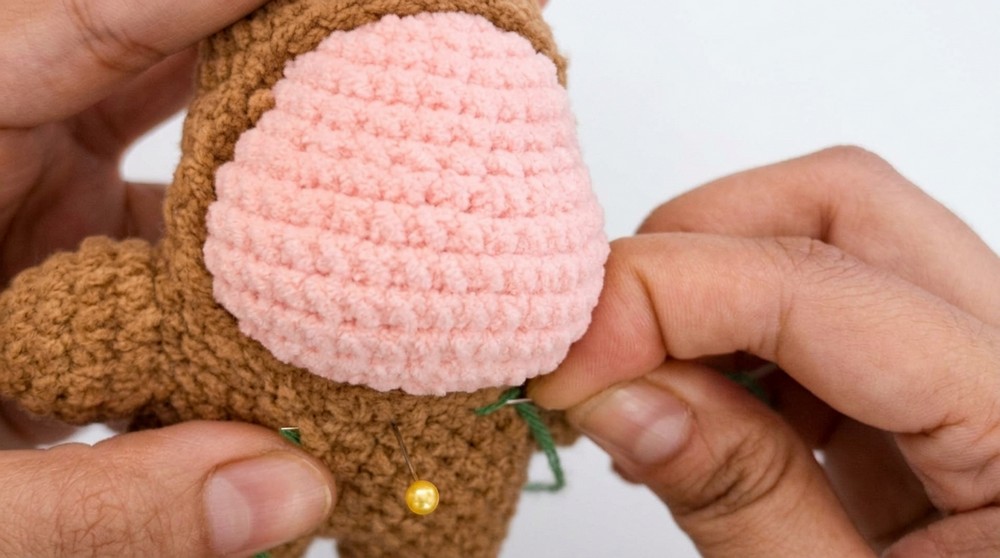
- Embroider a bow, edging details, and facial features including eyes and mouth using yarn needle and contrasting yarn colors to finish the doll.
Assembly & Finished Size
Complete all stitching and embroidery, weave in all yarn tails neatly. Stuff the head and body with fiberfill firmly but softly to maintain shape. Sew the hood securely in place. Attach decorative stars firmly on the hood and body. The finished doll typically measures approximately 20 to 25 cm in height, with the star décor adding texture and visual interest.
Conclusion
This detailed Gingerbread Twinkle Star crochet doll pattern expertly combines fundamental crochet techniques with expressive detailing and strategic shaping. The use of velvet yarn elevates the doll’s cozy aesthetic, while the multi-step construction develops skills in rounds, rows, increases, decreases, and embroidery.
The decorative star accentuates the whimsical design and is a fun addition to embellish your finished project. Whether gifted or displayed, this doll becomes a heartwarming handmade treasure capturing festive spirit and creative crafting.