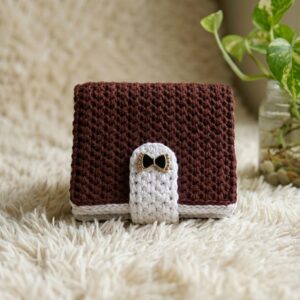
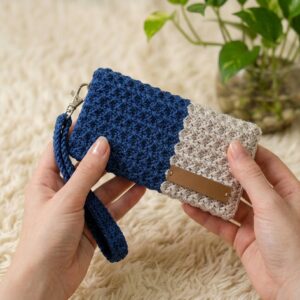
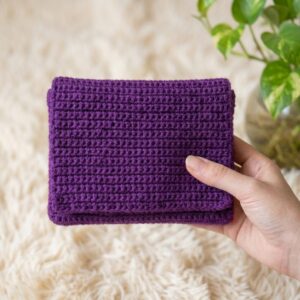
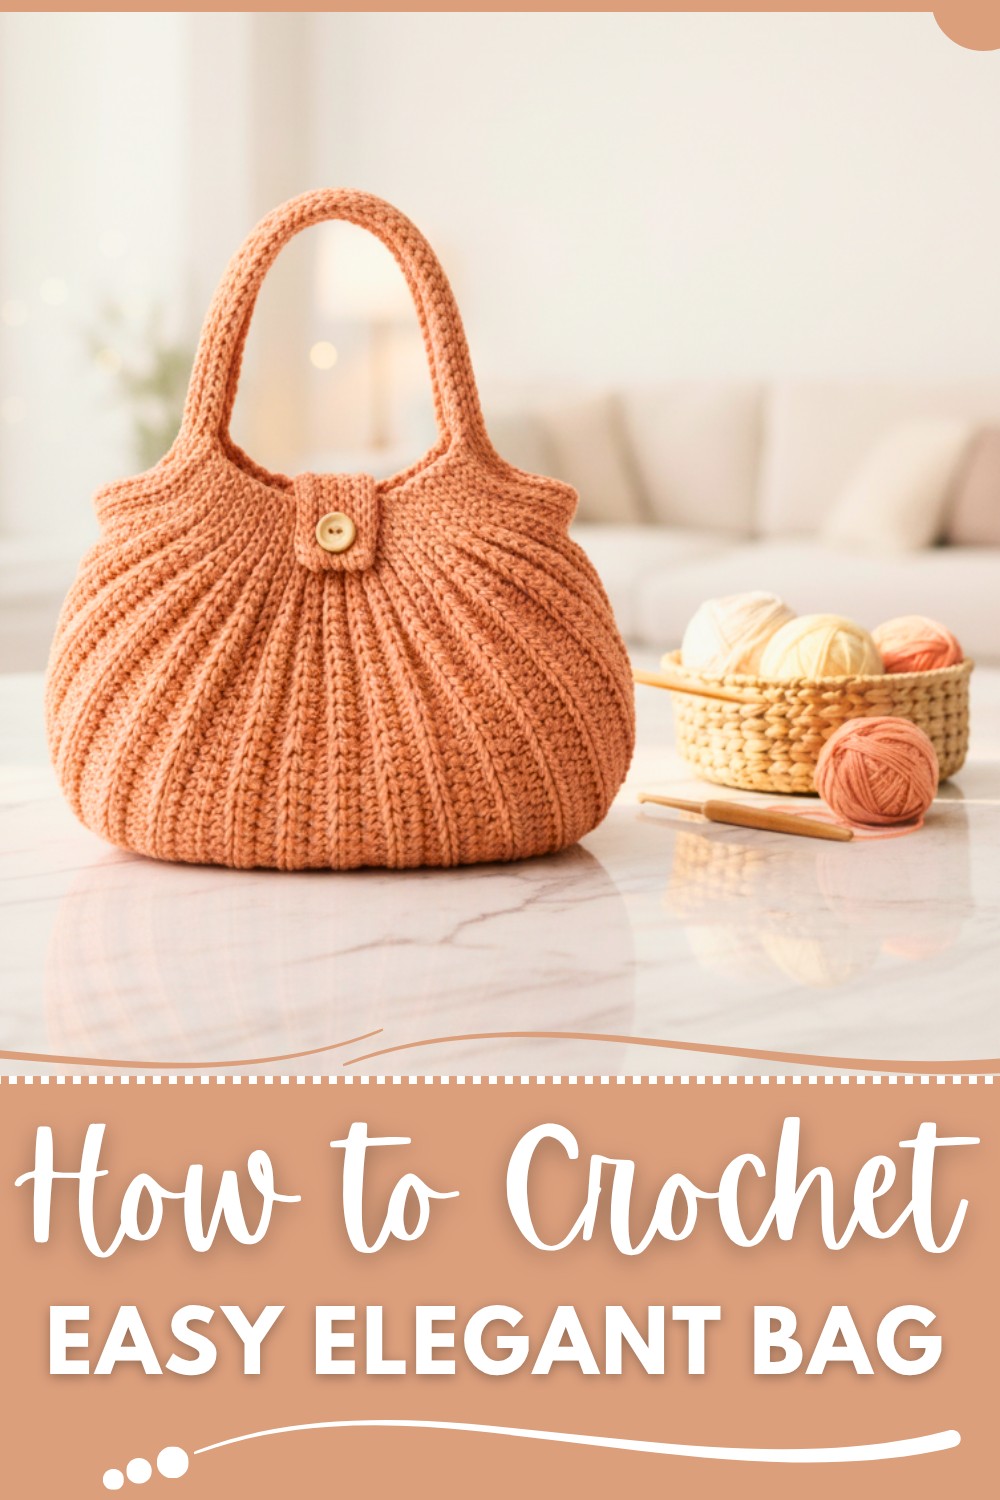
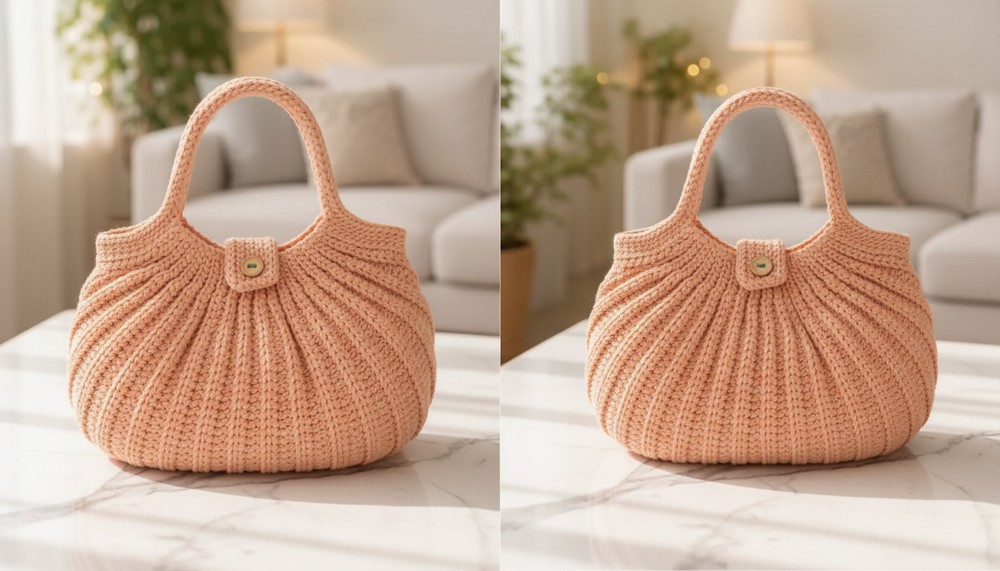
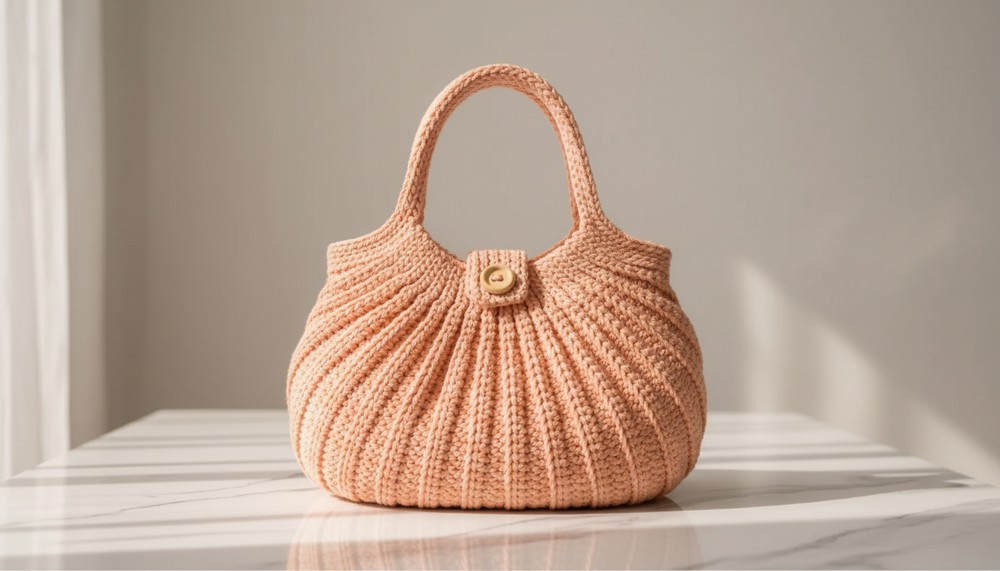
Revamp simple stitches into a timeless masterpiece with a crochet bag pattern, offering both style and function for your everyday essentials.
Turning yarn into a stylish, functional accessory has never been more exciting. A crochet bag is a handmade gem that combines beauty with usability, offering a creative outlet that produces something you’ll actually use and love. The endless options—from sturdy market totes to trendy purses—make this project incredibly versatile. Changing yarn types lends different feels, from cozy and rustic to sleek and modern, while incorporating unique stitch techniques helps showcase individuality in every loop.
Free Crochet Bag Pattern for Storage & More
Historically, crochet has roots in mimicking lace and woven designs, adding a timeless touch to many bag projects. On the practical side, crocheted bags can redefine your everyday routine, replacing disposable options and making a step toward sustainability. Whether it’s bold stripes or intricate motifs, this project allows for boundless creativity while ensuring you’ll always have a bit of handmade flair at your fingertips. It’s art with purpose, one stitch at a time.
Beginner-Friendly Crochet Bag Pattern – Step-by-Step Guide
Materials
Yarn
- Type: 3 mm yarn (polypropylene or cotton is recommended for durability).
- Length: Approximately 350–400 meters.
- You may use different colors for the bag body, flap, and strap for contrast.
Hook
- Crochet Hook: 4 mm (adjust hook size if using a different yarn).
Additional Supplies
- Stitch markers (optional but recommended to track rows).
- Scissors.
- Tapestry needle (for weaving in ends and attaching straps).
- Optional magnet button or snap closure for the flap.
Skill Level
- Beginner-Friendly: Basic skills in slip stitch, single crochet, half double crochet, working in back loops only, and decreasing are needed.
Key Abbreviations (US Terminology)
| Abbreviation | Meaning |
|---|---|
| ch | Chain |
| sc | Single Crochet |
| hdc | Half Double Crochet |
| sl st | Slip Stitch |
| rep | Repeat |
| dec | Decrease |
| BLO | Back Loop Only |
Special Techniques
Back Loop Only (BLO) Stitching
This technique gives the bag a lovely textured ridge effect. Always insert the hook into the back loop of the stitch for rounds specified.
Decreasing (Dec)
To decrease in hdc, work two consecutive stitches together:
- Yarn over, insert hook into the first stitch, pull through.
- Yarn over, insert hook into the next stitch, pull through.
- Yarn over, pull through all loops on the hook.
Pattern Instructions
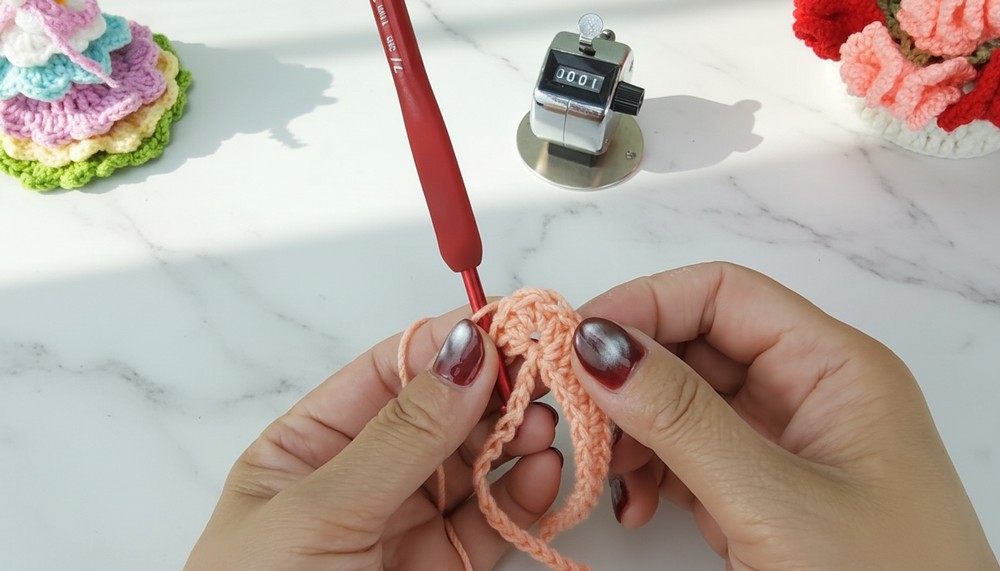
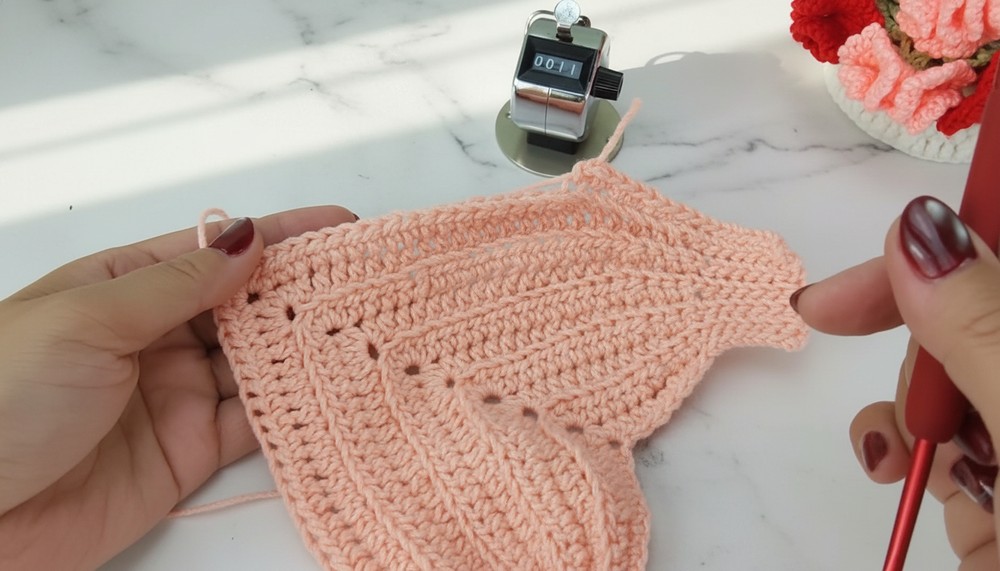
Step 1: Foundation Row – Base
- Ch 33 to create the base foundation of the bag.
- Row 1:
- Work across the chain as follows:
- 7 sl st,
- 3 sc,
- 4 hdc,
- 5 hdc,
- 4 hdc,
- 3 sc,
- 7 sl st.
- Ch 1 and turn.
- Tip: Ensure consistent tension for a flat, neat base.
- Work across the chain as follows:
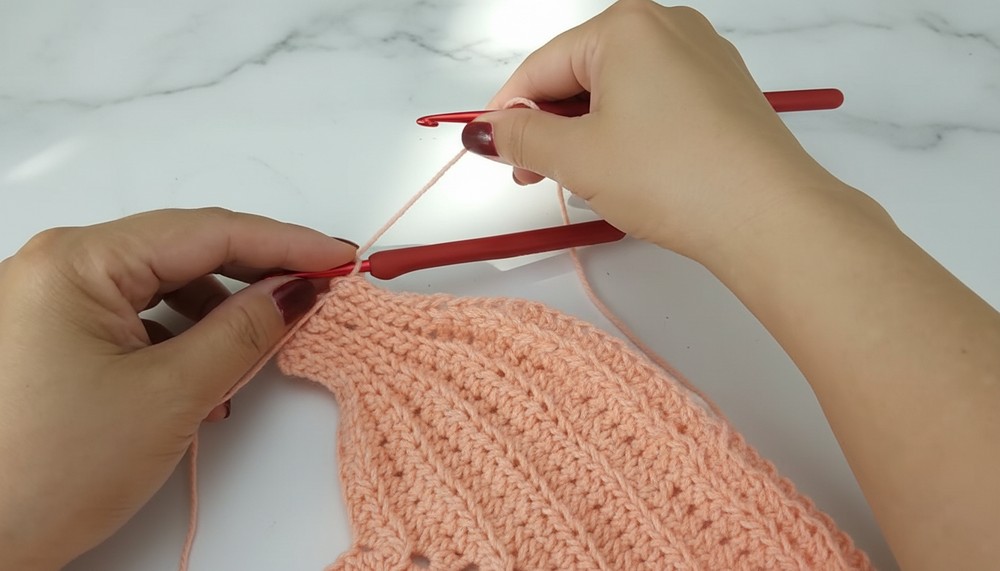
Step 2: Building Texture – Rows 2-10
Row 2:
- Work in BLO across the row:
- 7 sl st,
- 3 sc,
- 6 hdc,
- 5 hdc,
- 6 hdc,
- 3 sc,
- 7 sl st.
- Ch 1 and turn.
Row 3:
- Continue working in BLO:
- 7 sl st,
- 3 sc,
- 8 hdc,
- 5 hdc,
- 8 hdc,
- 3 sc,
- 7 sl st.
- Ch 1 and turn.
Rows 4-10:
- Rep Rows 2–3, following the chart provided in the tutorial: Gradually increase the hdc clusters to form an even texture.
- Tip: Count stitches after every row to ensure consistency.
Ending Row 10 Total Stitch Count: 7 sl st, 3 sc, clustered hdc, 3 sc, 7 sl st.
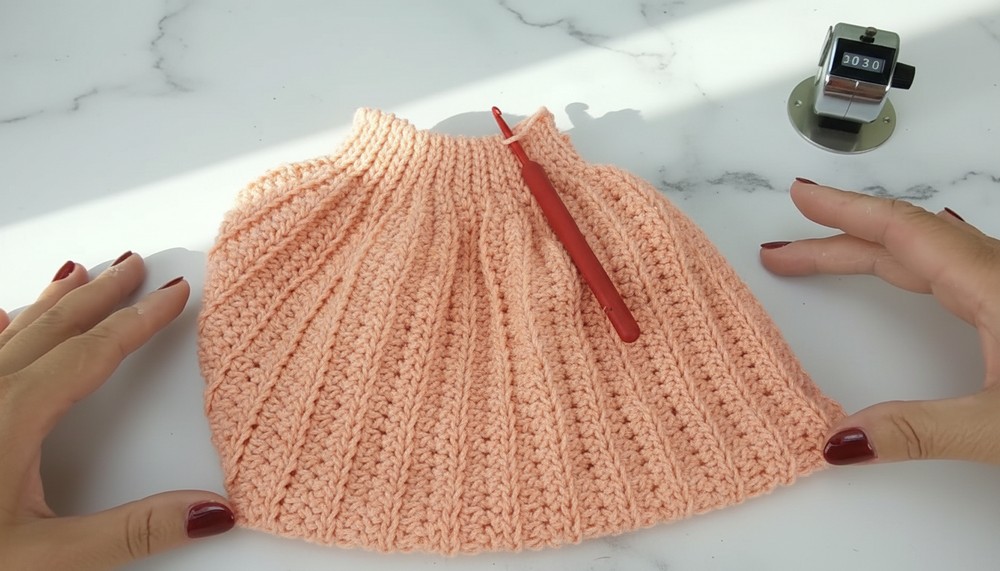
Step 3: Building Height – Rows 11-30
Rows 11-30:
- Repeat the stitch pattern:
- 7 sl st,
- 3 sc,
- 49 hdc,
- 3 sc,
- 7 sl st.
- Ch 1 and turn after each row.
As you progress, your bag will start taking shape and growing taller.
Tip: Use stitch markers to keep track of the rows.
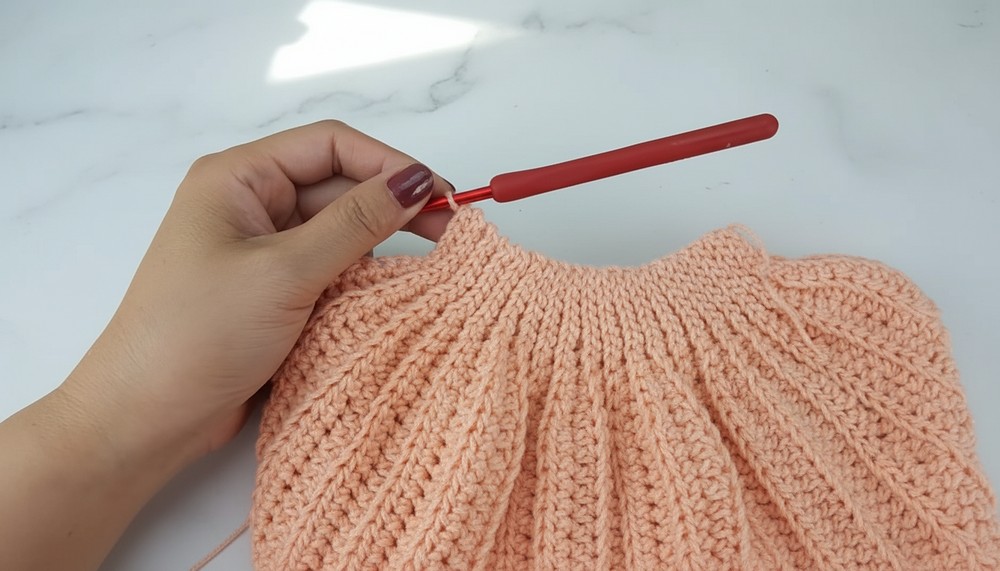
Step 4: Decreasing – Rows 31-40
Row 31:
- Start decreasing for the bag’s upper portion:
- 7 sl st,
- 3 sc,
- 22 hdc,
- Dec in the next stitch,
- 22 hdc,
- 3 sc,
- 7 sl st.
- Ch 1 and turn.
Rows 32-40:
- Continue decreasing evenly in the hdc section for a smooth taper:
- Maintain 7 sl st and 3 sc at each end.
- Final stitch count decreases gradually until the desired taper shape is achieved.
Step 5: Strap Construction
- Ch 60, then work slip stitches back across all chains.
- Ch another 60 and make slip stitches again to create the second strap length.
- Work 29 sl st in each row for extra reinforcement.
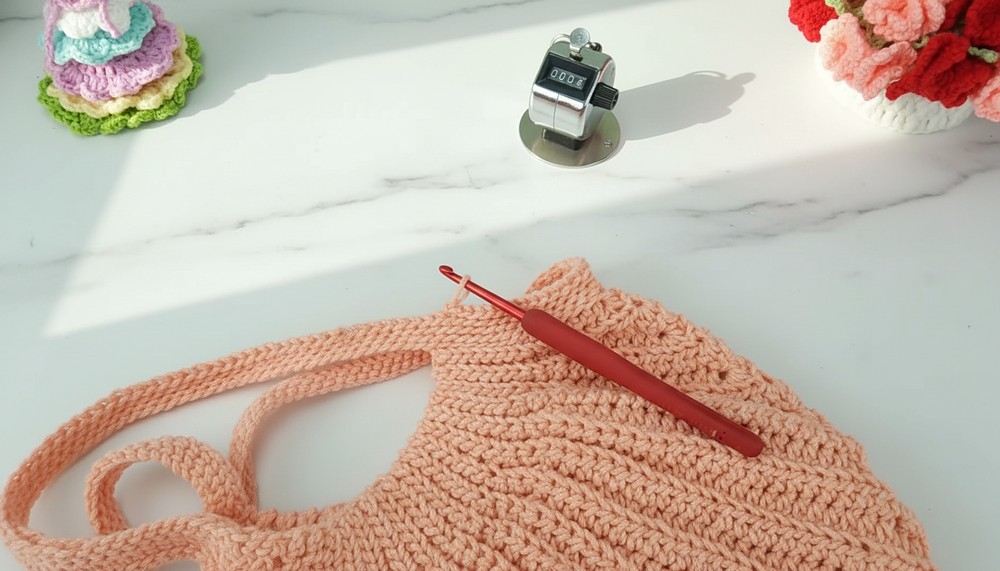
Tip: Keep tension loose when working slip stitches to avoid tightness.
Step 6: Flap Construction
- Ch 17, creating the foundation chain for the flap.
- Rows 1-10:
- Work 16 sl st in each row, one in each chain across.
- Chain 1 and turn at the end of each row.
Tip: Check edges regularly to ensure no stitches are skipped for a clean finish.
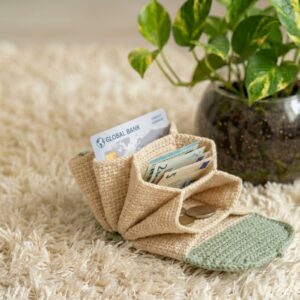
Finishing Steps
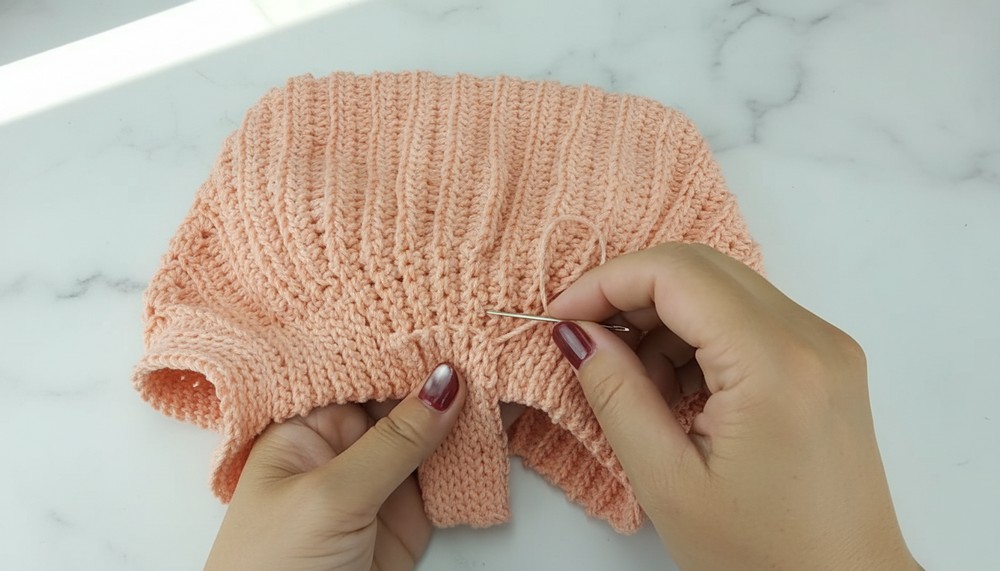
- Sew the flap and straps onto the bag securely using a tapestry needle.
- Attach optional magnetic snap closures or buttons to the flap for added practicality.
- Weave in all loose ends with a tapestry needle and trim excess yarn.
- For nylon or polypropylene yarn, briefly seal ends with a lighter to prevent fraying.
Final Words
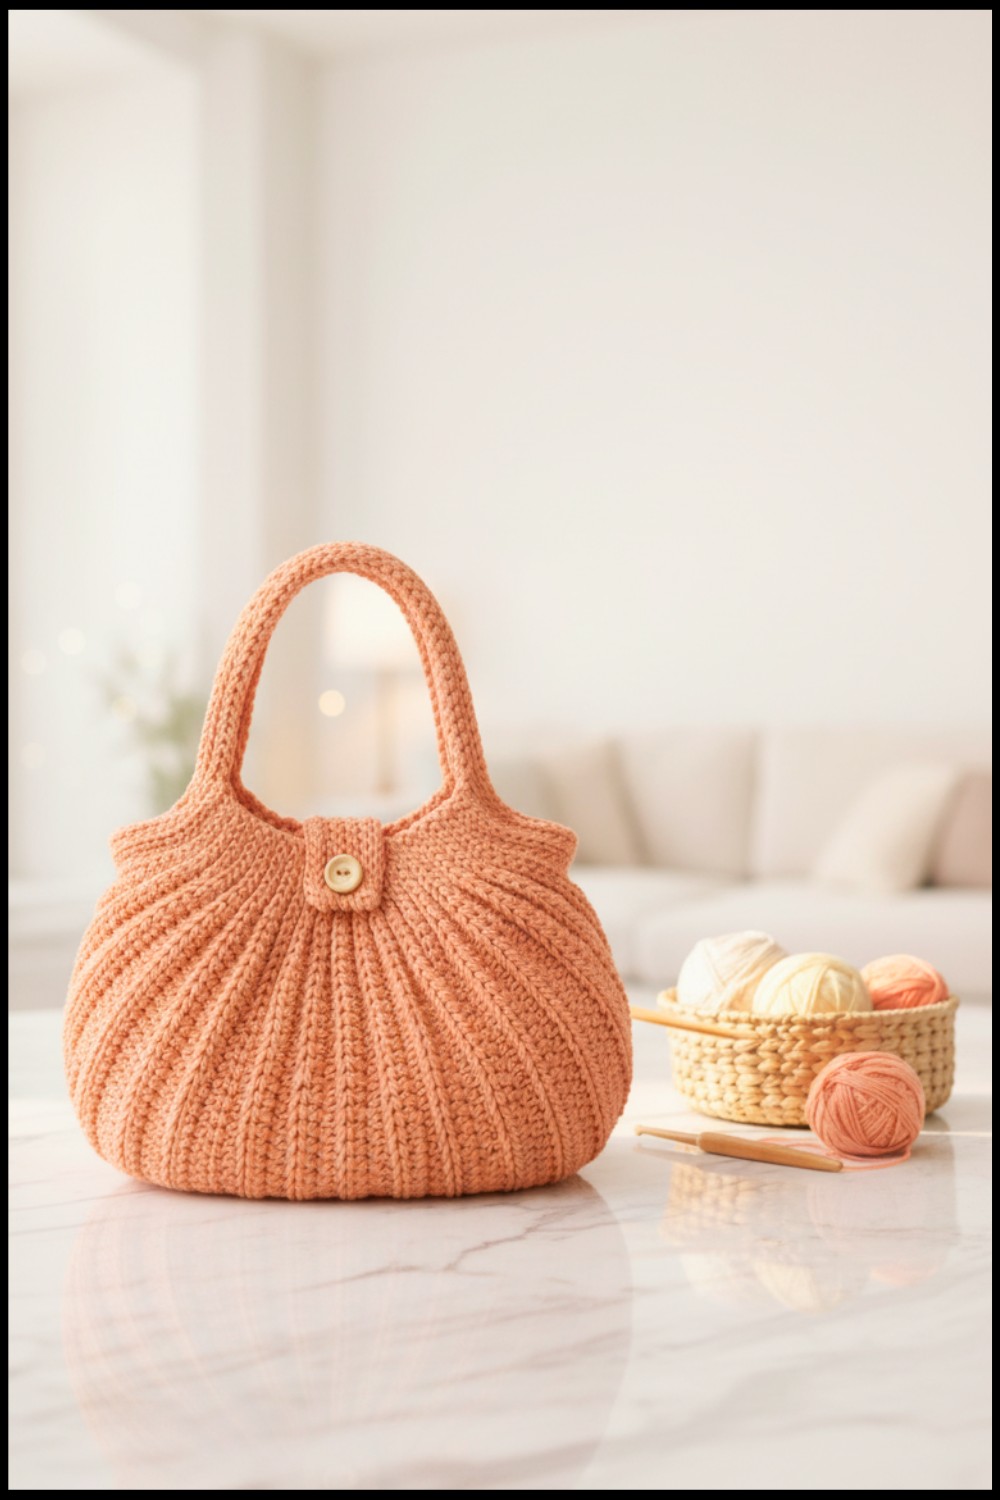
Congratulations! Your beautiful crochet bag is now complete. This simple yet practical bag can be used for work, shopping, or even as a charming handmade gift. The added textured ridge effect and neat flap design enhance its elegance.
Tips to Maintain the Bag
- Care Instructions: If working with cotton or polypropylene yarn, hand wash in cool water and air dry to retain the bag’s shape and texture.
- Customization: Adjust flap width, strap length, or color combinations to suit your personal style.
- Storage: Place a lining on the interior for durability when carrying heavier items.