
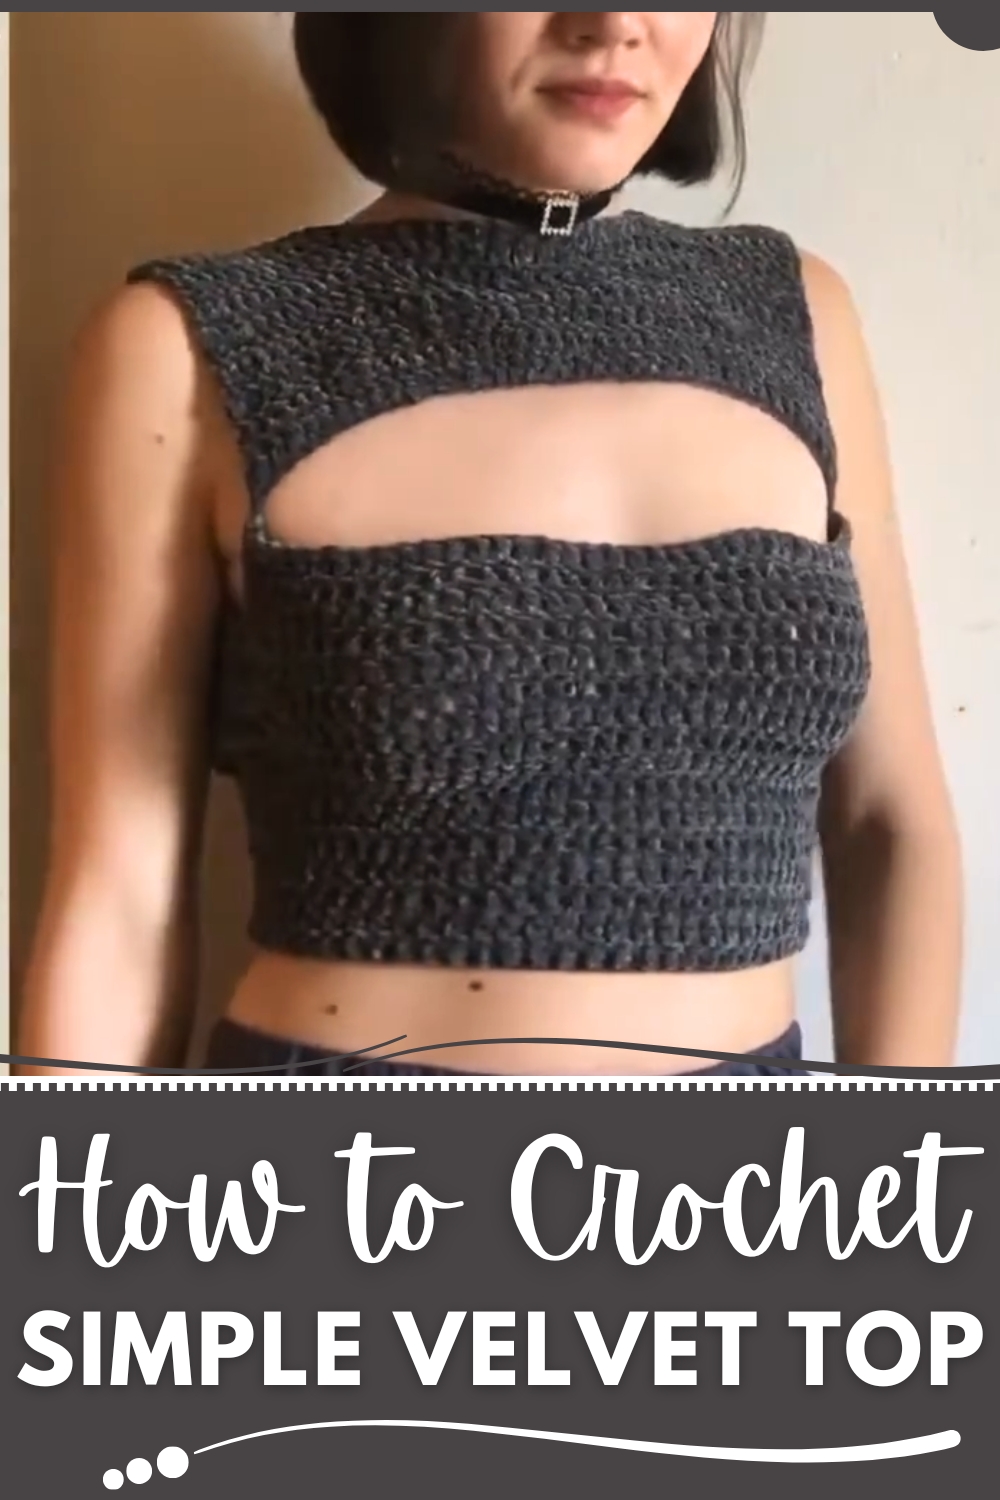
A soft evening breeze brushes against a quiet street as a casually elegant top drapes effortlessly over a figure, its plush velvet texture catching the fading light. The Free Crochet Velvet Top pattern transforms simple yarn into a luxurious, wearable piece that balances comfort with understated sophistication. Lightweight yet cozy, it is perfect for layering over casual outfits or pairing with skirts and trousers for more refined occasions, making it a versatile addition to any wardrobe. The tactile richness of velvet yarn brings warmth and a subtle sheen, enhancing everyday moments with a touch of charm.
Cozy Crochet Velvet Top Pattern that Feels Luxurious
The crochet technique allows for gentle stretch, ensuring a comfortable and flattering fit across various body types. Working on this top provides a soothing rhythm for crocheters, combining repetition with creative satisfaction as each stitch forms a soft, flowing garment. Color variations allow personalization, from classic neutrals to bold, statement hues, reflecting individual style.
Beyond daily wear, it serves as a thoughtful gift, offering warmth, comfort, and the quiet appeal of handmade care. Each completed top embodies patience, focus, and tactile elegance, transforming ordinary wardrobe essentials into pieces that inspire confidence, cozy sophistication, and a lasting sense of handcrafted charm.
Step-by-Step Instructions
1. Materials Needed
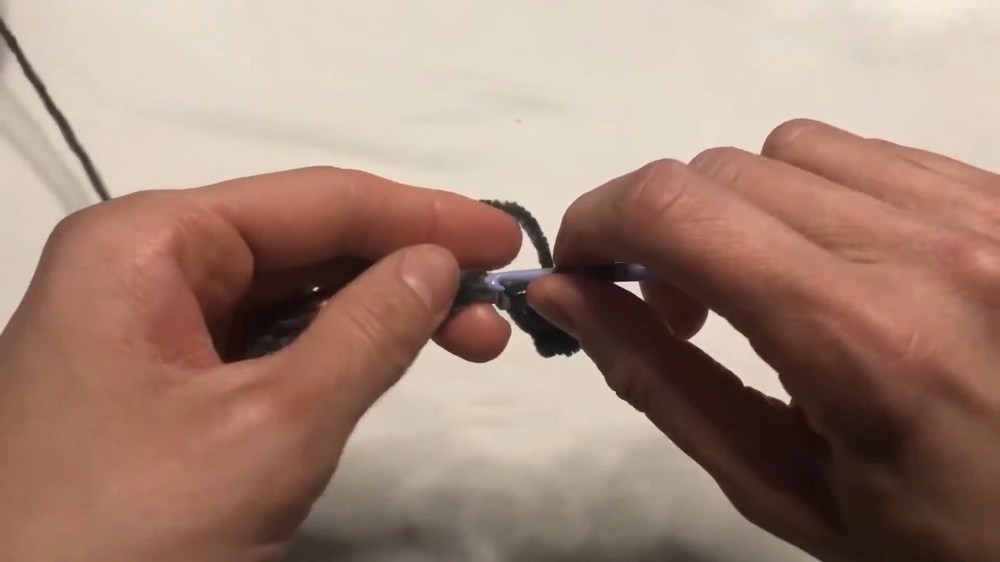
- Yarn: Velvet yarn (100g or more, depending on size). The exact meterage isn’t specified, but 100g was sufficient for the project.
- Crochet Hook: 4mm crochet hook (size recommended for the velvet yarn).
- Other Tools: Scissors, yarn needle for sewing, and a measuring tape for adjustments.
2. Creating the Front Panel
- Foundation Chain:
- Create a chain long enough to cover half your chest width.
- Example: Chain 38 stitches for the tutorial, ensuring it’s wide enough for your proportions.
- First Row:
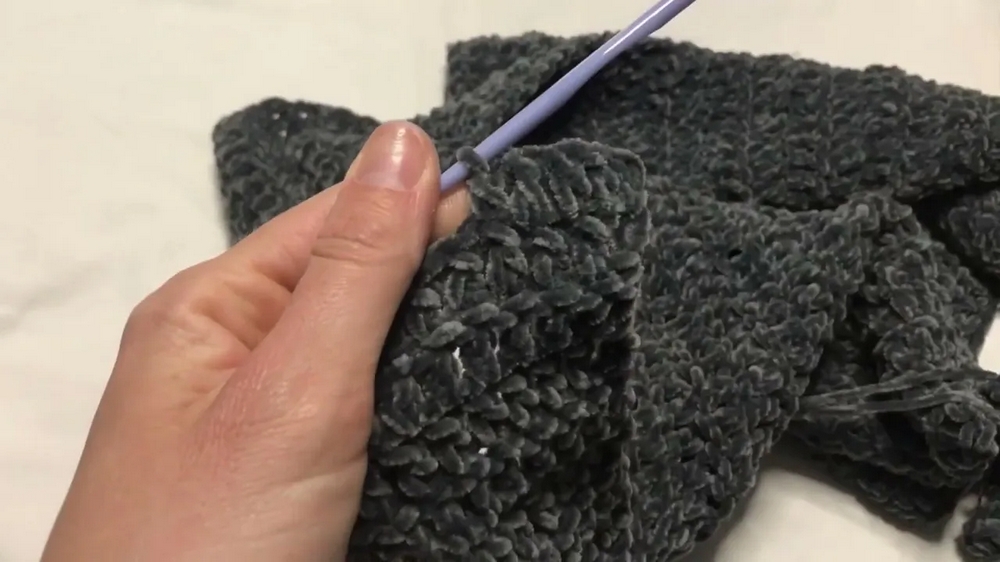
- Add 2 turning chains, then work a double crochet (DC) in the 5th chain from the hook.
- Continue double crocheting across the entire foundation chain.
- Rows for the Front Panel:
- Chain 2 at the start of each new row, then continue with double crochets.
- Make 60 rows in total (adjust the number of rows based on your preferred top length).
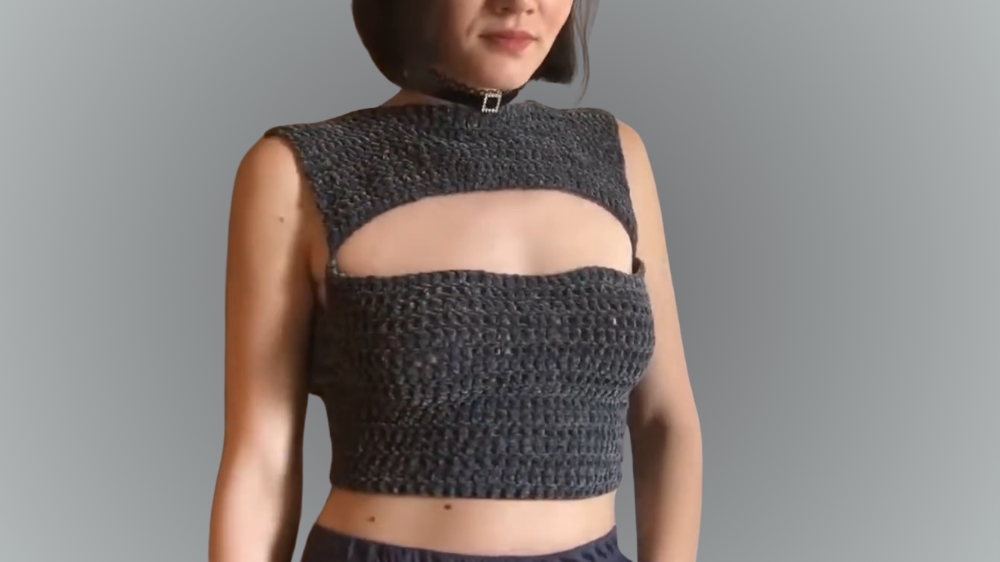
- The panel should cover your chest and reach just below the bust.
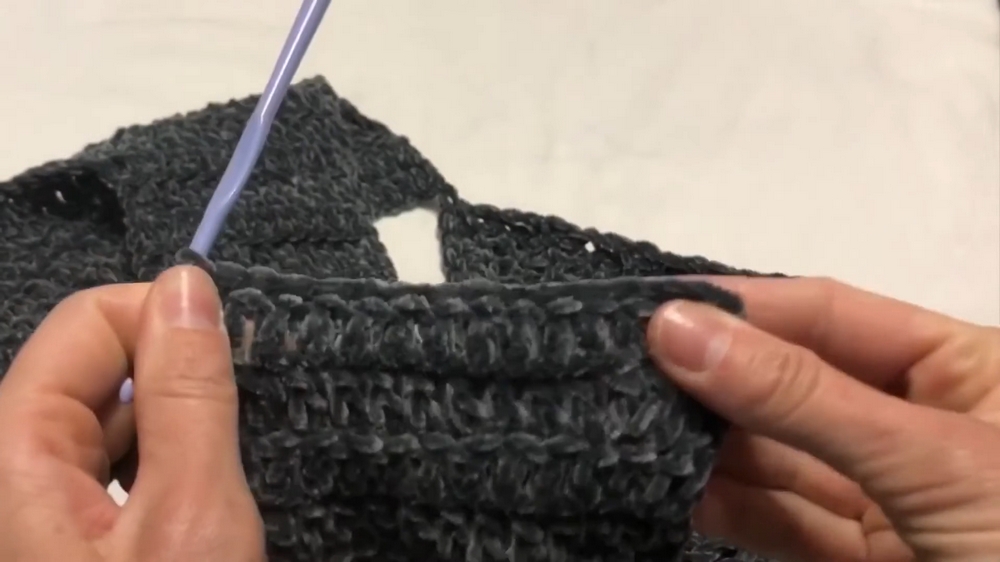
3. Adding the Neckline Section
- Second Foundation Chain:
- Create another foundation chain identical to the first one (e.g., 38 stitches).
- Attach this chain to the main front panel using a slip stitch.
- Crocheting the Neckline Section:
- Work 8 rows of double crochet stitches on this new section.
- Adjust the number of rows as necessary to ensure the neckline section reaches your neck.
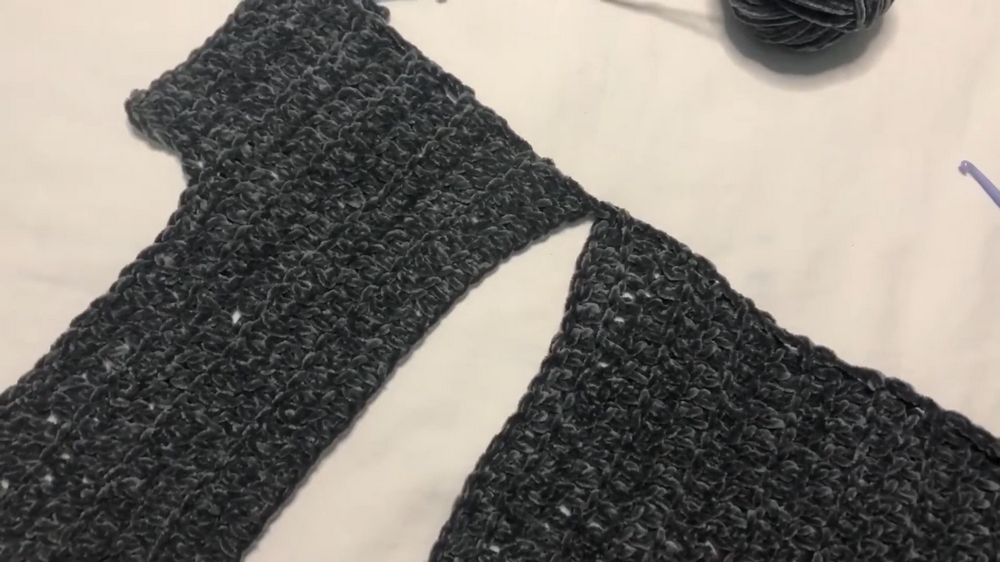
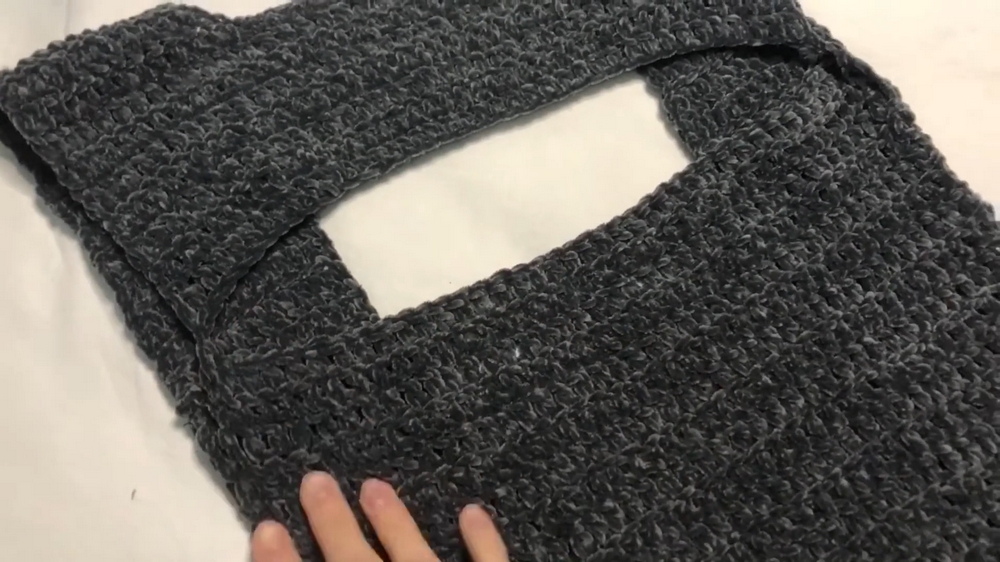
4. Creating the Shoulder Straps
- For the shoulder straps:
- Divide the top into thirds and work on the outer thirds, leaving the center open for the neckline.
- Crochet 13 double crochet stitches across one shoulder segment and complete 3 rows.
- Repeat the same for the opposite shoulder.
- Once finished, the front panel is complete.
5. Creating the Back Panel
- To create the back panel, follow the same steps as the front panel:
- Make a foundation chain (e.g., 38 stitches).
- Crochet rows of double crochet, matching the row count of the front (e.g., 60 rows).
- Do not add additional sections for the neckline or shoulders, as the back panel remains simpler.
6. Adding Lace Ties
- Creating the Lace:
- Slip stitch to the middle of your back panel.
- Chain a desired length for the lace (e.g., 40 chains for a shorter lace section).
- Crochet one row of single crochet stitches along the lace chain.
- Attach the Lace:
- Use a slip stitch to attach the lace back to the panel securely.
- Repeat this process to create a second lace for the opposite side of the opening at the back.
7. Assembling the Top
- Seaming the Lateral Sides:
- Sew or slip stitch the front and back panels together along the sides.
- Leave sufficient space at the top (near the shoulders) for the arms to pass through. Try the top on to determine how much space to leave.
- Adjusting the Design:
- To tighten the back opening, the creator suggests sewing 5 double crochets worth of space on both sides of the opening.
8. Finishing Touches
- Use a yarn needle to weave in all loose yarn ends for a polished finish.
- Try on the top to ensure fit and adjust as needed.
Special Features of This Crochet Top
- Open Back Design with Lace: The elegant back lacing adds a stylish touch, making the top suitable for casual and dressier occasions.
- Custom Fit: The pattern can be easily adjusted to any body size by modifying the chain length or row count.
- Simple Construction: The design utilizes basic crochet stitches and straightforward techniques.
- Velvet Yarn Comfort: The velvet yarn gives the top a soft, smooth texture, making it cozy and wearable for various seasons.
Level of Difficulty
- Beginner-Friendly: The project mainly uses the double crochet stitch, making it approachable for those with basic skills.
- While constructing the neckline and lace might require light adjustments, the straightforward pattern makes it relatively simple to follow.
Tutor’s Suggestions
- Check Length: Periodically try the top on or measure as you go to ensure the perfect fit.
- Neat Yarn Changes: When switching colors or securing ends, use slip stitches and weave in loose ends for a tidy finish.
- Control the Lace Length: Adjust the chain length for the back lacing to accommodate the style you prefer.
Uses and Materials
- Uses:
- A trendy top that can be worn as casual or summer wear.
- Styled with jeans, skirts, or shorts for daytime outings.
- Materials:
- Velvet yarn gives the top a soft, luxurious feel. A 4mm crochet hook works perfectly with this yarn to create a smooth fabric.
Pro Tip
To ensure the armhole openings and lace width align with your body, keep a measuring tape handy to refine the fit. Personalizing these elements ensures both comfort and aesthetic appeal.
Conclusion
This velvet yarn top is an easy-to-make project that combines simplicity, comfort, and style. Its open back design, laced detailing, and adjustable fit make it a versatile addition to your wardrobe. Whether you're a crochet beginner or someone looking to explore textured stitches, this project is a fantastic opportunity.


