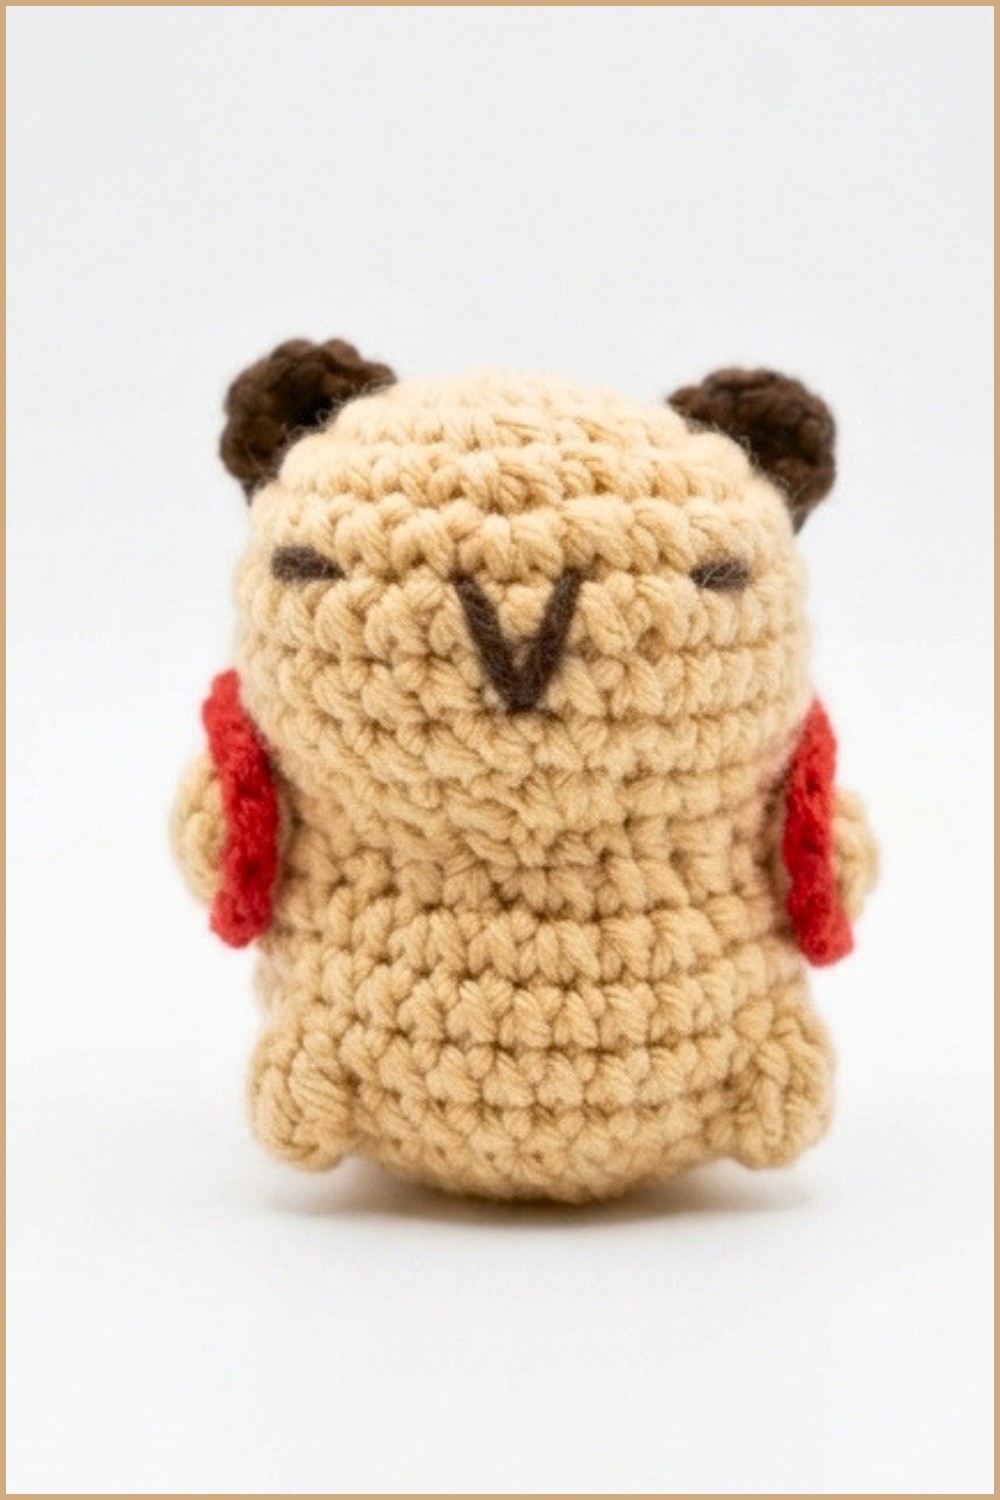
Style your simple travel gear using this free crochet capybara keychain pattern that adds cozy warmth and happy feelings to keys.
Capybaras have won over the toy world with their calm energy and cute, boxy faces. Anyone who loves tiny projects will find making a little pocket buddy with this free crochet capybara keychain pattern a fun weekend activity. These little animals are quick to make, easy to recognize, and fun to carry around. Hooking a small key ring to your backpack, keys, or school bag adds a happy handmade touch that makes people smile whene ver they see it.
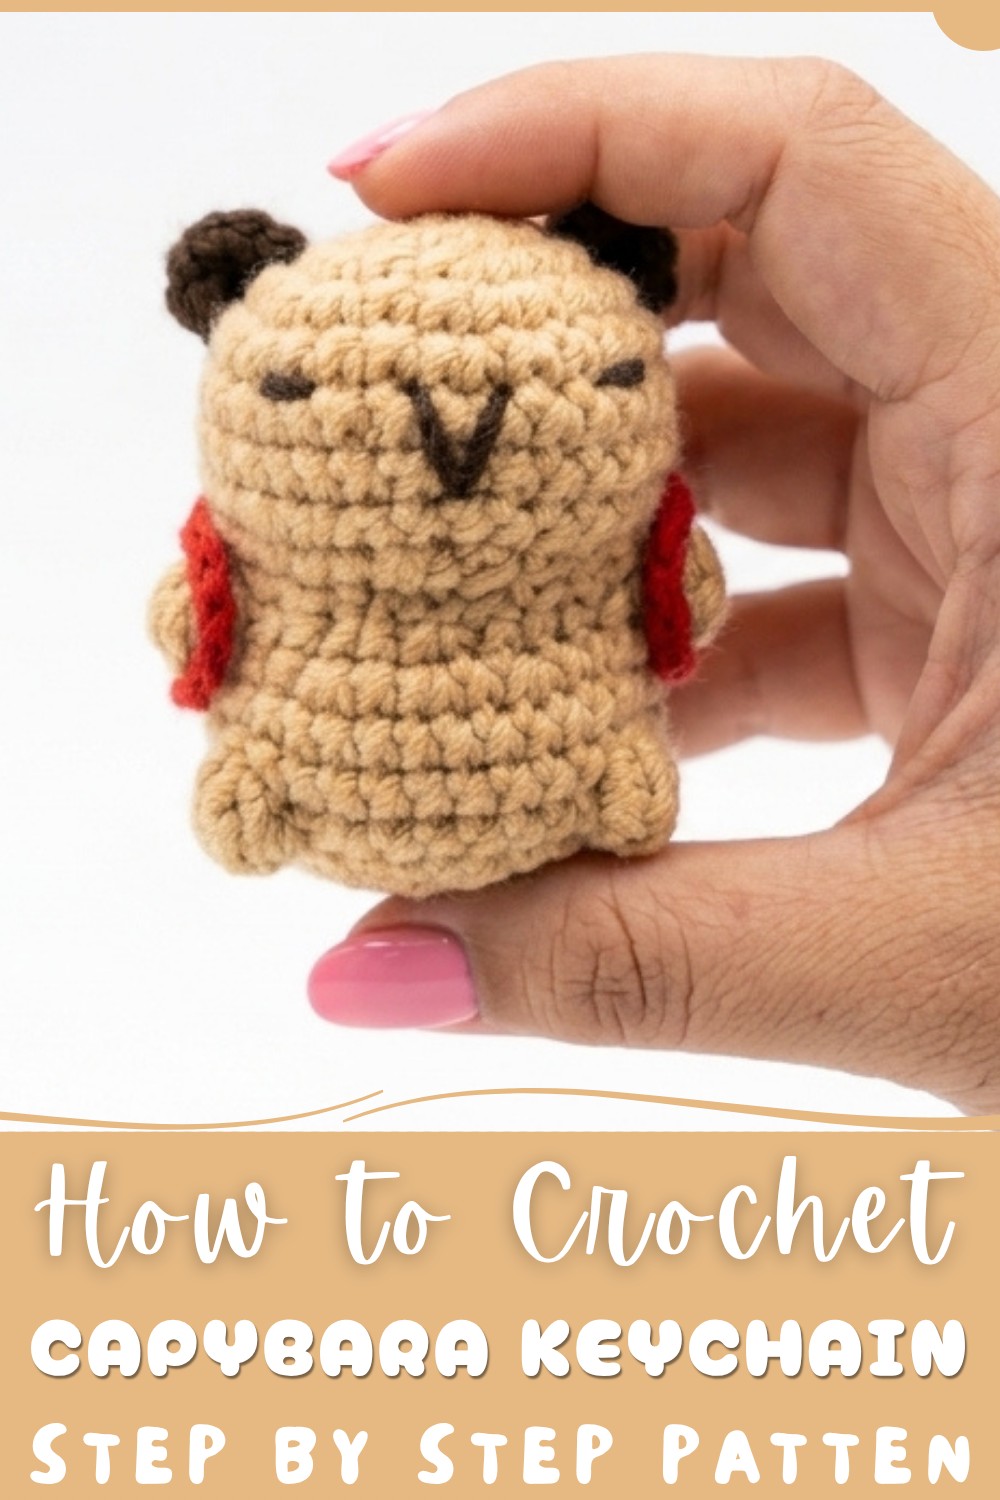
Capybara Keychain Crochet Pattern for Beginners
The finished toy has a small, round body with tiny ears, a nose, and a wonderfully squishy feel. Made by stitching around and around with simple stitches, the shape grows smoothly into a strong little toy. You can leave it plain for a clean, classic look or add fun extra parts. Try sewing a tiny green leaf or orange fruit right on top of its head, or change yarn colors to give your friend a special look.
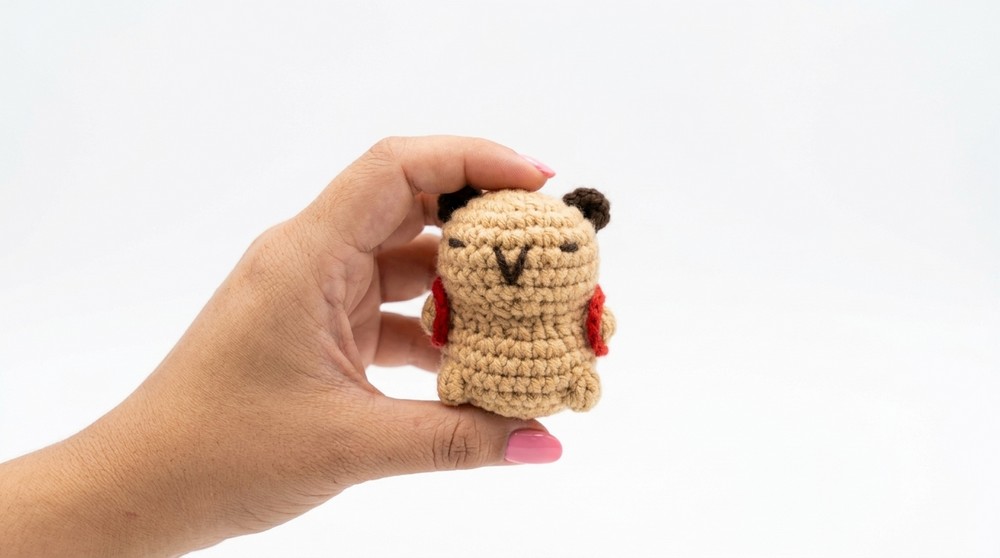
This project is great for makers of all skill levels. Kids and new crocheters will enjoy a friendly way to learn basic toy-making skills like making a starting ring, shaping with simple stitch changes, and sewing small pieces together. Experienced makers will love how fast it finishes, making it a great choice for quick gifts or sharing with friends.
By the end of this fun project, you will have a neat mini toy ready to use or give away. It is an enjoyable project that turns small leftover yarn pieces into a cute everyday pal.
Crochet Capybara with Strawberry Bag Pattern
This detailed crochet pattern is based on the tutorial by Crochet Dali and guides you through creating a charming capybara amigurumi adorned with a delightful strawberry bag. You will work mainly in spiral rounds to form the body and accessories, finishing with embroidered features that add character and charm. With clearly defined rounds and instructions, this pattern offers a complete step-by-step approach to achieve a delightful plush toy and accessory.
Pattern Highlights
- Ears: Two small pieces made individually with simple magic rings and single crochets.
- Body: Constructed in continuous spiral rounds with increases, decreases, and decorative popcorn-style stitches forming arms and legs.
- Facial Features: Embroidered eyes and mouth for expressive details.
- Strawberry Bag: A flat crochet piece shaped into a berry-like pouch, finished with embroidered seeds and leaves and attached straps.
Notes
- Work in continuous spiral rounds for a seamless appearance unless otherwise stated.
- Use a stitch marker to keep track of round beginnings.
- Front loop decreases are used to create a smoother decrease line in certain rounds.
- Stuff firmly as you go to maintain the shape of the capybara.
- Embroidery enhances the plush’s personality; place features carefully but firmly.
- Strap length can be adjusted according to preference.
- For consistency, maintain even tension throughout your work.
Skill Level
Intermediate. Recommended for crocheters comfortable with:
- Magic ring foundation.
- Single crochet (SC), increases (inc), and decreases (dec) in spiral rounds.
- Working popcorn-style stitches or clusters.
- Basic embroidery on amigurumi.
- Attaching parts securely.
Materials
- Yarn:
- Brown yarn for the capybara body (approximately sport or DK weight recommended).
- Red, white, and green yarn for the strawberry bag.
- Tools:
- Crochet hook suitable for your yarn weight.
- Polyester fiberfill stuffing.
- Tapestry needle for sewing parts and embroidering details.
- Stitch marker.
Measurements / Sizing
- The finished capybara measures approximately 12-14 cm tall (size may vary depending on yarn and hook).
- Strawberry bag size is proportional to the body, roughly 6-8 cm in height/width.
- Straps are long enough for the bag to hang when worn but adjustable.
Gauge and Stitch Pattern
- Gauge: Approximately 20 SC stitches and 24 rows = 10 cm square (varies by yarn and hook).
- Work predominantly in single crochet in continuous spiral rounds.
- Popcorn-style stitches are clusters of 4 high stitches together, adding texture to arms and legs.
Stitch Abbreviations
| Abbreviation | Meaning |
|---|---|
| ch | Chain |
| sc | Single Crochet |
| inc | Increase (2 SC in same stitch) |
| dec | Decrease (usually single crochet two stitches together) |
| FL dec | Front Loop Decrease (in front loops only) |
| popcorn | Popcorn stitch (4 high stitches together) |
Special Stitches
Popcorn Stitch (used in arms and legs)
- Work 4 high stitches (e.g., double crochets) into the same stitch or space without finishing each completely. At the end, pull yarn through all loops on hook to cluster them, forming a raised “popcorn” texture.
Front Loop Decrease
- Insert hook only into the front loops of the next two stitches, yarn over, pull through, and finish to create a smooth decrease line.
The Crochet Pattern!
1. Ears (Make 2)
- Begin with a magic ring.
- Work 6 single crochet (SC) into the ring.
- Join if preferred for ease or continue in spiral and then cut yarn leaving a tail for sewing.
2. Body
Round 1:
- Start with a magic ring, work 6 SC into the ring.
Round 2:
- Perform 6 increases—that is, 2 SC in each stitch around. Total 12 SC.
Round 3:
- Repeat sequence: 1 SC, 1 increase, six times around. Total 18 SC.
Round 4:
- Begin with 1 SC, 1 increase; then repeat 2 SC, 1 increase five times, and finish with 1 SC. Total 24 SC.
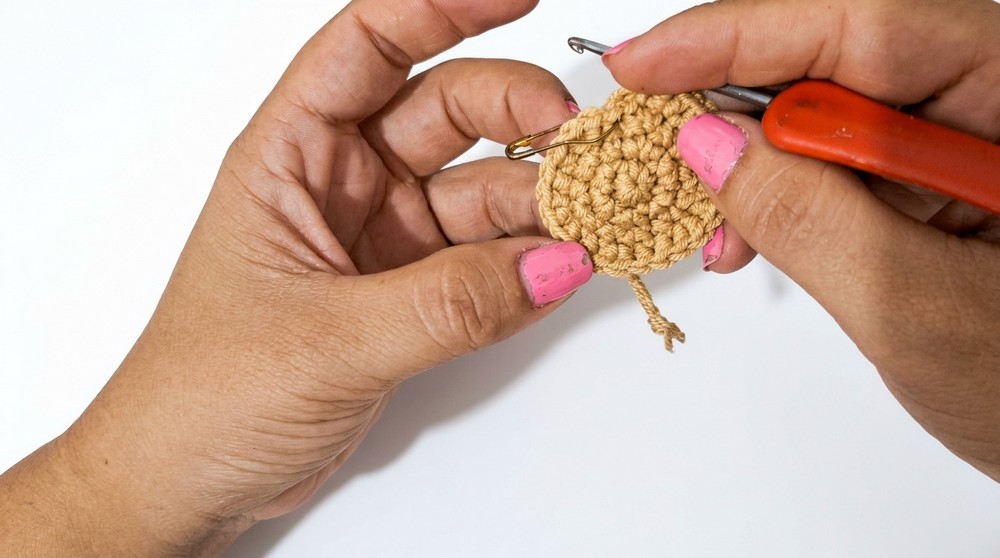
Round 5:
- Repeat 3 SC, 1 increase six times. Total 30 SC.
Round 6 to 8:
- Work 30 SC each round without increases or decreases, maintaining body width.
Round 9:
- Crochet 7 SC, then do 3 front loop decreases in sequence (to shape body), followed by 17 SC. Total 27 SC.
Round 10:
- Crochet 6 SC, perform 3 front loop decreases, then 15 SC. Total 24 SC.
Round 11 (Arms):
- Crochet 4 high stitches together (popcorn stitch) to form arm texture.
- Then work 2 SC, 3 increases, 2 SC again, and another popcorn stitch of 4 high stitches.
- Finish the round with 12 SC. Total 27 SC.
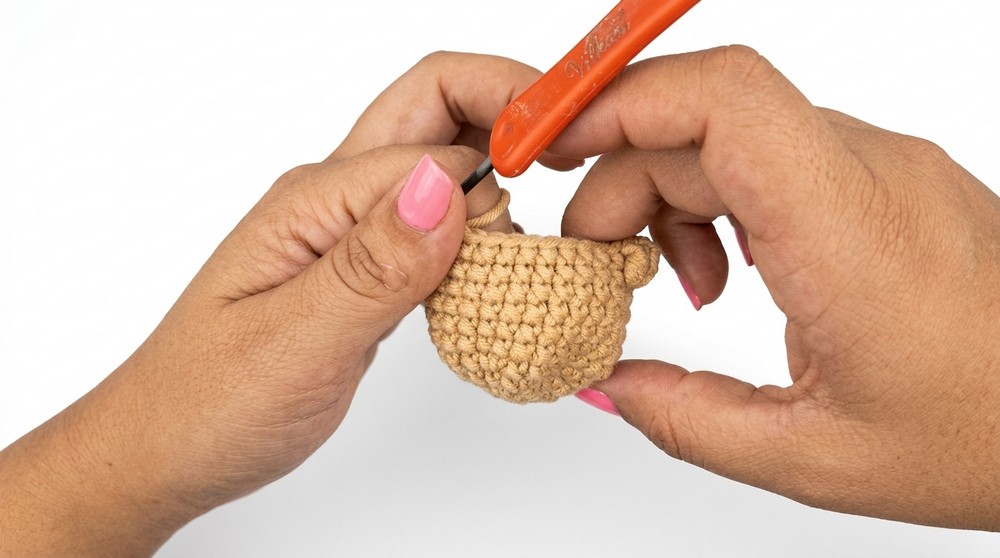
Round 12:
- Crochet 6 SC, then repeat 1 SC, 1 increase three times, followed by 15 SC. Total 30 SC.
Round 13-14:
- Work even with 30 SC each round.
Round 15 (Legs):
- Crochet 6 SC, 4 high stitches together (popcorn stitch) to shape legs, 9 SC, another popcorn stitch of 4 high stitches, and finish with 13 SC. Total 30 SC.
Round 16:
- Repeat 3 SC, 1 decrease six times for shaping. Total 24 SC.
Round 17:
- Begin with 1 SC, 1 decrease, repeat 2 SC, 1 decrease five times, and end with 1 SC. Total 18 SC.
Round 18:
- Repeat 1 SC, 1 decrease six times. Total 12 SC.
Round 19:
- Perform 6 decreases in a row to close the piece. Total 6 SC.
3. Assembly & Details
- Stuff body firmly before closure to maintain shape.
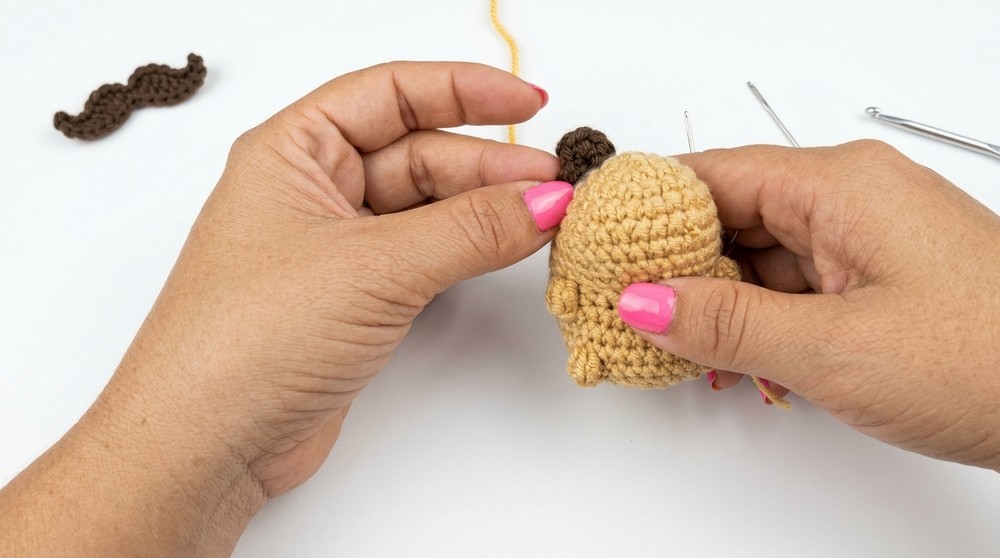
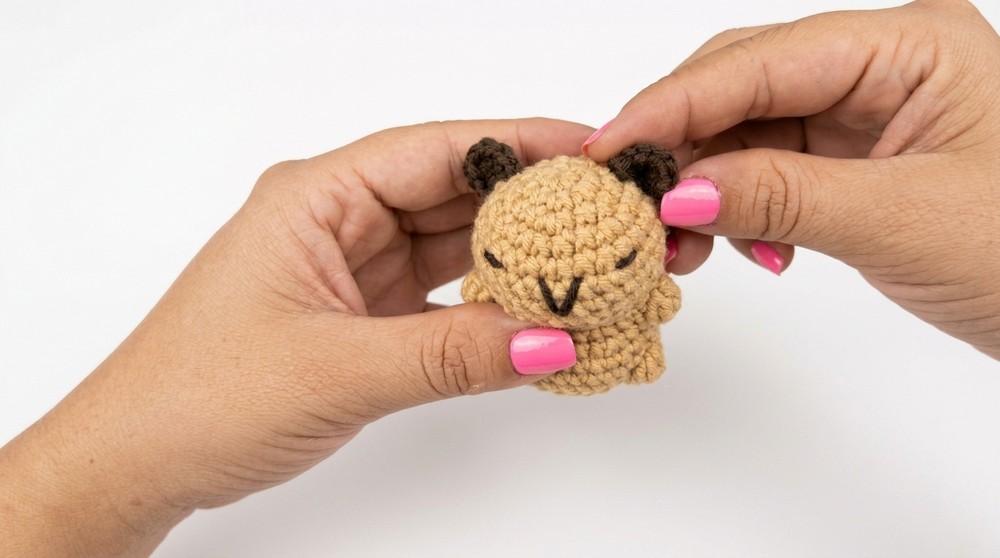
- Embroider eyes carefully between rounds 5 and 6 to create placement near the head.
- Embroider a V-shaped mouth below the eyes for a sweet expression.
- Sew the two ears in place between rounds 4 and 5, positioning symmetrically on the head.
4. Strawberry Bag
Foundation:
- Chain 3 to start a flat piece.
Increasing Rows:
- Gradually increase stitches in subsequent rows by working several SC increases evenly distributed to shape a rounded berry form.
Shaping the Top:
- Create a curved shape by strategically skipping stitches in the last increasing rows to form a rounded mouth of the bag.
Border:
- Work a round of SC around the whole edge of the piece for a clean finish.
Straps:
- Attach two long chains as straps to the top corners of the strawberry bag. Length can be customized.
Embroidered Details:
- Using green yarn, embroider leaves on the upper part of the bag to represent strawberry leaves.
- Using white yarn, add small seed dots across the strawberry surface for realistic texture.
Assembly & Finished Size
- Securely sew the strawberry bag onto the capybara’s body, positioning it like a shoulder bag.
- Weave in all yarn ends neatly.
- The completed capybara stands about 12-14 cm tall with a proportional strawberry bag approx. 6-8 cm wide.
- The plush’s soft body and detailed bag make it perfect as a decorative toy or whimsical gift.
Conclusion
This crochet capybara with a strawberry bag combines basic amigurumi techniques with decorative texturing and creative accessory making, resulting in a lovable and eye-catching plush. The detailed round-by-round instructions ensure smooth assembly, while the embroidered features lend personality and charm. Ideal for intermediate crocheters seeking a rewarding project, this tutorial highlights the joy of combining form and function in handmade crafts.'