
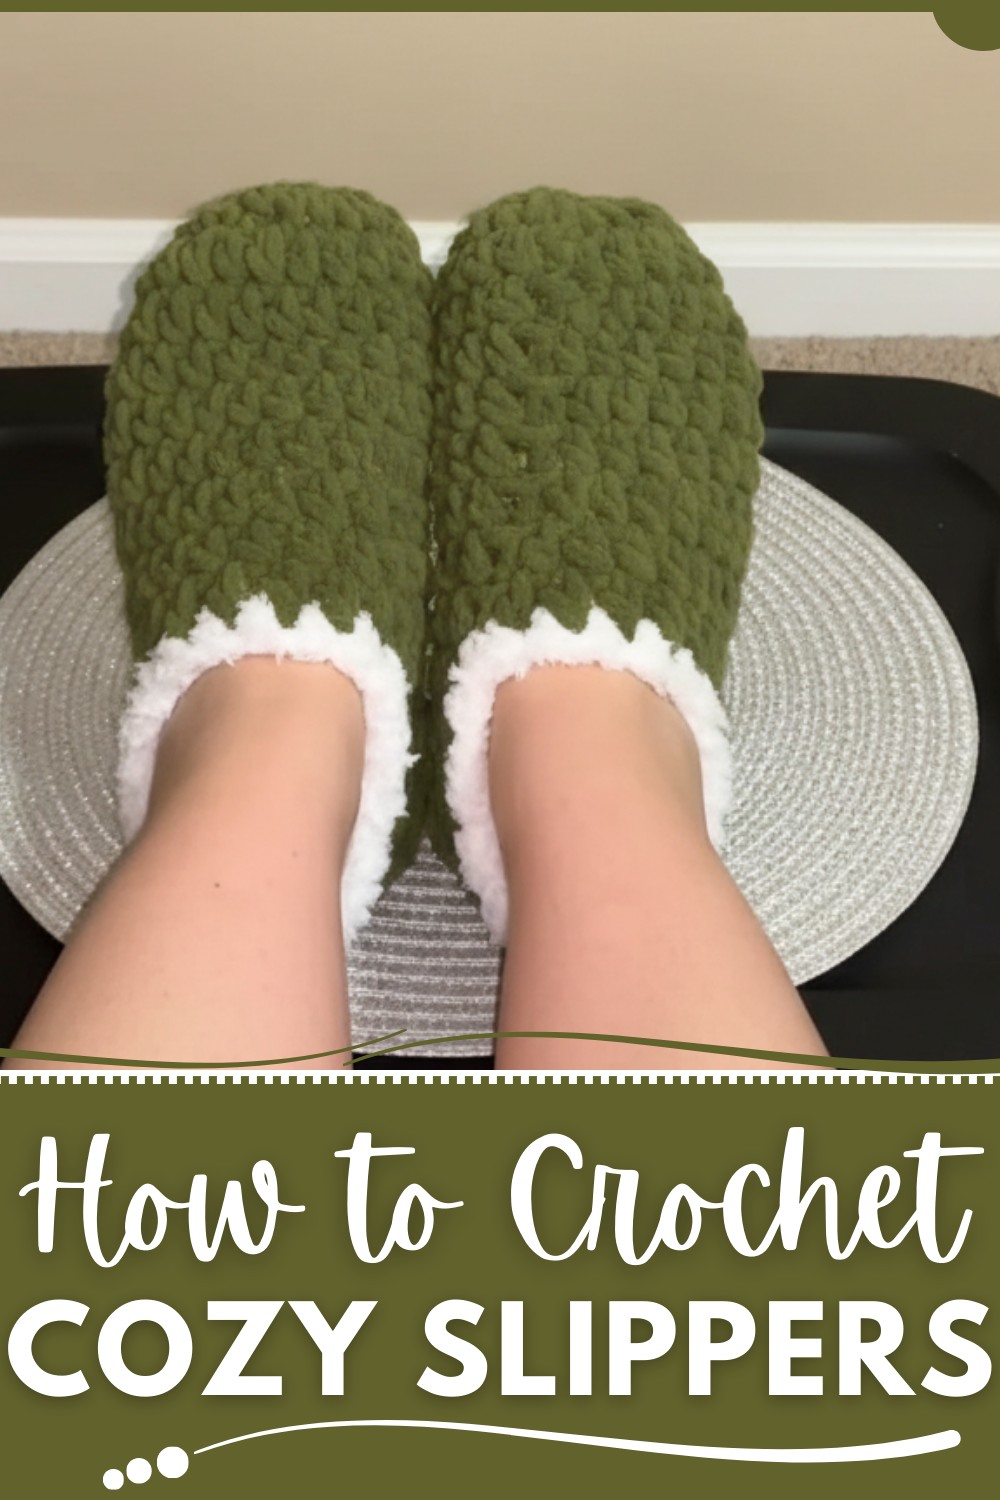
Fun Crochet Slipper Pattern to Add Comfort
Materials Required
- Bernat Baby Blanket Yarn
- Weight: 6 (Super Bulky)
- Material: 100% Polyester
- Color: Olive Tree
- Weight: 10.5 oz
- Note: Pattern likely included on the product label.
- Bernat Pipsqueak Yarn (for trim)
- Weight: 5 (Bulky)
- Material: 100% Polyester
- Note: Alternatively, you can use any fuzzy yarn for trim.
- Crochet Hook
- Size: 9.0 mm (US Size I)
- Wide-eyed blunt needle
- For weaving in ends
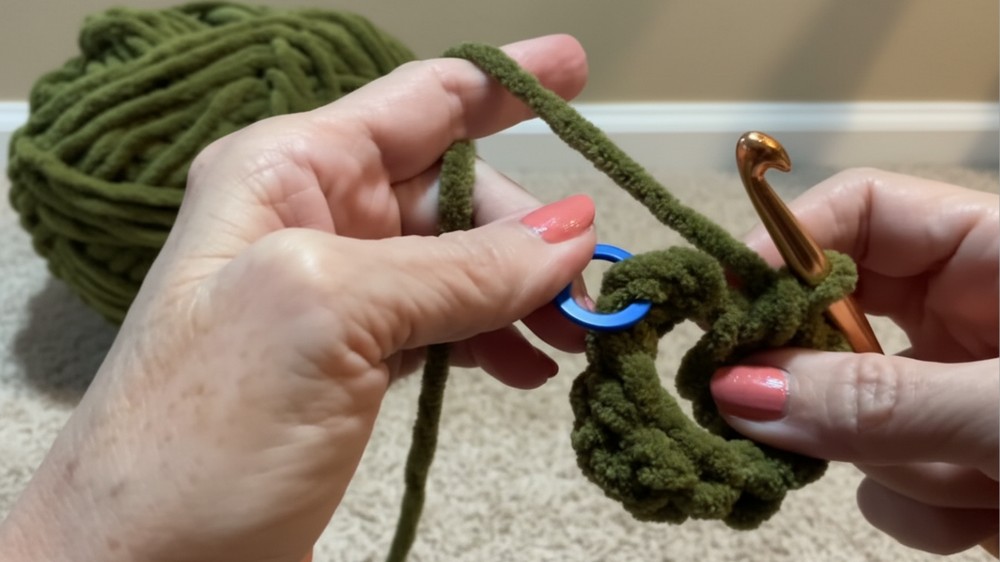
- Stitch Marker
- To mark the beginning of your rounds
- Scissors
Gauge
The gauge is not explicitly provided in the video, but maintain a consistent tension as this pattern fits a shoe size 7.5 women's size. Ensure a snug fit by trying the slipper at different points for custom sizing.
Crochet Cozy Slippers Pattern
This step-by-step pattern provides detailed instructions for making cozy slippers using Bernat Baby Blanket yarn and Bernat Pipsqueak yarn for trim. Whether you're a beginner or an experienced crocheter, this pattern will guide you through the process.
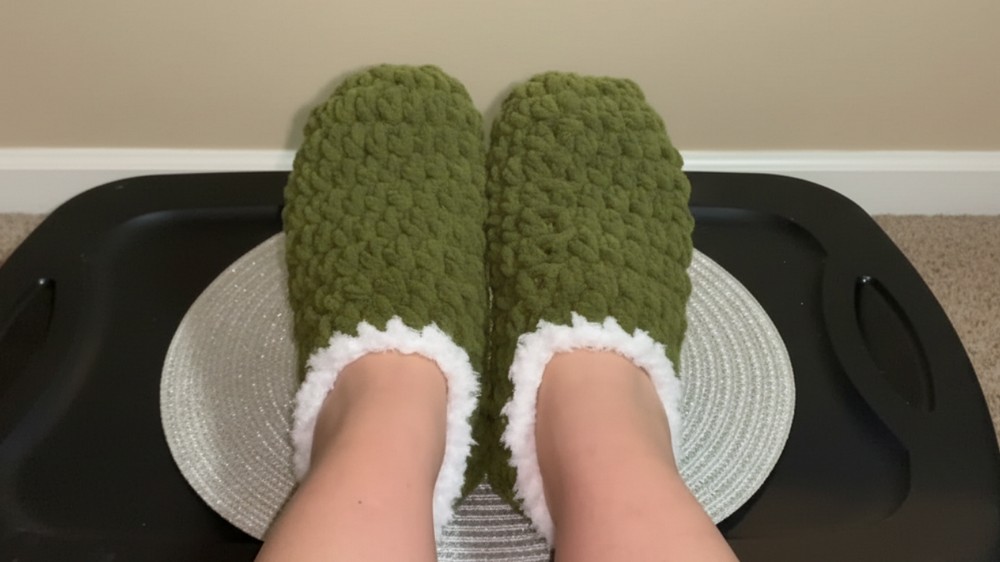
Finished Size
- Length: Approximately 6.5 inches from heel to toe for women's size 7.5 shoe length.
- Can be adjusted for wider feet or other sizes (see customization section).
Pattern Instructions
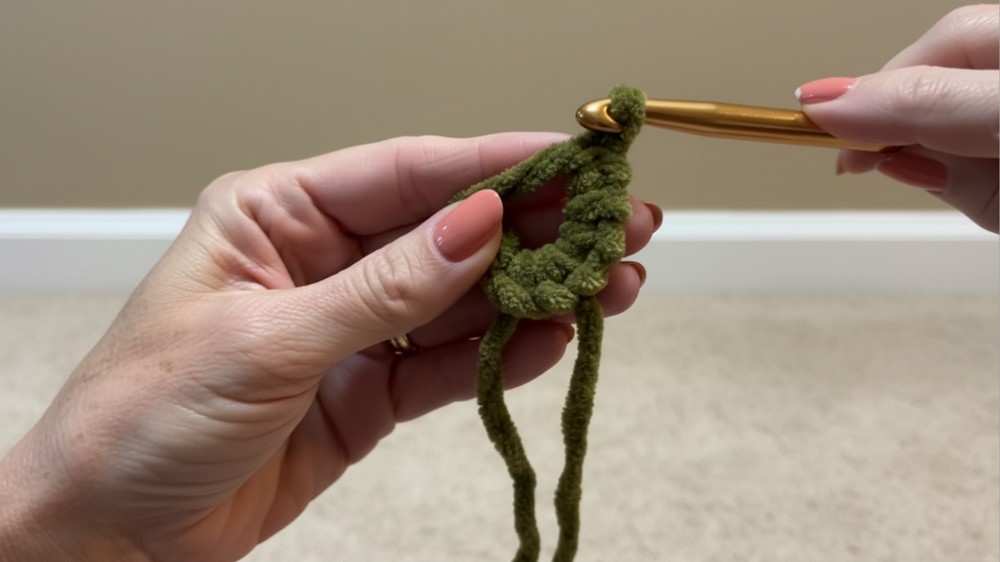
Step 1: Starting with the Toe of the Slipper
Magic Circle
If unfamiliar, watch the magic circle section carefully as it sets the foundation.
- Wrap the yarn around your three fingers and cross over.
- Turn your hand around, grab the first piece with your pinky, and hold the underside with your thumb.
- Insert the hook under the first yarn strand, pull the back strand through, and twist your hook to grab the loop and chain one.
Half Double Crochets into Magic Circle:
- Work 10 half double crochets (HDC) into the circle.
- Insert the hook into the circle, yarn over, pull through, yarn over again, and pull through all three loops on the hook.
- Secure the first HDC with a stitch marker.
- Once completed, pull the tail of the magic circle to tighten it.
Step 2: Expanding the Toe (Round 2)
- Slip stitch into the first HDC to close the round.
- Chain 1 and work 2 HDC stitches into each stitch around the circle.
- This results in 20 HDCs total for this round.
- Note: If the yarn is thick, you can work between the "posts" instead of under the "two loops" for ease.
Step 3: Body of the Slipper (Rounds 3–10)
- Complete HDC stitches in each stitch around for 8 more rows (rounds 3–10).
- Ensure you consistently have 20 stitches per row.
- For custom sizing, try the slipper and adjust the number of rows if needed.
Step 4: Heel Section
This section creates the heel curve and completes the body of the slipper.
Row 1 (Heel Formation):
- Chain 1 and turn the slipper to work along the back.
- Begin working 15 HDC stitches back and forth across the heel.
Rows 2–4:
- Chain 1, turn, and work 15 HDC stitches across each row.
- Ensure consistency across each of the four rows.
Row 5 (Decreasing for Heel Curve):
- Chain 1 and turn the work.
- Work 5 HDC stitches normally.
- Perform 2 HDC together (HDC2tog) for the next two stitches.
- Yarn over, pull through two loops on one stitch, then yarn over and pull up two loops from another stitch. Yarn over and pull through all loops on the hook.
- Work 1 regular HDC, then again perform HDC2tog.
- Finish the row by working 5 regular HDC stitches.
Step 5: Sewing Heel Section Together
- Chain 1 after completing Row 5 and cut a long tail for sewing (~20 inches).
- Flip the slipper inside out.
- Use a wide-eyed blunt needle or a slip stitch technique to sew the heel edges together.
- Match stitches evenly on each side for a seamless join.
Weaving Ends:
- Use the needle to weave in the loose ends on the inside of the slipper for a polished finish.
- Ensure the ends are snugly hidden to prevent unraveling during wear or washing.

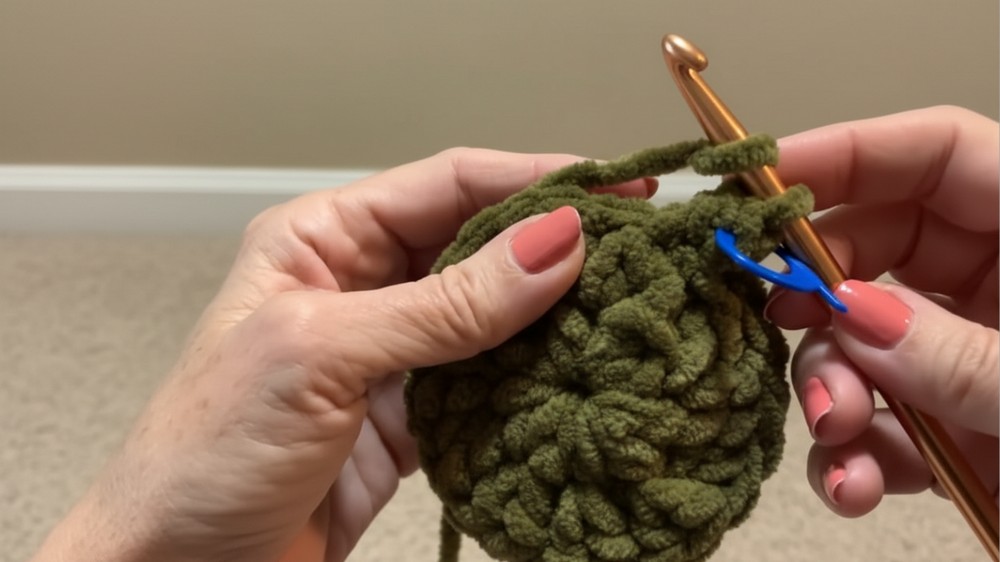
Step 6: Adding Trim (Optional)
For a cozy, decorative touch:
- Attach the Bernat Pipsqueak yarn at the back center of the slipper cuff.
- Work single crochets (SC) evenly around the edge.
- Insert the hook under a couple of stitches, yarn over, pull through, yarn over again, and pull through both loops on the hook.
- Space stitches evenly for a neat finish.
- Slip stitch to join the trim at the end of the round.
- Chain 1, cut the yarn, and pull through securely.
Customization Tips
- Adjusting Width: Start with 12–14 HDC in the magic circle for wider soles.
- Adjusting Length: Add or reduce rows in the body or heel sections depending on foot size.
- Multiple Trim Rows: For a thicker edge, go around the cuff twice with the trim yarn using a single crochet.
Special Techniques
- Magic Circle: Essential for creating a seamless toe. Practice multiple times for mastery.
- HDC2tog: Used to create the curve for the heel section, giving it a perfect snug fit.
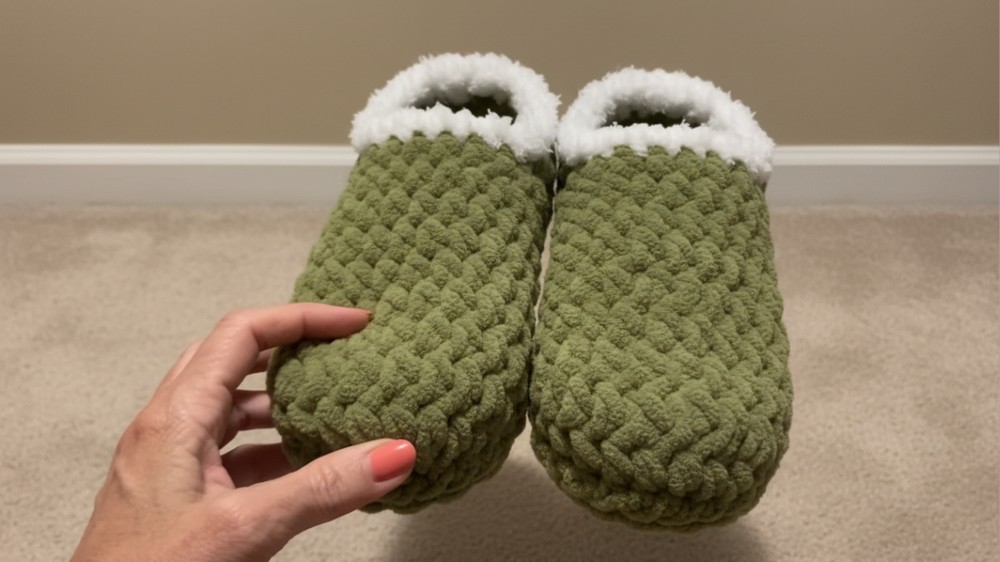
Conclusion
Congratulations! You have successfully crocheted a beautiful, soft, and cozy pair of custom slippers! These slippers are perfect for keeping your feet warm, gifting to a loved one, or even selling in handmade markets.
Important Words
- Final Look: The finished slippers should fit snugly at the toe, comfortably around the foot, and form a smooth curve at the heel.
- Care Instructions: Hand-wash or machine-wash on a delicate cycle. Lay flat to dry for best results to maintain shape.


