Learn to create a stylish and functional crochet T-Shirt Yarn Basket using our free, easy-to-follow pattern—perfect for organizing and beautifying your space!
The art of creating a chic and sturdy crochet basket using this pattern. This versatile and eco-friendly project is perfect for decluttering and organizing any space in your home, from storing toys in your child's playroom to holding supplies in your studio. The T-shirt yarn provides excellent durability and a unique texture, making your basket both practical and visually appealing.
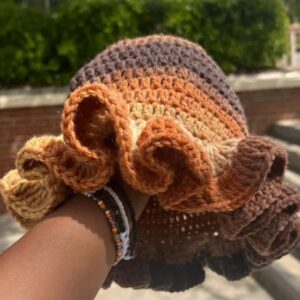
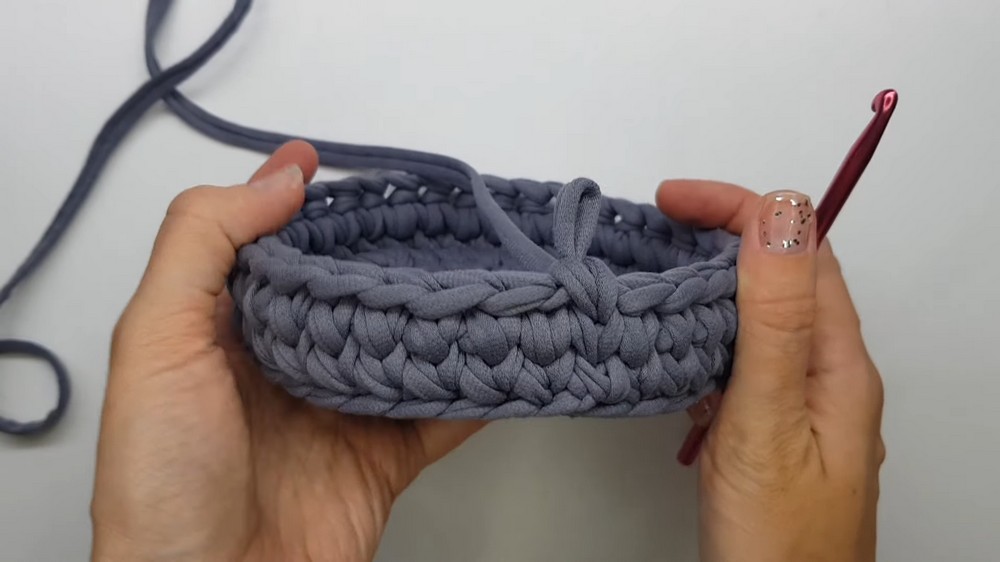
How to crochet a basket with T-shirt yarn

Plus, working with this recycled material is an environmentally friendly choice that repurposes old shirts into something beautiful and useful. Whether you're experienced with crochet or a beginner looking for a fun and rewarding project, this pattern offers clear instructions to help you achieve stunning results.
Tip:
To ensure your basket maintains its shape, consider adding a stiffener or using double strands of yarn for extra sturdiness.
Step-by-Step Crochet Basket Tutorial
Introduction
In this tutorial, we will learn to crochet a beautiful basket with a check mark pattern using 7-9 mm t-shirt yarn, a 6 mm hook, scissors, and a needle with a big eye.
Materials Needed
- 7-9 mm T-shirt yarn
- 6 mm crochet hook
- Scissors
- Needle with a big eye


Steps
1. Creating the Magic Ring
- Take the yarn and make a magic ring.
- Inside the ring, make six single crochet stitches.
- Pull the free end of the yarn to form a circle.
2. Joining the First Row
- Enlarge the loop on your hook.
- Insert the hook under the first stitch from the back side.
- Hook the loop and bring it to the back side.
3. Crocheting Subsequent Rows for the Circle Base
- Second Row:
- Make two single crochets into each stitch from the first row, resulting in 12 stitches.
- Join new row similarly to the first.
- Third Row:
- Alternate between one and two single crochet stitches per stitch from the previous row.
- Following Rows:
- Continue adding one more single crochet between clusters in each row, following pattern: 1, 1, 2; 1, 1, 1, 2, etc.
4. Preparing the Circle's Surface (Optional Step)
- Before starting the basket walls, treat the circle with a wet-heat method using an iron to ensure it's flat.
- Optionally, press under weights to maintain shape.
5. Starting the Basket Walls
- Join the last row of the circle in a new way to prepare for the walls.
- Crochet single crochets around, inserting hook under back loops and bumps of stitches.
6. Completing the Basket Walls
- Continue crocheting single crochets around for several rows.
- Each row is joined as before, without increasing the stitch count.
7. Creating the Basket Rim
- Transition to the rim with slip stitches around.
- Finish by pulling the yarn tip through the loop and hiding yarn ends using a needle.
8. Final Touches
- Hide all yarn tips securely within the basket.
- Cut any excess yarn.
Conclusion
With these steps, you've crocheted a basket with a check mark pattern. By adjusting the size of the circle or the number of wall rows, you can customize the basket to any size. In the next video, you can learn to add decorative cat ears to your basket. Thank you for watching!