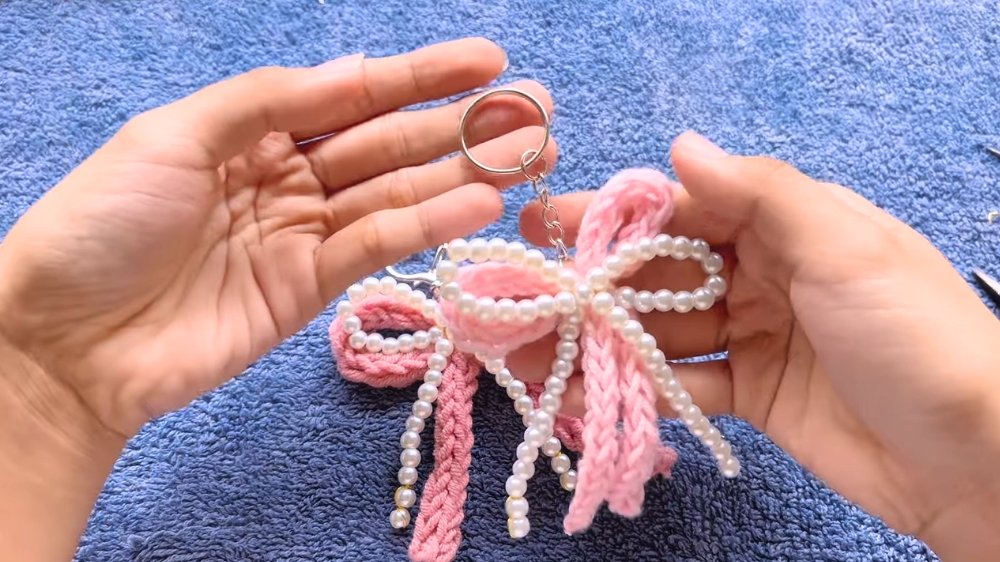
Learn to crochet ribbon bag charm that bring a unique and stylish touch to your bags while being simple, fun, and perfect for all skill levels.
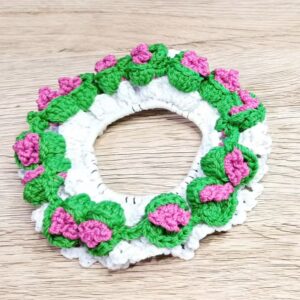
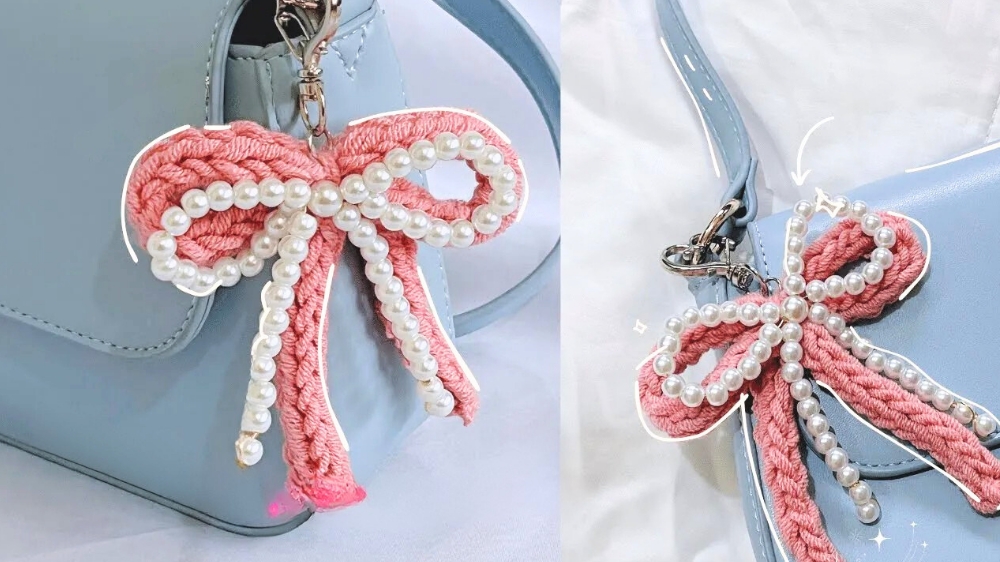
Looking for a creative way to add charm and elegance to your belongings? These bag decorations are not only eye-catching but also simple to make with a crochet ribbon bag charm pattern. Featuring delicate loops and intricate ribbon designs, these charms can transform any bag into a stylish accessory.
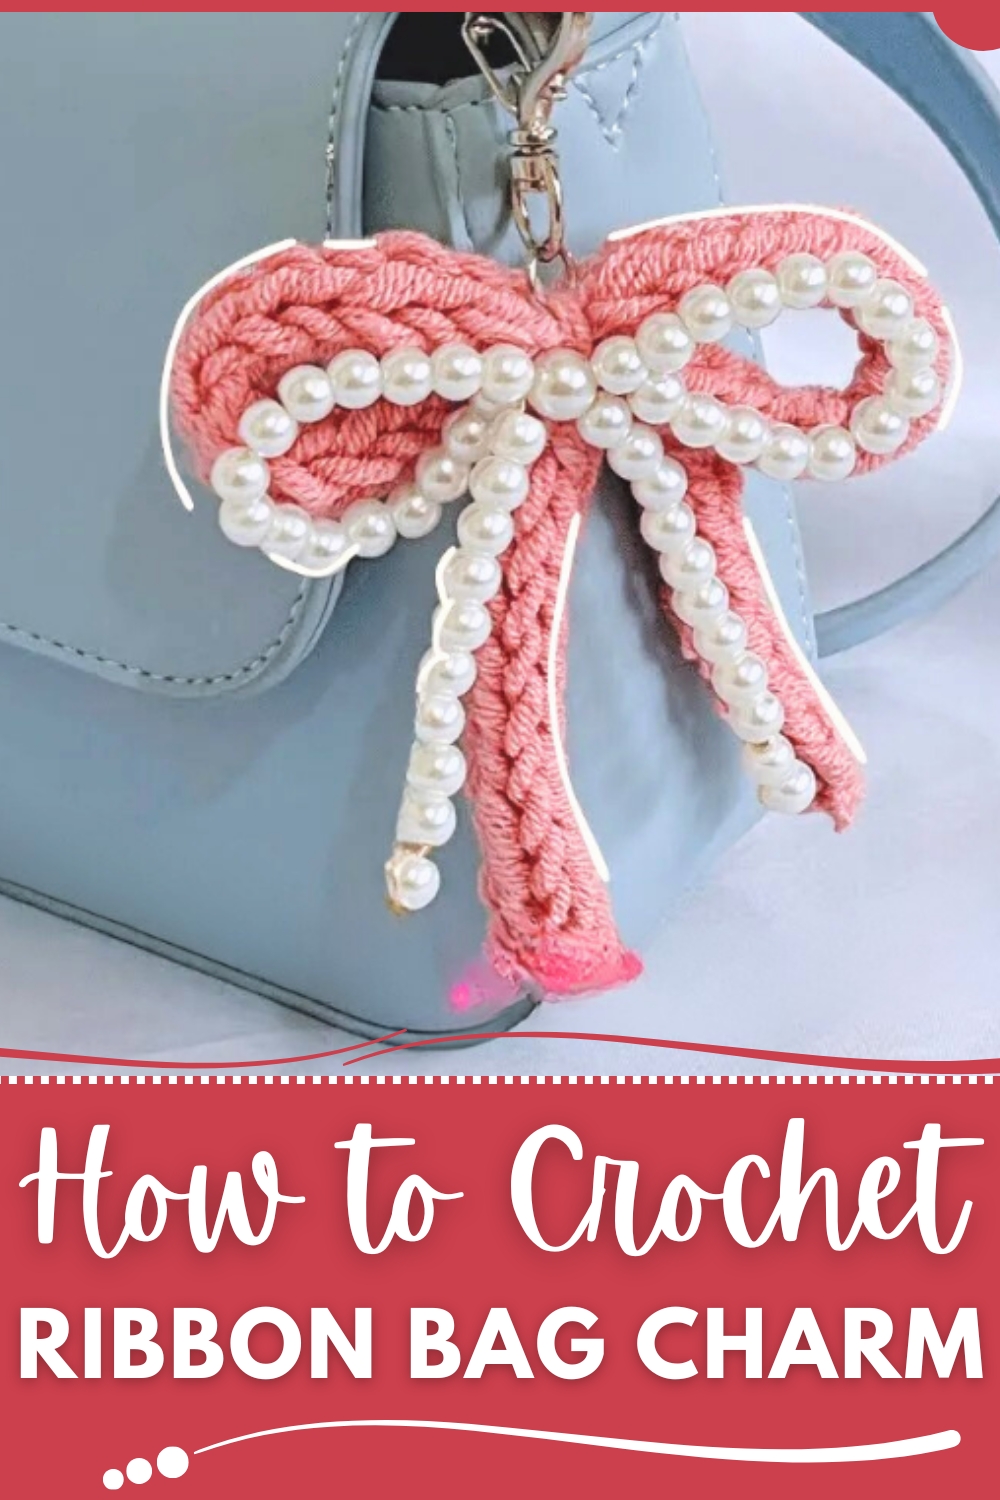
Easy Crochet Ribbon Bag Charm Pattern for Stylish Accessories
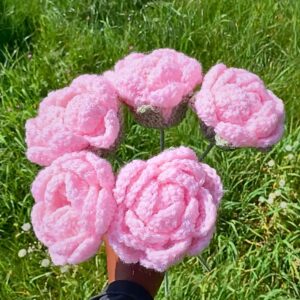
Perfect as gifts or a personal touch, their soft texture and customizable colors add beauty and personality to everyday items. Lightweight and versatile, they make a statement wherever you go. Whether for school, casual outings, or a thoughtful present, these adorable crochet ribbon bag charms are sure to impress!
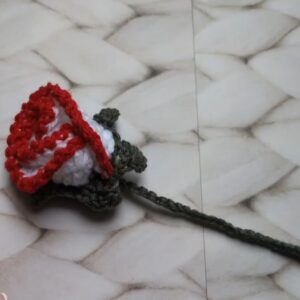
This step-by-step pattern will guide you through creating adorable ribbon and heart crochet accessories conveniently attached to keychains. The process includes creating both ribbon crochet and variations, along with fluffy heart keychains. The pattern is in US crochet terminology and is tailored for intermediate to advanced crocheters.
Get Ready To Create Your Cute keychain for your bag charm!
Materials
- Yarn
- 5-ply milk cotton yarn in color Rose and Coral (or any preferred color)
- Coral fleece for fluffy heart
- Hook
- 3.5mm crochet hook
- Beading Supplies
- Medium-sized pearls (approximately 15 pieces)
- Large-sized pearl (1 piece)
- Copper wire (approximately 12 inches per ribbon)
- Metallic cord (silver recommended)
- Jump rings
- Keychain charm holder (heart-shaped recommended)
- Tools
- Scissors
- Round nose plier
- Cutter
Skill Level
Intermediate to Advanced
Key Abbreviations
- Sl st: Slip Stitch
- Ch: Chain
- SC: Single Crochet
- DC: Double Crochet
- TC: Treble Crochet
- YO: Yarn Over
Special Notes
- Use back loop-only single crochet for added texture in later steps.
- Create tension evenly when working with coral fleece yarn to avoid bulk.
- Keep all loops firm while creating crochet ribbons to prevent disintegration.
- Carefully secure beads and wires during assembly to ensure the durability of the project.
Ribbon Crochet Accessory Pattern
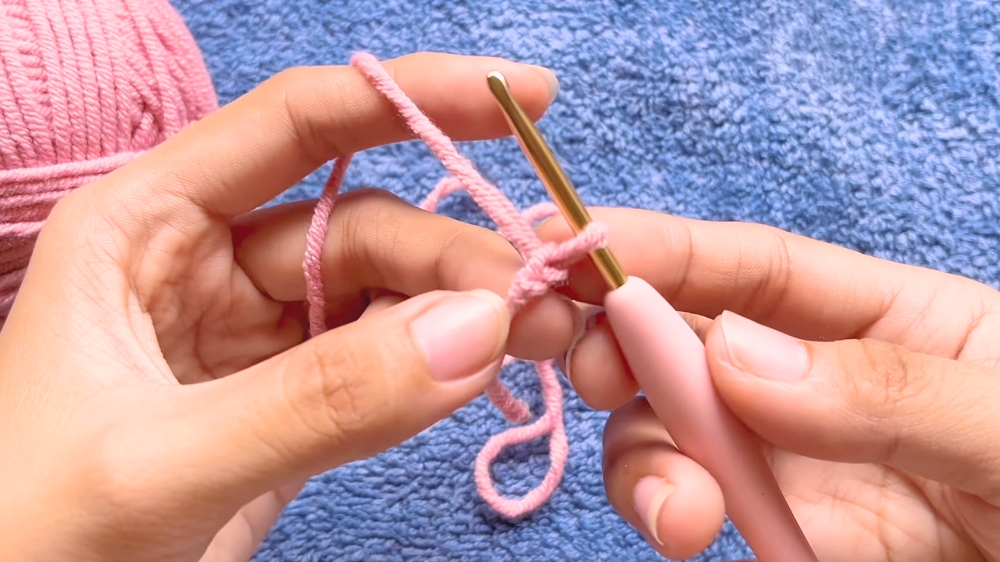
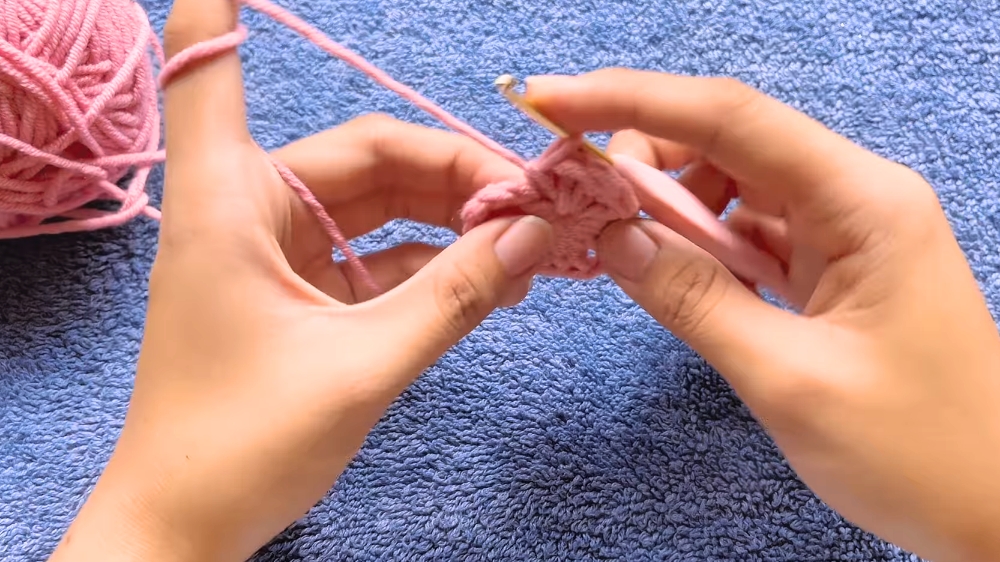
Step 1: Creating the Ribbon
- Foundation Chain
- Start with a loose slip knot.
- Chain two. (Do not pull tight.)
- Base Loop
- Insert your hook into the second stitch of the chain but do not YO or pull through yet.
- Insert the hook into the next stitch (third chain).
- Pull tight the first yarn loop. You should now have three loops on the hook.
- Securing Loops
- Hold the loops tightly and remove the hook.
- Place the hook into the first loop, YO, and pull through. Repeat this for the second loop and the third loop.
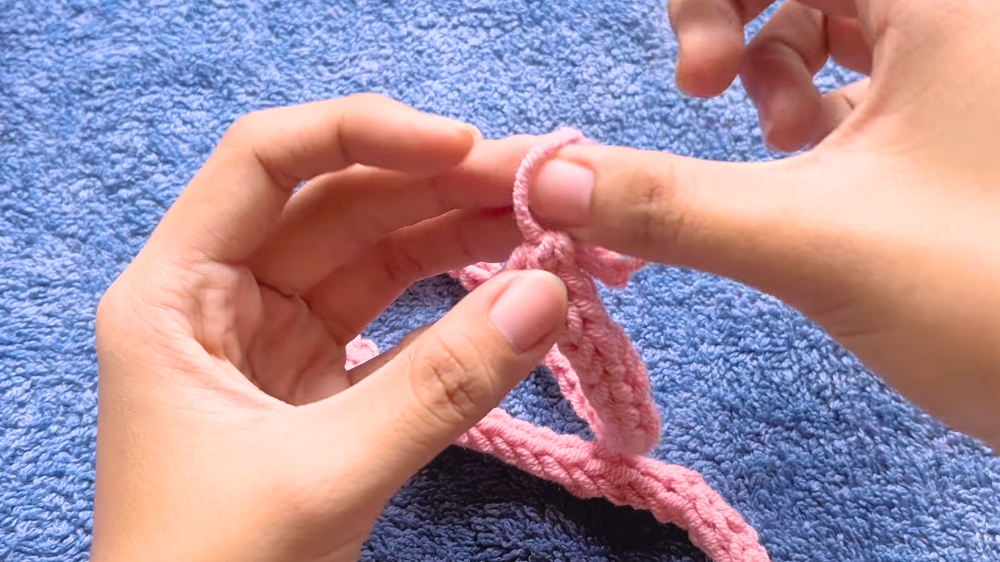
- Repeat
- Repeat this process until the ribbon reaches your desired length (suggested: 14 inches).
- Ensure constant tension is maintained to avoid loose stitches.
- Closing the Ribbon
- At the end of the ribbon, YO through the first two loops, then YO through the last two loops.
- Cut any excess yarn using scissors and secure the final loop using the tying trick (insert the yarn tail into the loop and tighten).
Step 2: Shaping the Ribbon
- Fold the crocheted piece into a bow-like ribbon shape.
- Take a matching yarn color and wrap it around the middle of the folded ribbon. Secure it tightly.
- Cut any excess yarn with scissors.
Step 3: Assembling the Keychain
- Attach a jump ring to the top of the ribbon crochet.
- Insert the keychain charm holder through the jump ring.
- For extra embellishments, attach a pearl ribbon (created separately) to the main crochet ribbon using copper wire.
Pearl Ribbon Assembly
Step 1: Creating Pearl Components
- Cut 12 inches of copper wire.
- Insert 15 medium-sized pearls into the wire.
- Add 1 large-sized pearl as the center, folding the wire in half and inserting it back through the large pearl to form structure.
Step 2: Securing Structure
- Wrap wire around the beads to secure the ribbon body.
- Using medium-sized pearls, create the tail design by adding 11 pearls to the wire.
- Repeat the process for the second side of the ribbon tail.
Step 3: Attaching the Pearl Ribbon
- Use wire to attach the pearl ribbon to the crochet ribbon at its center.
- Secure and cut excess wire.
Fluffy Heart Keychain Pattern
Step 1: Magic Ring Base
- Create a magic ring.
- Ch 3, then create 3 TC into the ring.
Step 2: Forming the First Half
- Work 4 DC.
- Ch 2 and repeat the same process for the second half (starting from 4 DC).
Step 3: Closing the Heart
- After the second set of 3 TC, finish with Ch 3.
- Sl st into the ring to close.
- Pull tight the magic ring to form the complete heart shape.
Step 4: Adding Texture
- Using coral fleece, make a slip stitch at the center of the heart edge.
- Crochet back loop-only SC continuously around the heart.
Step 5: Assembling the Keychain
- Attach to the keychain charm by inserting the yarn through the holder.
- Wrap and tie securely.
Pattern Correction
Suggested beginner-friendly modification: For beginners, consider replacing coral fleece with regular milk cotton yarn to enhance visibility during loops and stitches.
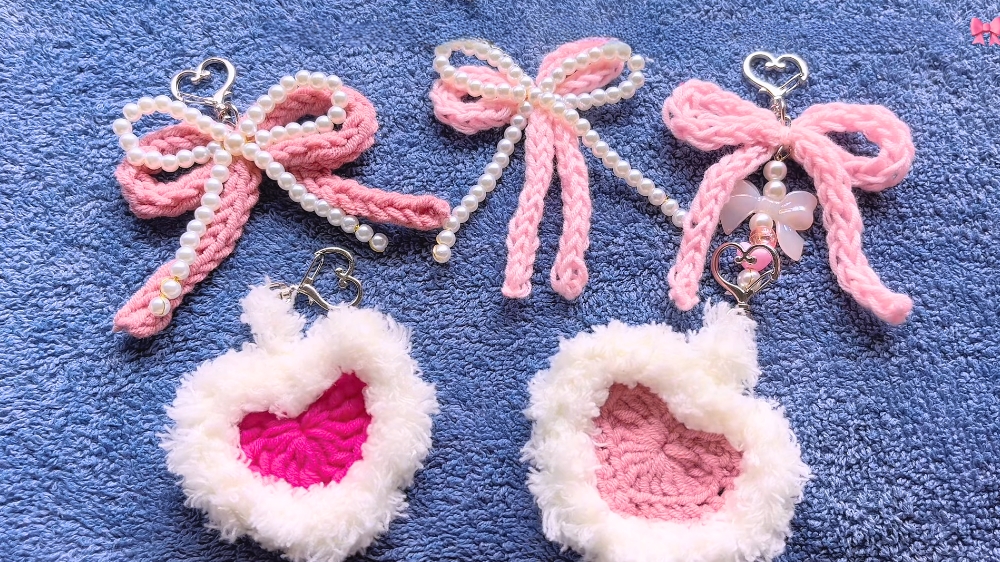
Conclusion
By following this pattern, you will create stunning crochet ribbon and fluffy heart keychains, ideal as decorative accessories for school bags and everyday use. The instructions given ensure a durable and elegant finishing. Customize your creations with beads and colors as per your liking.
Tips
- Managing Fleece Yarn: Use well-lit workspaces to keep track of stitches when working with fluffy yarn.
- Pearls and Beads Assembly: To avoid losing pearls, work on a flat and stable surface.
- Alternatively, apply glue to hold knots in place if you are unsure of your wrapping skills.