Decorate your spring display with this Crochet Sheep Free Pattern and enjoy a sweet little farm animal with a cozy fluffy look.
Lovers of cute and cozy handmade toys will enjoy this delightful project! The Crochet Sheep tutorial by @CrochetToysIryna provides clear and easy-to-follow instructions, giving full credit to this talented creator for sharing her skillful work with the community.
Mini Crochet Sheep Free Pattern For Spring and Easter Decor
This project involves creating an adorable little sheep using crochet techniques. The sheep features a soft, fluffy, round body resembling wool, with a sweet face and tiny legs that add to its charm. These crochet sheep make lovely decorations, playful gifts, or comforting toys for children.
A special feature of this project is the ability to customize colors. Classic white works beautifully, while gray, pastel, or even brighter shades can make each sheep unique. Some crocheters add small accessories, like scarves or hats, to give their sheep extra character.
The process includes simple stitches such as single crochet and slip stitch to shape the body and head. Starting with a magic ring, the project is worked in rounds to create a fluffy, round shape. The face, ears, and legs are crocheted separately and then sewn together carefully.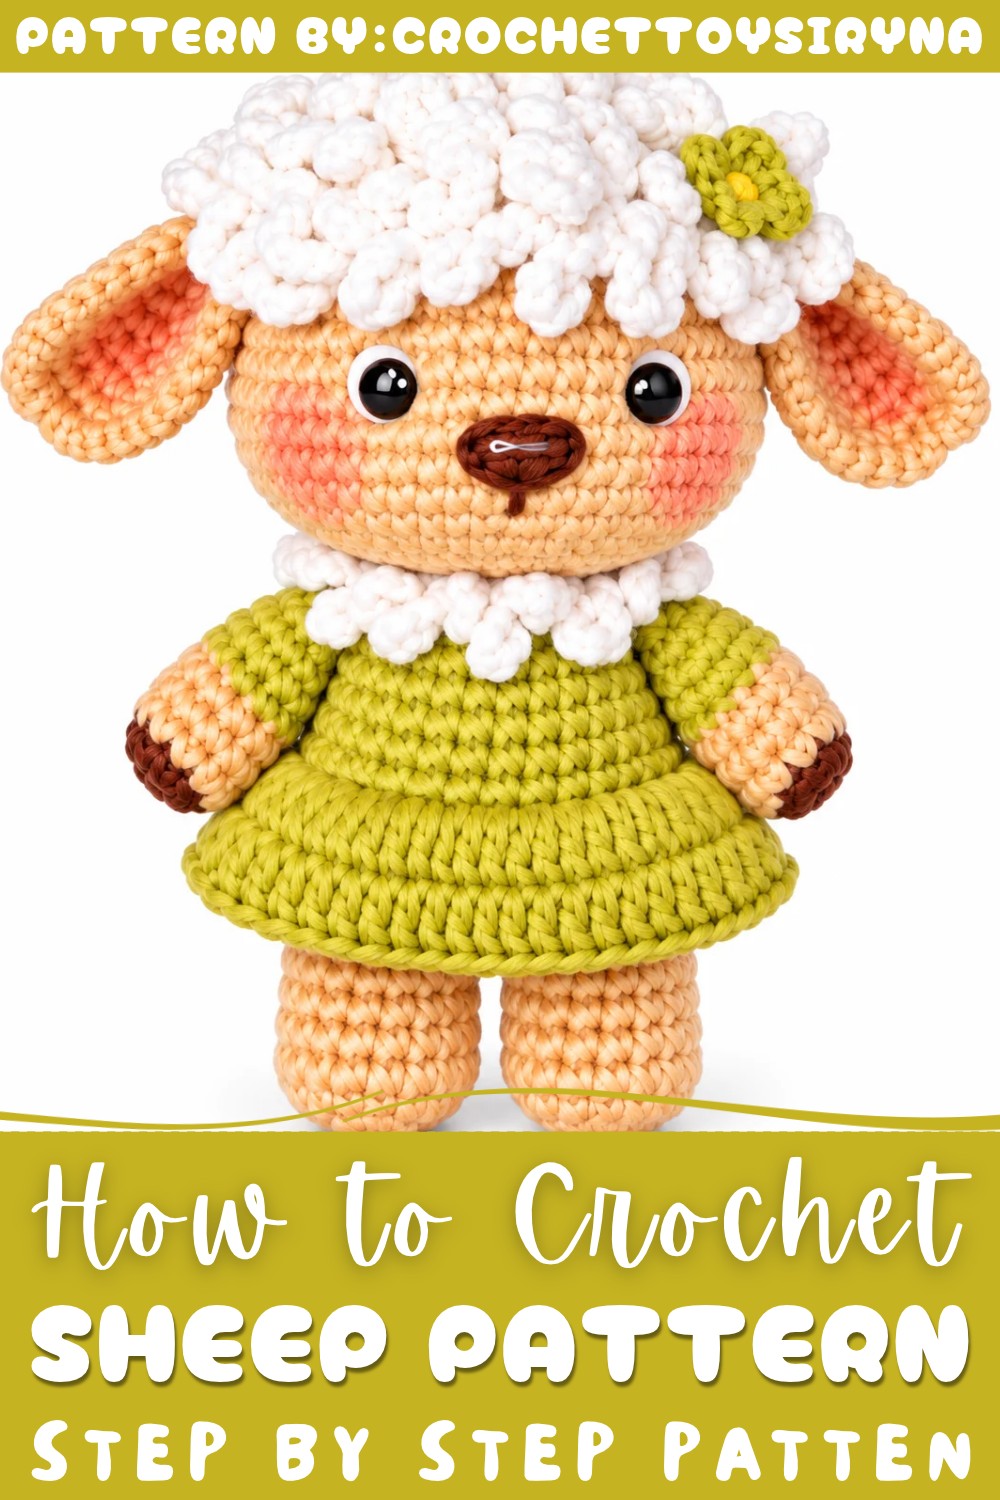
Overall, the Crochet Sheep is a delightful and beginner-friendly project. It offers a fun way to build crochet skills while creating a charming and huggable handmade toy that brings joy to makers and receivers alike
About the Pattern
A delightful sheep figure, measuring approximately 11 cm tall, constructed using classic amigurumi techniques. The sheep is made in multiple pieces—arms, ears, legs, body, and head—each with carefully considered increases, decreases, color changes, and assembly instructions for optimal appearance and sturdiness. Textured details, embroidery, and soft features complete this design, making it a charming, cuddly companion or display item.
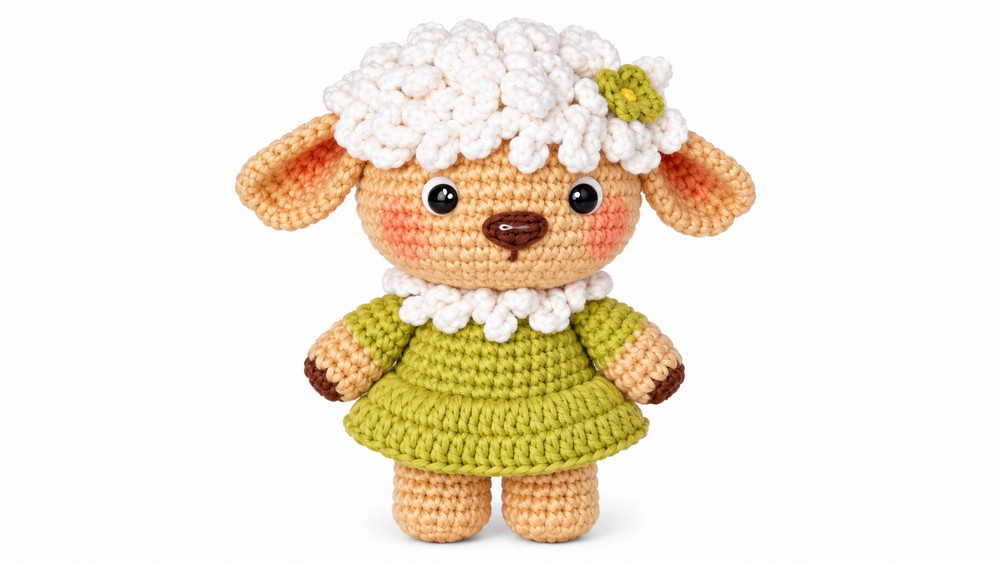
Key Pattern Details
- The sheep is crocheted in separate pieces for precise shaping: arms, ears, legs, body, and head.
- Construction features continuous spirals and seamless joins.
- Body, skirt, and collar are integrated; hair tuft is added to the head for realism.
- Color changes are used for hooves, cuffs, and accessories.
- Three-dimensional finishing: face shaping, embroidery, sewn details, and optional bow adornment.
Important Notes
- All pieces are stuffed as you work for structure and softness, especially the limbs and head.
- Maintain even stitch tension to prevent gaps; compact stitches yield the best shape.
- Color changes are placed at specific rows for pleasing transitions.
- Use back loops where indicated to create decorative ridges and easier assembly.
- Facial shaping relies on correct placement for nose and eye embroidery.
- The skirt, hair, and bow bring personality and extra visual appeal.
- Securely fasten and hide all ends inside the work for durability.
Difficulty Level
Intermediate crocheters will find this sheep pattern fulfilling. Familiarity with working in the round, increasing/decreasing, color changes, basic embroidery, and sewing amigurumi parts is required for best results.
Supplies Needed
- Soft worsted weight or amigurumi yarn in main, hooves, ear, and accent colors
- Small amounts of additional colors for accessories (skirt, collar, bow)
- 2.0–2.5 mm crochet hook (or size to achieve firm gauge)
- Polyester fiberfill for stuffing
- Yarn needle for assembly and embroidery
- Safety eyes or small beads (for child safety, embroider if necessary)
- Embroidery thread for features (nose, mouth, hooves)
- Ribbon or yarn for the bow
- Stitch marker
- Scissors
Size & Measurements
- When assembled, the sheep stands about 11 cm tall.
- Proportions are designed for balance, with ample stuffing for softness.
Gauge & Stitch Details
- Gauge is not critical but maintain tight, even single crochets to avoid showing stuffing.
- All rounds are continuous unless otherwise stated; use a stitch marker.
- Back loops are used in certain rounds for added detail and shaping transitions.
Crochet Abbreviations
- sc: single crochet
- inc: increase (2 sc in one stitch)
- dec: decrease (work two stitches together)
- MR: magic ring
- ch: chain
- sl st: slip stitch
- BLO: back loops only
Special Stitch Guide
- Magic Ring (MR): Begin work into a tightly closed adjustable circle for a seamless start.
- Flatten and Close: After stuffing, flatten the end of a tube and crochet through both edges to close with sc for flat ends.
- Embroidery Pull: For shaping, thread is passed through marked points and gently pulled to contour the face.
- Crocheted Hair Tuft: Spiral or popcorn-stitch clusters, attached after head completion.
Complete Crochet Pattern
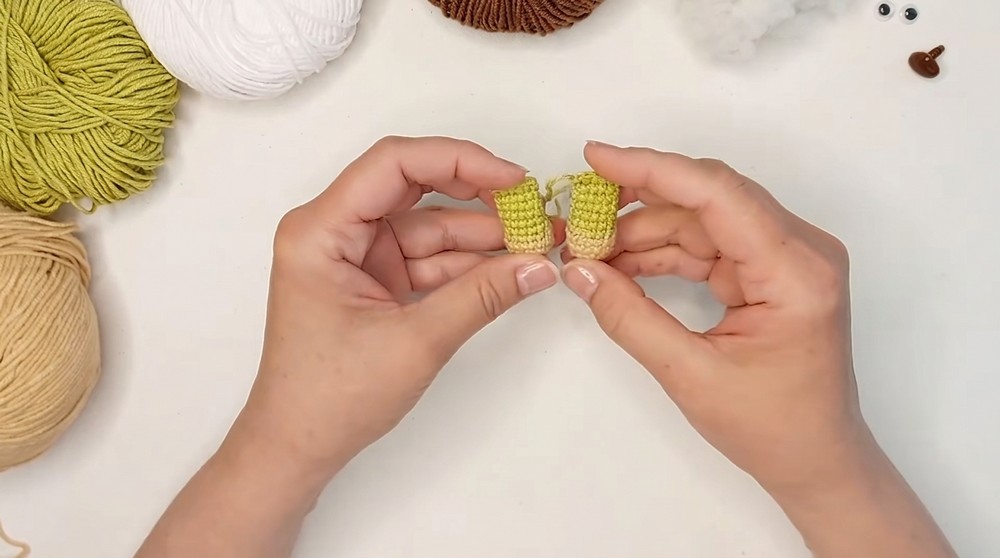
Arms (Make 2)
- Round 1:
- MR, 6 sc.
- Round 2:
- 1 inc in each stitch (12 sc).
- Round 3:
- (1 sc, 1 inc) x 3, 3 sc (16 sc).
- Rounds 4-5:
- 16 sc in each round.
- Change color for the upper arm.
- Round 6:
- (2 sc, 1 dec) x 2, 4 sc (12 sc).
- Round 7:
- (1 sc, 1 dec) x 2, 4 sc (10 sc).
- Stuff lightly.
- Flatten and close:
- Fold end; crochet 5 sc through both edges to close. Leave a long tail for attachment.
Ears (Make 2)
- Round 1:
- MR, 6 sc.
- Round 2:
- 1 inc in each stitch (12 sc).
- Round 3:
- (1 sc, 1 inc) x 6 (18 sc).
- Round 4:
- (2 sc, 1 inc) x 6 (24 sc).
- Round 5:
- (3 sc, 1 inc) x 6 (30 sc).
- Do not stuff.
- Fold each ear in half; use tail to sew edges together, shaping ear.
Legs (Make 2)
- Round 1:
- MR, 6 sc.
- Round 2:
- 1 inc in each stitch (12 sc).
- Round 3:
- (1 sc, 1 inc) x 6 (18 sc).
- Rounds 4-6:
- 18 sc each round.
- Change color for main leg.
- Rounds 7-10:
- 18 sc each round.
- Stuff legs.
- Fasten off, leave long tail for sewing.
Body Assembly
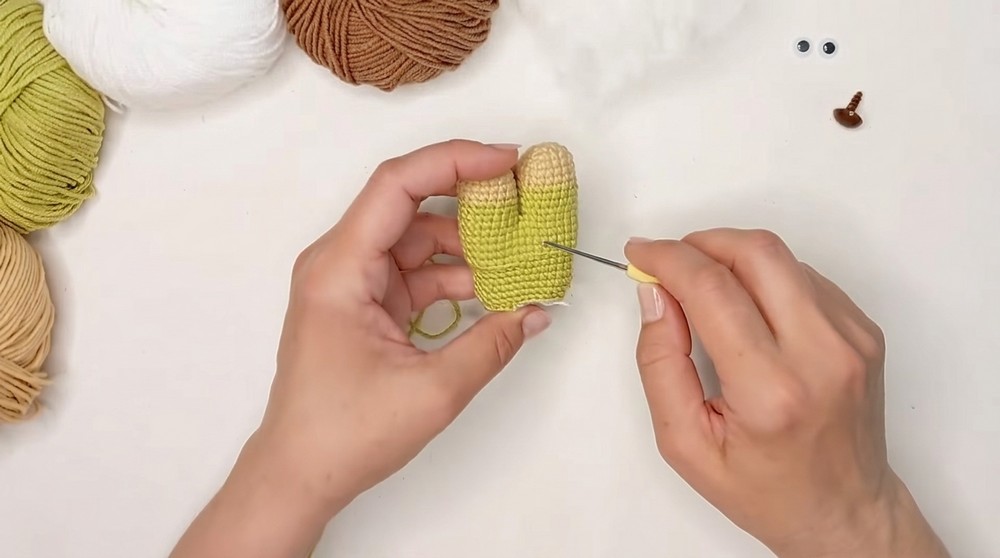
- Connecting the Legs:
- Join yarn at the inner side of one leg and crochet 18 sc around it. Ch 1, work 18 sc around the second leg (total 36 sc).
- Rounds 1-4:
- 36 sc per round, working continuously.
- Round 5:
- Decrease evenly to 30 sc (use BLO for this round).
- Rounds 6-10:
- 30 sc each round.
- Skirt:
- Attach yarn at skirt line. Crochet the skirt as desired, working evenly around the body (refer to standard skirt patterns for amigurumi if needed).
- Attaching Arms:
- Use the flat end and tails to sew arms securely to the body at each side.
Head and Details
- Crown and Collar:
- Start with MR, increase to 6, 12, 18, 24, 30, 36, 42, 48, and finally 54 sc (54 total).
- Collar:
- At desired position, work contrasting color, making a textured or ruffled collar (standard options: ch or popcorn stitches).
- Rounds 1-9:
- Work 54 sc each round, shaping the head.
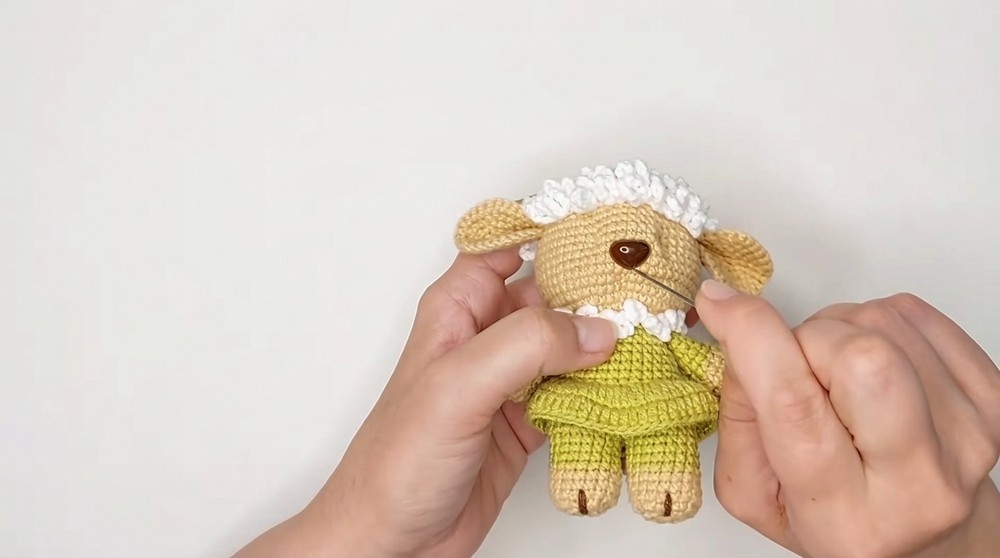
- Inserting Nose:
- Embroider or attach a nose at the center front after the 9th round.
- Setting Eye Pull Points:
- Using yarn and needle, mark and thread through eye spots to gently indent the fabric (not tightly drawn, just enough for shaping).
- Decreasing and Stuffing:
- Evenly decrease through rounds (e.g., 6 dec per round) to close the head.
- Stuff firmly as you decrease.
- Continue decreasing to 12 sc; sew or draw closed.
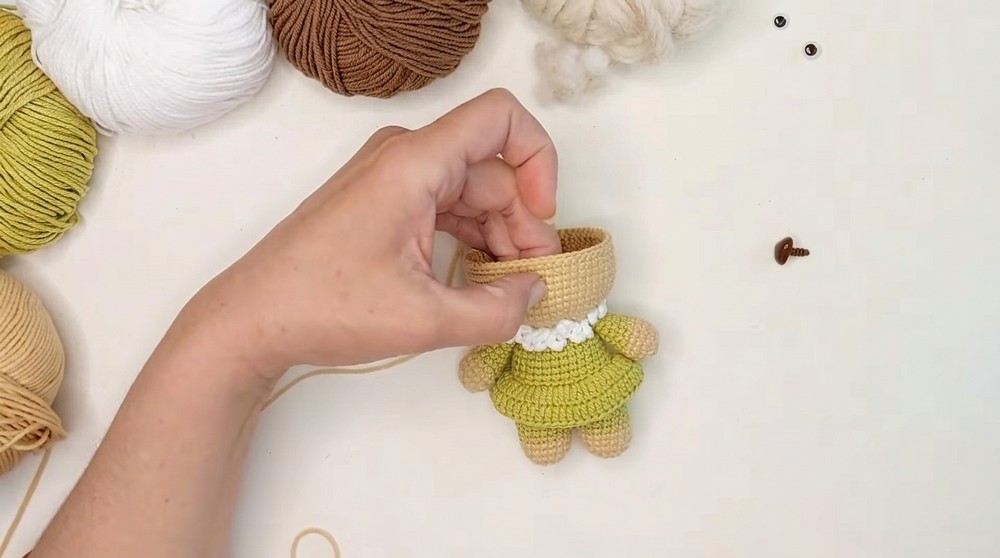
Finishing Touches
- Crocheted Hair Tuft:
- Crochet spiral or popcorn clusters and sew to the top of the head (use a soft contrasting yarn).
- Sew on Ears:
- Attach folded ears symmetrically to the head sides.
- Embroider Hooves:
- With contrasting thread, add lines on legs and arms for hooves.
- Eye Tightening:
- Pass strong thread between eye marks and gently pull closed, knot securely inside the head.
- Attach Eyes:
- Sew or glue safety eyes/beads to shaped spots.
- Bow:
- Tie a neat bow and sew or glue to the neck or head.
Joining & Final Size
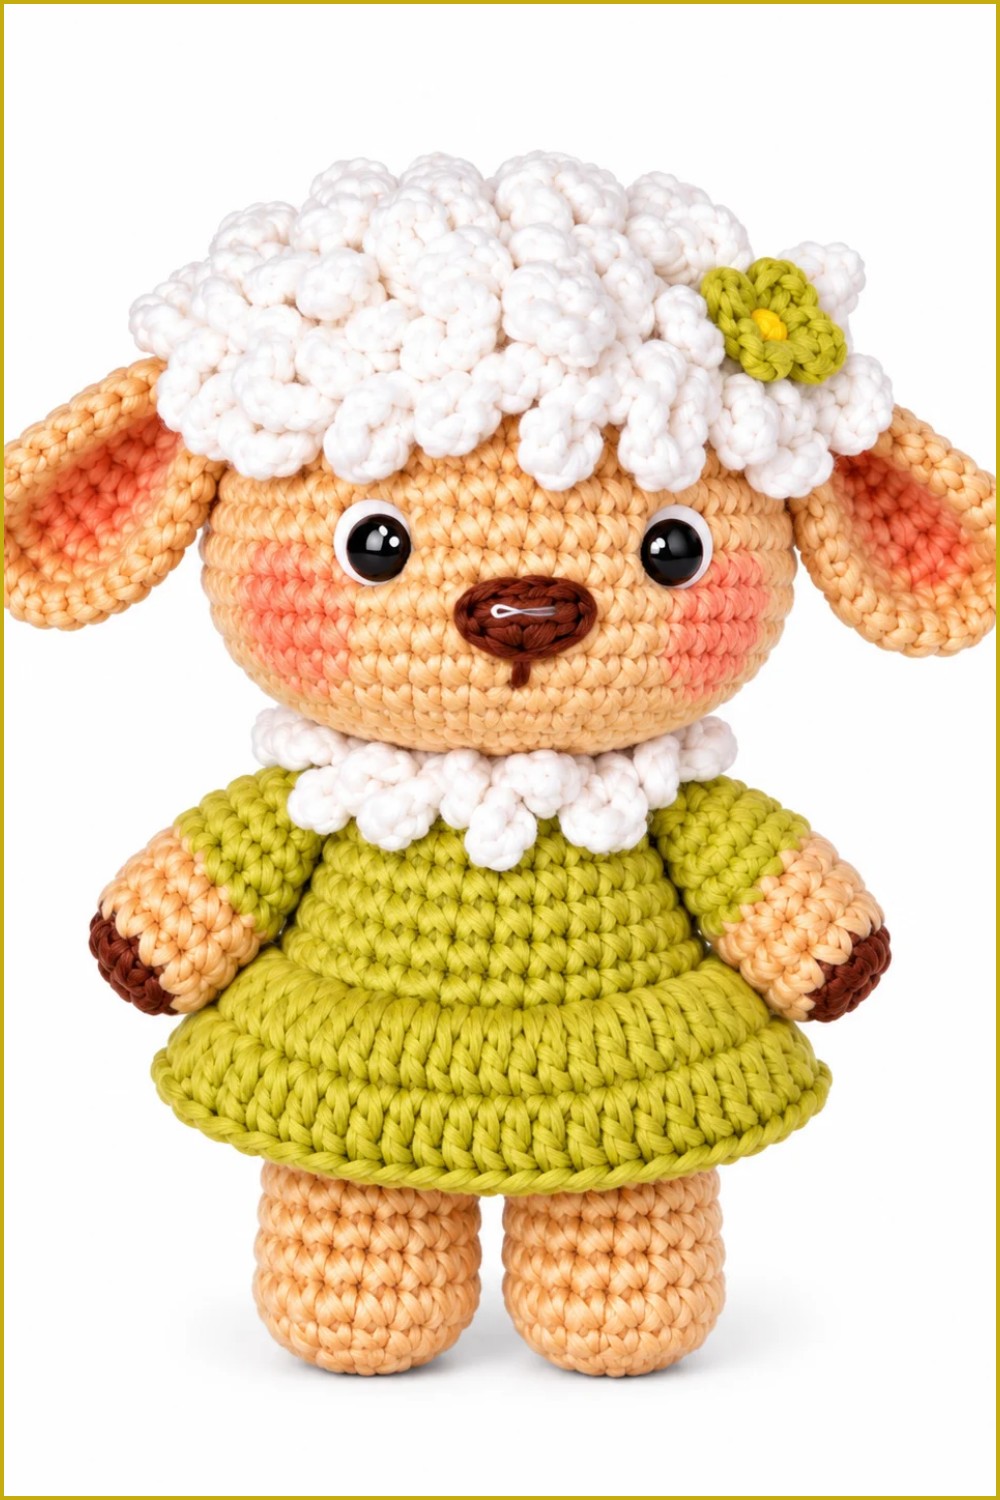
Stitch all parts together securely: legs to body, arms to upper sides, and head centrally to body. Attach skirt, collar, hair, ears, and face details as described. The completed sheep measures approximately 11 cm and stands upright with proportionate features and accessories.
Final Words
This sheep amigurumi uses inventive color changes, shaping techniques, and thoughtful assembly to create a soft, characterful result. The finishing details—embroidery, skirt, hair tuft, and bow—lend each sheep personality and polish. Careful assembly, attention to stuffing, and neat stitching ensure long-lasting enjoyment and a professional finish for every sheep you create.