
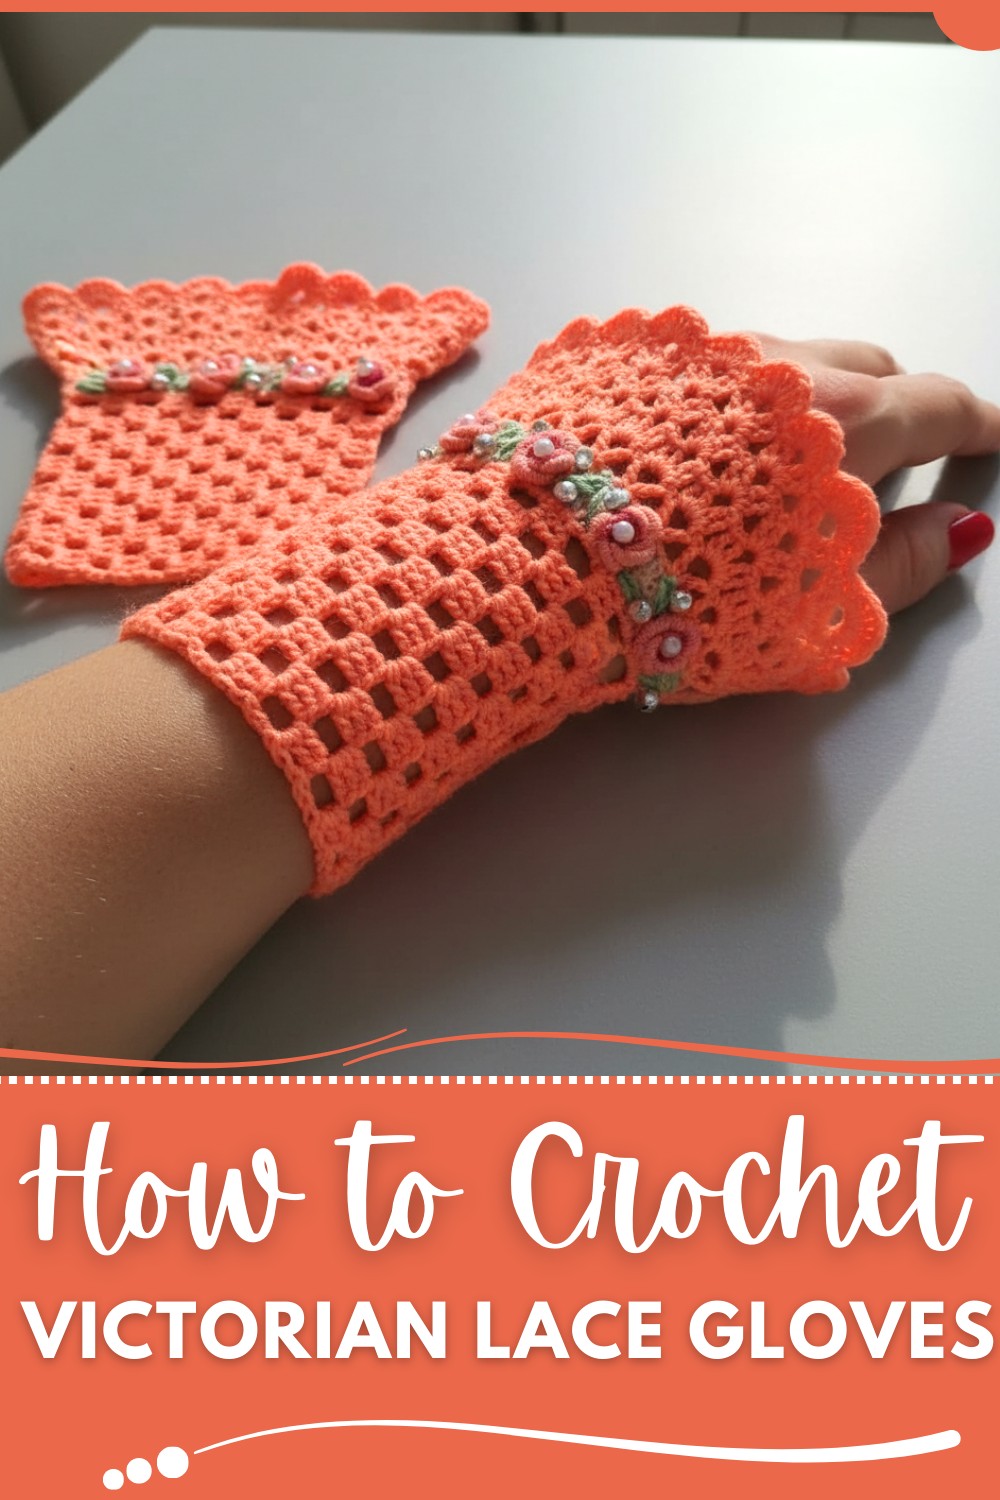
Step back into a world of timeless elegance with intricate crochet Victorian lace gloves that add charm and sophistication to any outfit or occasion. Using a detailed pattern, you can create gloves perfect for weddings, garden parties, or vintage-themed events, all while showcasing your crochet artistry. These delicate accessories pair beautifully with flowing gowns, tailored coats, or even casual outfits for a touch of uniqueness.
Beyond their aesthetic appeal, making these gloves allows you to explore intricate designs that challenge and refine your skills. Whether as a personal project or a thoughtful handmade gift, this gloves embody tradition, creativity, and elegance, making them a true labor of love for anyone who appreciates the beauty of old-world craftsmanship.
Crochet Victorian Lace Gloves That’ll Steal the Shows
Materials List
Required Supplies
- Yarn:
- Lace Yarn: DMC Baby Law No. 10 (100% cotton, fine thread lace yarn).
- Approximately 50g for one bracelet.
- Crochet Hook:
- 1.5 mm lace crochet hook suitable for fine yarn.
- Embroidery Floss:
- DMC or Anchor mouline threads (6-ply, optional for embroidery).
- Buttons:
- Small buttons for fastening.
- Additional Items:
- Scissors, Tapestry Needle (for sewing buttons and weaving in ends), Long Embroidery Needles.
- Optional Embellishments:
- Beads, ribbons, or decorative leaves for personal touches.
FREE Crochet Victorian Lace gloves
This gorgeous bracelet pattern creates a delicate, vintage lace accessory that buttons at the back for a secure fit. Designed for wear with cardigans, sweaters, or coats, the pattern features intricate lace details and optional hand embroidery embellishments for a nostalgic touch. The versatility of this bracelet makes it an elegant addition to your wardrobe and a thoughtful handmade gift.
Skill Level
Intermediate.
This pattern involves delicate lacework, triple crochet stitches, basic embroidery techniques, and finishing details.
Key Abbreviations (US Crochet Terminology)
- CH: Chain
- SC: Single Crochet
- DC: Double Crochet
- TR: Triple Crochet
- SL ST: Slip Stitch
- YO: Yarn Over
Special Notes
- Length Adjustments: You can customize the length and width by adding or reducing rows of lace segments.
- Buttonholes: The lace design naturally includes small holes for button placement, eliminating the need to create separate buttonholes.
- Embroidery Additions: The optional embroidery is a great way to personalize and enhance the final look of the bracelet.
Pattern Instructions
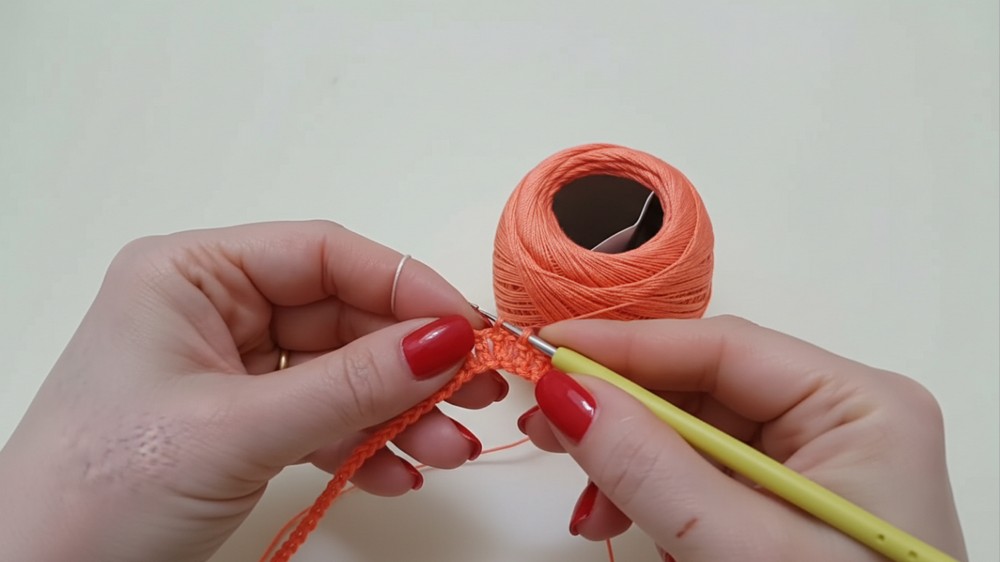
1. Chain Foundation
Step 1: Create the Base
- CH 30 (or adjust to desired width).
- The length of the foundation chain determines the bracelet's width.
- Ensure the chain length matches the intended size. Longer chains = wider bracelet.
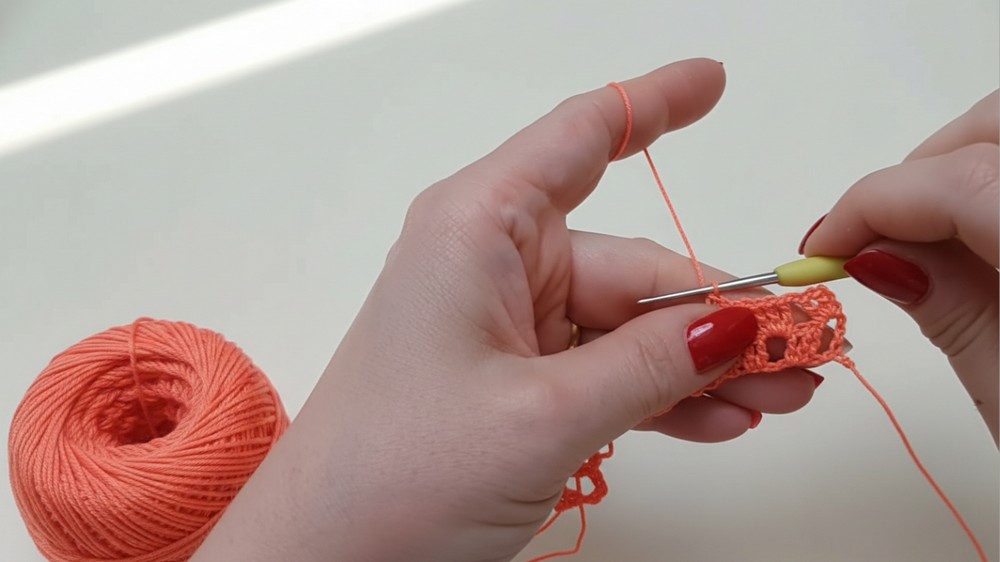
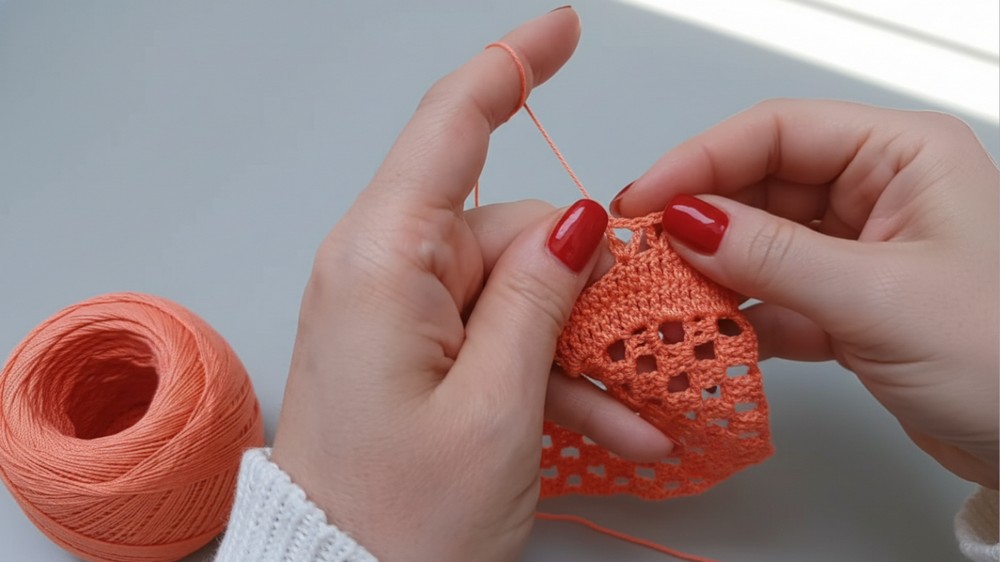
2. Triple Crochet Rows (Base Lace)
Row 1: Establish Lace Holes
- CH 3, skip 3 chains, and triple crochet (TR) into the 5th chain. Work 2 more TR into the next 2 chains.
- You will now have 3 TR stitches.
- CH 2, skip 2 chains, and work 3 TR stitches into the next 3 chains.
- Repeat the pattern (3 TR stitches, CH 2, skip 2 chains) until you reach the end of the row.
Row 2: Start Building Rows
- CH 3, turn. Work 3 TR stitches into the first space (created by CH 2) from the previous row.
- CH 2, work 3 TR stitches into the next space.
- Repeat this sequence until you complete the row.

3. Continue Lace Rows
- Work as many rows as needed for your wrist circumference. Measure as you go (the fabric will stretch when ironed).
- Example: For a finished bracelet, crochet 23 rows (approximately 6 cm unblocked).
4. Prepare the Embroidery Section
Row 24: Transition Section
- Continue the lace pattern (working 3 TR into each space), completing one full row into the spaces.
- Next, work double crochet rows for an embroidery base:
- Row 25: CH 3, work 1 DC into each TR stitch, and into each CH-space from the previous row.
- Repeat 2 rows of DC stitches for a smooth embroidery section.

5. Create Decorative Edging
Picot Row (Lace Border)
- CH 3, skip 2 stitches, and SL ST into the next stitch.
- Work a triple crochet stitch, followed by CH 3, and SL ST into the same stitch.
- Skip 2 stitches and repeat the sequence across the row.
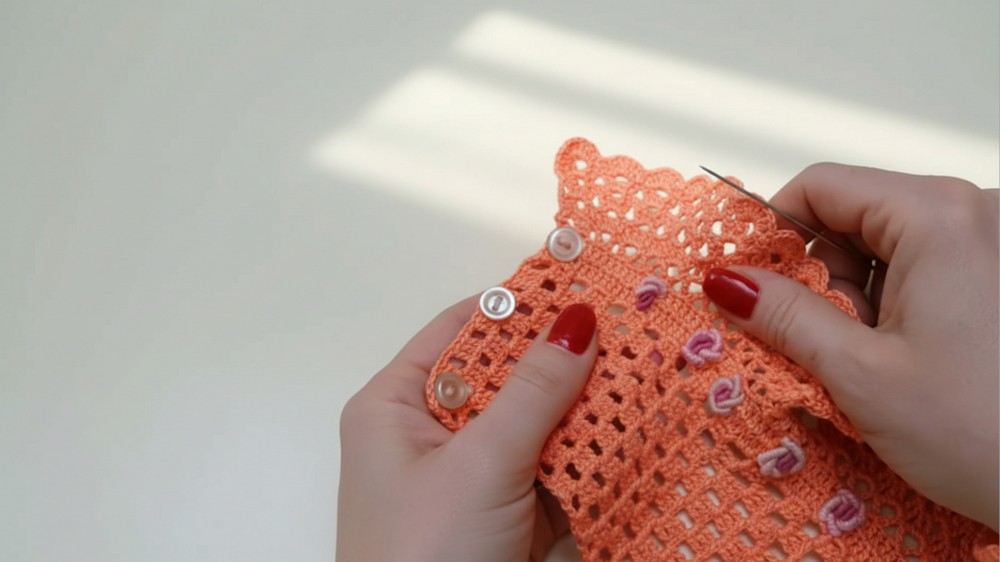
Preparing Button Placement
- At the end of the row, leave a few stitches as the button section.
- Sew small buttons using the natural holes created in the lace mesh for fastening.
6. Flared Final Row
- Turn your work. Into each CH-space along the decorative edging, work 7 TR stitches.
- Add stitching variation to highlight the flared effect.
- Pinch and secure each flared “leaf” using SC stitches at the junctions.
7. Optional Embroidery
Step 1: Embroidery Setup
- Choose your embroidery design. Pull mouline threads double-stranded for vibrant detailing.
- Begin adding simple motifs such as Rococo roses, leaves, and beads using long embroidery needles.
Step 2: Stitch Rococo Roses
- Insert your needle from the back to secure the thread.
- Wrap your thread around the needle 8–10 times to create a Rococo stitch. Pull through gently to form small rose shapes.
- Add leaves or other decorative stitches around the roses.
Tips for Success
- Consistent Tension: Ensure uniformity to keep the lace pattern aligned and symmetrical.
- Trial Fittings: Test bracelet size on your wrist before finalizing button placement.
- Blocking: Light steam blocking or ironing is recommended to smooth and shape the lace.
Customization Ideas
1. Color Variations:
- Use gradient or variegated yarns for a multi-dimensional look.
- Play with contrasting thread colors in embroidery for visual interest.
2. Alternative Yarns:
- Switch to thicker yarns for winter-friendly cuffs. Adjust stitch count to account for thicker fabric.
3. Broader Accessories:
- Use the same lace pattern to create collars, headbands, or even lace borders for garments.
Conclusion
This nostalgic lace bracelet combines beauty and functionality. The delicate lace design is complemented by its versatility in customization—adding embroidery, beads, or playful buttons. Whether matched with casual cardigans or elegant sweaters, the bracelet elevates any outfit with charm.
Pattern Corrections
- Ensure even spacing for decorative “picot rows” to maintain symmetry.
- Check stitch count periodically to prevent uneven sections.
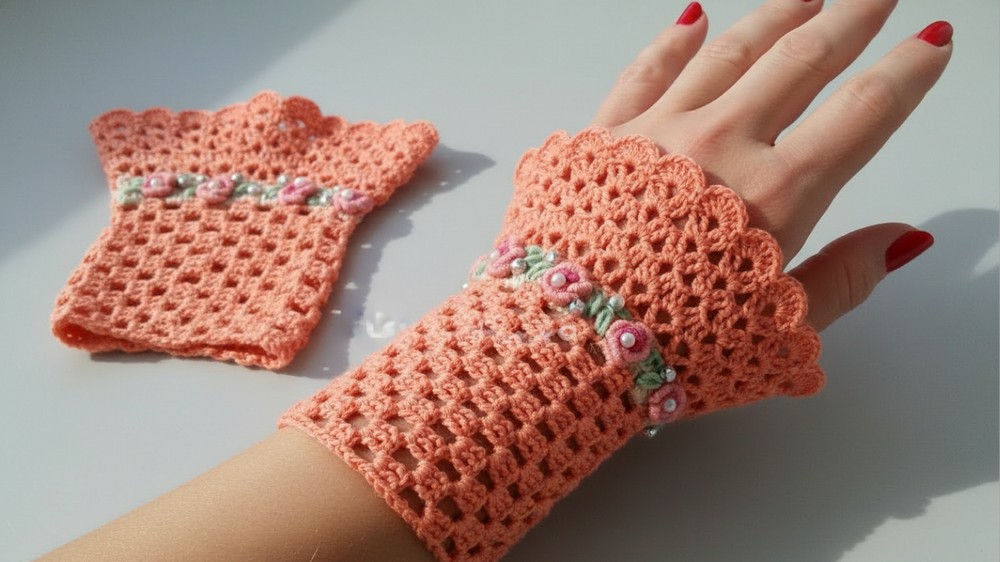
Final Look
The bracelet features a balanced lace pattern with a decorative border, flared edges, and embroidered details. Its vintage appeal makes it suitable for daily wear or special occasions, adding a touch of elegance to your wardrobe.


