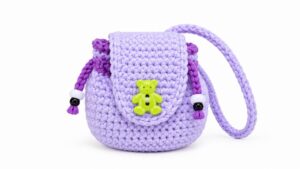
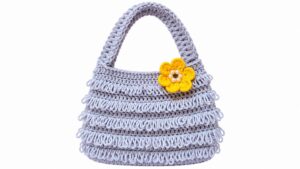
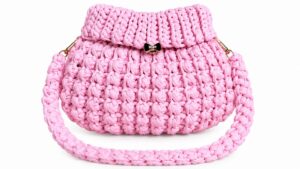
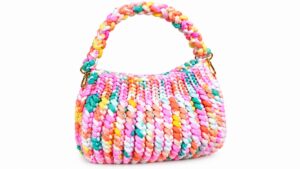
A quiet afternoon with yarn and a hook can turn into something effortlessly stylish—a crochet bag using a grid pattern is perfect for anyone looking for functionality with a touch of charm. This design is ideal for carrying everyday essentials like books, produce, or even picnic items.
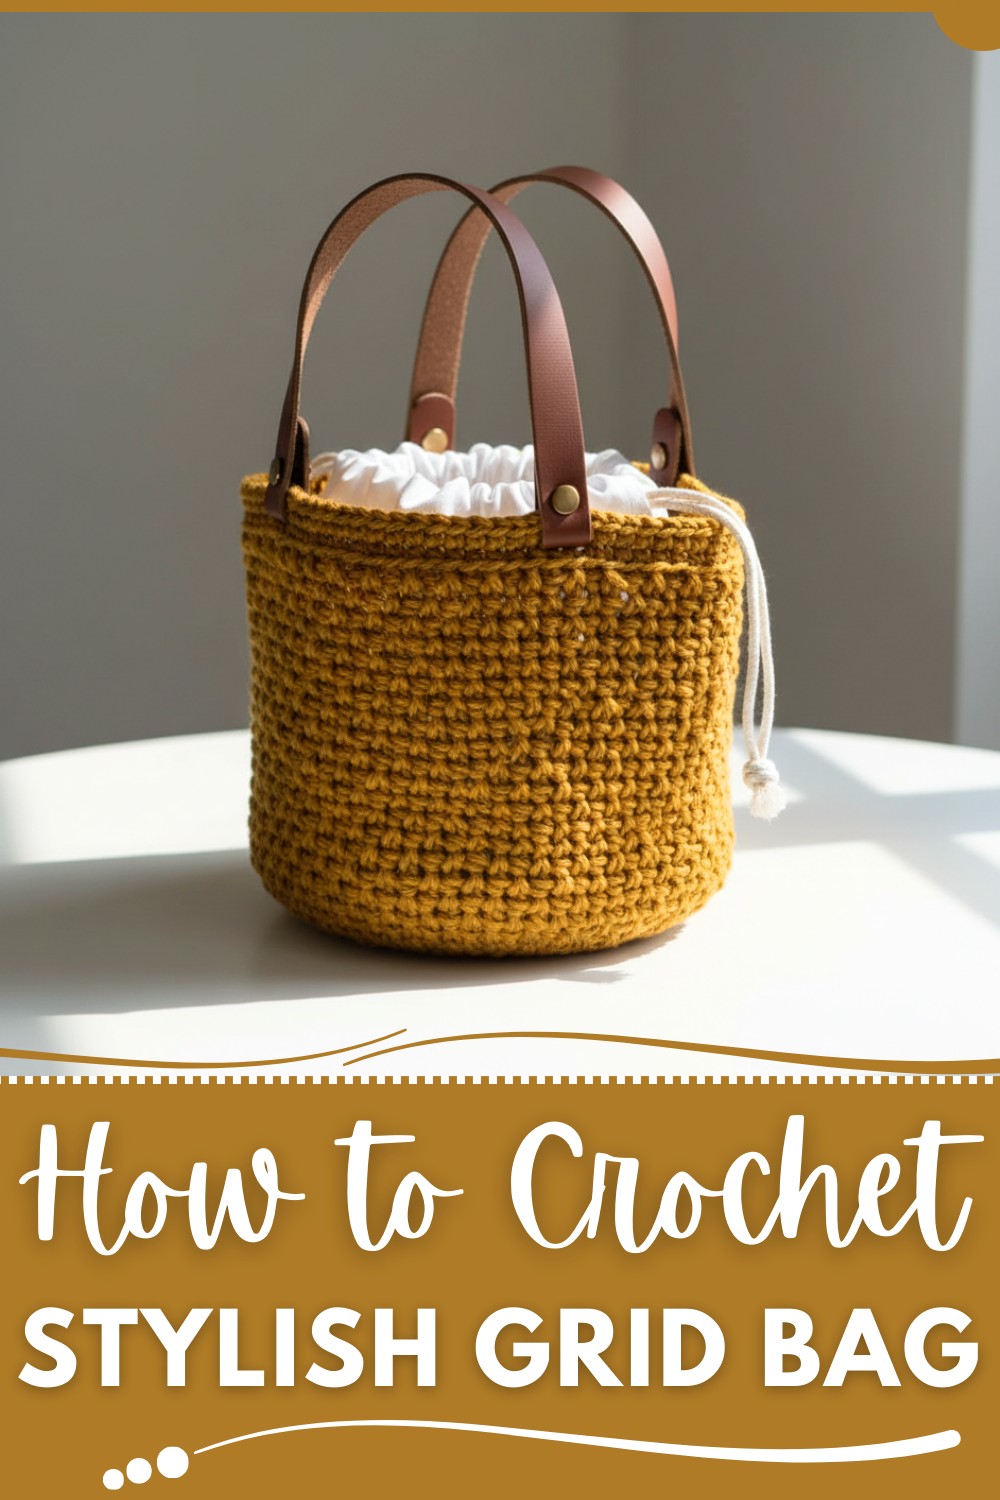
Its open yet sturdy structure ensures durability without feeling bulky, while the breathable grid allows for a lightweight finish. Style it with casual outfits for a laid-back vibe or use it as a reusable shopping bag to stay eco-friendly. It’s not just an accessory, it’s a practical addition to your daily life that also lets you experiment with colors and textures, resulting in something uniquely yours.
Quick and Easy Crochet Grid Bag Pattern You’ll Adore
Materials List
Required Supplies
- Yarn:
- Medium-weight yarn: For a sturdy and elegant appearance. Recommended: Cotton, acrylic, or blend yarn.
- Approximate quantity: 200–300g (adjust for size).
- Crochet Hook:
- 4 mm or appropriate size for the chosen yarn.
- Scissors
- Stitch Markers (Optional): To track rounds/specific points.
- Tapestry Needle: For weaving in ends and sewing parts of the bag.
- Optional Items:
- Buttons or snap closures for fastening.
- Bag Strap or Handles (can be crocheted or store-bought medal loops).
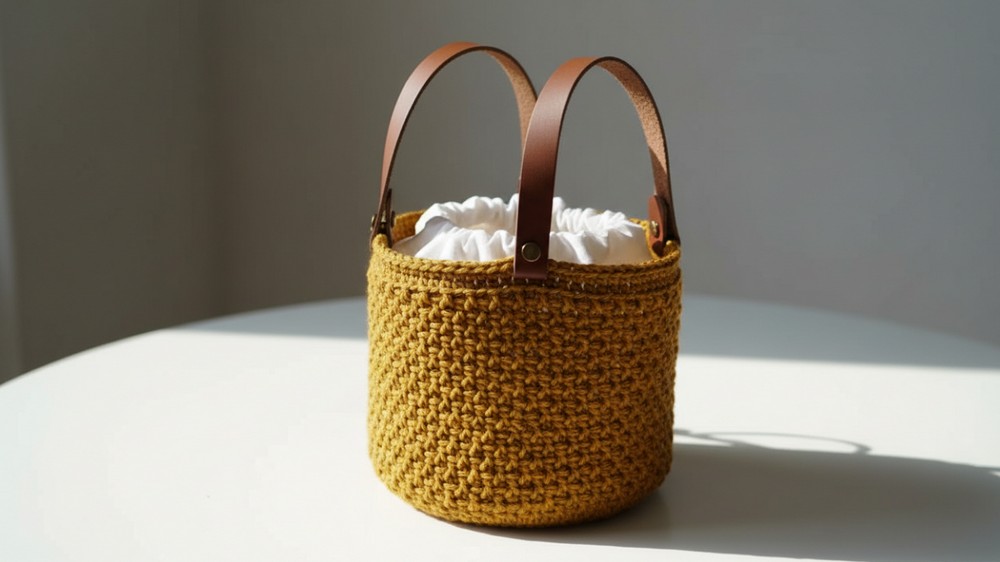
Crochet Cylindrical Bag with Handle
This pattern guides you through creating a cylindrical bag with a sturdy handle and detailed texture, providing functionality and style. This versatile bag is perfect for carrying essentials or as a decorative addition to your accessories collection. The unique cylindrical shape combined with textured stitches makes for an exciting crochet project.
Skill Level
Intermediate.
This pattern involves working in rounds and rows, using single crochet, double crochet, and creating a cylindrical shape, making it suitable for intermediate crocheters.
Key Abbreviations (US Crochet Terminology)
- CH: Chain
- SC: Single Crochet
- DC: Double Crochet
- SL ST: Slip Stitch
- ST: Stitch
- YO: Yarn Over
Special Notes
- Cylindrical Shape Formation: The base is flat but transitions smoothly to an upright cylindrical body.
- Adjust Size: The circumference and height of the bag can be customized by adjusting the number of foundation stitches and rounds.
- Consistency: Maintain even tension throughout to ensure uniformity in the cylindrical shape.
Pattern Instructions
1. Bag Base (Flat Circular Base)
Step 1: Foundation Chain/Starting Circle
- CH 5, join with SL ST to form a loop.
Step 2: Start Base Expansion
- Round 1:
- CH 1, work 6 SC into the loop. (Total: 6 SC).
- Round 2:
- CH 1, work 2 SC in each stitch around (increase round). (Total: 12 SC).
- Round 3:
- CH 1, SC in next stitch, 2 SC in next stitch. Repeat around. (Total: 18 SC).
- Round 4:
- CH 1, SC in next 2 stitches, 2 SC in the next stitch. Repeat around. (Total: 24 SC).
- Continue increasing by adding more SC between the increases on each round until you reach the desired base diameter.
- Example: For a 23 cm base, aim for around 38 stitches per round.
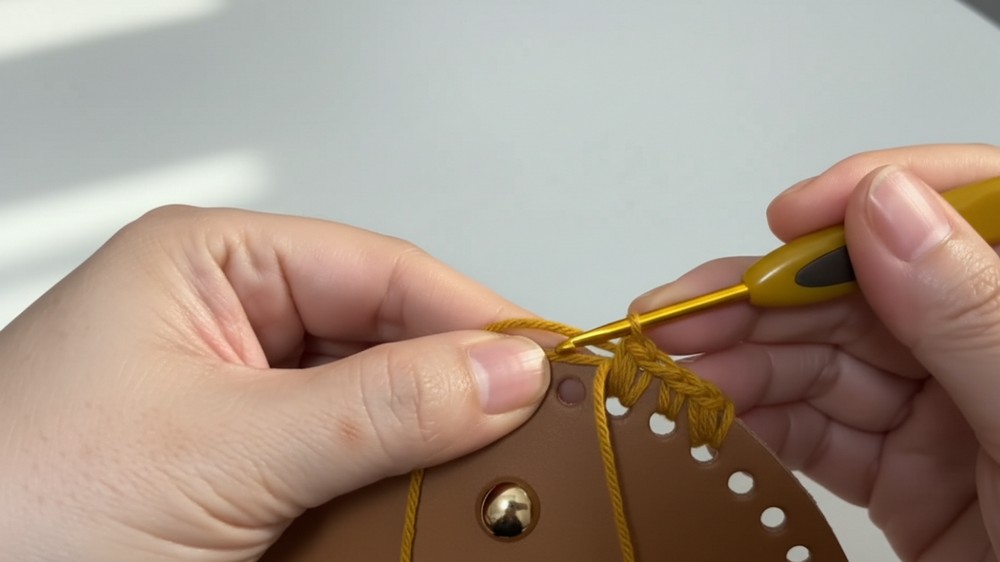
2. Transition to Cylindrical Body
Step 1: Start Building Height
- Round 1: CH 1, work 1 SC in the back loop only (BLO) of each stitch around the last base round. This creates a sharp edge to transition into the cylindrical shape.
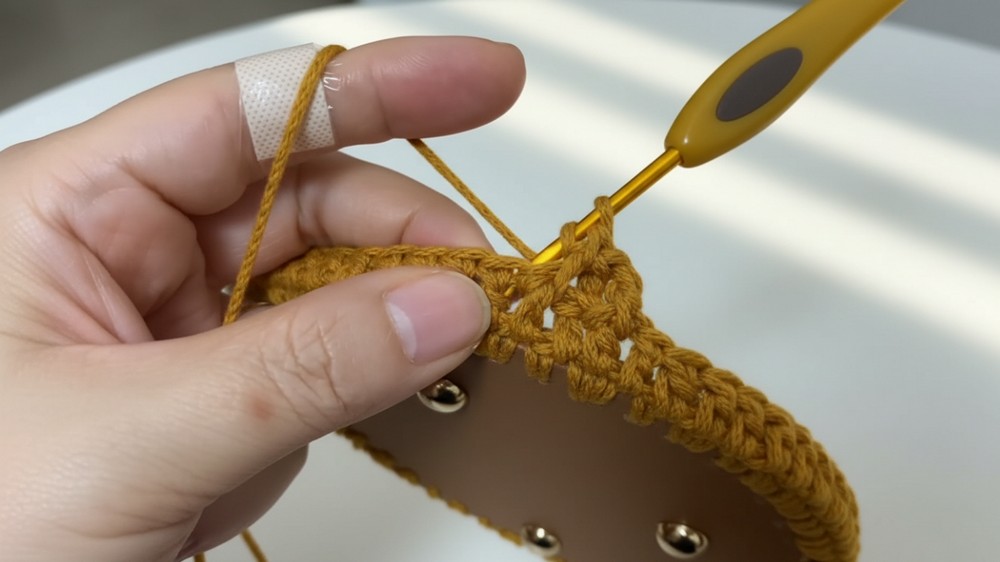
Step 2: Straight Cylindrical Section
- Rounds 2–X:
- Work 1 SC in each stitch (no increases or decreases) to maintain the upright cylindrical shape.
- For 23 cm height, crochet approximately 38 rounds.
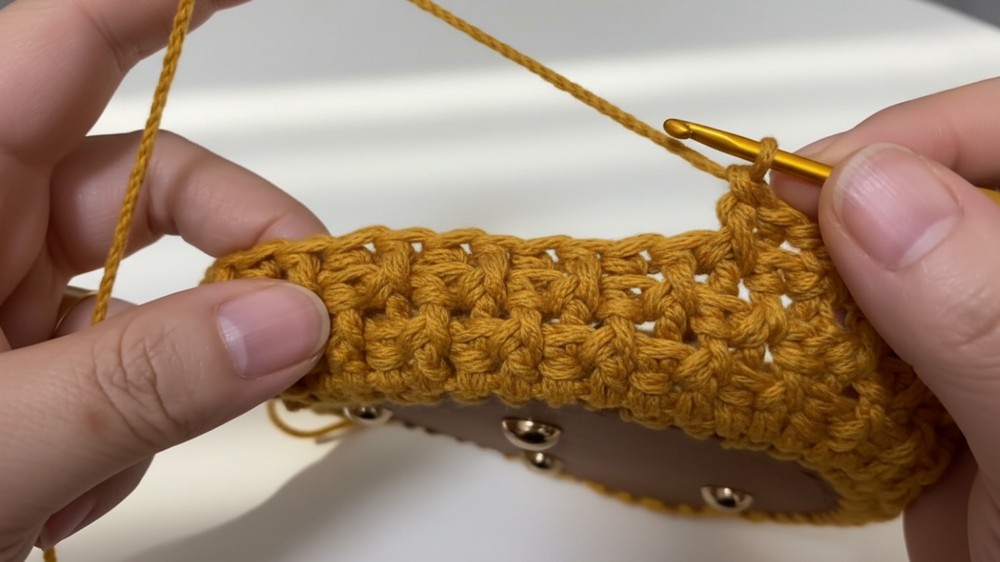
3. Adding Texture to the Body
Step 1: Textured Rows
In this section, alternate stitch types for visual interest.
- Row 1:
- SC in first stitch, DC in next stitch. Repeat this sequence around the cylinder.
- Row 2:
- Work all SC across the row.
- Alternate textured rows (SC+DC mixed) with plain SC rows to create a patterned look.
Customize: Adjust the number of textured sections or use different stitch types (e.g., puff stitches or relief stitches).
4. Creating the Bag Opening
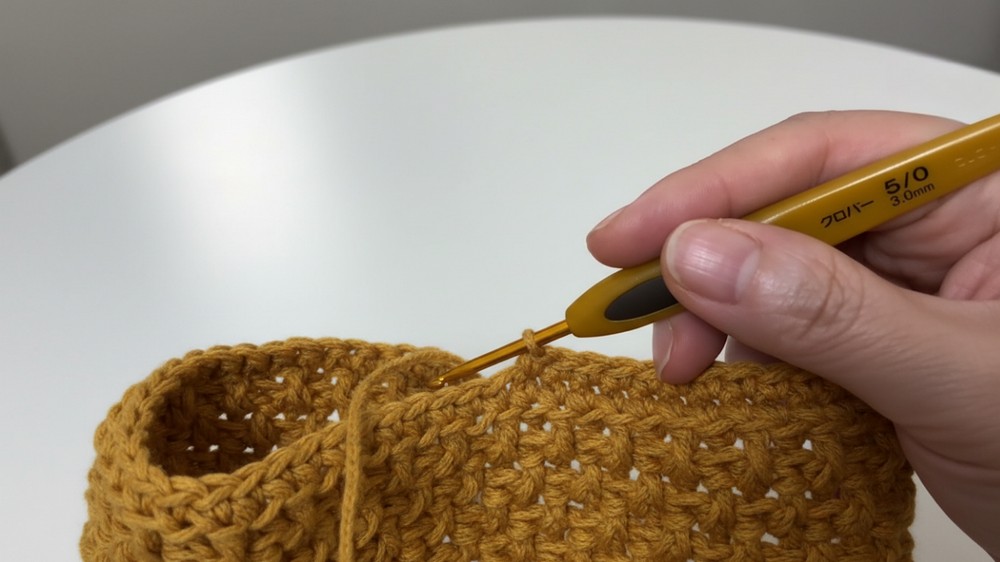
Step 1: Shaping the Rim
- Final Rounds:
- Work 1 SC in every stitch, gradually decreasing every 4th stitch to slightly taper the bag's opening.
- Example: SC 3, SC2tog (single crochet two stitches together).
5. Adding the Handle
Step 1: Crocheted Handle
- Foundation:
- CH 50 (or longer for over-the-shoulder style).
- Attach the chain to the bag's opposite sides.
- Row 1: Work 1 SC in each chain across.
- Row 2: Turn, CH 1, work 1 SC into each SC across.
- Repeat for desired handle width (e.g., 3 rows for thin; 6 rows for thicker handles).
Step 2: Attach Handle
- Use a tapestry needle to securely sew the handle ends to the bag.
6. Optional Closures and Decorations
Step 1: Closing Mechanism
- Button Closure: Add buttons to the rim with holes naturally formed by SCs.
- Snap/Velcro Closure: Attach snap fasteners or velcro strips to the bag opening for a secure close.
Step 2: Embellishments
- Sew beads, appliqués, or crochet flowers onto the body of the bag for added decoration.
- Use contrasting yarn to embroider patterns onto the cylindrical section.
Conclusion
This functional and stylish cylindrical bag combines practicality with handmade charm. Its simple shape allows for easy customization while textured stitches and optional embellishments create visual appeal. The handle design ensures versatility, making this bag suitable for carrying essentials or as a statement accessory.
Pattern Corrections
- Ensure consistent stitch count throughout rounds to avoid a misshapen cylinder.
- Adjust the size of the opening taper if the rim feels too wide or narrow.
Tips for Success
- Test Diameter: Confirm the base size early to avoid resizing later.
- Block if Necessary: Light blocking helps smooth any uneven stitches.
- Secure Handle: Double-stitch handle attachments for durability.
Final Look
The cylindrical bag features a sleek, textured body with an elegant handle and optional decorative accents. Great for gifting or personal use, this bag combines style and functionality seamlessly.