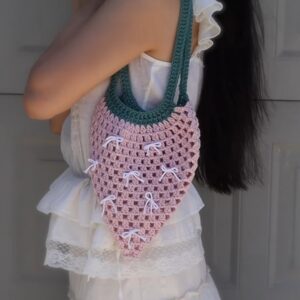
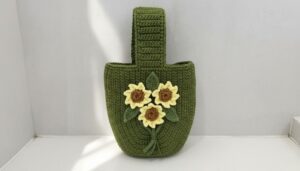
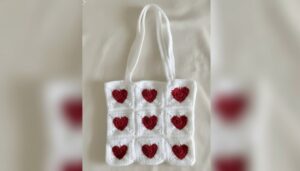
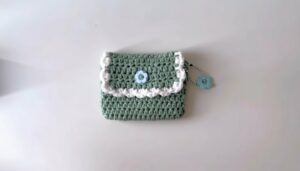
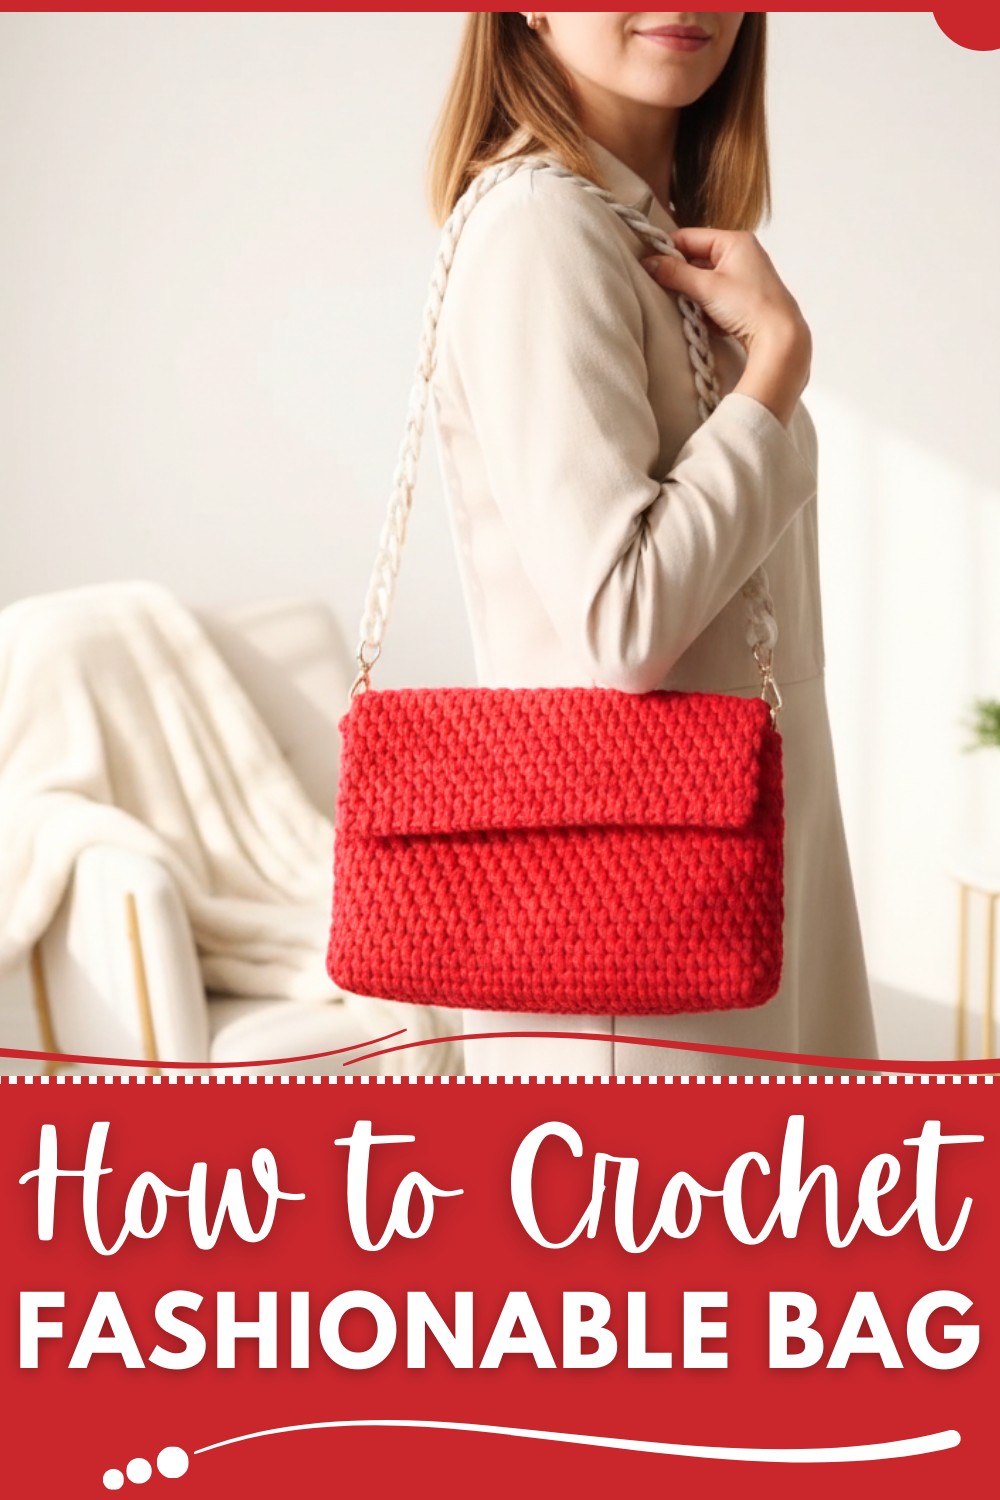
Stitching your own accessory can be incredibly rewarding, especially when it’s practical and unique. An easy guide for crochet bag opens up endless possibilities to create functional yet stylish pieces for every occasion. Whether it’s a sturdy tote for groceries, a lightweight summer bag, or an elegant clutch, you’ll have options that match your needs and personal flair.
Pair your handmade bag with relaxed outfits for casual days or keep the design neutral for versatility. Not only does this save money compared to store-bought alternatives, but it also supports sustainability by reducing waste. On top of these benefits, crocheting offers a peaceful way to unwind while refining your skills.
The result? Accessories that combine beauty, purpose, and individuality.
Bold Crochet Bag Pattern for a Standout Look
Materials Needed
- Cord/Yarn:
- Caramel Cord, 5 mm thick.
- Quantity: Slightly less than two skeins (~150 m).
- Hook:
- Size 5 mm crochet hook, preferably with an ergonomic handle.
- Accessories:
- Side panels or D-rings to attach the strap.
- Chain strap (60 cm) or a 120 cm leather belt for shoulder carry.
- Two sewing buttons, golden or matching color.
- Optional Supplies:
- Lighter for melting synthetic cord ends for durability.
- Lining fabric for the interior of the bag.
Crochet Pattern for a Rattan-Style Handbag
This guide provides step-by-step crochet instructions to create a stylish crochet bag, suitable for all experience levels. You’ll also find tips for customization, pattern variations, and additional finishing ideas.
Crochet Terminology
- SC = Single Crochet
- CH = Chain
- SL ST = Slip Stitch
- ST/STs = Stitch(es)
Steps to Crochet the Handbag
Part 1: Foundation (Bottom of Bag)
- Start with a Chain Foundation:
- Create a foundation chain to form an oval bottom.
- The number of chain stitches depends on your desired width (22 cm in this design): approximately 25 chains.
- Forming an Oval Base:
- Row 1: SC in the second chain from the hook, SC across until the last chain. Then, work 3 SC into the last chain to round the corner for the semicircle. Continue crocheting on the other side of the chain base. In the very last chain, work 3 SC again to round the corner. Join with a SL ST to the first SC.
- Row 2: CH 1, work SC in every stitch around. Place 3 SC in each corner (where rows naturally curve). Join with a SL ST.
- Row 3 (and onward): Repeat Row 2 until the bottom measures 22 cm long and 6 cm wide.
- Check Bottom Uniformity:
- Ensure stitches are tight, smooth, and the edges flare symmetrically at the semicircles.
Part 2: Building the Walls
- Transition to Straight Walls:
- After completing the base, begin crocheting single crochets in continuous rows around the edges without increases to build the handbag walls.
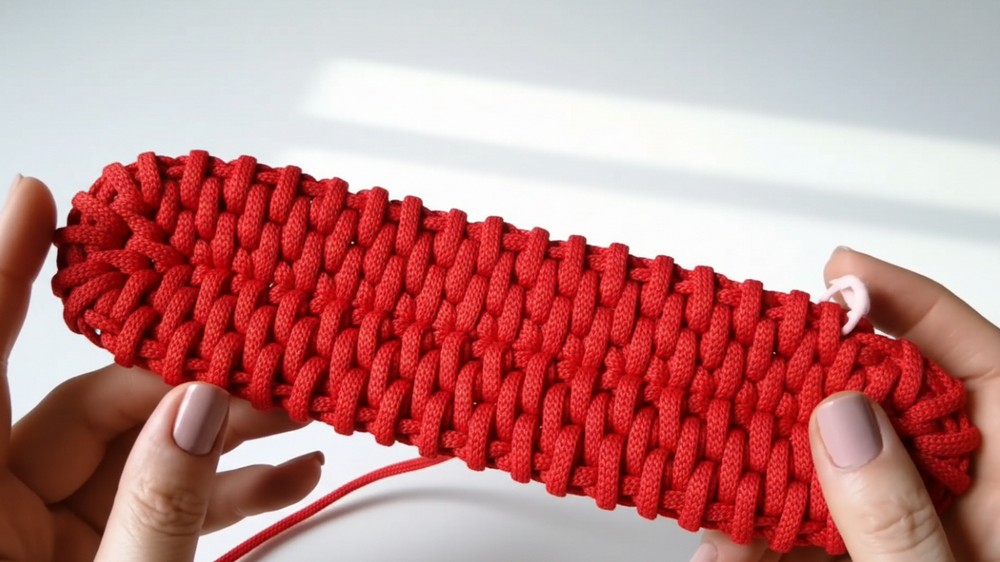
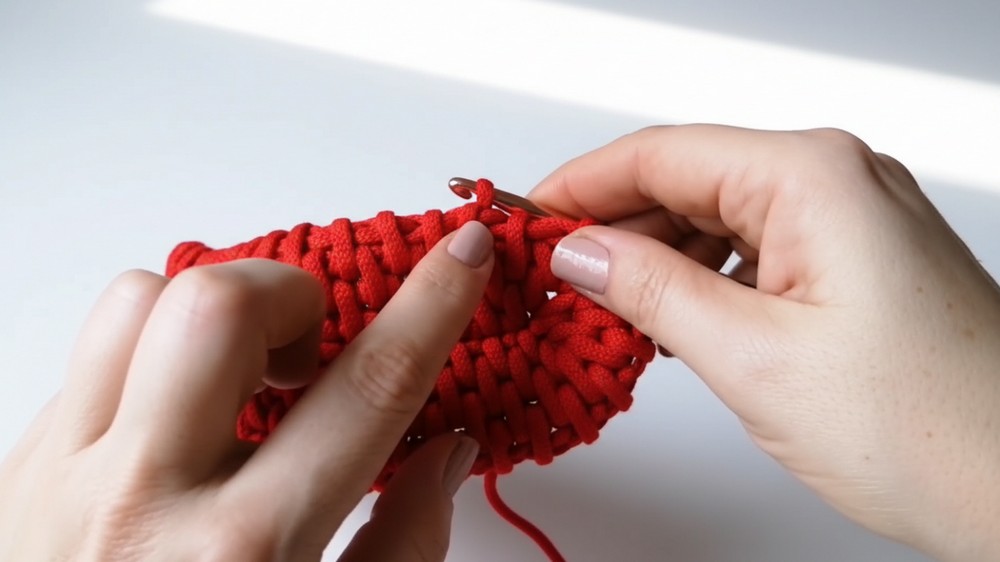
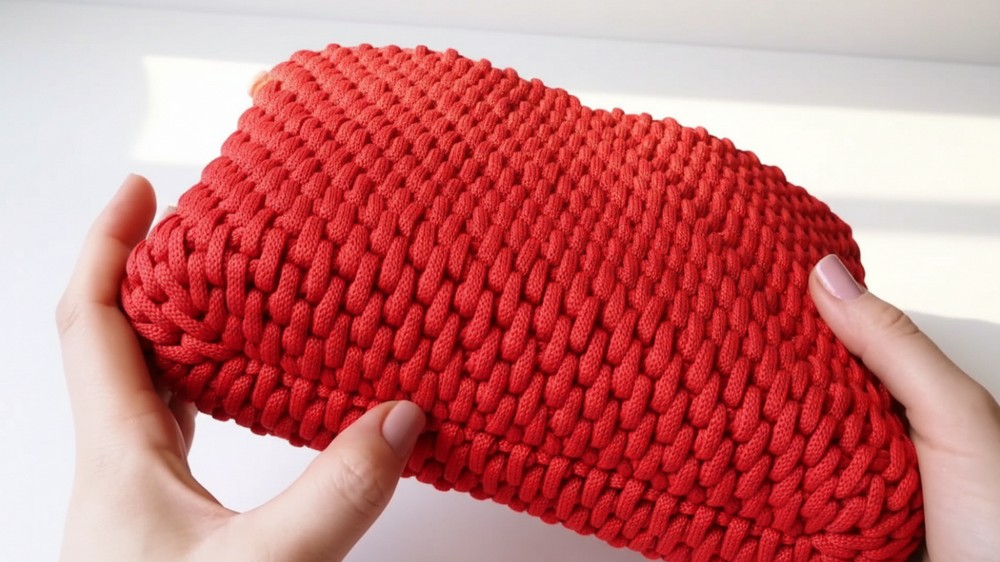
- Rattan Texture:
- To achieve the rattan pattern:
- Dive into the middle of the stitch (not the usual front/back loop). Insert the hook through the space between vertical cords of the stitch below, pull a loop through, and complete a single crochet.
- Repeat this across all STs.
- To achieve the rattan pattern:
- Height Completion:
- Continue crocheting in this rattan-style pattern for 24 rows (or approximately 15.5 cm tall).
- Final Wall Edges:
- On the last row, check evenness and make one SL ST before finishing off. Cut the cord, solder the ends (if needed), and carefully hide the tail.
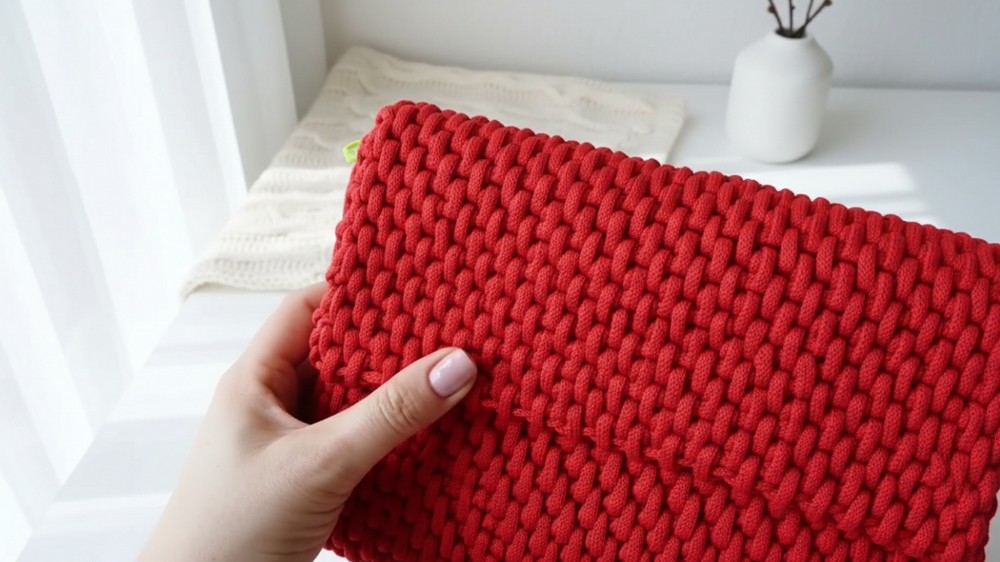
Part 3: Crocheting the Flap
- Mark Loops for the Flap:
- Divide the top edge into two halves. Use stitch markers to mark 22 stitches (this section forms the flap).
- Skip the first loop, and begin crocheting from the marker point.
- Turning Rows:
- For this section, crochet back and forth instead of circular rounds.
- Row 1: CH 1, SC across the 22 STs between the markers.
- Row 2: Turn work, CH 1, and crochet SC backward across the same STs.
- Repeat Rows:
- Follow the rattan-style pattern from the body walls (inserting the hook between the vertical threads of the stitch below). Ensure your loops and tension remain tight to form the sturdy flap.
- Final Flap Dimensions:
- Complete 17 rows or until the flap measures 12.5 cm tall.
- In the last row, ensure final SCs are even. Cut and secure the cord.
Part 4: Assembly and Accessories
- Attach Buttons:
- Sew two buttons evenly spaced beneath the flap to ensure proper closure.
- Secure Side Panels and Straps:
- Attach metallic or leather side panels/rings. Clip or sew the strap securely.
- Interior (Optional):
- Add lining fabric using sewing techniques for a polished interior look.
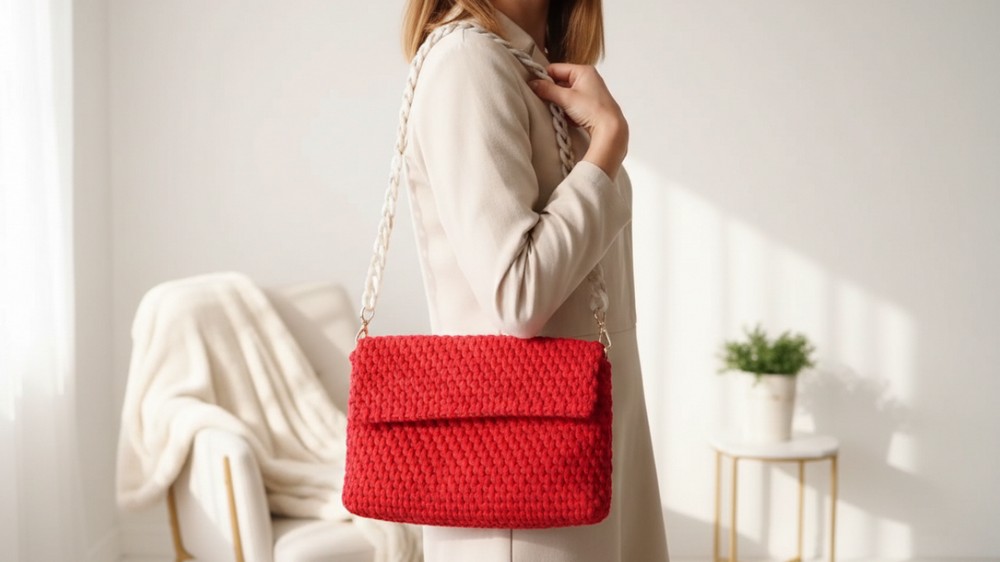
Final Look
The handbag has a 22 cm width, 15.5 cm height, and 6 cm depth, crafted in well-defined rattan stitches with a functional flap and strap attached.
Tips for Success
- Maintaining Tension: Ensure loops are evenly pulled. Uneven tension may cause bag deformation.
- Testing Flap Length: Regularly measure during the flap stage before completing all rows.
- Cord/Yarn Flexibility: Test with thicker yarn or cords for larger bags or thinner yarn for delicate clutches.
Customization Ideas
- Colors:
- Use gradient, ombre, or multicolored cords to add vibrancy.
- Contrasting flap and body colors can create a striking aesthetic.
- Size Adjustments:
- For a larger bag: Increase the chain count for the bottom and the number of rows for the walls and flap.
- For a smaller clutch: Reduce the chain count and opt for fewer rows.
- Additional Embellishments:
- Sew decorative beads, patches, or tassels onto the flap.
- Add a zipper beneath the flap for extra security.
Conclusion
This crochet bag combines elegance and practicality. By using straightforward rattan stitching techniques and inserting hooks between vertical stitch cords, you’ll achieve a unique textured look that stands out. The sturdy shape makes the handbag ideal for carrying essentials and ensures longevity.