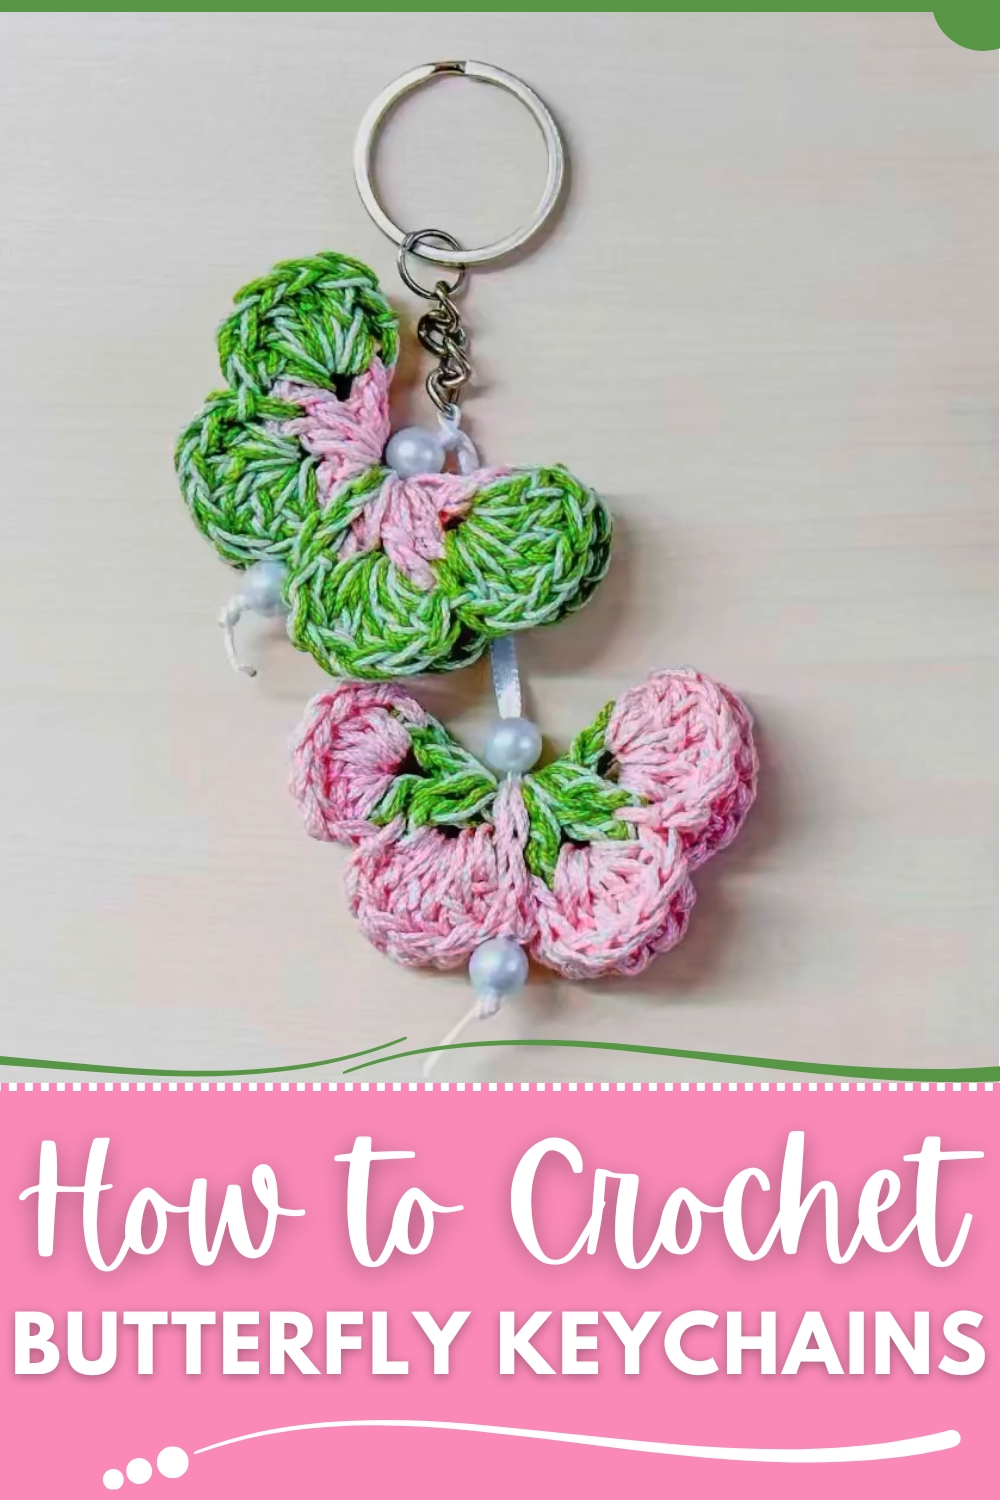
Delight in fluttering charm with this Crochet Butterfly Keychain pattern, featuring vibrant colors, delicate texture, and whimsical elegance.
Delicate wings flutter through the air, catching the sunlight and leaving trails of color in their wake. That fleeting beauty is captured in a crochet butterfly keychain, a miniature treasure that carries charm and personality everywhere. More than a simple accessory, it brightens bags, backpacks, and keys, while serving as a thoughtful handmade gift that reflects care and attention.
Magical Crochet Butterfly Keychain for Fun Collections
The process begins with forming a slender body to anchor the piece, followed by crocheting wings using textured stitches that create curves, dimension, and the illusion of gentle movement. Subtle details like ridges and scalloped edges give the butterfly a lifelike quality, while versatile color choices allow for soft, natural shades or bold, imaginative tones. A small loop or ring completes the keychain, making it both functional and visually captivating.
Its appeal lies in the combination of artistry and practicality. Lightweight yet sturdy, it provides a soothing, satisfying project for makers, producing a finished piece that delights the eye and adds personality to everyday items. Each stitch embodies elegance, movement, and charm, turning a simple keychain into a small keepsake that carries a touch of nature’s grace wherever it goes.
Materials Needed
To complete this project, you’ll require the following:
- Yarn/Thread: Two shades of pink and two shades of green (anchor cotton thread used in the video).
- Crochet Hook: 3.5 mm.
- Darning Needles: Two different sizes (one for weaving ends, another to fit through beads).
- Beads: Plastic beads for decoration.
- Ribbon: About 12 inches for finishing the keychain.
- Keyring: For attaching your design.
- Scissors: To cut yarn and ribbon.
- Lighter: For sealing ribbon edges (use with caution).
Special Features of the Butterfly Keychain
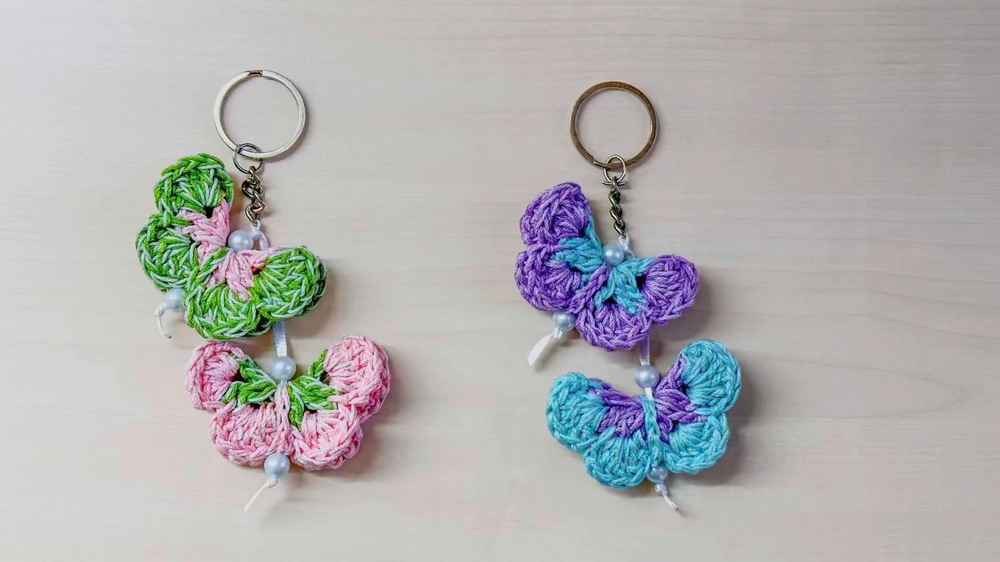
- Textured 3D Butterflies: The butterfly design uses two layers of colors, creating a beautiful 3D effect.
- Bead Embellishment: Adds an elegant touch and elevates overall aesthetics.
- Customizable Arrangement: Ribbons and beads allow for creative flexibility, making each keychain unique.
- Beginner-Friendly Yet Dynamic: The pattern uses simple stitches but arranges them innovatively.
Level of Difficulty
This pattern is considered beginner to intermediate-friendly. While the stitches are basic (chains, slip stitches, and double crochets), the assembly phase requires some dexterity, especially when working with beads and ribbons. Beginners may find the arrangement step slightly challenging but manageable with the guidance provided.
Step-by-Step Process
Step 1: Crochet the Butterfly (Part 1 – Base Layer)
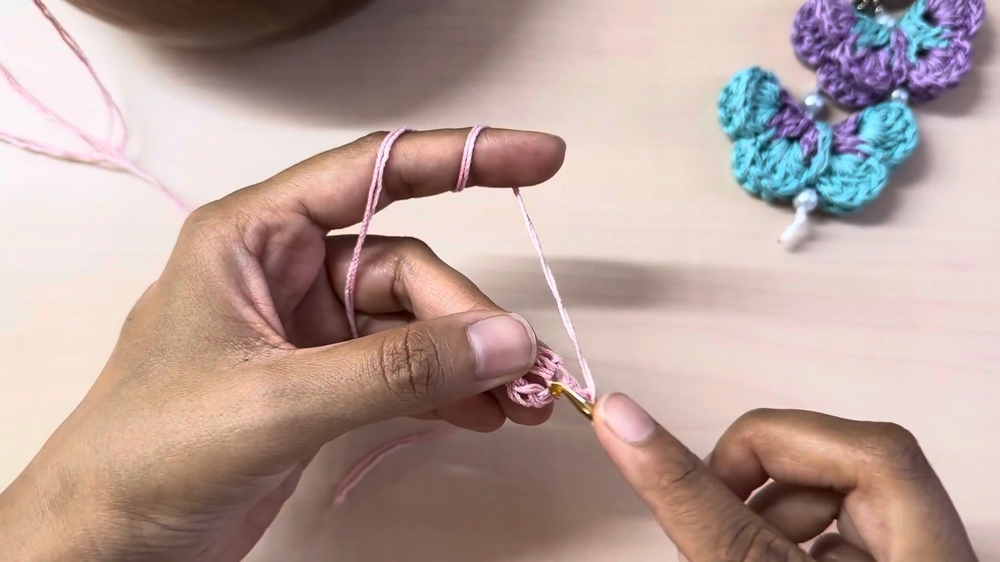
- Start with a Slip Knot: Using two strands of pink thread together, create a slip knot.
- Chain Six: Chain six stitches and form a circle with a slip stitch in the first chain.
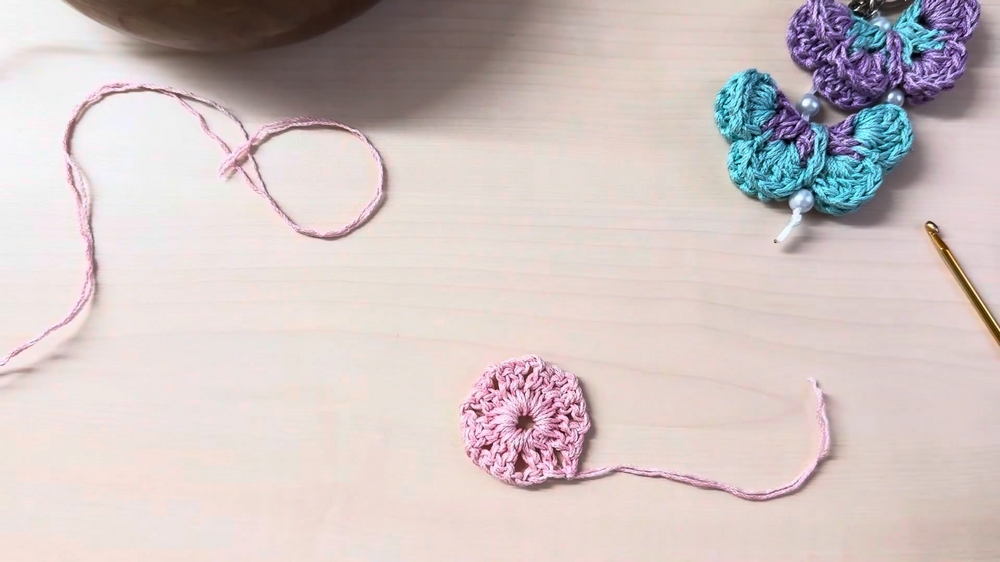
- Create the Base Round:
- Chain three (acts as first double crochet).
- Make one double crochet into the circle.
- Chain two, then add two double crochets into the circle.
- Chain two again and repeat the pattern (two double crochets followed by chain two) for a total of eight sets.
- Slip stitch into the top chain of the initial chain three to close the round.
- Finish the Base Round: Cut the pink thread and weave in ends as you work.
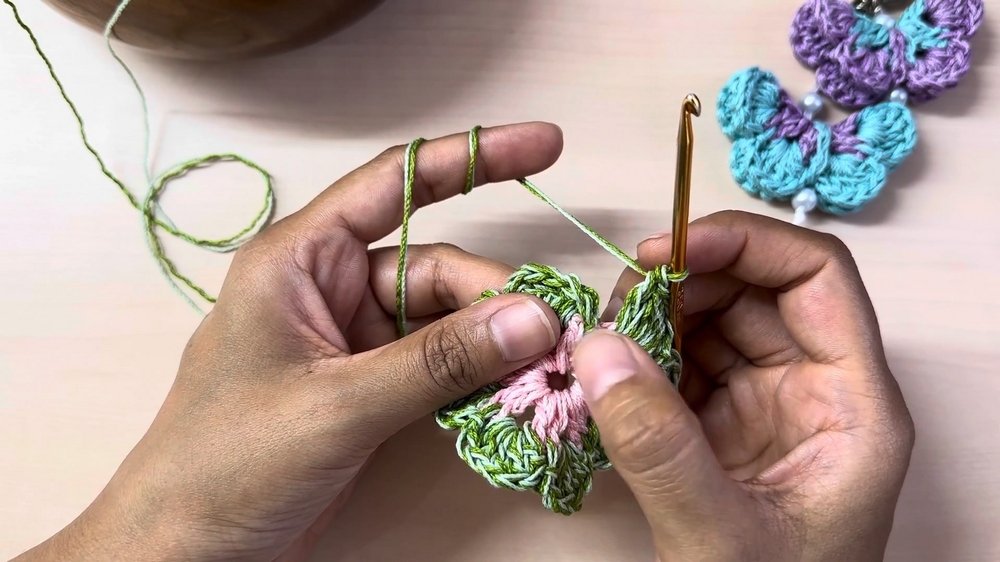
2: Add the Wing Detail (Part 2 – Green Layer)
- Introduce Green Threads: Attach two strands of green thread in the space between the first chain three and double crochet of the base round.
- Create Butterfly Wings:
- Work six double crochets into the chain two space of the previous round.
- Slip stitch into the space between the two double crochets from the base round.
- Repeat this process (six double crochets, slip stitch) into each chain two space around.
- Finish the Layer: Complete the round, ending with a slip stitch at the starting point.
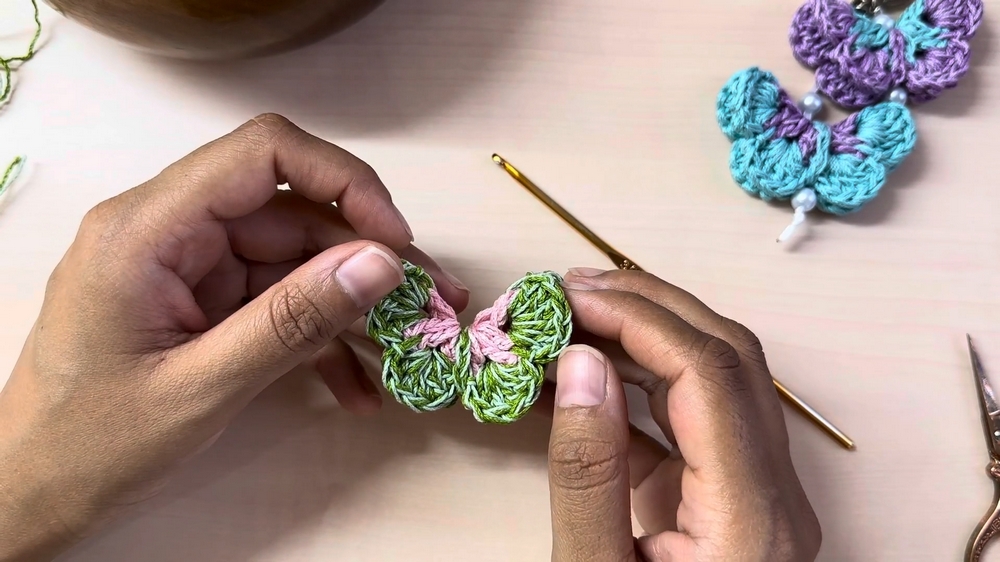
3: Form the Butterfly Shape
- Chain Eight: Fold the butterfly in half and chain eight. Wrap this chain around the center and slip stitch it into the starting chain to secure the shape.
- Trim and Weave: Cut any remaining threads and weave in loose ends.
4: Make the Second Butterfly
- Follow the same steps, but switch the thread colors (use green for the base and pink for the wings).
5: Assemble the Keychain
- Cut Ribbon: Cut approximately 12 inches of ribbon. Adjust the length depending on how you want the butterflies to hang.
- Attach Ribbon to Keyring: Loop one end of the ribbon through the keyring and tie a knot, ensuring one side is shorter than the other.
- Add Bead and Butterfly:
- Use a small ribbon embroidery needle. Thread a bead onto the shorter side of the ribbon, followed by one butterfly.
- Add another bead to secure the butterfly in place.
- Attach Second Butterfly (Longer Side): Repeat the process with the longer ribbon side—add a bead, the second butterfly, and a finishing bead.
- Secure the Arrangement: Knot the ribbon tightly under the last bead, ensuring everything stays in place.
6: Final Touches
- Clean Up Loose Edges: Trim any excess ribbon and threads.
- Seal Ribbon Ends: Use a lighter to gently melt the ribbon edges, preventing them from fraying. Be careful not to bring the flame too close to avoid damage or fire.
Tutor’s Suggestions
- Use Double Yarn Threads: Using two strands together adds thickness and richness to the butterfly design.
- Weave While You Work: Incorporate thread ends while crocheting to save time during finishing.
- Switch Needle Sizes for Beads: Use a smaller needle for threading beads if your standard darning needle doesn’t fit.
- Customize Your Design: Experiment with different colors, bead shapes, and ribbon textures to personalize your keychain.
Uses for the Butterfly Keychain
- Keychains: A stylish and functional accessory for everyday use.
- Decorative Embellishments: Attach it to bags, car mirrors, or even as party favors.
- Gift Items: Perfect as a handmade gift for loved ones.
Tip for Best Results
When sealing ribbon edges with a lighter, move the flame quickly and evenly to avoid overheating the ribbon. Practicing on a spare ribbon piece first can help achieve a clean finish.
Conclusion
The crochet butterfly keychain pattern offers an enriching and enjoyable project that combines creative crochet skills with functional design. With colorful threads, eye-catching beads, and ribbons, this accessory is both decorative and practical. The easy-to-follow steps ensure that even beginners can complete the project, and the customization options allow endless possibilities. By mastering this project, you’ll have not only a beautiful keychain but also a versatile skill to apply to future crochet endeavors.