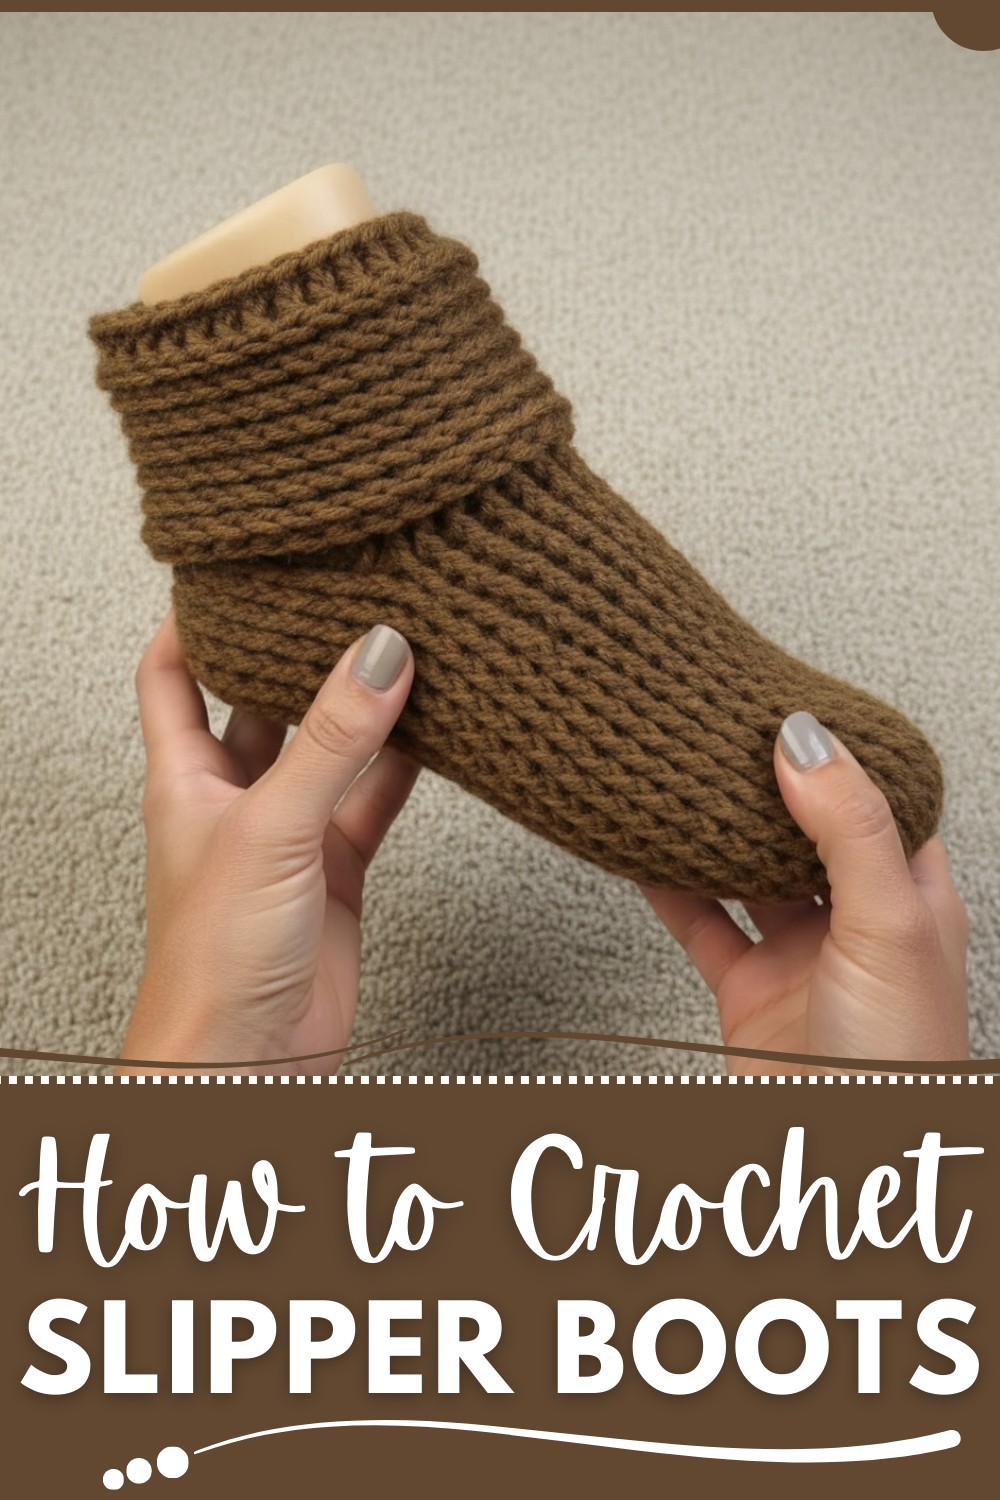
Unique Crochet Slipper Boot Pattern for Home Comfort
Materials Needed
- Yarn:
- Worsted Weight Yarn (#4), such as Red Heart Super Saver yarn.
- Hook Size:
- 5.0 mm crochet hook
- Additional Supplies:
- Yarn needle (for weaving in the ends and sewing the heel).
- Scissors.
Finished Size
Sizes available: Small (6-7), Medium (8-9), and Large (10-11) (US Women's Shoe Sizes). The pattern is flexible to accommodate wider feet or custom sizes by adding or removing stitches or rows.
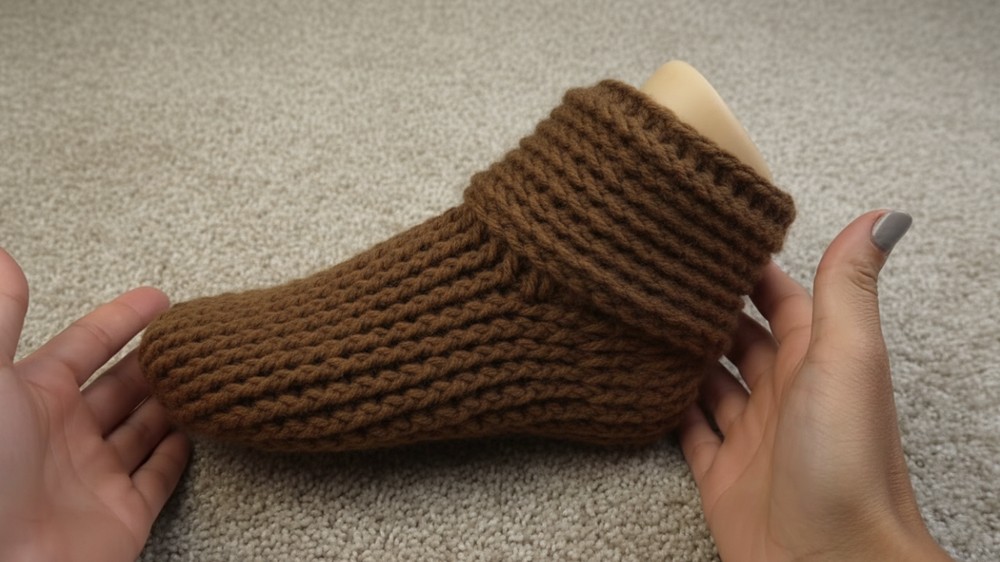
Textured Crochet Slipper Boots with Foldable Cuff
This versatile crochet slipper boot pattern uses front post double crochets (FPDC) and back post double crochets (BPDC) to create stunning textures that are reversible. With an innovative design, the boots can be worn with the cuffs folded down or up, making them stylish and functional. The pattern is customizable for various sizes and provides comfort and warmth for everyone.
Pattern Instructions
Section 1: Toe Section (Worked in Rounds)
Round 1:
- Start with a magic ring (or chain 4, slip stitch into the first chain to form a ring).
- Chain 1 (does not count as a stitch).
- Work 14 double crochets (DC) into the ring.
- Pull the yarn tail to tighten the magic ring.
- Slip stitch into the first double crochet to join.
- Total Stitches: 14 DC.
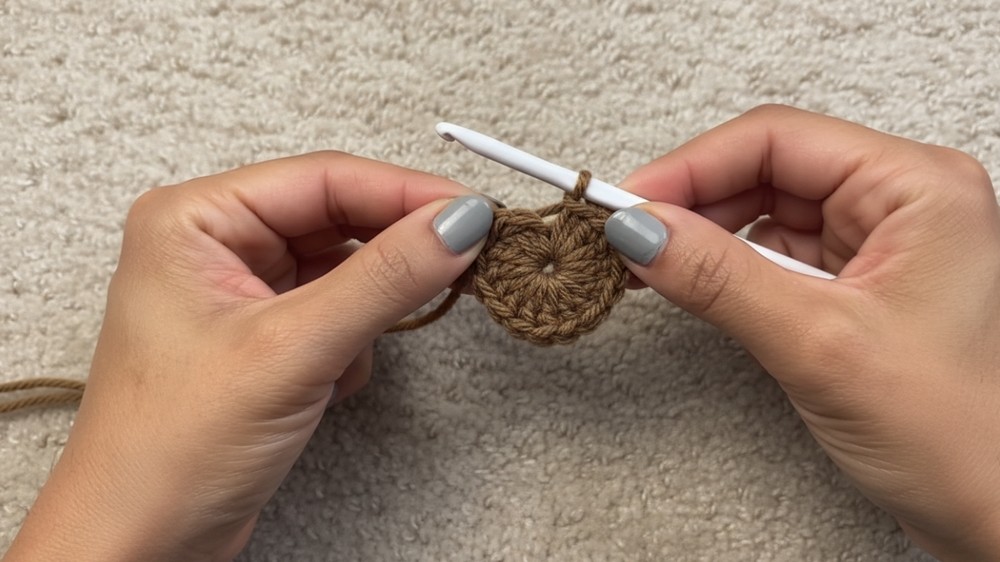
Tip: For wider feet, you can add an extra stitch or two in the ring at this stage.
Round 2:
- Chain 1.
- Work 2 front post double crochets (FPDC) around each DC from the previous round.
- Yarn over, insert your hook behind the post of the stitch, push the post forward, and complete the FPDC.
- Repeat 2 FPDC in each stitch around.
- Slip stitch into the first FPDC to join.
- Total Stitches: 28 FPDC (or additional stitches if adjusted for wider feet).
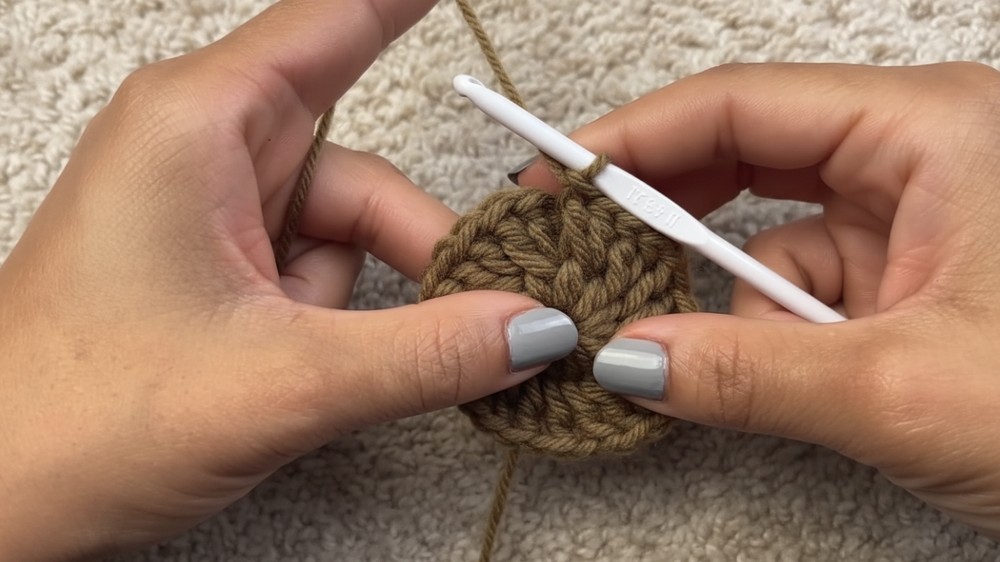
Rounds 3-16 (or chosen length):
- Chain 1.
- Work 1 FPDC in each stitch around.
- To hide the slip stitch join, always work around the chain 1 and the post of the FPDC in the same motion.
- Continue working FPDC stitches for:
- Small: 14 rounds
- Medium: 15 rounds.
- Large: 17 rounds.
- Slip stitch to join at the end of each round.
Tip: At this stage, the slipper should reach your ankle. Try it on to ensure it fits snugly, and add or reduce rounds if necessary.
Section 2: Heel Section (Worked in Rows)
- Row 1:
- Chain 1 and turn your work.
- FPDC around the first 21 stitches (remaining stitches will be left unworked to create the foot opening).
- Continue with FPDC until there are 7 stitches left unworked for Small/Medium/Large (or adjust based on customizations).
- Row 2:
- Turn your work without chaining and work a stacked double crochet (SDC):
- Insert your hook into the first stitch as if making a SC.
- Yarn over, pull through, and complete the SC.
- Insert your hook into the front loop of the SC just created, yarn over, pull through, and complete another SC.
- This replaces the usual chain 1 and creates a straight edge.
- Then work back post double crochet (BPDC) into each stitch across the row:
- Yarn over, insert your hook from the back around the post, push it back, and complete the BPDC.
- In the last stitch, work a regular double crochet to keep the edge straight.
- Turn your work without chaining and work a stacked double crochet (SDC):
- Row 3:
- Turn your work and repeat the SDC technique for the first stitch.
- Work FPDC into each stitch across the row.
- Place a DC in the last stitch to maintain straight edges.
- Continue Heel Rows:
- Alternate between FPDC rows (Row 3) and BPDC rows (Row 2) for 4 additional rows. i.e., Repeat Row 2 and Row 3 two more times.
- Total Heel Rows:
- Small: 6 rows.
- Medium: 6 rows.
- Large: 6 rows.
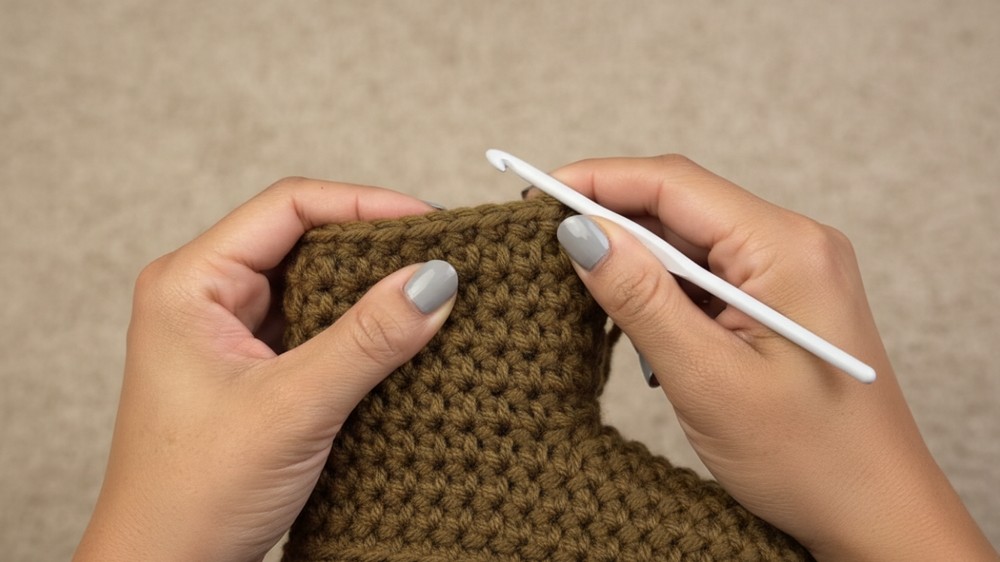
Tip: Add more rows if needed for a larger heel or remove rows for a snugger fit.
Section 3: Sewing the Heel Closed
- Fasten off the yarn, leaving a long tail for sewing.
- Turn the slipper inside out.
- Use a whip stitch or mattress stitch to sew the sides of the heel together, creating a seam.
- Weave in all loose ends to secure.
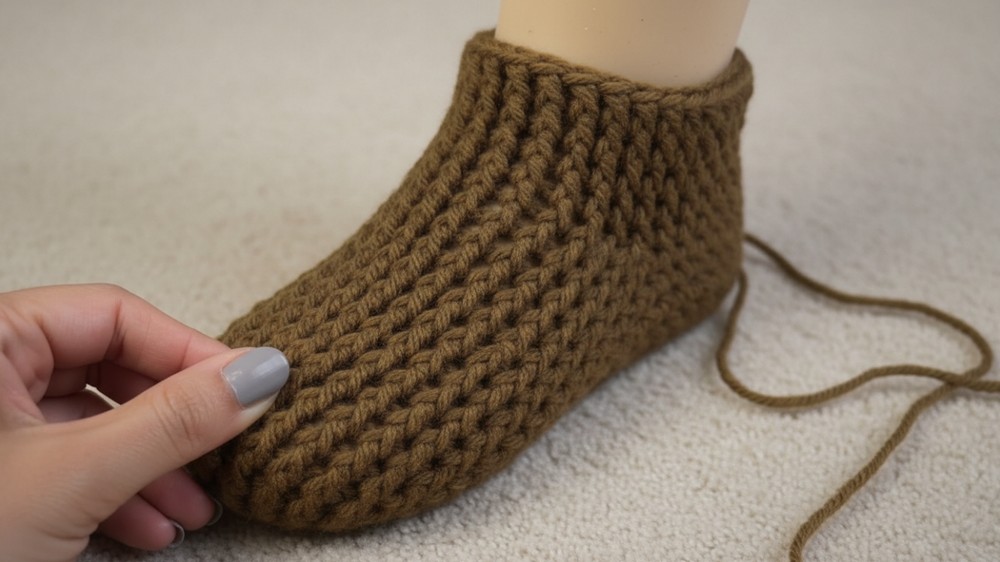
Section 4: Ankle and Cuff (Worked in Rounds)
Round 1 (Picking Up Stitches):
- Attach yarn at the center back of the heel.
- Evenly space double crochets (DC) along the sides of the slipper opening and across the front instep.
- Use visual cues to place 2 DC per row edge.
- Adjust the number of stitches to ensure the opening is neat without leaving gaps.
- In the transition areas, work a DC into the top of a previous FPDC where needed to avoid gaps.
Tip: Ensure the total number of DC is even for symmetry.
Rounds 2–15 (Cuff):
- Chain 1.
- Work FPDC in each stitch around. Always include the chain 1 area from the join to keep the seam invisible.
- Repeat FPDC rounds until the desired cuff length is achieved.
- Suggested cuff length: 14 rounds, but this can be extended or shortened.
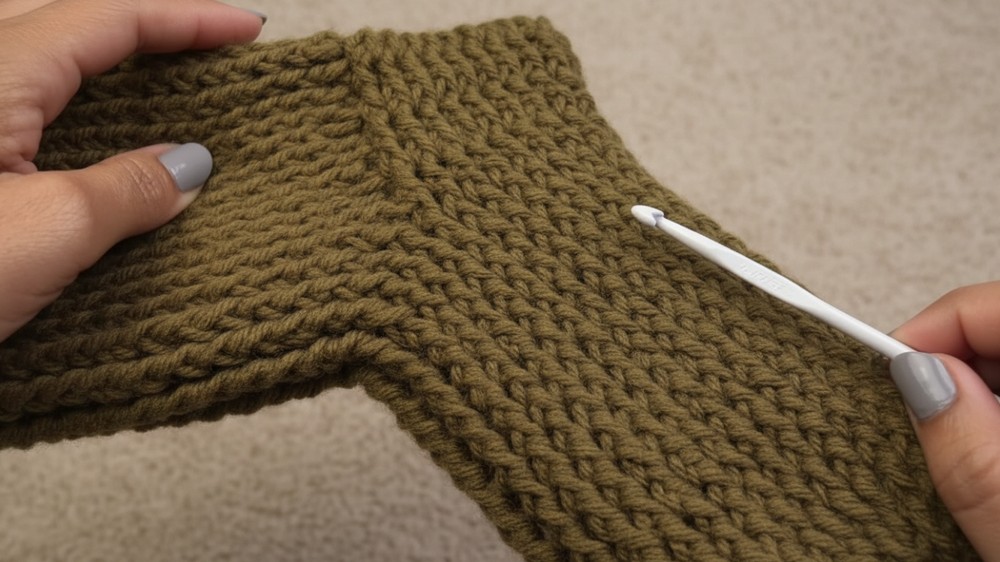
Optional: Fold the cuff down midway using the textured design for a stylish look.
Customization Tips
- Wider Feet or Ankles: Add extra stitches in the toe or heel sections for a more comfortable fit.
- Color Changes: Use contrasting yarn for the toe, heel, or cuff for a bold look.
- Non-Slip Soles: Apply fabric glue or non-slip dots to ensure secure footing on slippery surfaces.
Special Techniques
- Magic Ring: Creates a seamless toe and avoids gaps.
- Front and Back Post Double Crochet: Adds texture and elasticity to the slipper.
- Stacked Double Crochet (SDC): Replaces the conventional chain at row edges to keep them straight and tidy.
- Seamless Joins: The hidden chain 1 technique avoids visible seam lines.
Important Remarks
- Final Look: The slippers should fit snugly, with a textured cuff that can be worn up or folded down.
- Project Time: Moderate-speed crocheters can complete a pair in a few hours.
Conclusion
Congratulations on finishing your beautiful, textured slipper boots! Not only do they provide warmth and comfort, but their stylish and unique design also makes them a perfect gift or personal accessory.