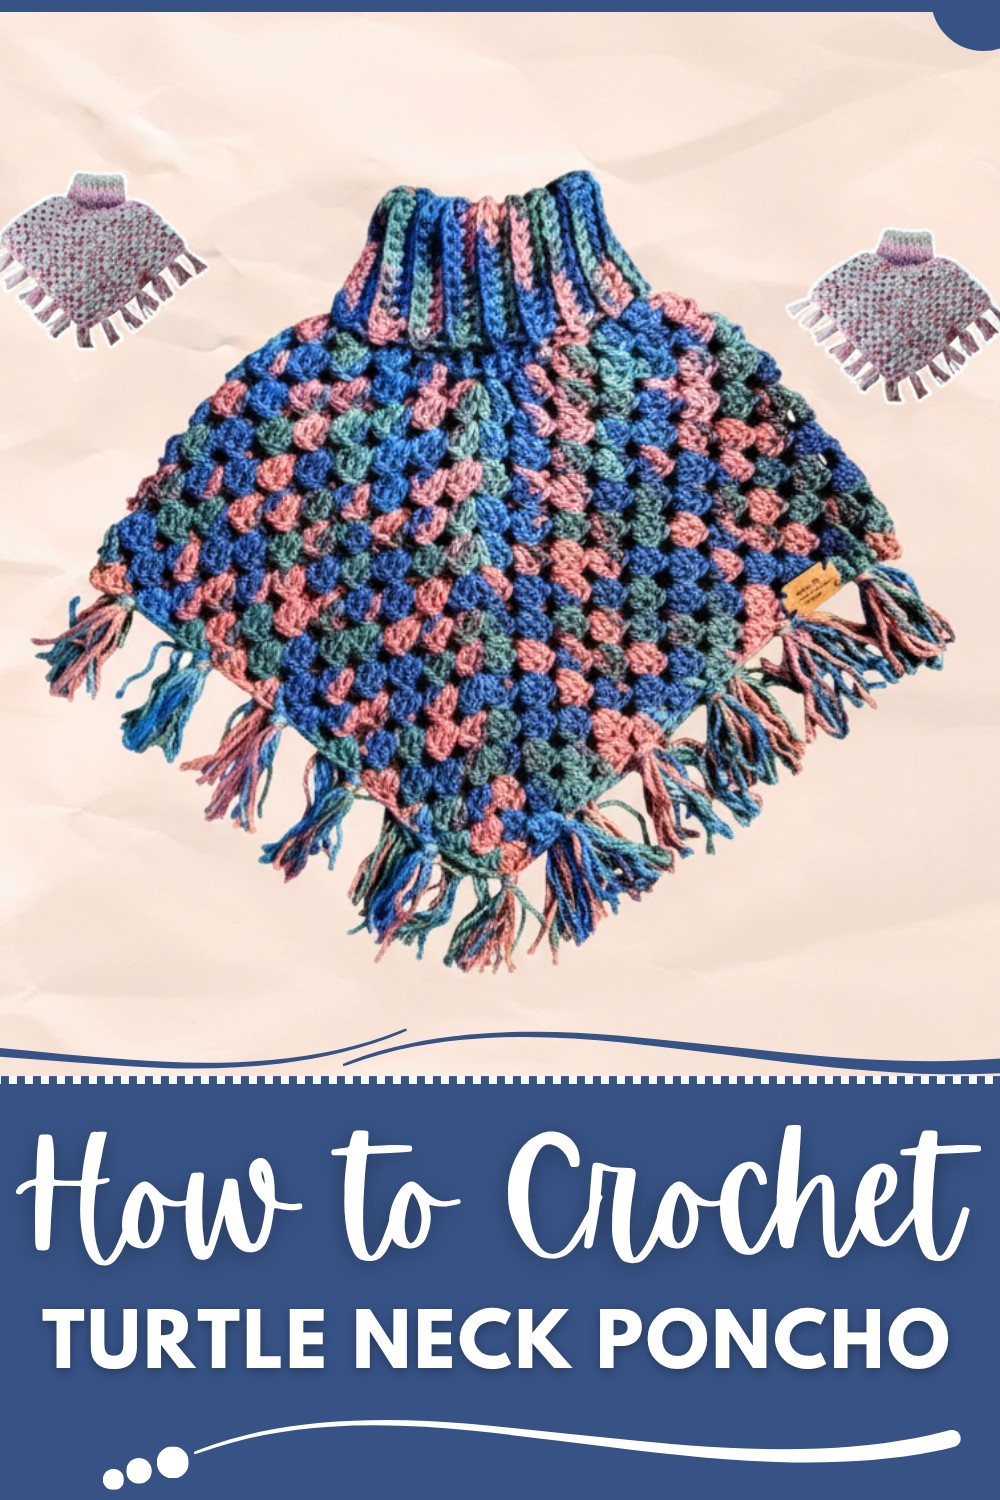
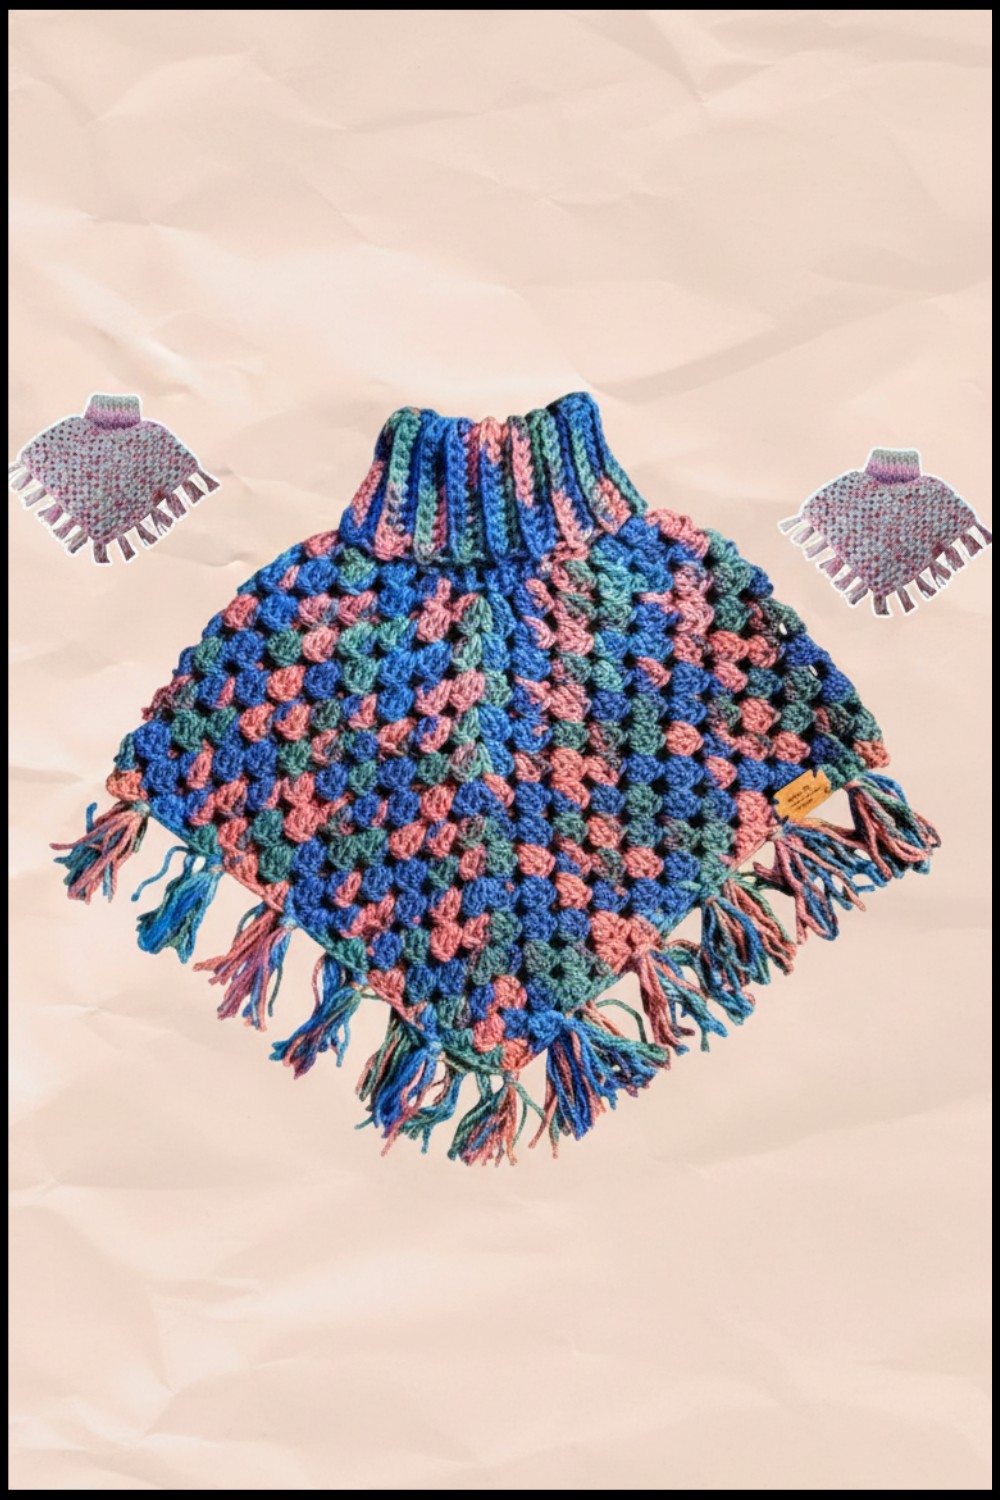
Stay warm and cozy with this free crochet turtle neck poncho tutorial, featuring a simple and elegant style perfect for chilly weather and everyday wear.
A cozy poncho with a stylish design is the perfect way to stay warm while looking fashionable. The Free Crochet Turtle Neck Poncho Pattern offers a soft, elegant, and practical garment, making it ideal for chilly days. The poncho drapes gracefully, creating a comfortable feel and a stunning appearance. Its turtle neck provides extra warmth, making it suitable for outdoor outings or relaxing at home. The unique style blends comfort and charm, making it a standout piece.
Free Crochet Turtle Neck Poncho Pattern That’s for Beginners
It pairs seamlessly with both casual and dressy outfits, offering versatility for any occasion. The flowing design gives it a timeless appeal while allowing for ease of movement. Its soft texture and potential for vibrant designs make it both captivating and fun to wear. Whether layering up indoors or stepping out in cooler weather, this poncho is a stylish way to stay cozy. It’s a rewarding project for anyone looking to add a beautiful and functional garment to their wardrobe.

Crochet Pattern: Children's Turtleneck Poncho with Fringes
Materials
- Yarn:
- Size 4 Medium Weight Yarn (e.g., Caron Jumbo in "Rose Wood" or similar)
- Yardage: Approximately 268 yards (2 skeins of 134 yards each)
- Optional: Size 5 Bulky Yarn (if you'd like a denser look, as demonstrated in one of the examples)
- Size 4 Medium Weight Yarn (e.g., Caron Jumbo in "Rose Wood" or similar)
- Hook:
- 6.5 mm crochet hook
- Additional Tools:
- Tapestry needle/darning needle (for weaving in ends)
- Scissors
- Measuring tape
- Stitch markers
- Tag (optional)
- Sewing needle and thread (to sew the tag)
Special Techniques
- Back Loop Only (BLO):
- For the ribbing, single crochets are worked only into the back loop of the stitch.
- This creates a stretchy, rib-like texture.
- Shell Stitch (Granny Cluster):
- Each shell stitch consists of 3 double crochets (DC) worked into one stitch or space, followed by a chain-1.
- Slip Stitch Seam:
- Used to join both ends of the turtleneck to create a ring.
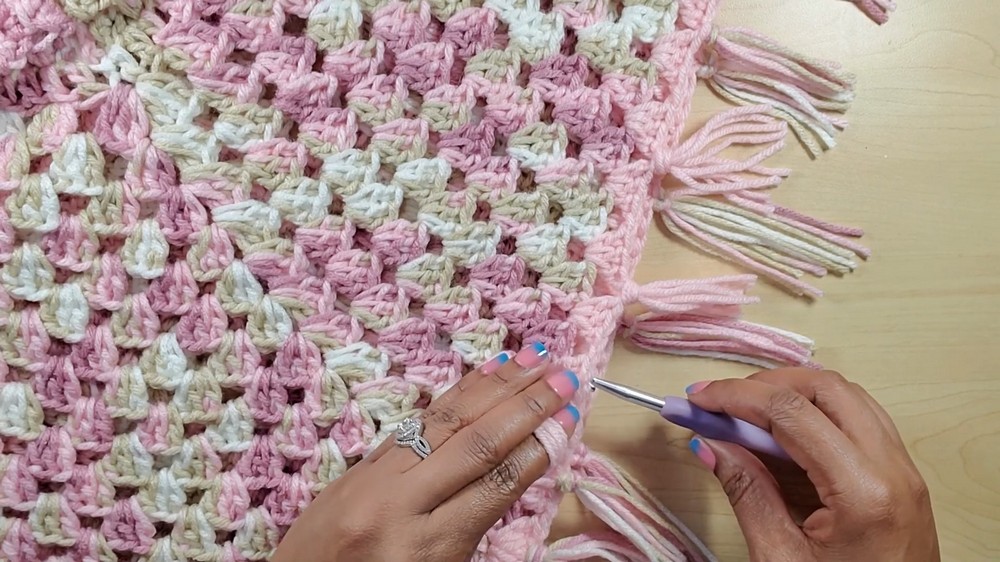
- Adding Fringes:
- Yarn strands are added to the hem to create a decorative fringe.
Finished Measurements
- Turtleneck Height: Approximately 7–8 inches (can adjust by increasing or decreasing the number of rows).
- Body Length: Approximately 14–16 inches (can also be adjusted).
- Fringe Length: About 4–5 inches each.
Instructions
1. Turtleneck Collar
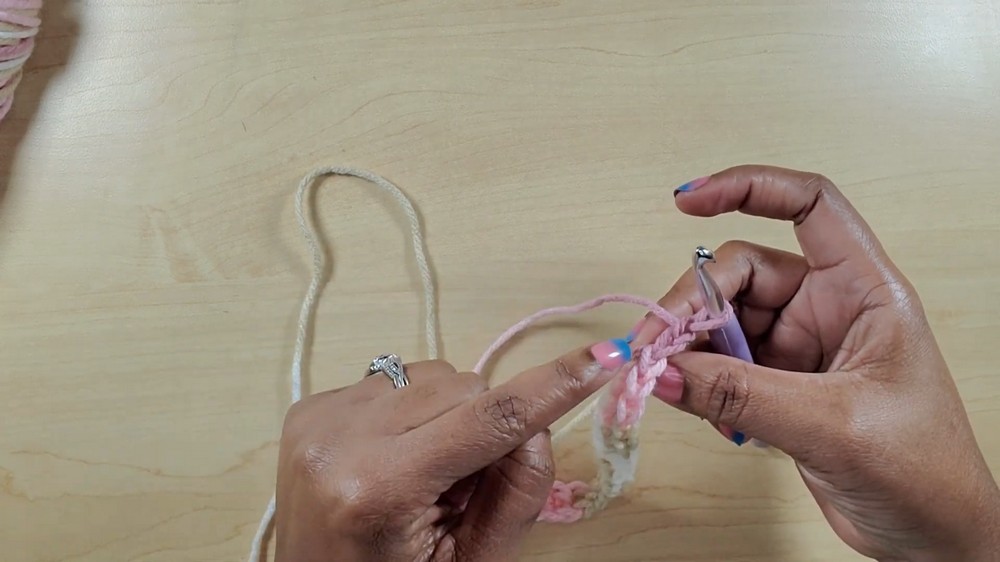
- Start the Ribbing:
- Create a slip knot and chain 21.
- Work single crochets (SC) into the back bumps of the chain, skipping the first chain. You’ll have 20 SCs in total.
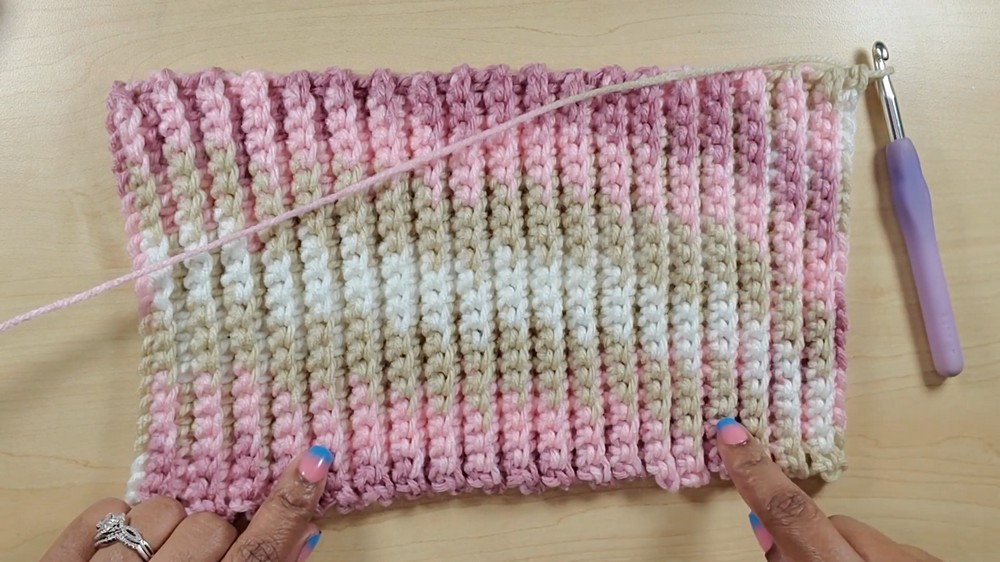
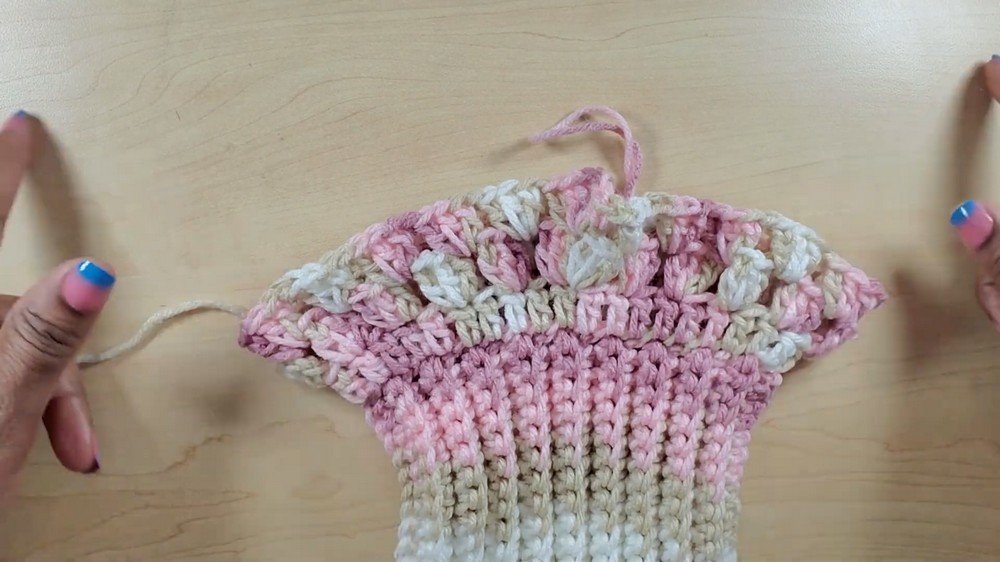
- Ribbing Texture:
- Chain 1, turn your work.
- Work SC into the back loops only (BLO) across the row (20 SCs).
- Repeat for a total of 38 rows.
Tip: To count the rows, every visible ridge on the ribbing counts as 2 rows.
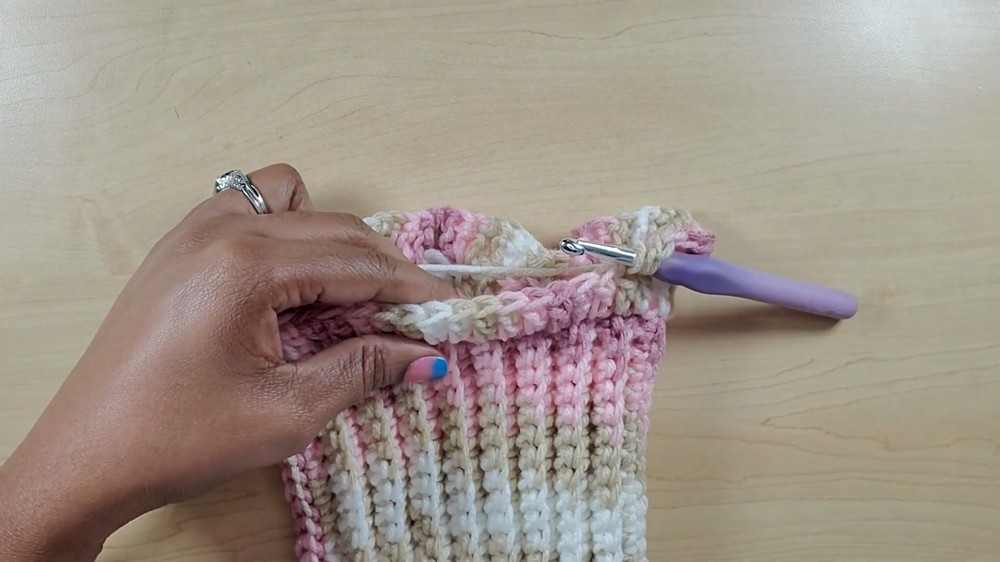
- Join the Collar into a Ring:
- Fold the ribbing in half lengthwise.
- Slip stitch into the front loop of the first edge and the back loop of the opposite edge to join.
- Work the Foundation for the Poncho:
- With the turtleneck complete, chain 1 and work 38 slip stitches evenly around the edge of the collar (1 slip stitch per row of ribbing). Ensure your slip stitches are loose to maintain stretch.
- Slip stitch into the first slip stitch to join.
2. Poncho Body
Create the Base
- Chain 1, then work 38 double crochets (DC) evenly around into each slip stitch from the previous round.
- Slip stitch into the first DC to join.
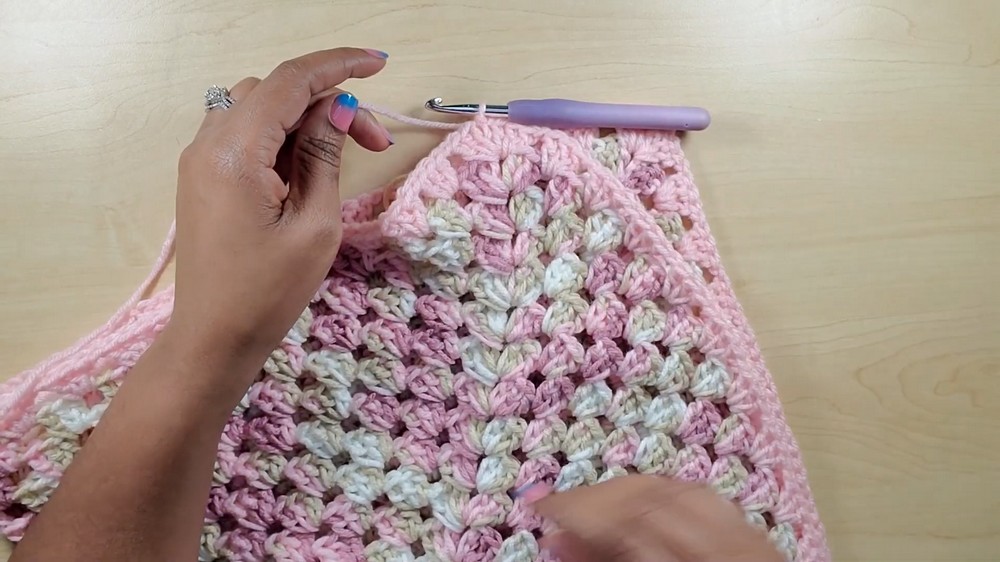
Work the Shell Stitch Rounds
- Starting the Shell Pattern:
- Chain 1. In the first stitch, work 3 DC (a granny cluster).
- Chain 1, skip the next stitch, and work another cluster of 3 DC in the following stitch.
- Continue this "granny cluster + ch-1 + skip 1" pattern around the round.
- For Increasing Rounds:
- To shape the poncho, identify every 19th stitch (center back and center front) of the poncho.
- In these center stitches (mark them with stitch markers to keep track), create a shell increase:
- Work 3 DC, ch 1, 3 DC in the same stitch.
- This will create the V-shape of the poncho.
- End of Round:
- When you’ve completed the round, slip stitch into the first DC of the first cluster for a seamless join.
- Repeat:
- Continue the shell pattern in the same way for a total of 14 rows (or until desired length). The increases at the marked center points will gradually increase the size and shape of the poncho.
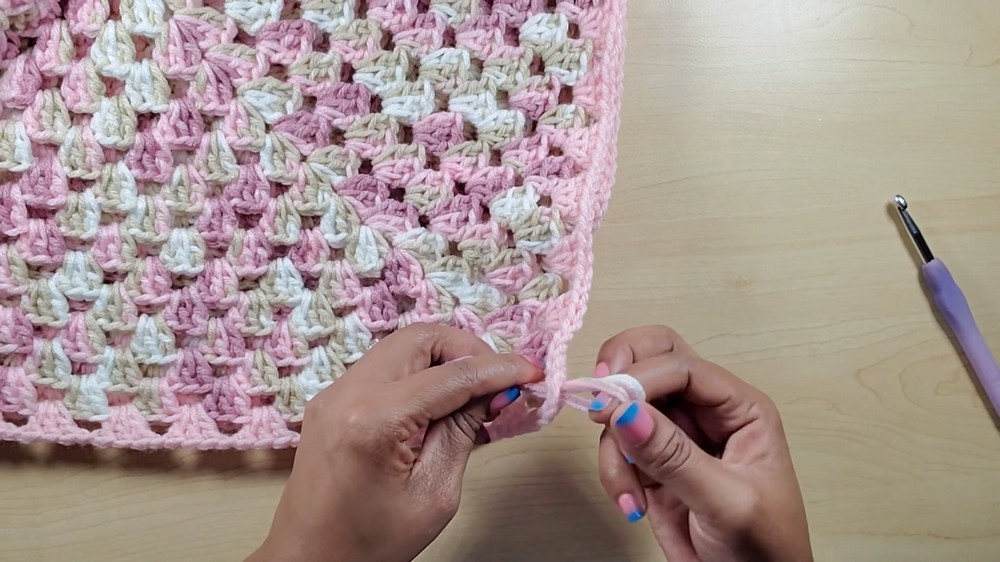
3. Adding Fringes
- Prepare the Fringe Strands:
- Use cardboard or a tissue roll to cut yarn strands into equal lengths (approximately 10 inches each). You will fold the strands in half when attaching, creating 5-inch fringes.
- Attach the Fringes:
- Join fringes into every other shell space around the hem.
- To attach:
- Fold a fringe strand in half.
- Use your crochet hook to pull the folded end through a space at the hem.
- Pull the two loose ends through the folded loop and tighten.
- Trim to Even Length:
- Once all the fringes are attached, trim them to your desired length or even them out for a polished look.
4. Finishing Touches
- Weave in all loose ends using a darning needle.
- (Optional) Sew a small designer tag onto the lower corner for an added touch.
Tips for Success
- Check Yarn Quantity: Ensure you have enough yarn before starting. If using smaller skeins, plan for 3–4 skeins to avoid running out mid-project.
- Work Loosely: Particularly for the turtleneck’s slip stitches, avoid tight tension for extra comfort.
- Customize Fit & Size:
- For older children, add more rows to both the turtleneck collar and body.
- Increase the fringe length for a more dramatic effect.
- Alternate Colors: Use two or more colors for a gradient or striped poncho.
Final Words
This adorable turtleneck poncho is designed to keep your little one warm while adding a stylish and playful touch to their wardrobe. Whether you make it for daily wear, gifts, or holiday outfits, this project is sure to become a family favorite.