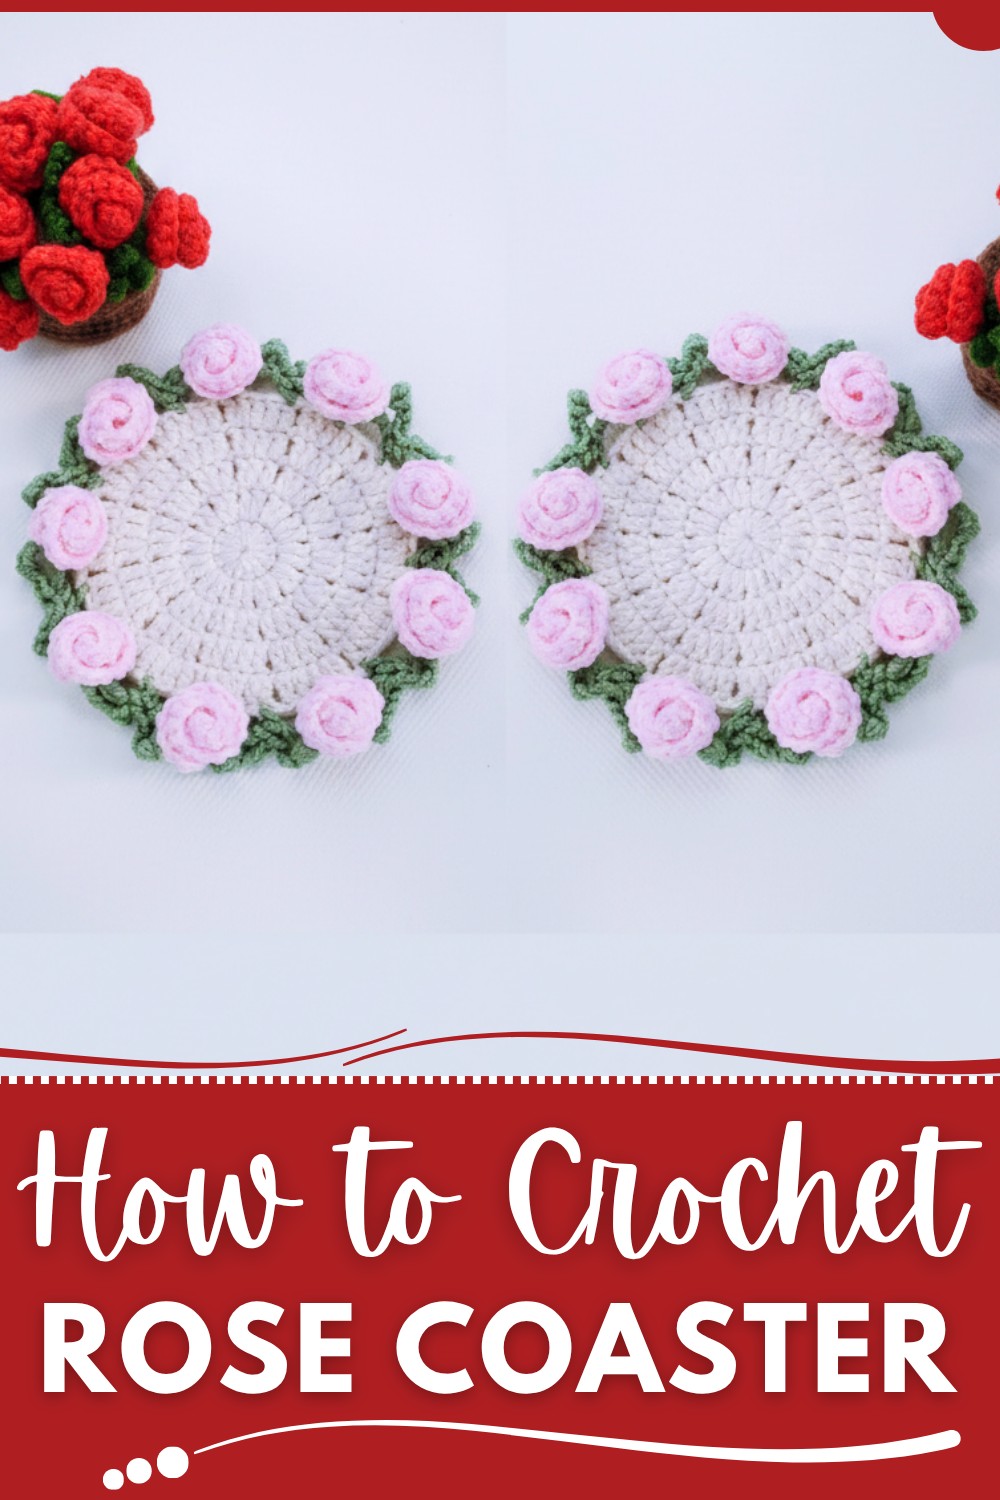
Create a stunning Crochet Rose Coaster Pattern that adds charm to your table while showcasing your creativity and love for handmade elegance.
A blooming rose brought to life with yarn and hook, this pattern offers a mix of beauty and practicality. Perfect for protecting surfaces, it adds a splash of charm to any space while showcasing the elegance of its petal-like design. The project is an excellent opportunity to play with colors—soft pastels create a vintage vibe, while vibrant hues mimic freshly picked garden roses.
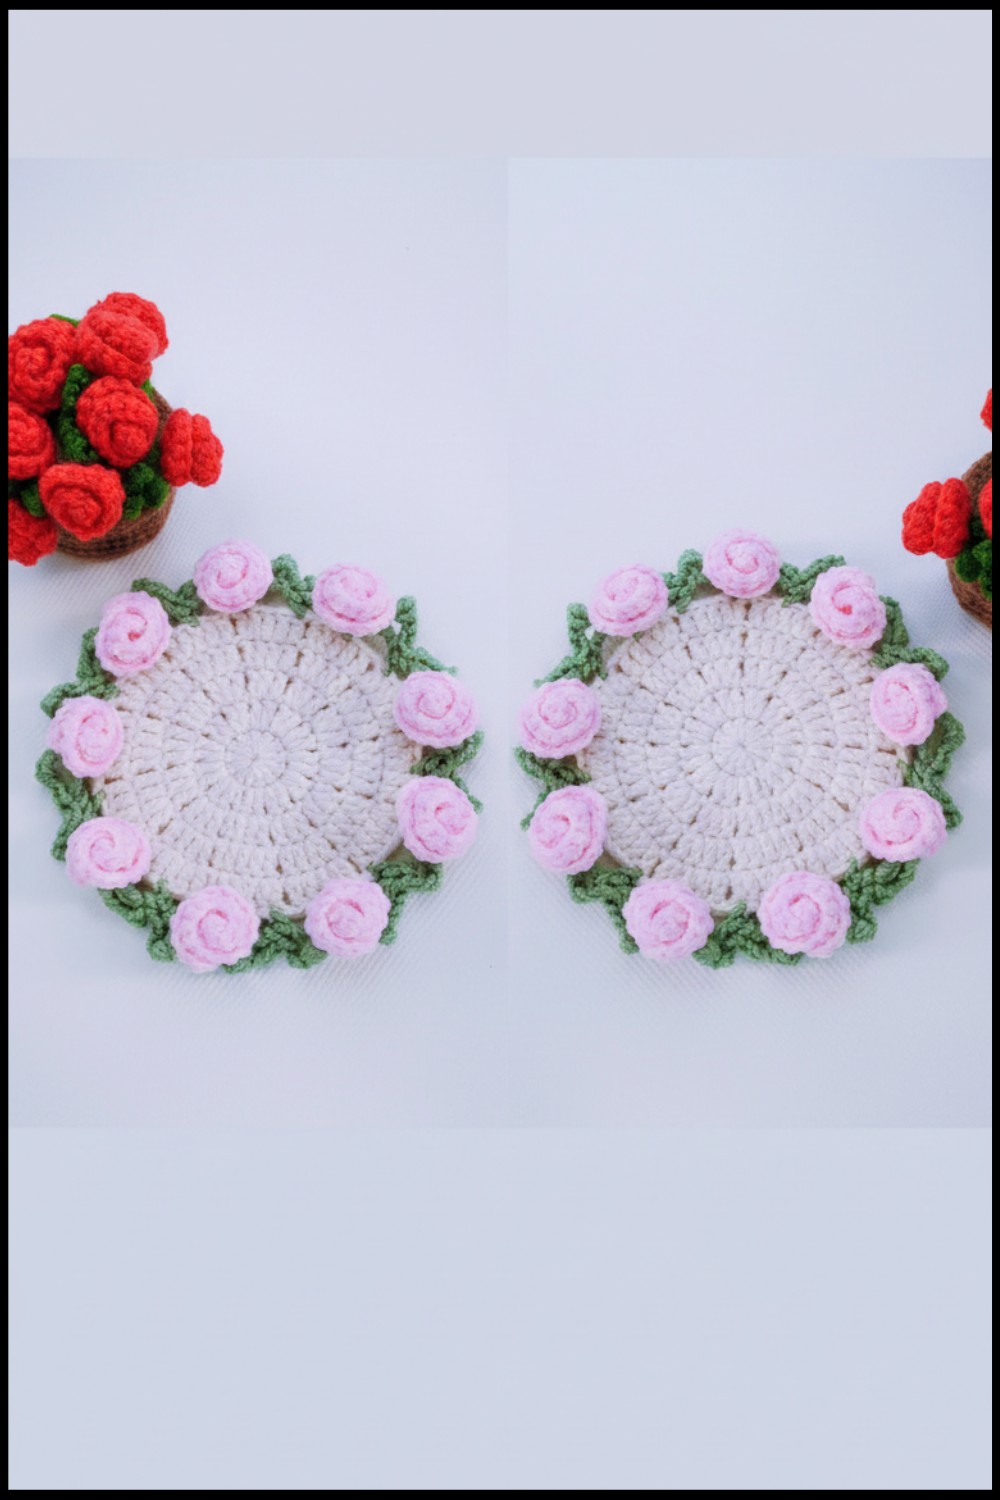
Crochet Stunning Rose Coasters to Brighten Up Any Room
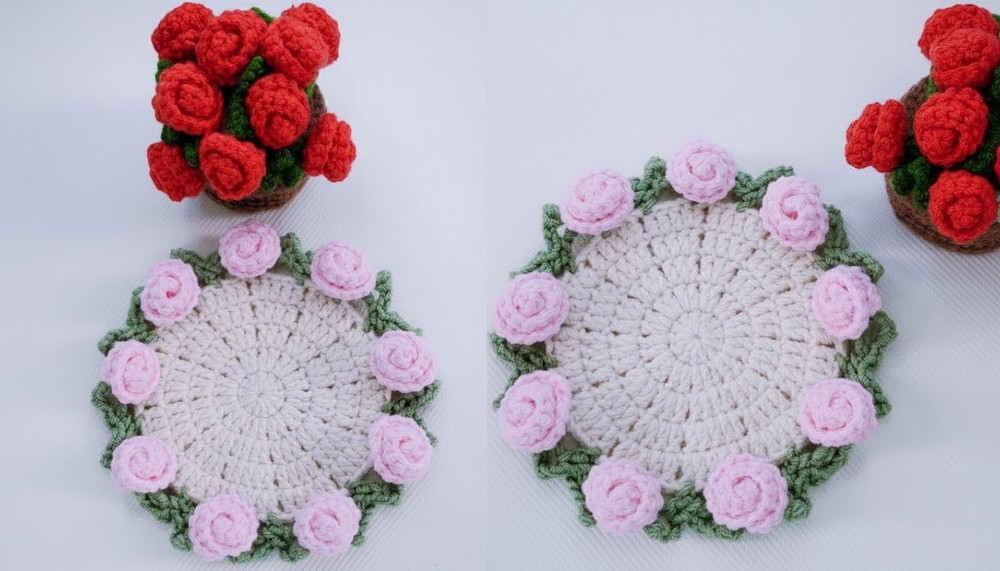
Despite an intricate appearance, the stitches remain accessible, making it a satisfying and rewarding endeavor. Use the finished piece as a drink coaster, a decorative touch under a candle or vase, or even a one-of-a-kind handmade gift. Versatile, fun, and stylish, this pattern transforms simple yarn into something both functional and decorative, bringing a cozy, handmade feel to everyday moments.
Rose Cup Coaster Crochet Pattern
Materials
- Main Yarn Colors:
- Beige yarn for the base of the coaster (Worsted Weight #4 or Cotton Yarn recommended).
- Green yarn for leaves.
- Rose-colored yarn for flowers (choose any color, e.g., red, pink, or yellow).
- Crochet Hook:
- Use a size appropriate for your yarn; typically, a 5 mm (H-8) hook works well with worsted-weight yarn.
- Scissors
- Tapestry Needle:
- Required for weaving in ends and sewing the roses securely.
Gauge
While gauge is not particularly critical for this project, ensure your stitches are consistent to maintain the coaster’s shape. If using worsted-weight yarn and a 5 mm hook, the approximate diameter will be 6–8 inches, depending on the size of the roses.
Finished Size
The final coaster measures approximately 6–8 inches in diameter, resembling a mini bouquet of roses.
Pattern Instructions
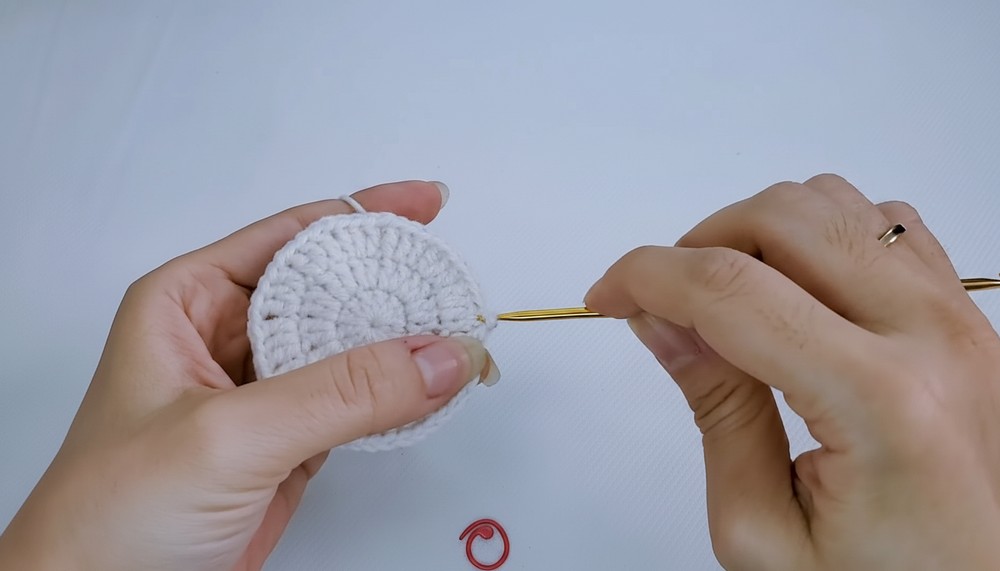
Step 1: Crochet the Coaster Base
Row 1: Create the Magic Circle
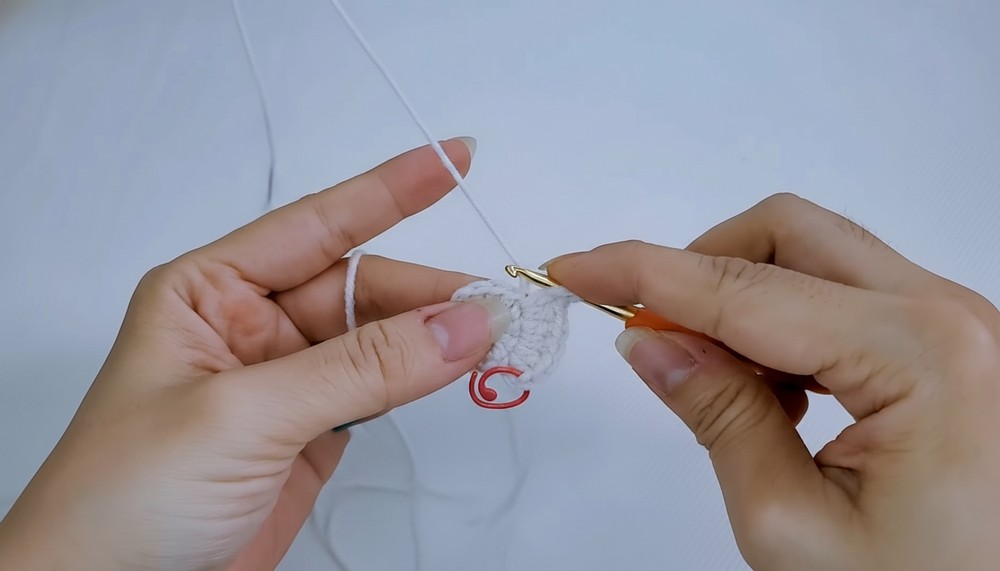
- Start with beige yarn. Create a magic circle.
- Crochet 2 chain stitches to begin.
- Into the magic circle, crochet 12 double crochet (DC) stitches. (Count each stitch aloud for accuracy.)
- Close the circle by pulling the yarn tight and slipping the stitch into the first double crochet of the round.
Row 2: Increase Stitches
- Start by chaining 2 stitches to begin the round.
- Crochet 2 DC into each stitch of the previous row. Separate each pair of stitches with 1 chain stitch.
- Example: Insert hook into the first stitch, crochet 1 DC, then crochet 1 additional DC into the same stitch, followed by 1 chain stitch.
- Repeat this pattern around the circle, finishing with a single chain stitch before joining with a slip stitch into the first stitch of the row. You should now have 24 DC stitches.
Row 3: Continue Increasing
- Chain 2 stitches to start the row.
- In the first stitch, crochet 1 DC, marking this stitch for future reference.
- In the next stitch, crochet 2 DC stitches in the same stitch, followed by 1 chain stitch.
- Skip the next chain stitch (from the previous row) and crochet into the subsequent DC stitch.
- Example: Skip 1, crochet 1 DC, then crochet 2 DC stitches in the same stitch, followed by 1 chain stitch.
- Repeat this pattern around the circle. After completing this row, there should be 36 DC stitches.
Row 4: Further Expansion
- Chain 2 stitches to begin.
- Crochet 1 DC into the next 2 stitches, followed by 2 DC stitches into the subsequent stitch.
- Chain 1 stitch and skip the chain space from the previous row.
- Repeat the sequence from Row 3, ensuring to continue increasing consistently. At the end of this row, you should have 48 DC stitches.
Row 5: Final Base Row
- Chain 2 stitches to start.
- Crochet 1 DC stitch into the next 3 stitches, followed by 2 DC stitches into the next stitch.
- Chain 1 stitch and skip the chain space from the previous row.
- Repeat the sequence as done previously for the entire round. Finish with 60 DC stitches. Slip stitch to the first stitch to complete the coaster’s base.
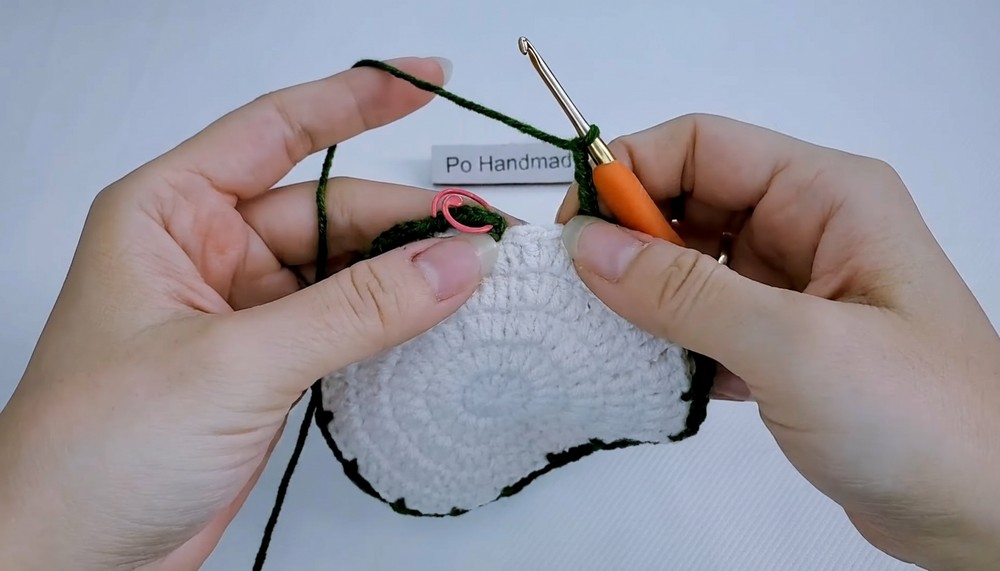
Step 2: Crochet the Leaves
- Switch to green yarn and insert the hook into the base.
- Pull the yarn through and chain 1 stitch to secure it.
Row 1: Leaf Foundation
- Crochet 1 single crochet (SC) into the first stitch.
- Work 4 chain stitches, skip 3 stitches, and crochet 1 SC into the 4th stitch.
- Repeat this process across the row: chain 4 stitches, skip 3 stitches, and crochet 1 SC into the 4th stitch.
- Finish by slip stitching into the first SC of the row.
Row 2: Shaping the Leaves
- Chain 4 stitches and insert the hook into the next gap created by the previous row’s chain spaces.
- Skip the first stitch within the gap and crochet 1 SC into the 2nd gap stitch.
- Chain 3 stitches, crochet 1 SC into the same gap, forming the “leaf shape.”
- Continue this sequence for all gaps around the row. Slip stitch into the first SC to finish.
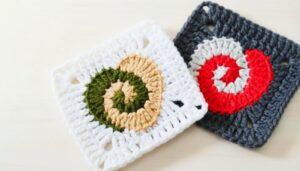
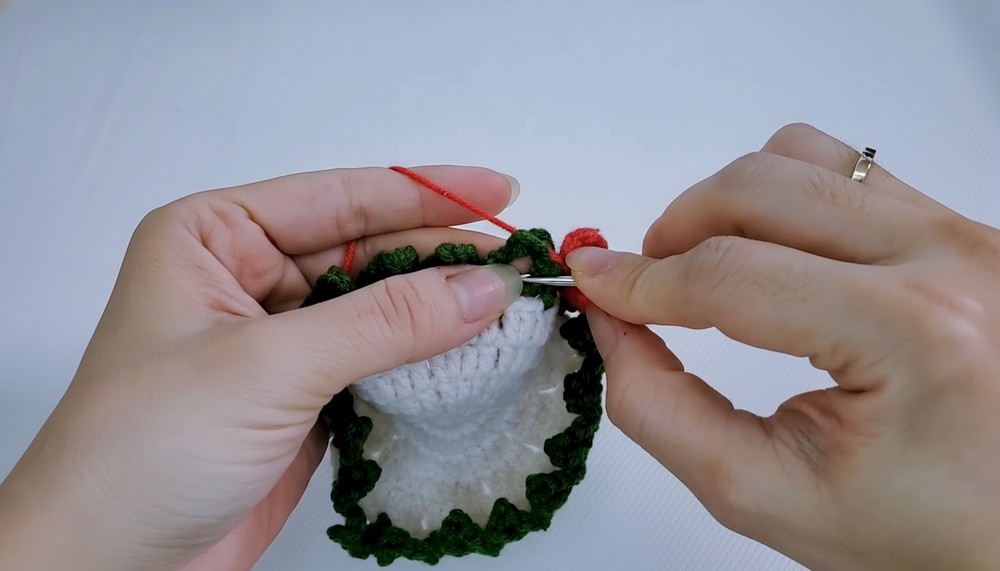
Step 3: Create the Roses
Switch to rose-colored yarn to crochet decorative flowers.
Steps for Each Rose:
- Insert the hook into the single crochet edges of the base.
- Crochet 12 chain stitches.
- Skip the first 3 chain stitches, then crochet 3 DC stitches in the same stitch, starting from the 4th chain.
- Repeat: Work 3 DCs in the next stitch. Continue to the end of the chain.
- Finish the row by chaining 3 stitches followed by a slip stitch into the final DC stitch.
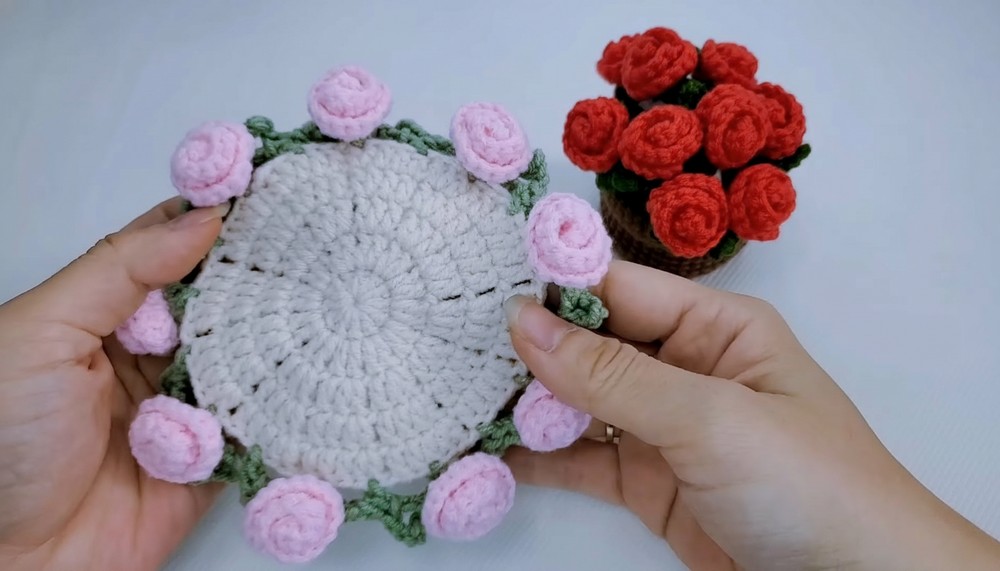
- Roll the crocheted chain to form a rose shape. Use the hook and tapestry needle to secure the rose onto the cluster space.
- Repeat for all cluster spaces until you have roses built around the entire coaster.
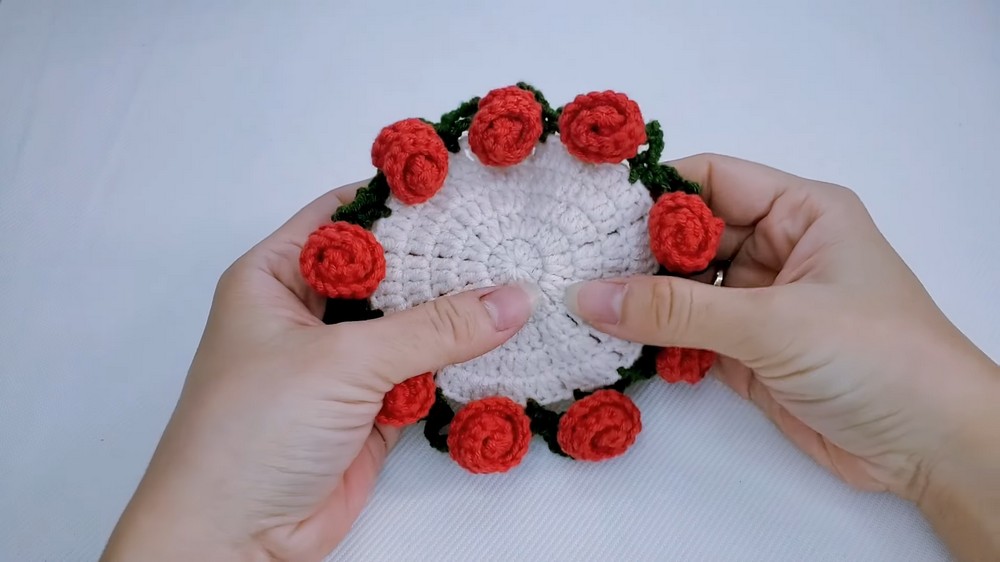
Finishing the Pattern
- Sew all loose ends securely using a tapestry needle.
- Adjust the placement of the roses and leaves for symmetry and aesthetic appeal.
- Gently block or shape the coaster for a flat and polished look.
Final Words and Tips
Congratulations on completing the rose cup coaster! Its elegant texture and vibrant details make it a perfect piece for home decor or a thoughtful gift.
Tips to Maintain the Pattern:
- Consistency: Keep an even tension throughout to maintain symmetry.
- Customization: Use different yarn colors for roses to create a multicolored bouquet effect.
- Care Instructions: Hand wash with mild soap; avoid stretching the roses during drying.