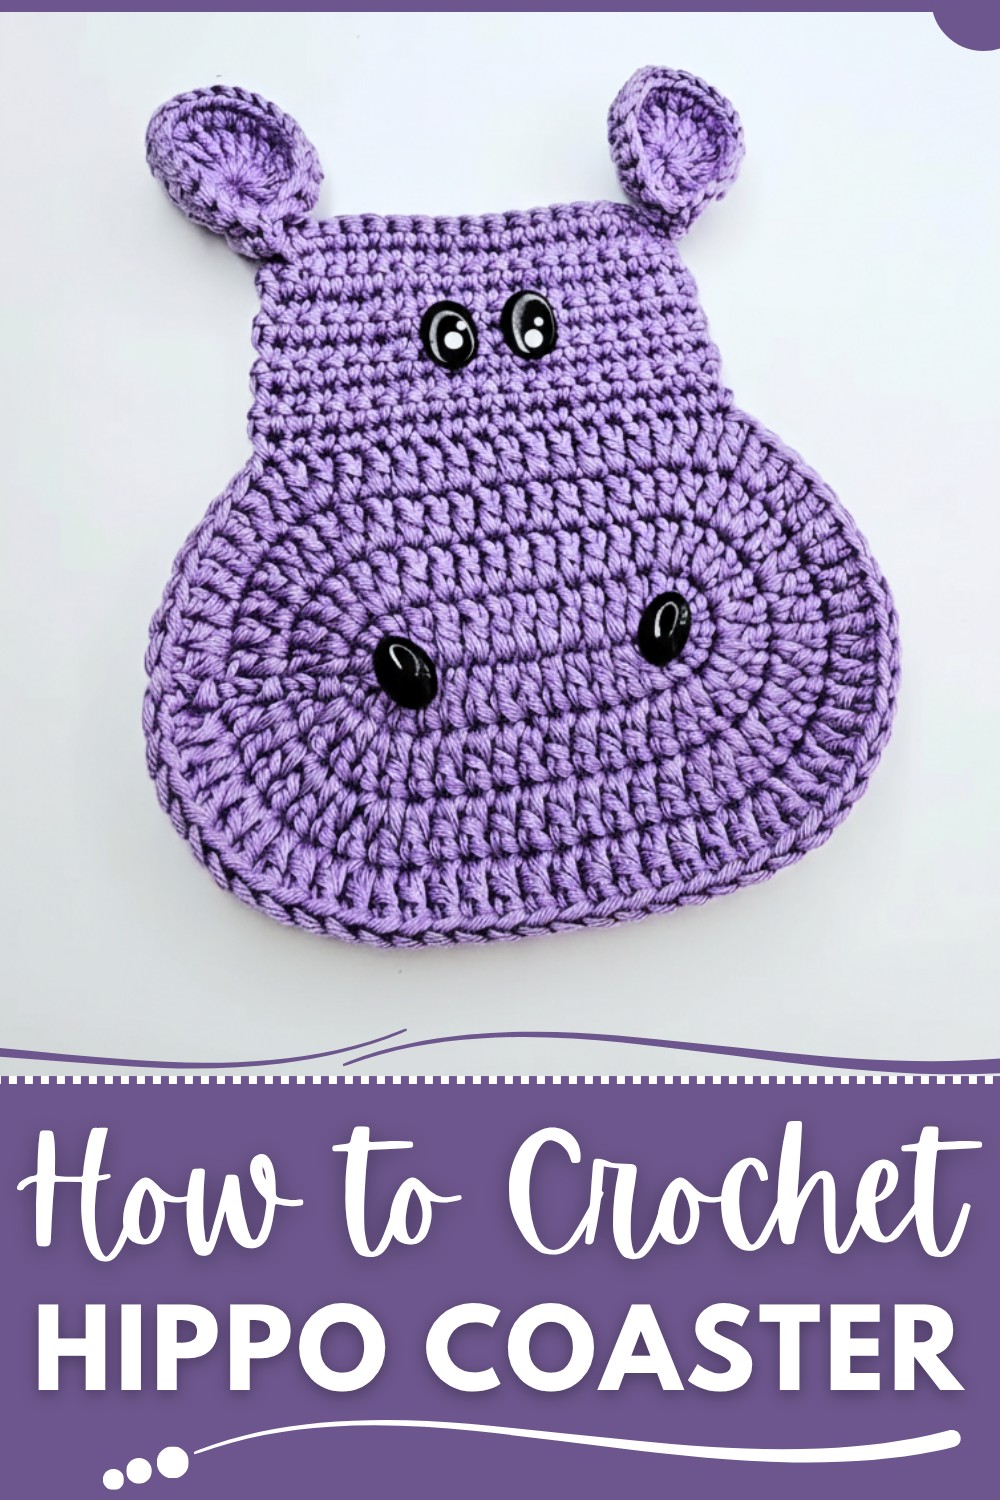
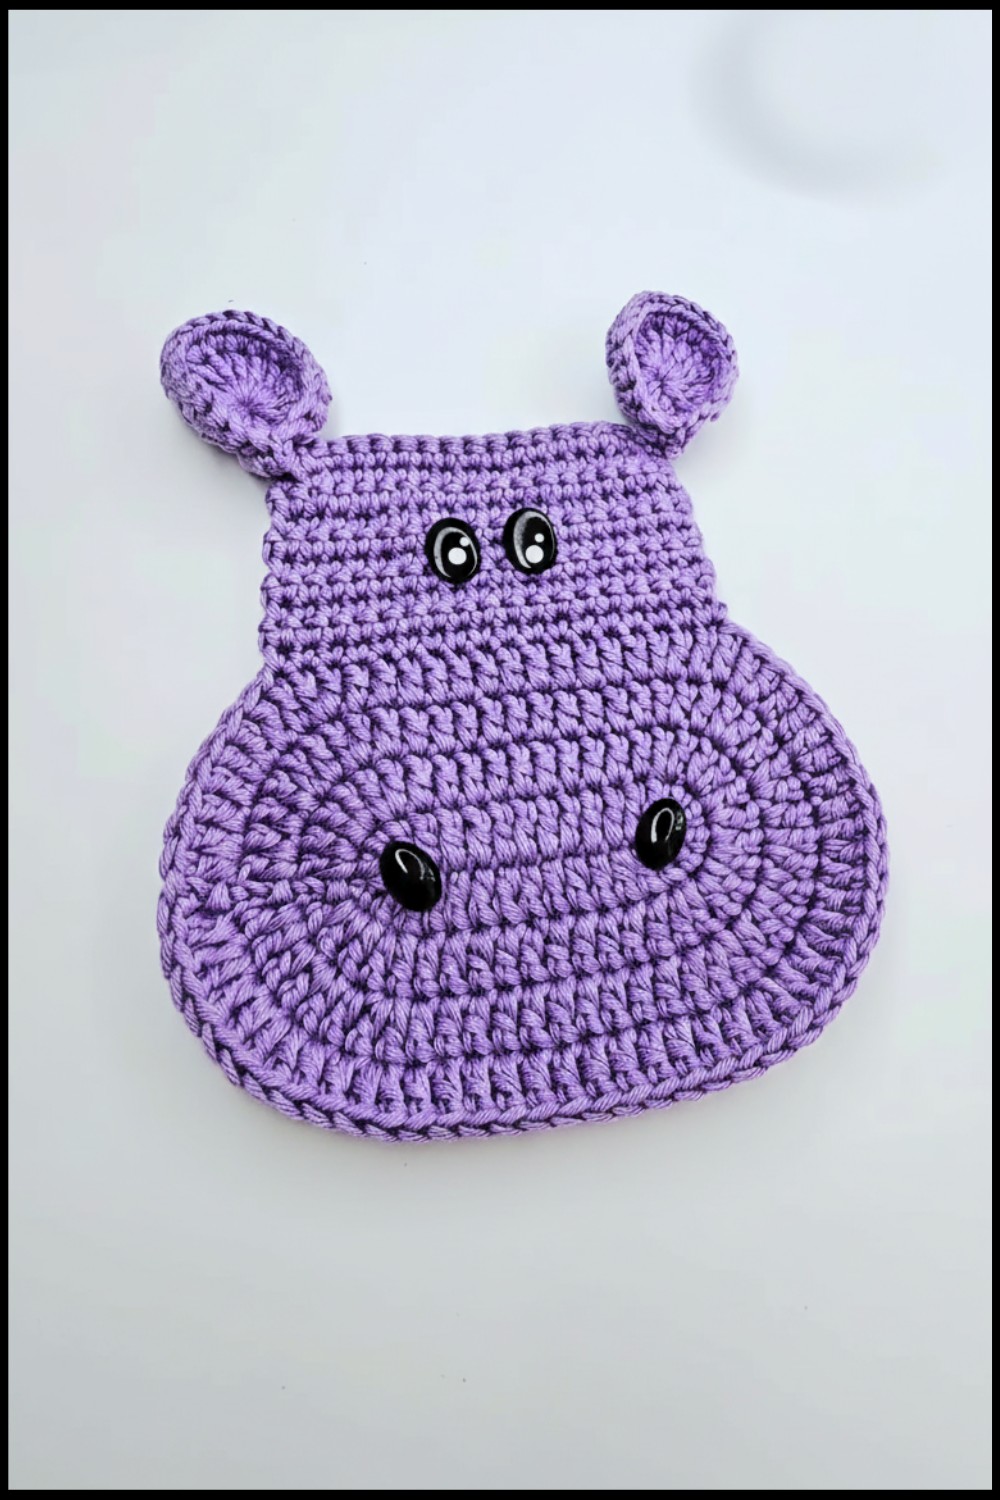
Celebrate the charm of a playful crochet hippo coaster that protects your surfaces, sparks joy, and invites creativity with every stitch.
Coasters don’t have to be dull, and this Crochet Hippo Coaster Pattern is the perfect example of how a functional item can double as playful décor. Combining practicality and personality, this pattern transforms ordinary yarn into an adorable hippo design that protects your tables from spills and heat while adding charm to your space. It’s a fun and creative coaster, ideal for those looking to make something unique and cheerful.
Free Hippo Coaster Crochet Pattern That’s Functional & Cute
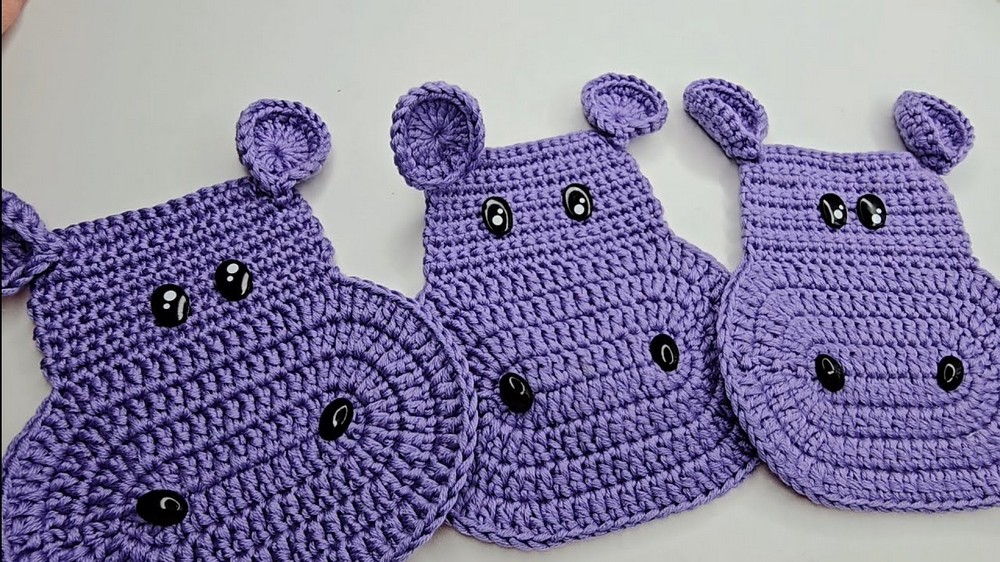
With room for creative color choices and quick assembly, it’s a rewarding project for crocheters of all skill levels, from beginners to seasoned pros. Not just limited to everyday use, this hippo coaster works wonderfully as a thoughtful handmade gift or a quirky touch in kids’ rooms. It’s compact, easy to customize, and perfect for using up scrap yarn. This pattern proves that crochet isn’t just a craft, it's an outlet for playful creativity wrapped in practical utility.
Crochet Hippo Coaster Pattern (Intermediate)
Materials
Required Items:
- Yarn: Synthetic yarn, Worsted Weight (#4) ("Dublin" used in the pattern; substitute with any yarn that fits your budget).
- Main body: Any preferred color (e.g., Purple for hippo).
- Ears: Same color as the body.
- Eyes: Safety eyes, or yarn for embroidery.
- Nose: Optional yarn or buttons.
- Crochet Hook: 3.50 mm (E-4).
- Scissors
- Tapestry/Wool Needle (to sew ears, weave in ends).
- Optional Items: Safety eyes, buttons, additional decorative items.
Skill Level
Intermediate to Advanced
Requires knowledge of working in the round, increasing stitches, and shaping both flat and dimensional pieces.
Key Abbreviations (US Crochet Terminology)
- CH = Chain Stitch
- SC = Single Crochet
- DC = Double Crochet
- SLST = Slip Stitch
- INC = Increase (2 stitches into the same space)
- ST = Stitch
- REP = Repeat
Pattern Notes
- Magic Circle: A beginner-friendly alternative would be to chain 3, then join with a SLST to form a circle.
- Work stitch increases carefully to ensure symmetry.
- Use safety pins to accurately mark placement of features like eyes and ears.
- Gauge: While gauge is not essential, use consistent tension for smoother results.
Pattern Instructions
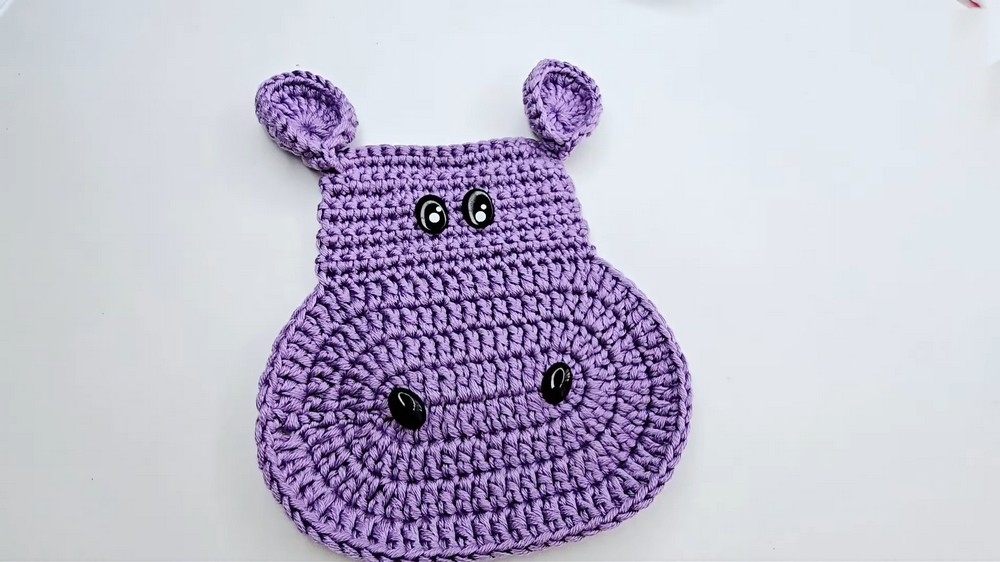
Base Hippo Body (Round Coaster)
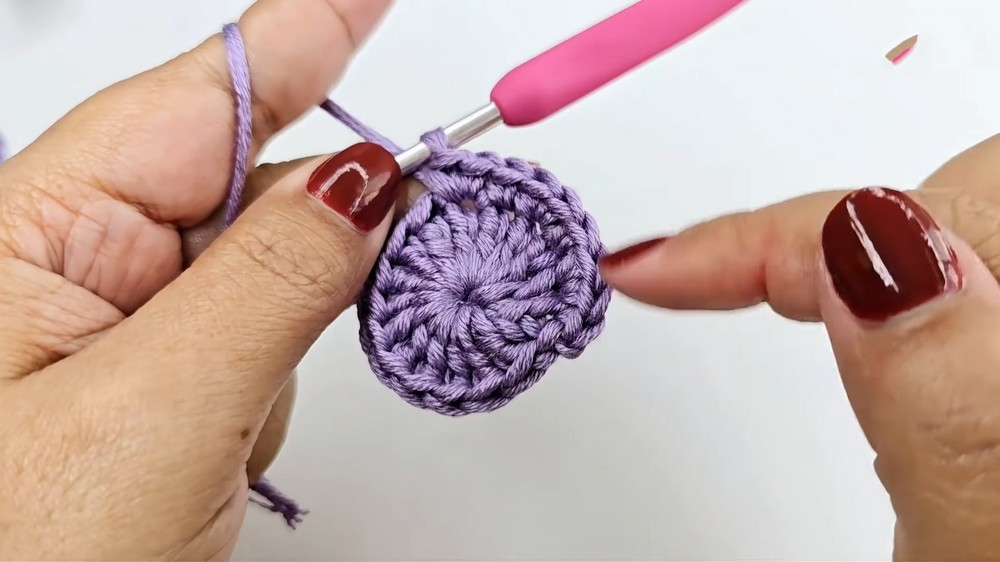
Round 1:
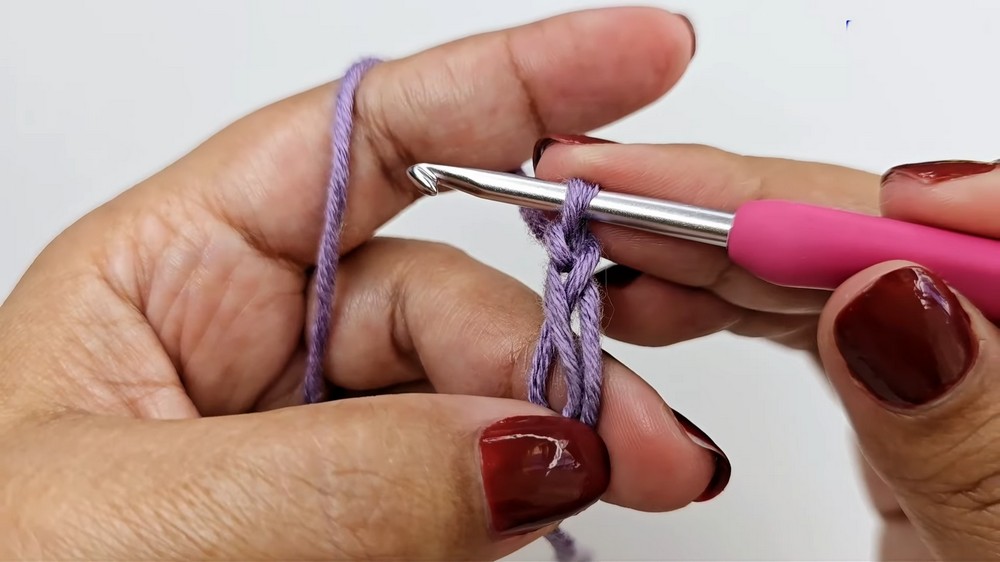
- Start with a magic circle.
- CH 2 (does not count as a DC).
- Work 10 DCs into the magic circle.
- Pull the circle tight, and SLST into the first DC to close the round.
Round 2:
- CH 3 (counts as the first DC).
- In the same ST as the SLST, work 1 DC (this first space counts as an INC).
- Work 2 DCs in the next ST, then repeat INC in every ST around (creating 20 DCs total).
- Finish the round with SLST into the top of the CH-3.
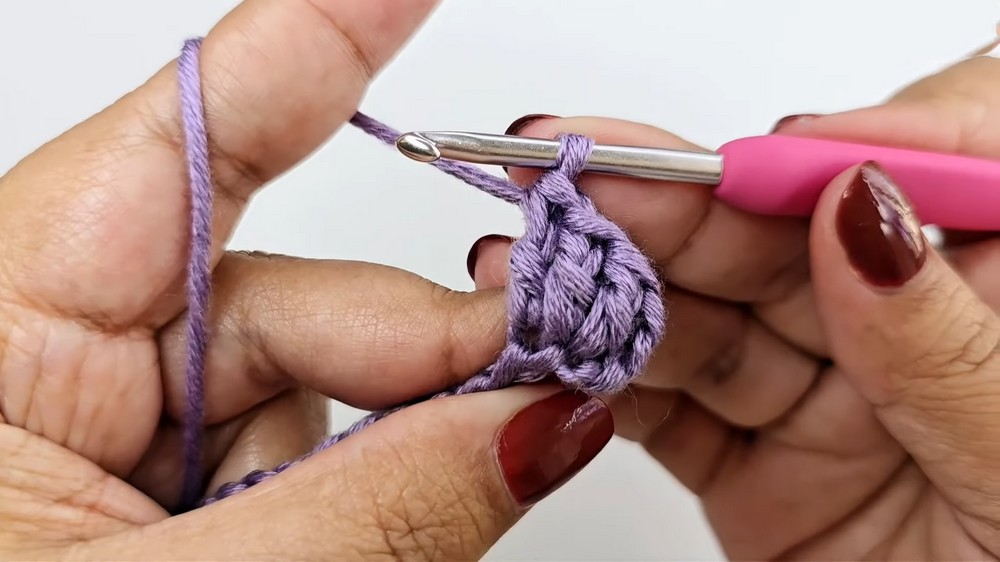
Round 3:
- CH 3 (counts as the first DC).
- (Work 1 DC into the next ST, then work INC into the following ST).
- REP from * until the round is completed.
- This alternates: 1 DC, INC.
- At the end, you'll have 30 DCs.
- SLST into the top of the starting CH-3.
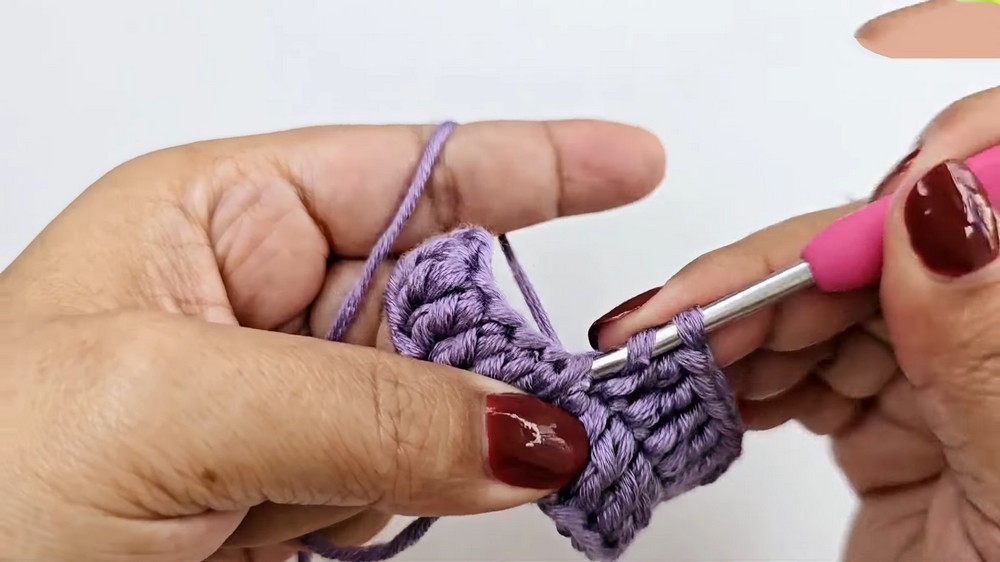
Round 4:
- CH 3.
- (Work 2 DC, then INC into the next ST).
- REP from * for the entire round, ending with SLST into the CH-3.
- At the end, there will be 40 DCs.
- If larger size is desired, continue increasing in subsequent rounds using a similar sequence (e.g., 3 DCs between each INC, then 4 DCs, etc.).
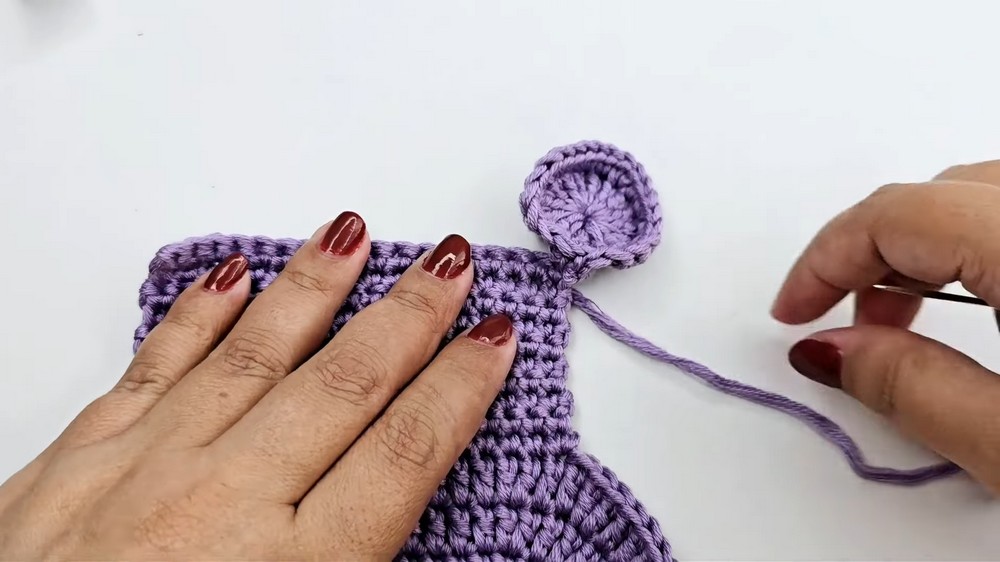
Ears (Make 2)
Ear Base:
- Start with a magic circle. Work CH 1 to secure.
- Work 16 SCs inside the magic circle. Pull the circle tight.
- Join with a SLST into the first SC.
Ear Shaping:
- CH 1 and SC into the same ST as the SLST.
- (Work SC, then INC into the next ST.)
- REP from * around the circle.
- This alternates SC and INC to add subtle shaping.
- Close with a SLST into the first SC.
Finishing:
Use the tapestry needle to fold each ear slightly at the base for a rounded effect. Position the ear on either side of the coaster center. Secure by sewing along the folded edge.
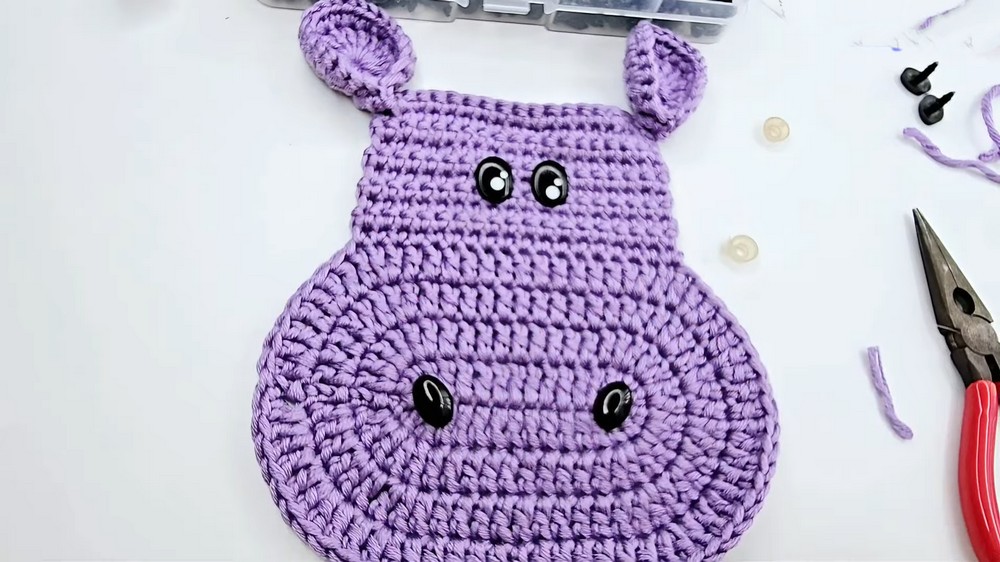
Eyes
- Attach safety eyes to their marked positions near the center of the coaster.
- Alternative: Use yarn to create small embroidered eyes using a tapestry needle.
Construction of Nose
- Use a small button or crochet a tiny oval shape using SCs and optional INC stitches.
- Sew the nose between the eyes.
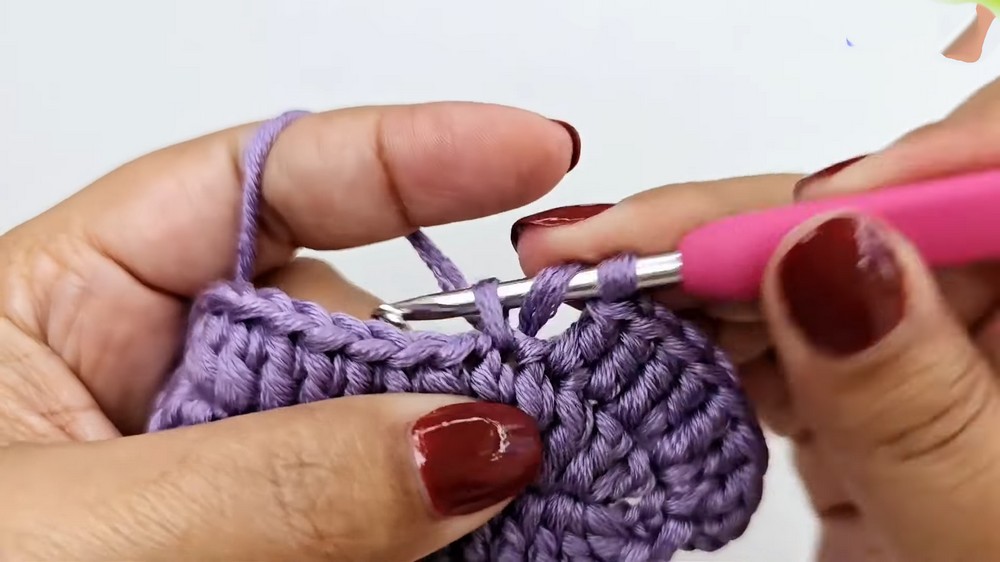
Final Assembly
- Seam any unsewn edges (e.g., between ears and coaster).
- Carefully weave in all loose ends using the tapestry needle.
- Shape the coaster using blocking if necessary.
Conclusion
Your crocheted hippo coaster is complete! Soft, functional, and adorable, it's a perfect accessory for your home or a gift to a loved one. You can also create smaller hippos by reducing the number of rounds or use thinner yarn and smaller hooks for appliqué purposes on sweaters or other crafts.
Pattern Corrections and Tips
Corrections:
- If your coaster begins to ripple, check stitch counts and ensure that increases are spaced properly.
- Uneven placement of ears or eyes can be adjusted even after sewing by carefully undoing stitches and repositioning.
Tips:
- Customization:
- Add embroidered features, like eyelashes, or use variegated yarns for playful texture.
- Care Instructions:
- Hand wash gently with mild soap; reshape while damp and lay flat to dry.
- Budget-Friendly Yarn:
- Substitute yarns with whatever fits your budget, as size and color flexibility make it versatile.