
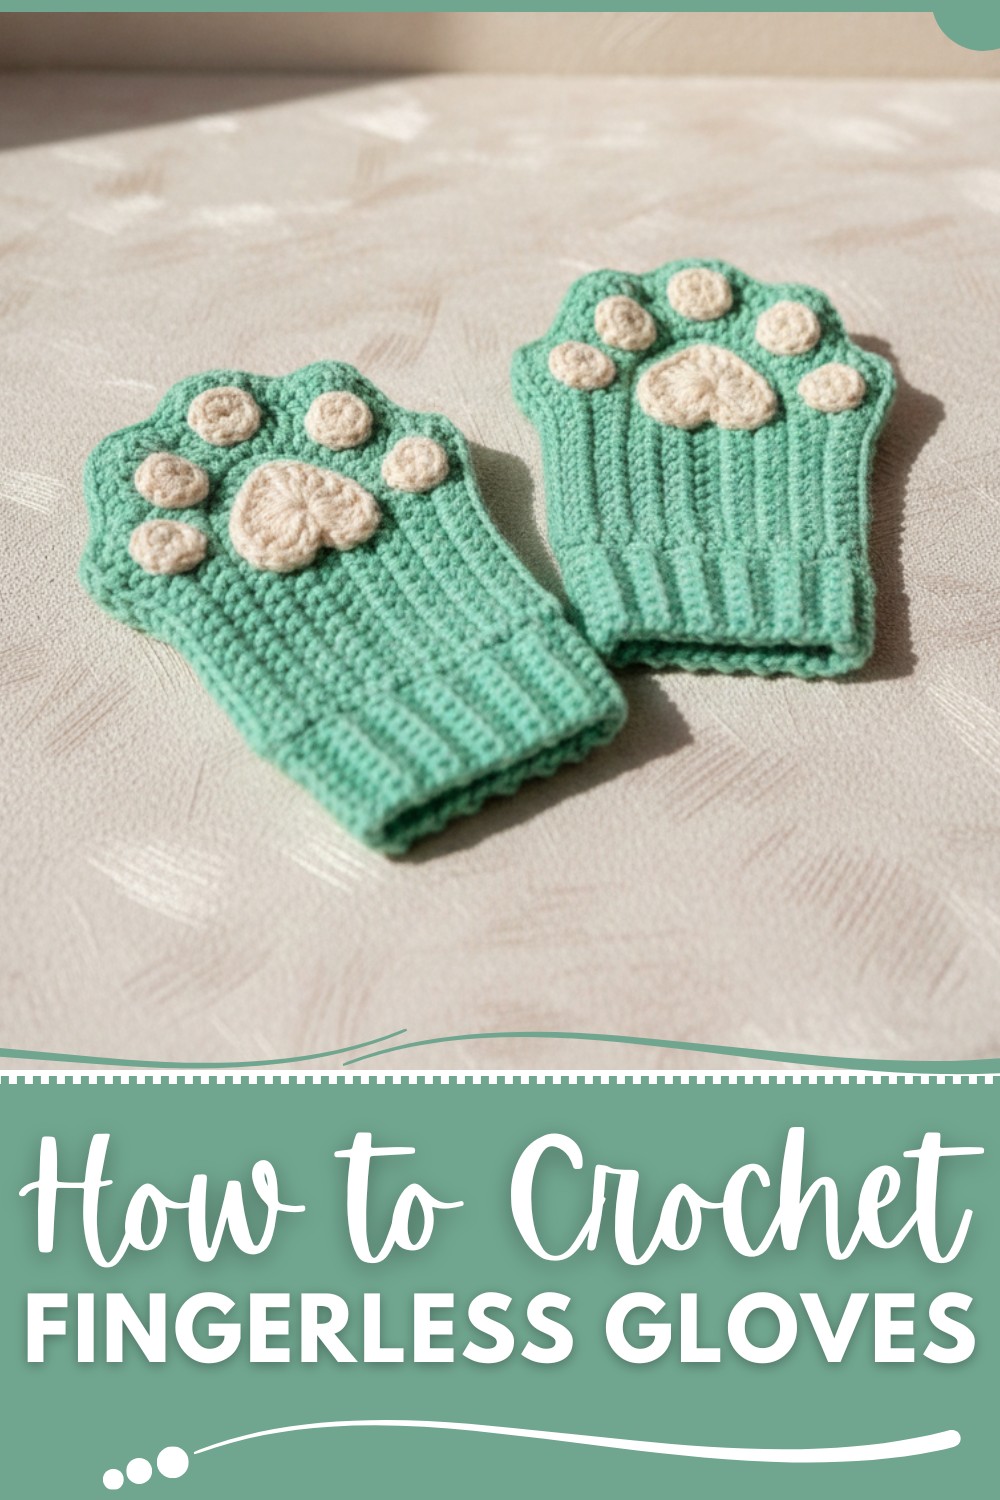
The adorable paw detail adds a playful touch and makes it a wonderful handmade gift for any cat lover. Style it with casual winter outfits or use it as a statement piece to show off your love for unique accessories. Whether crocheted for yourself or a loved one, it’s a quick, creative project that everyone will adore.
Adorable Crochet Fingerless Gloves Pattern for Cat Lovers
Materials and Tools
- Yarn:
- 3 balls of milk cotton yarn (or any soft medium-weight yarn) in your preferred colors.
- Crochet Hook: 3.5mm crochet hook
- Tapestry Needle: To sew components and weave in ends
- Scissors: For cutting yarn
- Optional: Fabric glue (if you prefer gluing details rather than sewing)
Crochet Fingerless Gloves With Cat Paw Detaile
This detailed guide explains the steps to create crochet fingerless gloves, super cute, cozy, and suitable for a variety of customization options! Designed carefully from the transcription, this pattern ensures a beginner-friendly yet rewarding crochet project.
Pattern Details
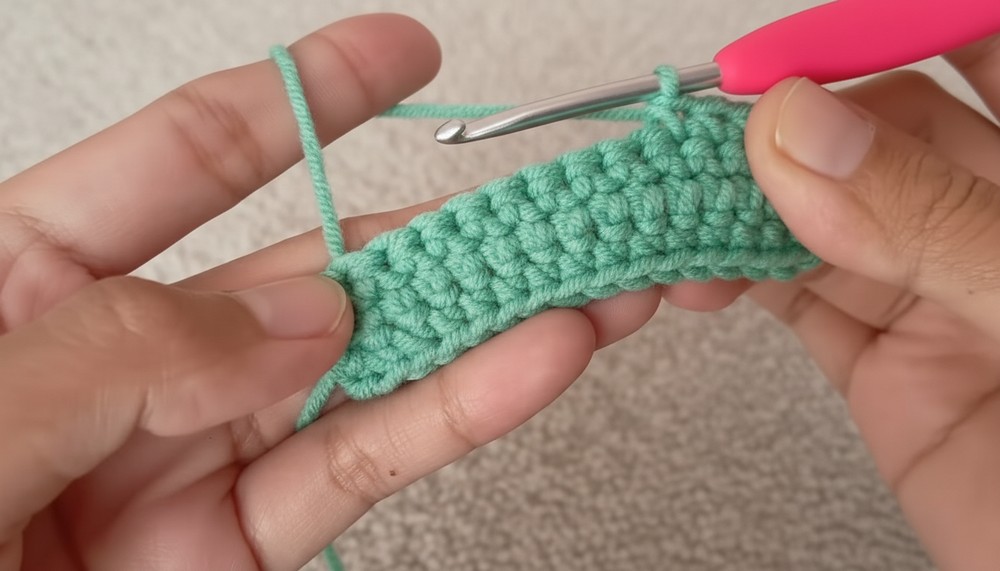
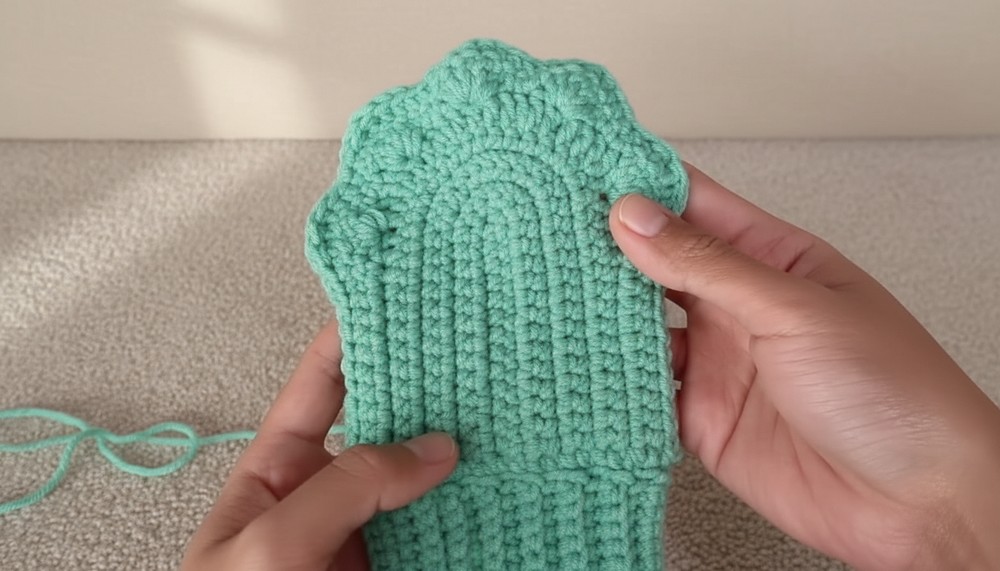
Step 1: Making the Base of the Gloves
Row 1—Foundation Row
- Create a slip knot and chain 15.
- Ensure the chains are loose and not overly tight to achieve a neat foundation.
- Turn your work and begin working single crochets in the back bumps of the chain stitches:
- Work 13 single crochets in the first 13 bumps.
- Tip: Working in the back bumps will result in a neater and more compact base.
- In the final chain, work 3 single crochets into the same stitch (this creates a rounded edge).
- Continue working 13 single crochets along the opposite side of the chain.
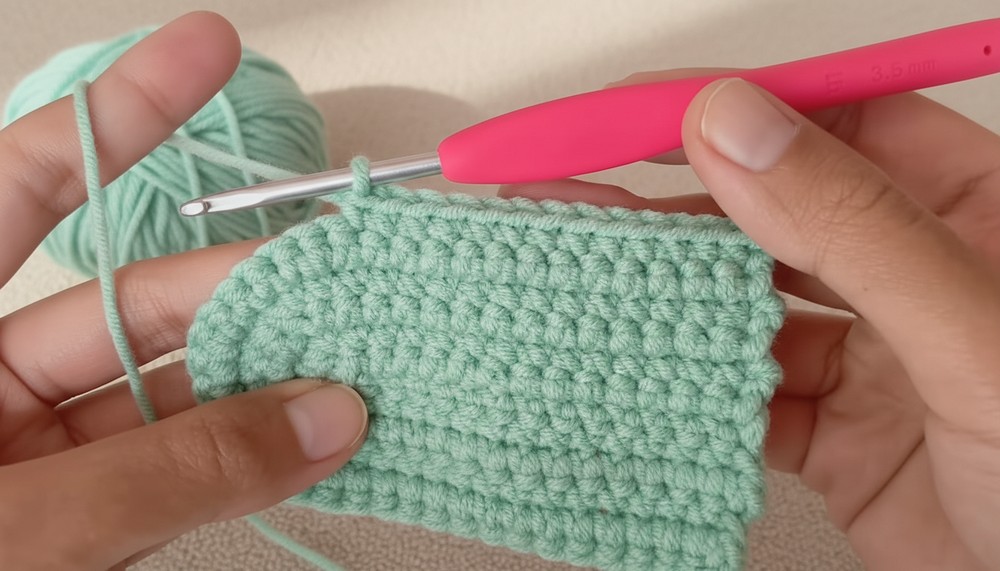
Row 2
- Chain 1, turn your work, and crochet 13 single crochets.
- Work 3 single crochet increases:
- For a single crochet increase, work 2 single crochets in the same stitch.
- Finish the row with 13 single crochets.
Row 3
- Chain 1, turn your work, and crochet 13 single crochets.
- Continue with 1 single crochet followed by 1 single crochet increase, repeating this pattern 3 times.
- Finish the row with 13 single crochets.
Row 4
- Chain 1, turn your work, and crochet 13 single crochets.
- For the next section, work:
- 1 single crochet
- 1 single crochet increase
- 1 single crochet
- Repeat this pattern 3 times.
- Finish the row with 13 single crochets.
Row 5
- Crochet 13 single crochets to start.
- Follow this pattern:
- 3 single crochets and 1 single crochet increase
- Repeat this pattern 3 times.
- Finish the row with 13 single crochets.
Row 6
- Crochet 13 single crochets.
- Work 2 single crochets, 1 single crochet increase, and 2 single crochets, repeating this pattern 3 times.
- Complete the row with 13 single crochets.
Row 7
- Start with 10 single crochets, followed by 2 half double crochets.
- Half Double Crochet:
- Yarn over, insert hook into stitch, pull yarn through (3 loops on hook).
- Yarn over again and pull through all 3 loops.
- Half Double Crochet:
- Work 3 double crochets:
- Double Crochet:
- Yarn over, insert hook, yarn over and pull through.
- Yarn over, pull through 2 loops, yarn over again, and pull through the last 2 loops.
- Double Crochet:
- Alternate 3 double crochets followed by 1 double crochet increase (repeat for 4 times).
- Finish with 3 double crochets, 2 half double crochets, and 11 single crochets.
Row 8 (Paw Design Shaping)
- Crochet 11 single crochets, followed by 1 half double crochet.
- Skip one stitch, and in the next stitch, work 5 double crochets into the same stitch.
- Skip one stitch, and crochet 2 single crochets.
- Repeat the pattern (skip one stitch, work 5 double crochets into the same stitch) 4 times.
- Skip one stitch, make 1 half double crochet, and finish the row with single crochets to the end.
Row 9
- Crochet 14 single crochets to start.
- Then follow this pattern:
- 3 double crochets, 4 single crochets
- Repeat this pattern for 5 times.
- Finish the row with single crochets to the end.
- Chain 1, fasten off, and leave a long tail for sewing.
Step 2: Sewing the Gloves Together
- Place both pieces together (you will have two identical glove bases).
- Using a tapestry needle and the long tail, sew around the edges.
- Create finger holes by sewing gaps in between sections.
Step 3: Ribbing for the Wrist (Optional)
- Attach yarn to the wrist section of the glove.
- Chain 1, crochet single crochets all around the edge.
- Slip stitch into the first single crochet.
- Chain 8 (adjust length for longer or shorter ribbing).
- Work 7 single crochets, starting from the second chain. Crochet in back loops only for ribbing texture.
- Turn your work, chain 1, and continue working back-loop single crochets.
- Skip stitches and slip stitch to attach ribbing based on wrist size (1-2 slip stitches per row).
- Repeat until the ribbing completely circles the wrist. Connect the final row with the first ribbing row. Chain 1, fasten off.
Step 4: Adding Paw Beans
Toe Beans:
- Start with a slip knot and chain 2, or use a magic ring.
- Work 9 single crochets into the second chain or ring.
- Slip stitch to join the round. Chain 1, fasten off.
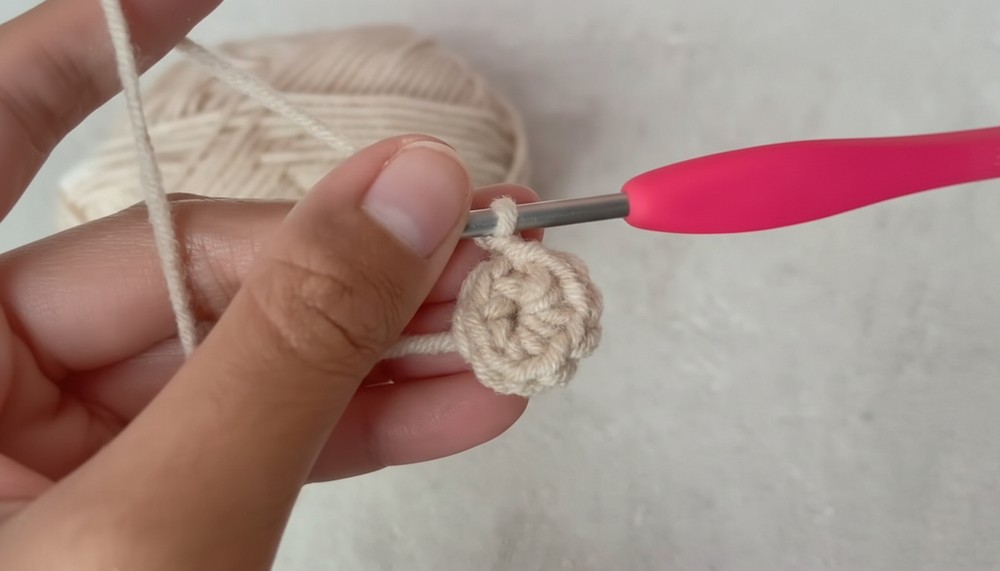
Make 5 toe beans in total.
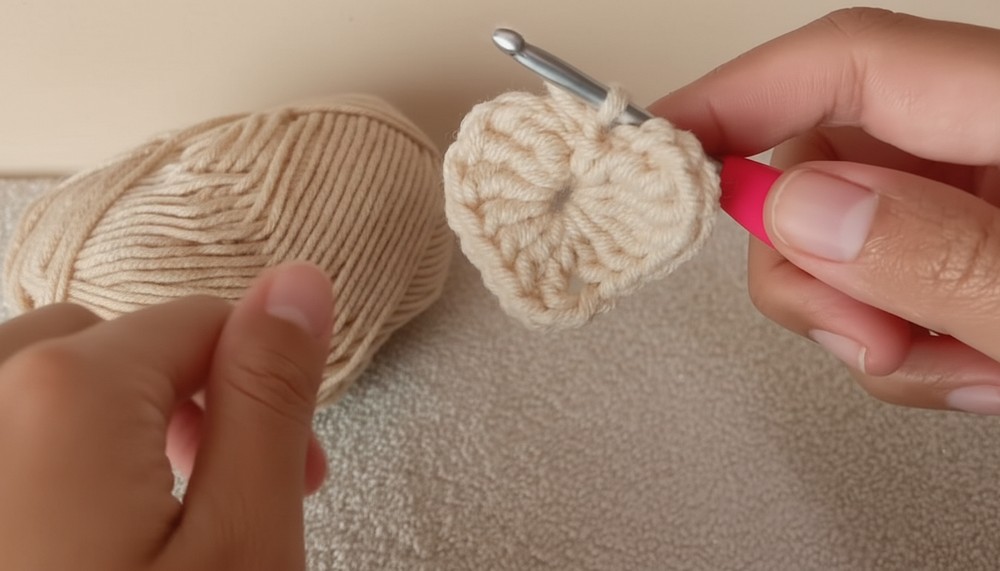
Paw Pad (Center Bean):
- Start with a slip knot and chain 4, or a magic ring.
- Work into the first chain:
- 3 triple crochets, 3 double crochets.
- Chain 1 and make 1 triple crochet, chain 1 again, then continue with:
- 3 double crochets, 3 triple crochets.
- Chain 3, slip stitch to join, chain 1, and fasten off.
Tips for Success
- Tension Matters: Maintain consistent tension for smoother stitching. Loose stitches can lead to uneven gloves.
- Ribbing Fit: Adjust ribbing stitches to suit wrist size perfectly.
- Glue vs Sewing: Use fabric glue for small components like paw beans if sewing feels tedious.
Customization Ideas and Variations
- Color Variations: Use contrasting colors for the glove base, toe beans, and paw pad for a playful look. For example:
- Black gloves with pink paw pads.
- White gloves with pastel toe beans.
- Size Adjustments:
- Add chains at the foundation row for larger gloves or reduce chains for smaller gloves.
- Extend ribbing chains for longer wrist coverage.
- Embroidery Details: Add cat faces, stripes, or additional embellishments with embroidery.
Conclusion
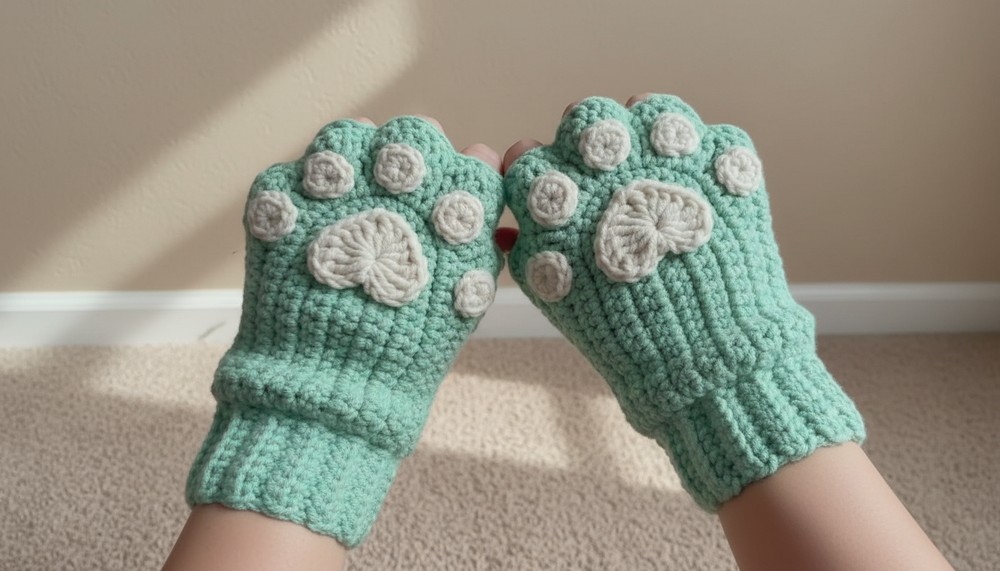
The crochet fingerless gloves are perfect for chilly weather while adding a touch of creativity to your crochet collection! Whether gifting them or keeping them for yourself, the adorable paw design will surely be a delightful addition.
Important Words:
- Always check fit before finalizing seam work or ribbing.
- Sew securely for durability, especially along finger holes.
- Play with colors and textures for a truly unique pair of gloves.


