Pinecones have always been associated with the holidays, bringing a natural, rustic charm to winter décor. Now, you can bring that warmth indoors with a beautiful crochet pinecone Christmas ornament pattern. This design is an ideal way to add a personal touch to your festive decorations while keeping the spirit of the season alive. These ornaments are lightweight, durable, and perfect for hanging on Christmas trees, decorating wreaths, or even jazzing up holiday gift wrapping.
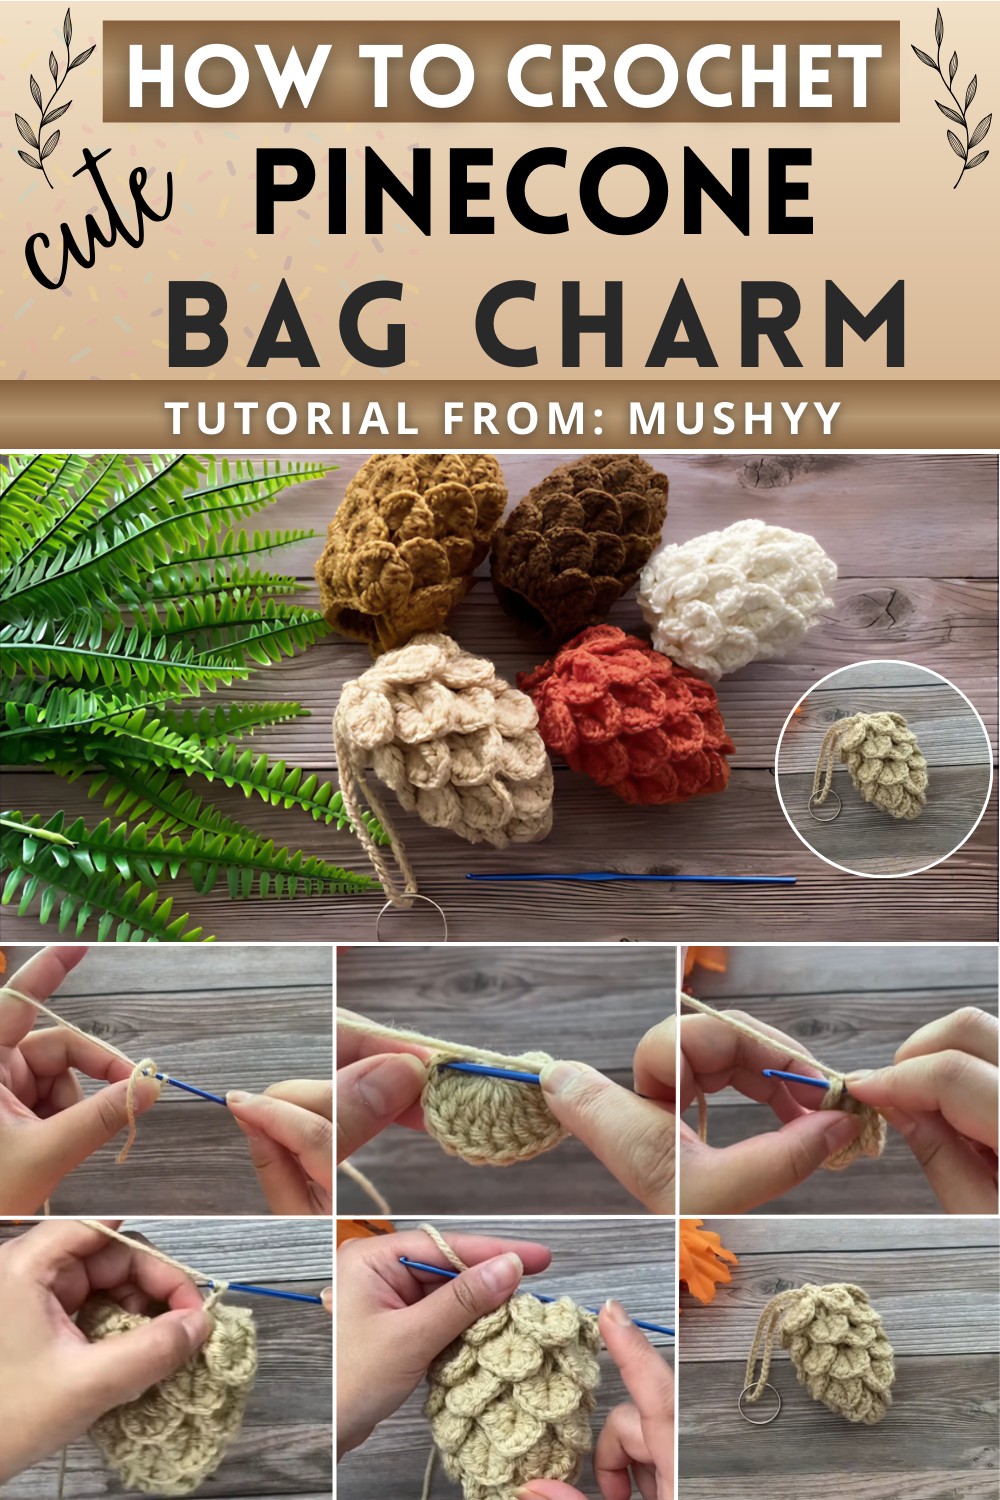
The layered texture of the crochet pattern mimics the intricate details of a real pinecone, but with more softness and versatility. You can customize them with different colors of yarn, incorporate metallic threads for a shimmer, or even add beads for an extra festive sparkle. They’re reusable year after year, making them an eco-friendly and sentimental holiday decoration.
Not only are they a delightful addition to any holiday setup, but this pattern also offers a calming and enjoyable activity for hands. Whether you're adding them to your own holiday collection or gifting them to loved ones, these crochet pinecone ornaments are a timeless reminder of the season’s warmth and beauty—something to cherish throughout the years.
Crochet Pouch Pattern
Materials
- 2.5 mm crochet hook
- Medium weight yarn (for tutorial purposes) or Lightweight yarn (recommended)
Abbreviations
- ch: chain
- sl st: slip stitch
- dc: double crochet
- tr: treble crochet
- sc: single crochet
- hdc: half double crochet
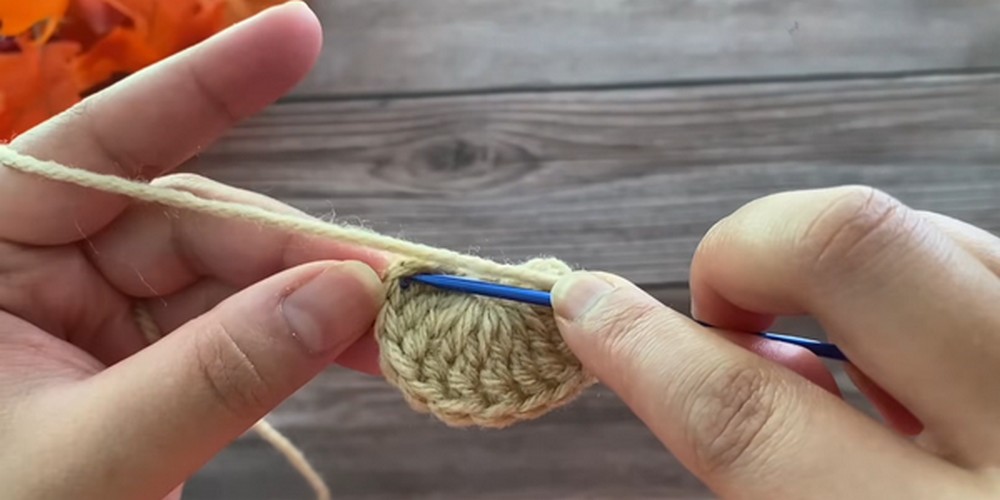
Round 1:
- Start with a slip knot.
- Chain 4.
- Join with a sl st into the first chain to form a circle.
- Chain 4 (counts as the first tr).
- Work 11 tr into the circle (total 12 tr including the initial chain 4).
- Join with a sl st on top of the starting chain 4.
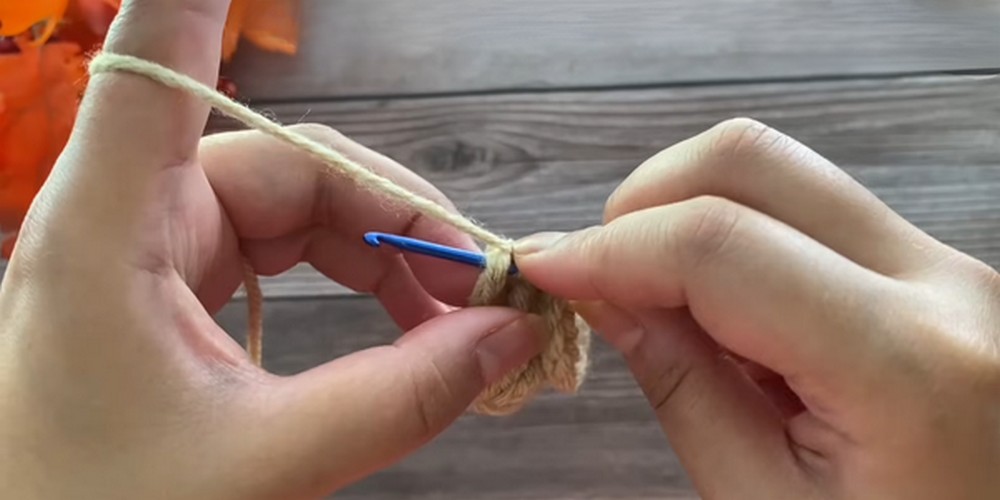
Round 2:
- Chain 3 (counts as the first dc).
- Work 1 dc into the same stitch.
- Chain 1, skip next stitch, and work 2 dc into the following stitch.
- Repeat step 9 around (total 6 sets of 2 dc each).
- Join with a sl st on top of the starting chain 3.
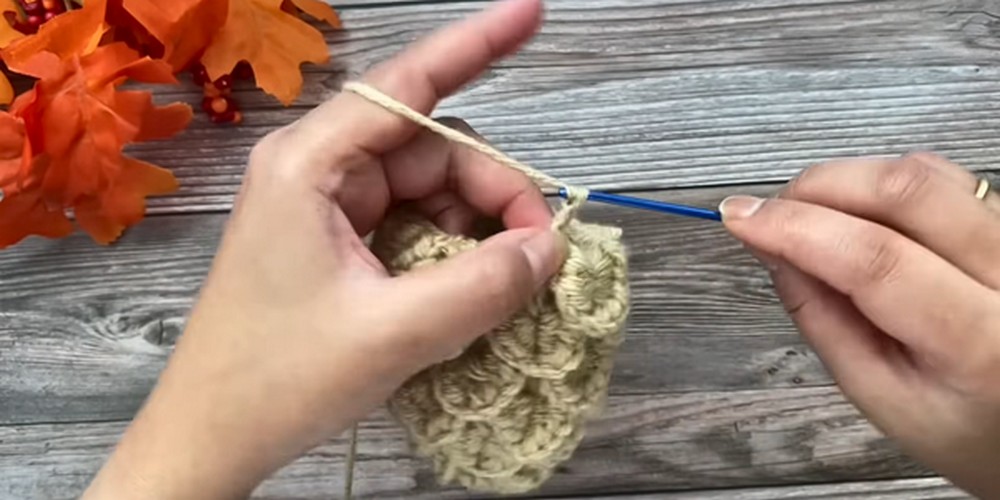
Round 3:
- Work a front post single crochet (fpsc) around the first dc post of the 2-dc set.
- Chain 2 (counts as the first hdc).
- Work 4 more hdc on the same post (total 5 hdc).
- Chain 1.
- Rotate work counterclockwise, work 5 hdc around the second dc post.
- Lock the petal with a sl st in the space between the next 2-dc set.
- Repeat steps 12-17 around (total 6 petals).
Round 4:
- Chain 3 (counts as the first dc).
- Work 1 dc into the same space.
- Chain 1, work 2 dc into the same space.
- Work 2 dc in the space between the next petal.
- Repeat steps 21-22 around.
- Join with a sl st on top of the starting chain 3.
Round 5:
- Repeat step 12-17 around (total 6 petals).
Round 6:
- Chain 3 (counts as the first dc).
- Work 1 dc into the same space.
- Work 2 dc into the space between the next petal.
- Repeat steps 27-28 around.
- Join with a sl st at the top of the starting chain 3.
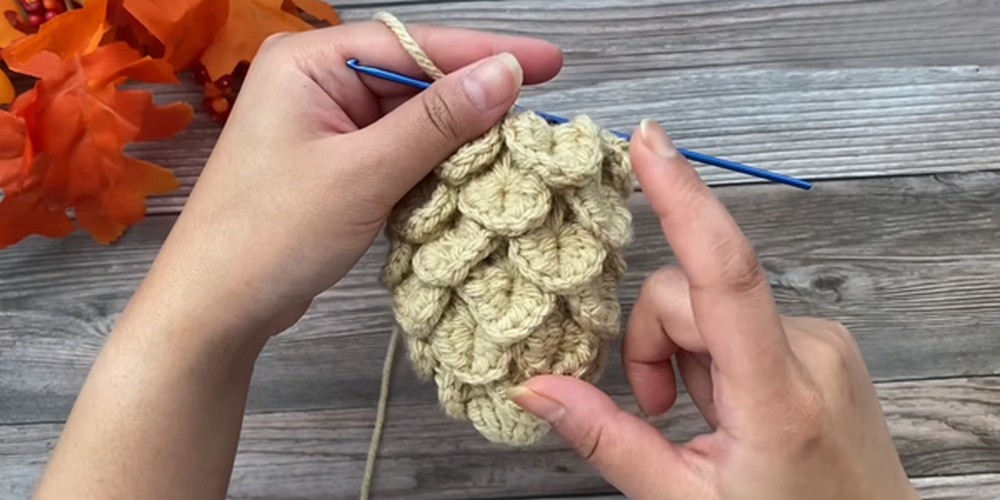
Finishing:
- Repeat Rounds 5 and 6 until the desired length is achieved.
- Finish with a repeat of Round 6.
- Cut off yarn and secure.
Cord:
- Work a slip knot.
- Chain 51 (or desired length).
- Cut off yarn and secure.
- Weave the cord through the spaces between the sets of double crochets.
- Attach a key ring and secure both ends of the cord by tying knots.
- Weave in ends.
Final Touch:
- Use the pouch by pulling the cord to close it.

Tips:
For better results, use lightweight yarn as recommended.
Conclusion
The video demonstrates how to crochet a beautiful, textured pouch using basic and advanced stitches. It walks through each round and finishes with a simple cord to secure the pouch, resulting in a charming handmade accessory.