How To Crochet Granny Bandana Scarf Patterns
Be ready to add some fun to your wardrobe with our superb collection of easy-peasy crochet granny bandana scarf patterns. These aren’t your everyday scarves; they’re super cool and unique, just like you and with our simple-to-follow list of scarf patterns, you can whip up your very own bandana scarf in no time.
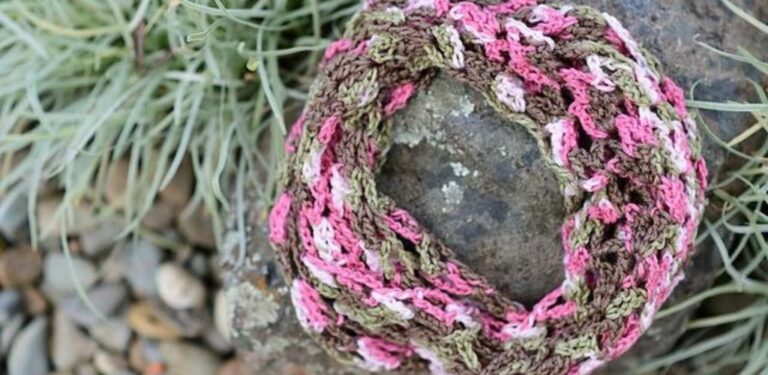
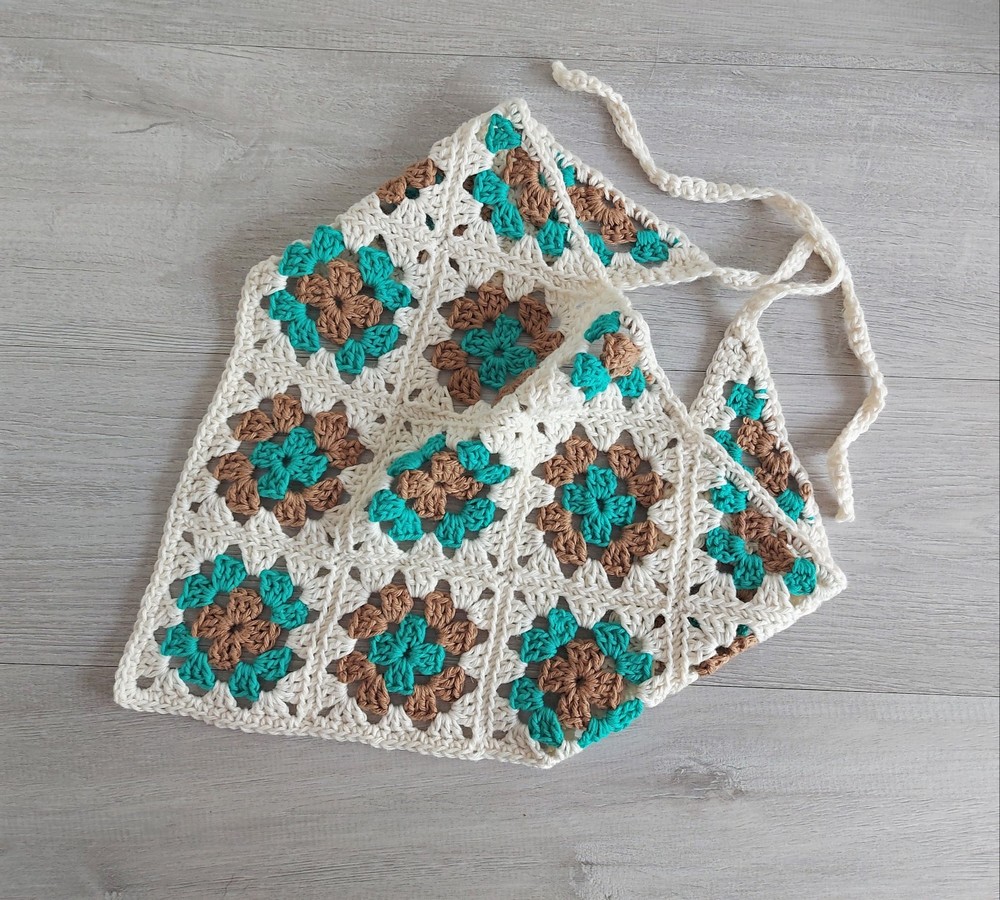
Crochet Granny Bandana Scarf
These scarf patterns are designed to be simple and enjoyable, making them great for anyone looking to try their hand at creating something unique. Each pattern in our collection offers a fun chance to make a bandana scarf that’s all your own. From bright colors to soft pastels, you can choose whatever suits your style best. With our easy-to-follow instructions, you’ll be proudly wearing or gifting your handmade bandana scarf in different fun colors.
Granny Bandana Scarf’
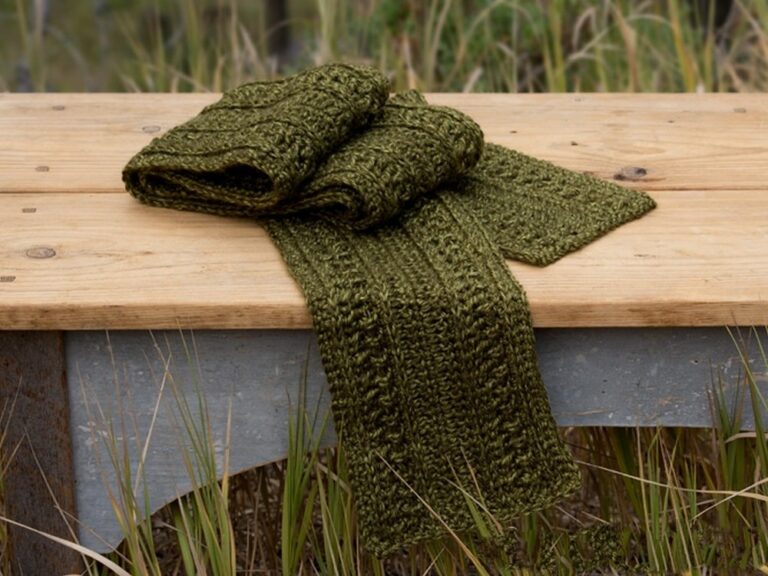
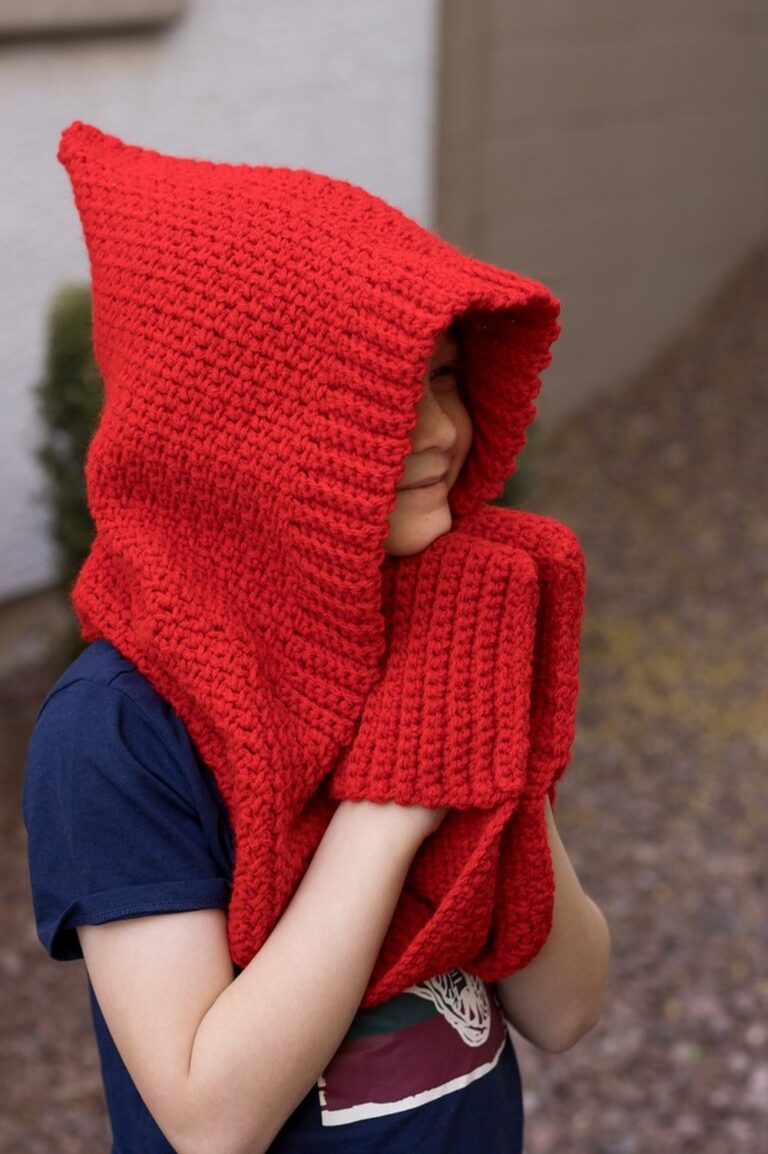
The Crochet Granny Bandana Scarf pattern truly stands out as a covetable piece of handcrafted fashion. The charming blend of vintage granny squares and the modern bandana style come together seamlessly, creating an accessory that is whimsical, creative, and elegant all at once. With its soft texture and stunning color combinations, this Crochet Granny Bandana Scarf is not just a piece of clothing but a treasure that adds an admirable touch to any outfit.
Materials Needed:
- Yarn: You’ll want to choose a lightweight yarn for a soft and comfy feel. Cotton or a cotton blend is a great choice for a bandana scarf.
- Crochet Hook: A 4 mm (G/6) crochet hook should work well with lightweight yarn.
- Additional Tools: Scissors and a yarn needle for finishing touches.
Basic Granny Square Pattern:
- Start with a Magic Ring.
- Round 1: Chain 3 (counts as your first double crochet), make 2 double crochets (dc) into the ring, chain 2, then make 3 dc into the ring. Repeat from to two more times. Chain 2 then join with a slip stitch to the top of the beginning chain 3. You should have a square with 4 sets of 3 dc and 4 chain-2 spaces.
- Round 2 and Beyond: Chain 3 (counts as a dc), in the corner chain-2 spaces, work [2 dc, chain 2, 3 dc]. For the straight edges, simply make 3 dc between each set of 3 dc from the previous round. Continue expanding the square until it reaches your desired size. Finish off by cutting the yarn and weaving in the ends.
Making the Bandana Scarf:
- Assembling the Squares: Depending on the size of your granny squares and how large you want your scarf, you’ll typically crochet and then join 10 to 15 squares in a triangular shape to form the bandana.
- Triangle Formation: To create the tapered end of the bandana, you’ll need to crochet half granny squares (triangles) and attach them to the ends of your rows.
Edging and Ties:
- Border: Single crochet around the entire outer edge of the assembled scarf for a neat finish. You can add multiple rounds if desired.
- Ties: Chain stitch a long enough string from each of the two top corners of the triangle to be able to tie around your neck comfortably. Another option is to make a more intricate lace border for a more decorative edge with chain spaces to thread a tie through.
Personalize Your Scarf:
- Change colors each round for a vibrant, multi-colored scarf.
- Add decorative edges or experiment with different granny square patterns to make your scarf unique.
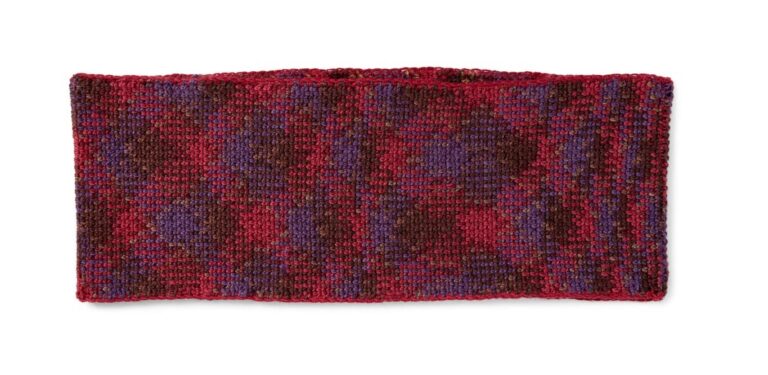
Duo Granny Bandana
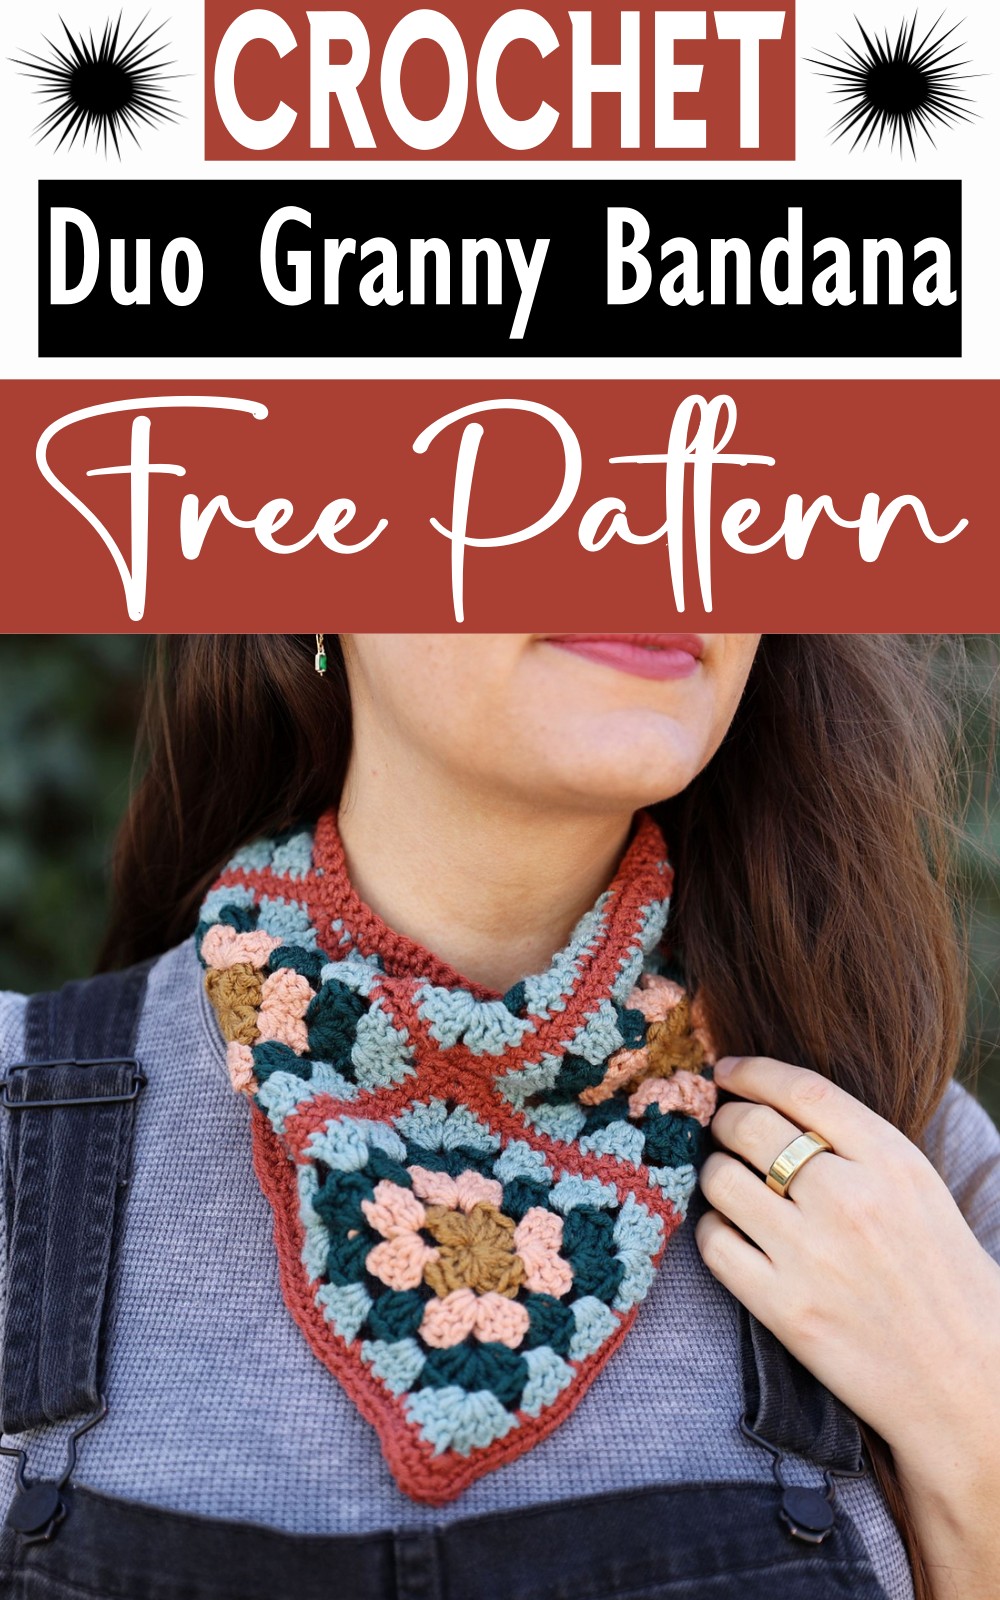
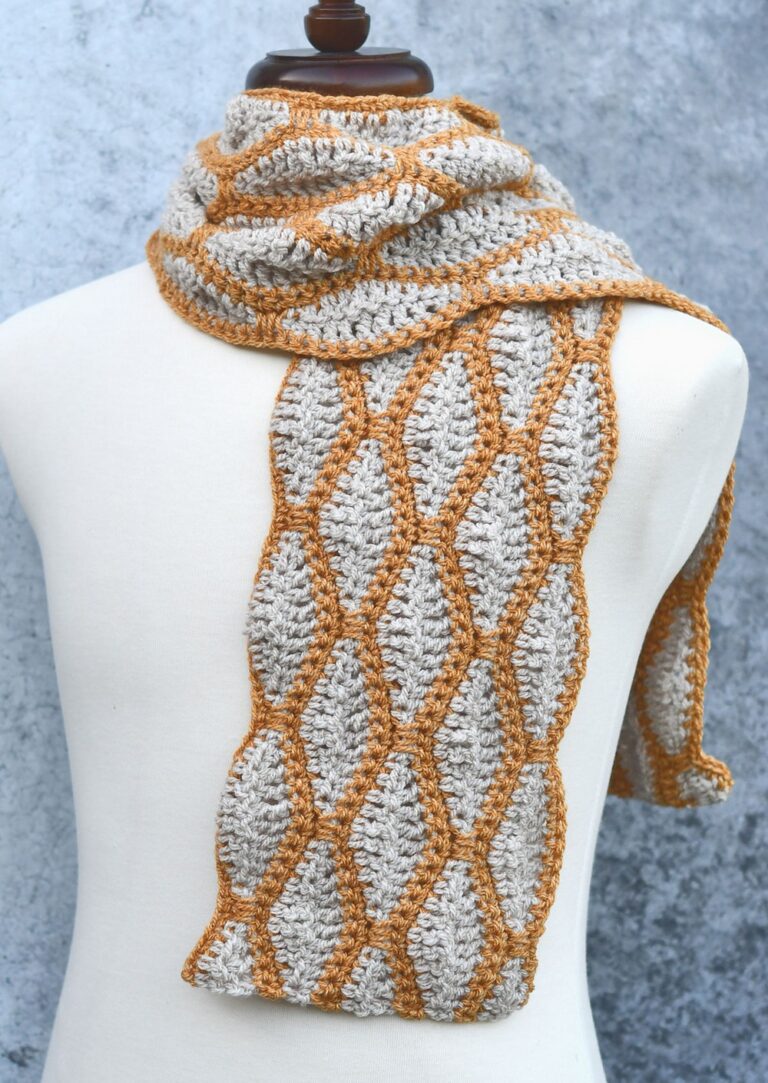
The Duo Granny Bandana crochet pattern transforms the classic granny square motif into a modern and stylish accessory that’s both whimsical and practical. This delightful creation is a celebration of color and texture, providing crafters with an opportunity to express their style while making a functional statement piece. The clever design allows for endless color combinations, ensuring that each bandana is as unique as the individual who crafted it. It’s a chic addition to any wardrobe, showcasing how crochet can be both timeless and trendy.
MATERIALS
- 1 skein each Lion Brand Color Theory in Dijon (619-170AE), Himalayan Salt (619-184X), Peacock (619-148AD), Tourmaline (619-178S), and Canyon (619-132AG)
- Worsted weight (4) – 246yds/225m per skein
- Size US G-6 (4mm) crochet hook
- Tapestry needle
GAUGE
- 1 granny square motif = 4″/10cm
FINISHED DIMENSIONS
- A Width: 17″/43cm
- B Depth to point: 9″/23cm
- C Straps: 18″/46cm
ABBREVIATIONS
- CC = contrast color
- Ch = chain
- Ch-sp = chain space
- Dc = double crochet
- Hdc = half double crochet
- MC = main color
- Rep = repeat
- Rnds = rounds
- RS = right side
- Sc = single crochet
- Sl st = slip stitch
- Sts = stitches
- Tch = turning chain
- WS = wrong side
PATTERN NOTES
- Bandanas are composed of three squares and three triangles worked individually and seamed together.
- Squares are worked in joined turned rounds, and triangles are worked in turned rows.
- Color changes for squares: Complete the final slip stitch of the round with the new color.
- Color changes for triangles: Complete the final yarn over of the last dc in the row with the new color.
- Assign each color (A, B, C, D, E) and follow the chart or instructions as written.
Squares (Make 3)
- With Color A, begin with a magic ring.
- Rnd 1 (RS): Working into the ring, ch 3 (counts as a dc here and throughout), dc 2, ch 2, dc 3, ch 2; repeat from * to * 2 more times, sl st to top of beginning ch 3 to join. [4 3-dc clusters]
- Change to Color B.
- Rnd 2 (WS): Turn, sl st in corner ch-2 sp, ch 3, dc 2 in same sp, ch 1, (dc 3, ch 2, dc 3) in next corner ch-2 sp; repeat from * to * two more times, ch 1, sl st to join. [8 3-dc clusters]
- Change to Color C and follow a similar pattern for Rnds 3 to 5, increasing the number of dc clusters as per each round’s instructions with respective color changes. Final round includes sc edging.
Triangles (Make 3)
- With Color A, begin with a magic ring.
- Rnd 1 (RS): Ch 4 (counts as dc + ch-1), dc 3, ch 2, dc 3, ch 1, dc 1; turn.
- Change to Color B.
- Rnd 2 (WS): Ch 4, dc 3 in ch-1 sp, ch 1, (dc 3, ch 2, dc 3) in center ch-2 sp, ch 1, dc in 3rd ch of tch; turn. Follow a similar pattern for Rnds 3 to 5, with the final round being worked in sc to create a flat edge.
Construction
- Block squares and triangles to ensure a uniform shape. With the right side facing up, arrange according to the diagram and seam together using color E.
Edging
- With RS facing up and starting at the top left corner, ch 1 and sc along the side edges and around the bottom point.
Ties and Top Edging
- With WS facing, ch 68, sc evenly across the top edge of the bandana, then ch 69. Turn and start hdc back across the chain, sc along the top edge, finishing with hdc across the next chain.
Remember to fasten off and secure all ends after each section to maintain a clean finish.
For more detailed instructions or variations on this pattern, considering the specific combinations and sizing details can lead to personalization according to the crocheter’s preference.
This pattern, courtesy of Two of Wands, highlights the timeless appeal and versatility of granny squares in creating fashionable and functional crochet pieces.