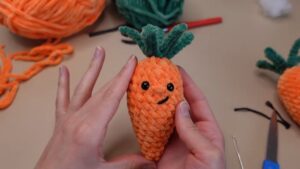
This Crochet Kissy Fish Pattern is certainly a delightful and whimsical creation. The charm lies in its playful yet aesthetic appeal that transforms a simple skein of yarn into a beautifully crocheted fish. The pattern stands out for its vibrant colors, detailed design, and perfect blend of fun and functionality. The design's little touch of puckered 'kissy' lips is an imaginative detail that adds character, making it irresistible to any crochet aficionado.
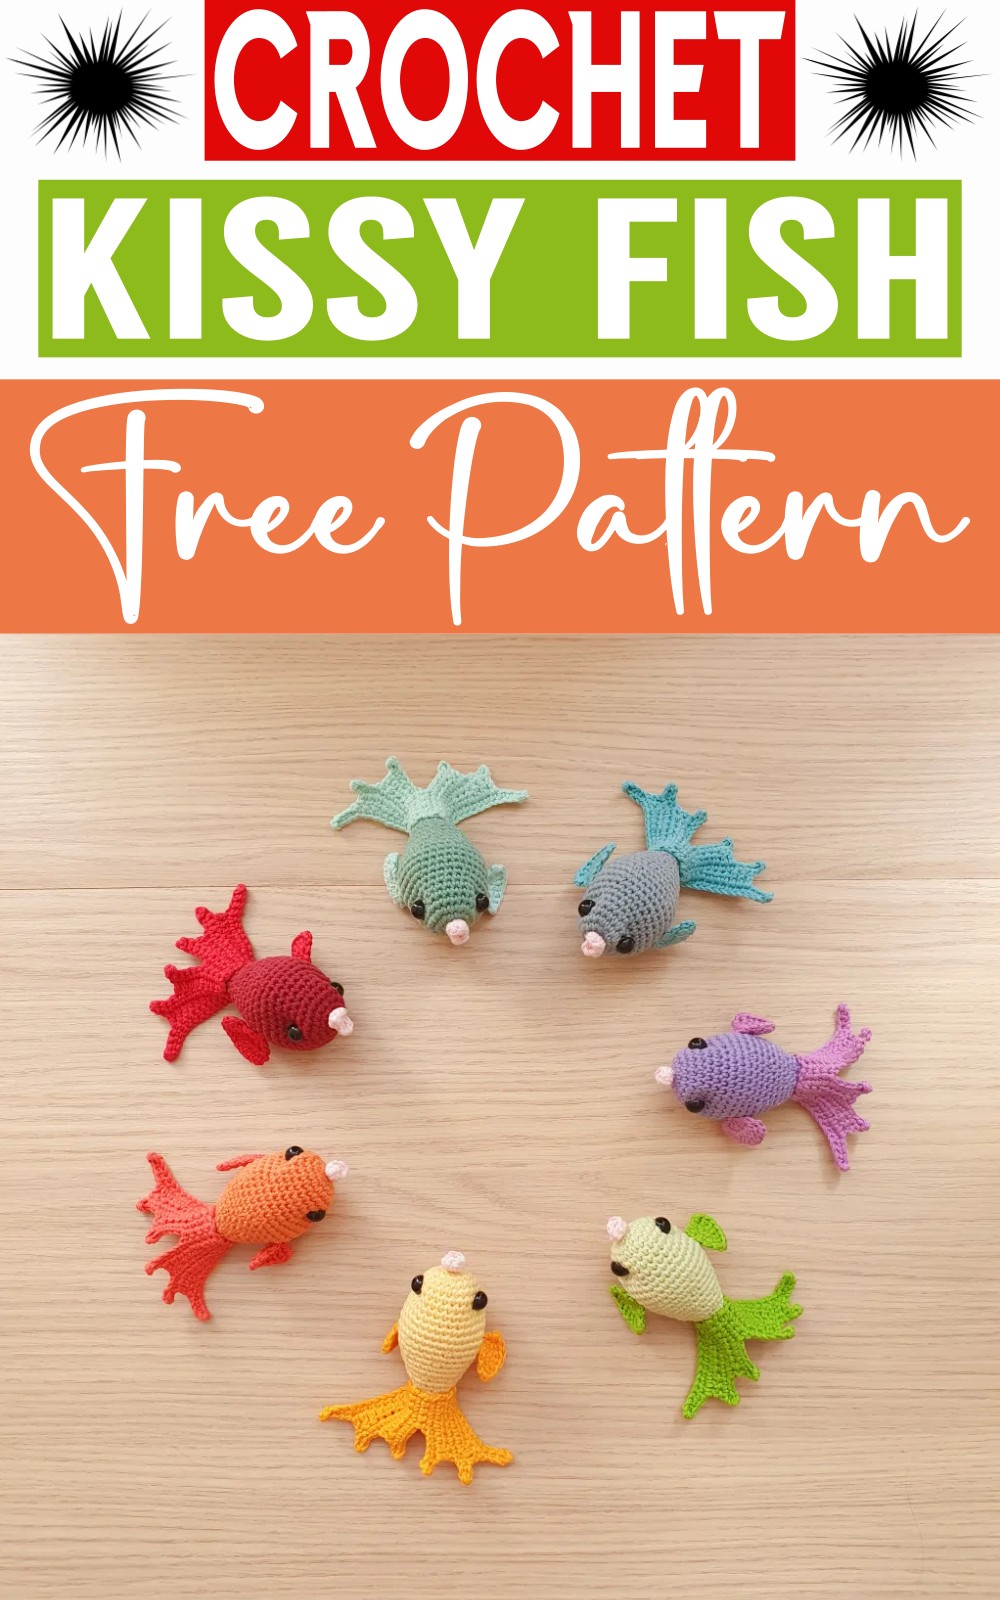
Free Crochet Kissy Fish Pattern
What You Will Need:
- Crochet hook 2.00mm
- Cotton fingering (4 ply) yarn – 3 colours
- Stuffing
- Stitch markers
- Pointy yarn needle
- Scissors
- 8mm eyes
Yarn:
- Body (Colour A) [8 grams]
- Kissy lips (Light Pink) [1 gram]
- Fins (Colour B) [8 grams]
Abbreviations:
- mgc: magic circle
- sc: single crochet
- sl st: slip stitch
- ch: chain
- dec: invisible decrease
- hdc: half double crochet
- dc: double crochet
Pattern Instructions:
Body
Begin with color A:
- mgc 6 (6)
- inc x 6 (12)
- (SC, inc) x 6 (18)
- (sc 2, inc) x 6 (24)
- sc all around (24)
- Place marker, sc 12, Place marker, (inc, sc) x 6 (30) – 9 [3 rnds]. sc all around (30)
Note: Place your eyes where you had placed the markers in row 6.
- (sc 4, inc) x 6 (36)
- -12 [2 rnds]. sc all around (36)
- (sc 4, dec) x 6 (30)
- sc all around (30)
- (sc 3, dec) x 6 (24)
- -17 [2 rnds]. sc all around (24)
- (sc 2, dec) x 6 (18)
- sc all around (18)
- (sc, dec) x 3, sc 9 (15)
- (dec, sc) x 3, sc 6 (12)
- -23 [2 rnds]. sc all around (12)
- dec x 6 (6)
Leave a long tail and fasten off, sew the hole closed using the tail and a yarn needle, and tuck the end.
Sculpting the Eyes
Take a long piece of color A and a yarn needle; insert the needle just above one of the eyes (keeping in mind the bottom of the fish is the larger side). Bring your needle through to the other side above the other eye. Then insert your needle again, one stitch across back to the other side just beside the first insert (you will now have both ends of the yarn coming out of one side). 4
Now take one of the ends and insert it so that it is coming out on the other side so that you will have one piece on either side. Pull tightly so that an indent will appear and both eyes go inwards. Tuck the tails in a way that they will not become loose.
Kissy Lips
Using Pink yarn:
- Create a mgc, ch, dc 3, sc 2, ch, sc 3. Fasten off and pull tight. Once the circle is closed, create a slip stitch, then fasten off, leaving a long tail.
- Wrap one of the tail ends around the lips so that it crosses over the middle part, tie a knot on the other side, and pull tight so that the lips bunch together.
- Sew the lips onto the fish (just above the mgc on the fish), and tuck in the tails.
Tail
Using color B (turning chains are counted):
- ch 15, turn (15)
- skip 1st ch, then sc 14, ch, turn (15)
- skip ch then sc 4, hdc 3, dc 3, ch 3, turn (13)
- skip 1st ch, then sc 12, ch, turn (13)
- skip ch then sc 3, hdc 3, dc 2, ch 3, turn (11)
- skip 1st ch, then sc 10, ch, turn (11)
- skip ch then sc 4, ch 7, turn (11)
- skip 1st ch, then sc 10, ch, turn (11)
- skip ch then sc 3, hdc 3, dc 2, ch 5, turn (13)
- skip 1st ch, then sc 12, ch, turn (13)
- skip ch then sc 4, hdc 3, dc 3, ch 5, turn (15)
- skip ch then sc 14 (14)
Fasten off and leave a long tail. Now, wrap the tail around the bottom of the fish. Sewing the yarn tails onto the body along the top and sides as shown in the photos.
Side Fins (make 2)
Using color B:
- ch 3, turn (3)
- skip 2 ch then dc x 4 in the 3rd ch (4)
- ch 3, turn (counted as dc), dc into the same st, dc twice in each stitch two times, then dc 3 times in the last stitch (10 dc along)
Fasten off and tuck in the tail.
Place the side fins onto the fish, just below the eyes and 5 rows away.