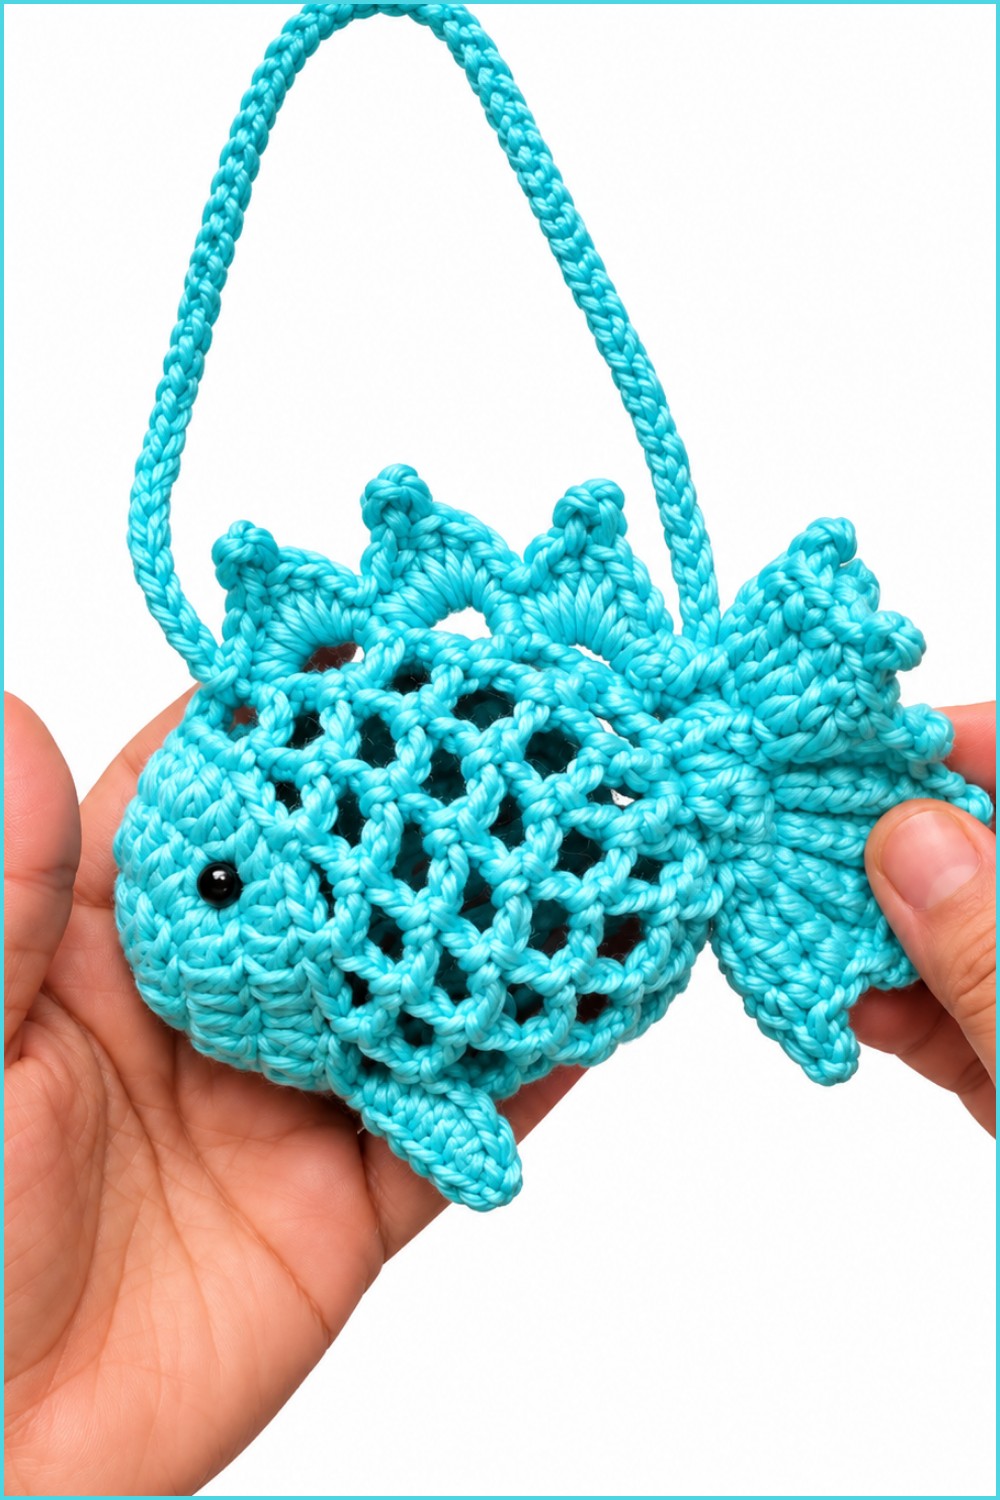
Protect your earbuds stylishly with this free crochet fish AirPod pouch pattern that offers cute aquatic charm alongside practical everyday use.
Fish AirPod Pouch Free Crochet Pattern (Beginner-Friendly)
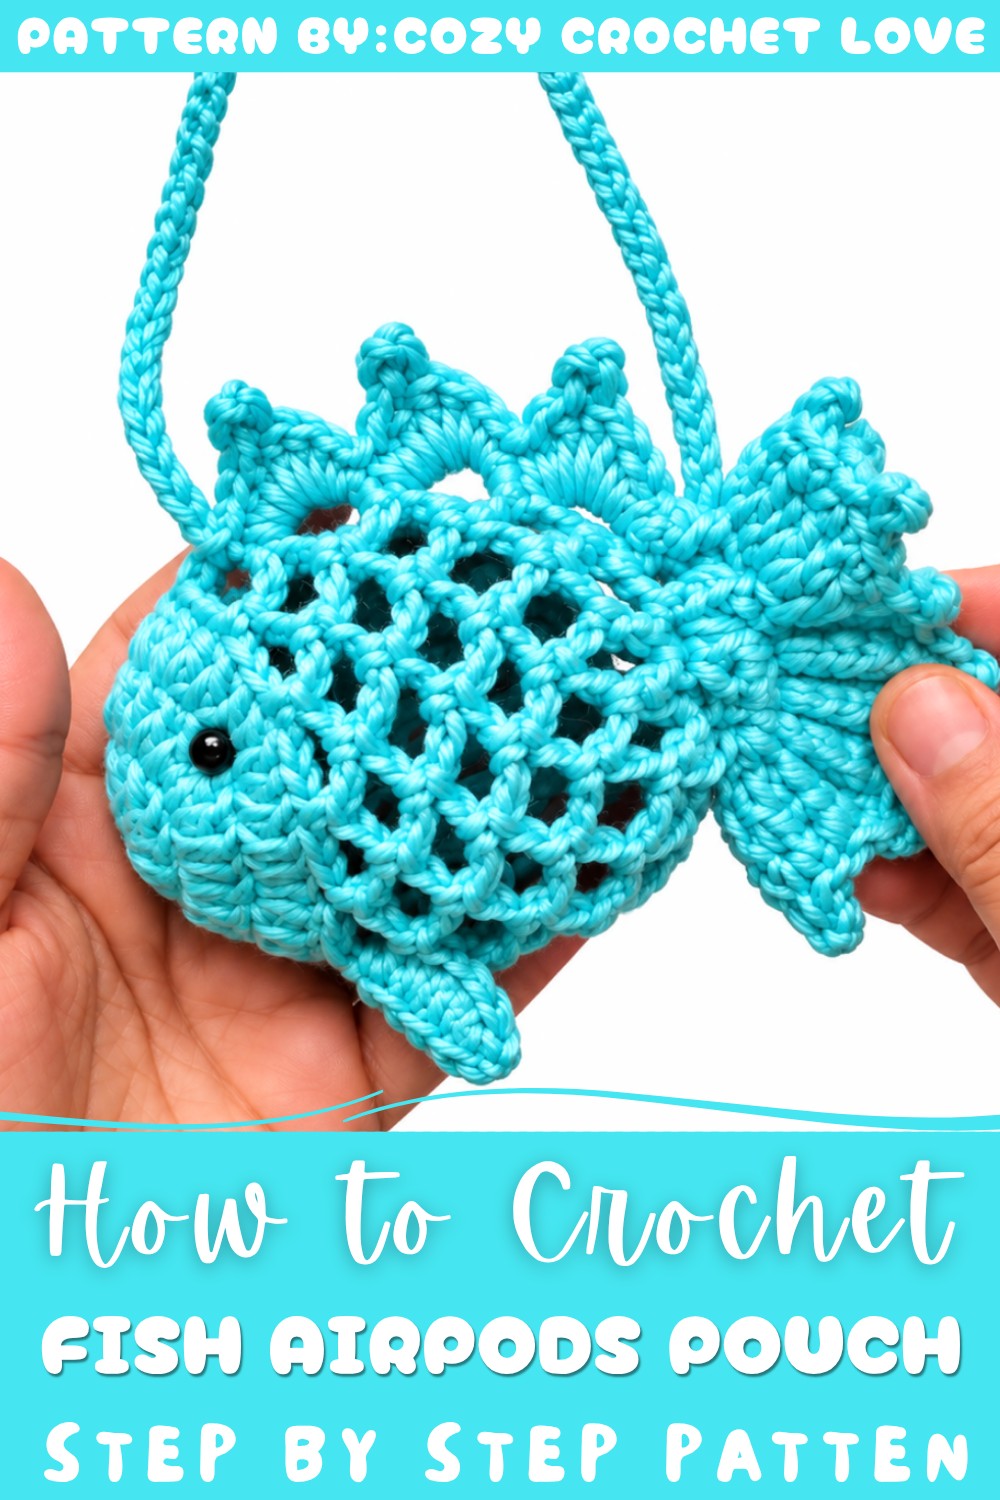
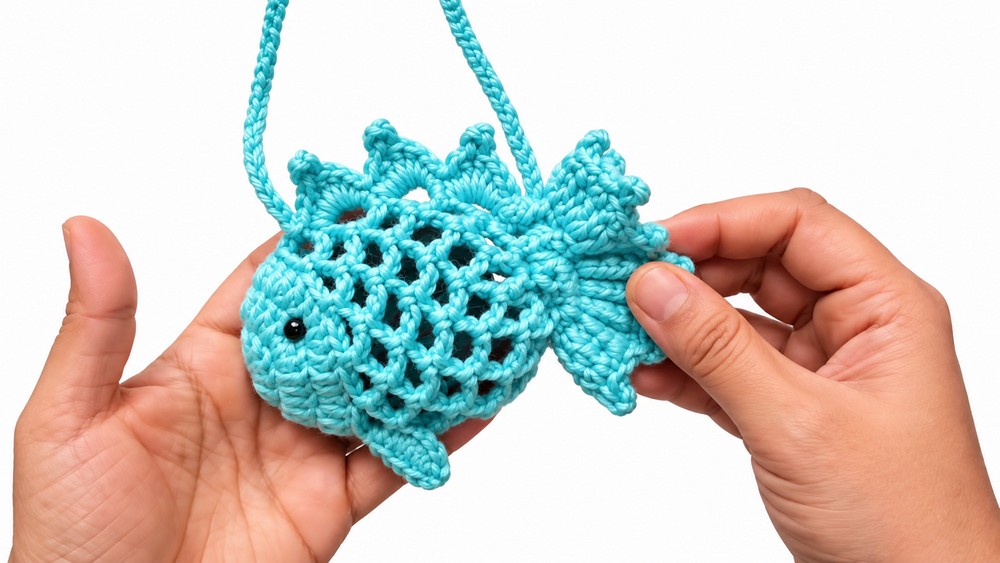
Working on this charming little pouch is wonderfully relaxing and rewarding. It makes an ideal weekend project for anyone who loves miniature accessories with personality. Not only does it keep your charging case safe from everyday scratches, but it also serves as a sweet conversation starter whenever you pull it out. Bring a splash of ocean-inspired charm to your crochet collection today and enjoy making something truly unique!
Crochet Fish Pouch Pattern – Step-by-Step Detailed Guide
Welcome to this detailed tutorial on making an adorable crochet fish pouch. This project is perfect for creating a fun and functional pouch to hold small items like AirPods, chocolates, or tiny gifts. Designed with beginners in mind, this pattern offers clear step-by-step guidance using simple crochet techniques. You will learn how to crochet the fish’s body, add scales and fins, and finish with a stylish chain strap.
Quick Overview of Pattern
This pattern constructs a fish-shaped pouch by working in rounds starting from a small magical circle, increasing to form the fish’s body. Rows of double crochet stitches build the base, with decorative "scale" stitches added for texture. The fins are crocheted separately and attached. Finally, a long chain is created for carrying or hanging the pouch. The pattern involves basic stitches like chain, single crochet, double crochet, half double crochet, slip stitch, and the picot stitch for decoration.
Notes
- This pouch uses standard crochet stitches accessible to beginners and beyond.
- Work in a relaxed but consistent tension for the best texture and size.
- Using a tapestry needle for weaving ends and sewing accents is important for a neat finish.
- Customize yarn colors and strap length to your preference.
- The pouch closes naturally by crocheting in the round and can be optionally lined to prevent smaller items falling through.
Skill Level
Beginner to Intermediate
This project is beginner-friendly with step-by-step instructions, requiring knowledge in:
- Slip knots and starting chains
- Magic ring (circle) technique
- Basic stitches (chain, sc, dc, hdc)
- Increasing stitches in rounds
- Picot stitch
- Working in rounds and rows
- Attaching separate pieces and weaving ends
Materials
- Worsted weight yarn (acrylic or cotton) in your color choice
- Crochet hook size: 2.5 mm
- Tapestry needle
- Scissors
Measurements / Sizing
- Pouch size approximately 10 cm (4 inches) wide and 15 cm (6 inches) long
- Chain strap can be customized from 100 to 150 chains or desired length
- Size may vary slightly with yarn type and tension
Gauge and Stitch Pattern
- Gauge is not strictly critical, but a firm fabric is recommended to keep pouch shape
- Basic stitches mainly double crochet (dc) used for body
- Picot stitch used for decorative fin edges and pouch edges
Stitch Abbreviations
| Abbreviation | Meaning |
|---|---|
| ch | Chain |
| sc | Single Crochet |
| dc | Double Crochet |
| hdc | Half Double Crochet |
| sl st | Slip Stitch |
| picot | Picot Stitch (ch 3, sl st in 1st ch) |
Special Stitches
- Magic Ring (MR): Starting circle with adjustable tight center to avoid holes.
- Picot Stitch: Decorative loop; chain 3, slip stitch into first chain of the loop.
The Crochet Pattern!
Starting The Fish Body
Step 1: Make a Slip Knot and Magic Ring
- Begin with a slip knot on your hook.
- Chain 4.
- Insert hook into the 1st chain to make a slip stitch, forming a small ring.
Step 2: Row 1 – Form Base of Fish Body
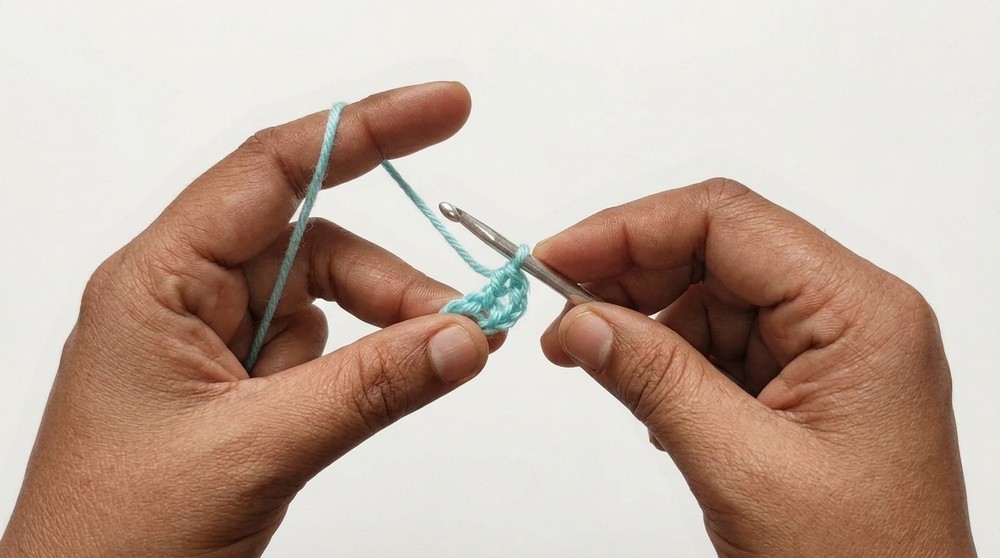
- Chain 2 (does not count as dc).
- Work 12 double crochet (dc) into the ring.
- Pull the tail to close center tightly.
- Join with a slip stitch at the top of the initial chain 2.
Step 3: Row 2 – Increase Round
- Chain 2.
- Work 2 dc in every stitch around (24 dc total).
- Join with slip stitch at top of first dc.
Step 4: Row 3 – Patterned Increases
- Chain 2.
- (3 dc in next 3 stitches, then 2 dc in next stitch) repeat around.
- Join with slip stitch.
This forms the smooth rounded body of the fish.
Adding Scales – Rows 4 to 11
Step 5: Row 4 – Starting the Scale Pattern
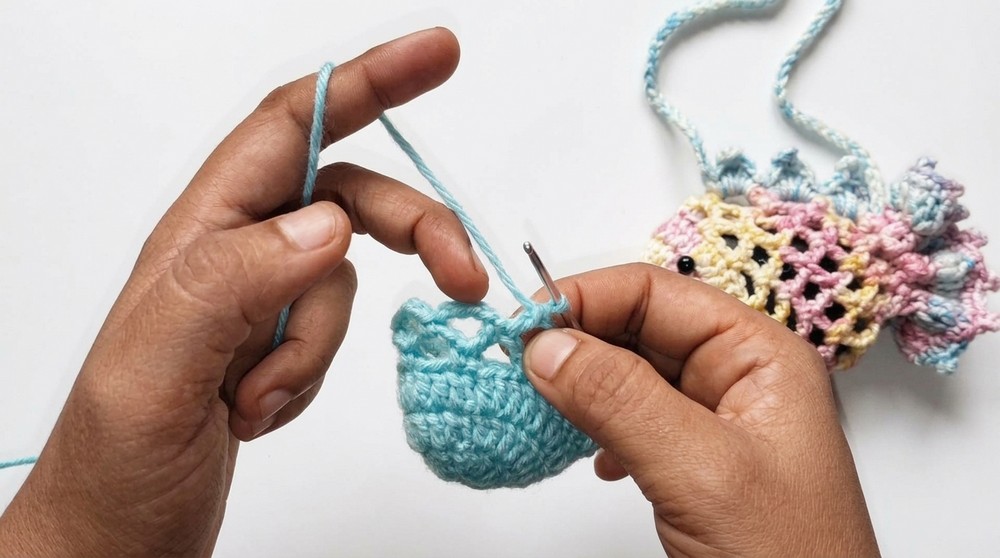
- Chain 1 (turning chain).
- Single crochet (sc) in same stitch.
- Chain 4, skip 2 stitches, single crochet in next stitch.
- Repeat chain 4, skip 2, sc around until last chain; finish with chain 2 and a dc in the last single crochet from previous row.
Step 6: Row 5 – Scales Continued
- Chain 4, single crochet in next chain gap.
- Repeat around, ending with chain 2 and double crochet on previous row’s dc.
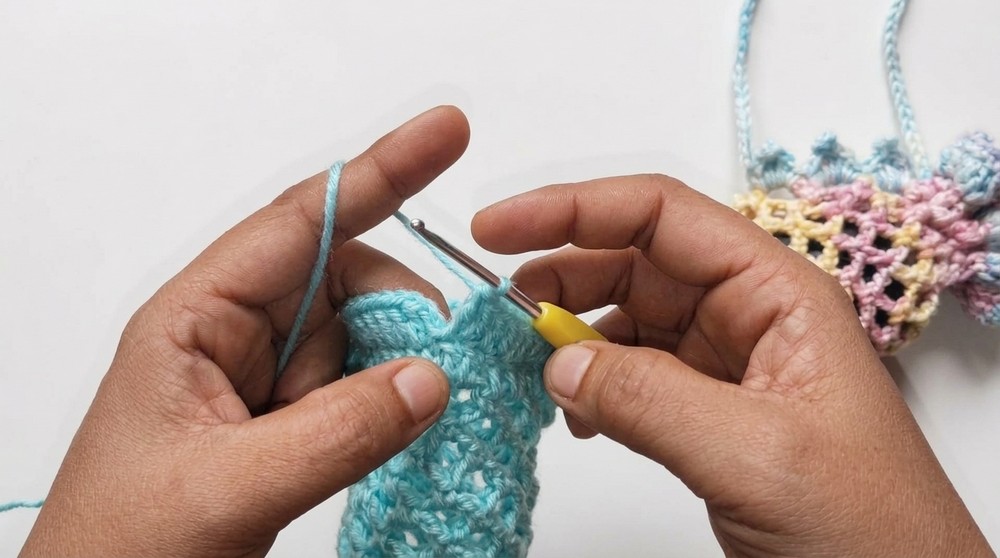
Steps 7 to 10: Repeat Row 5
- Continue crocheting four chain and single crochet in next chain gap pattern until you complete Row 11.
- At Row 11 end, make a slip stitch on top of last dc instead of two chains followed by dc.
Shaping Rows (Rows 12 and 13)
Step 8: Row 12
- Chain 2 (counts as dc).
- In each chain gap around, make 2 dc, 1 dc on sc.
- Join with slip stitch on the first dc.
Step 9: Row 13
- Chain 2.
- Pattern: 1 dc, 2 dc in next stitch all around.
- Join with slip stitch.
Finishing Edge with Picot (Rows 14 and 15)
Step 10: Row 14
- Chain 1.
- Work 3 single crochet (sc) in consecutive stitches.
- Chain 3, slip stitch into the base of the chain to form a picot.
- Repeat pattern of 3 sc, picot around.
Step 11: Row 15
- Repeat Row 14’s pattern of 3 sc and picot all the way.
- Join with slip stitch into the first sc.
- Chain 1, cut yarn leaving a tail for weaving in.
Weaving in Ends
- Use a tapestry needle to weave in the loose yarn tails securely.
- Trim any excess yarn.
Creating the Fins
Step 12: Attach Yarn to Body for Fins
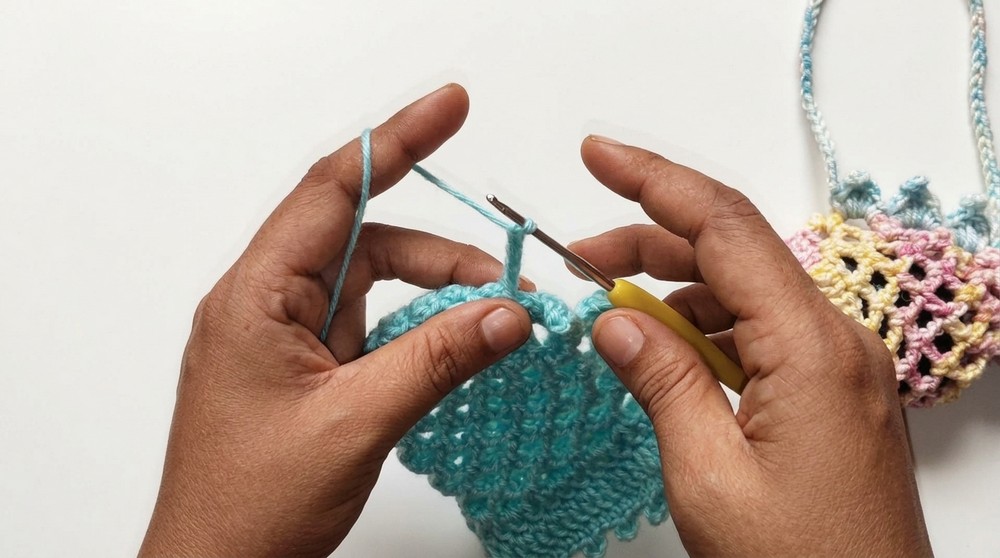
- Attach yarn at gaps designated for fins on the body edge.
- In each gap, work:
- 1 single crochet (sc),
- 1 half double crochet (hdc),
- 2 double crochets (dc),
- Chain 3, picot,
- 1 double crochet,
- 1 half double crochet,
- 1 single crochet.
Step 13: Make 3 Fins
- Repeat the fin pattern at three gaps along the body edge creating three fins.
- Finish with a slip stitch at the next stitch.
Chain Strap
Step 14: Make Chain Strap
- Chain desired length between 100 to 150 stitches or based on your needs.
- Cut yarn leaving tail for weaving in.
- Use tapestry needle to carefully sew the chain ends securely to the body opening to complete the pouch strap.
Finishing
- Verify all yarn tails are neatly woven in.
- Optionally add beads or eyes for decoration.
- Your fish pouch is now complete!
Assembly & Finished Size
- The entire fish pouch measures approximately 10 cm wide and 15 cm long (4 by 6 inches).
- The chain strap length is adjustable; this gives you flexibility in carrying style.
- The pouch opens from the top and can hold small items safely due to the tight crochet stitches.
- Attaching the fins securely adds a fun, dimensional look and completes the fish design.
Conclusion
Thank you for following this crochet fish pouch tutorial. With basic stitches and clear instructions, this project offers a delightful introduction to textured crochet and piece assembly. Whether using it as a cute AirPod case, a small gift bag, or a decorative pouch, it brings both charm and function. We hope you enjoy making this fun accessory and don’t forget to like, share, and subscribe for more patterns.