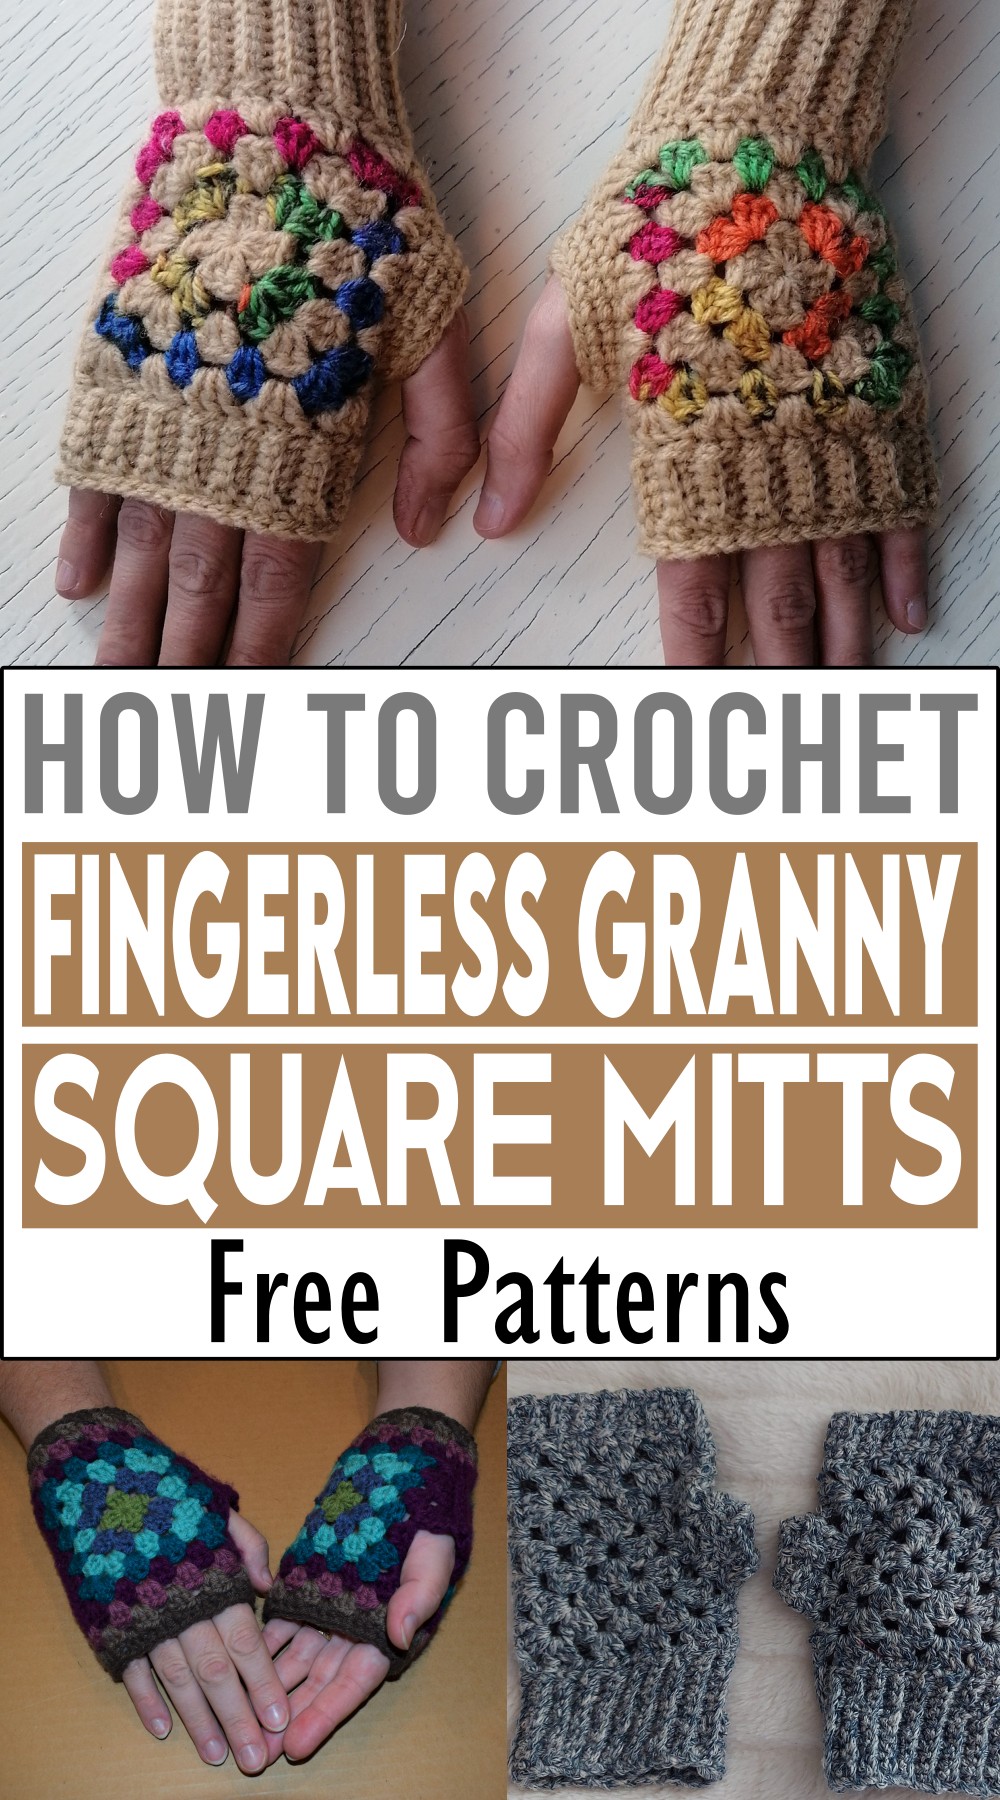
How To Crochet Fingerless Granny Square Mitts
Follow our amazing series of crochet Fingerless Granny Square Mitts patterns to make your crocheting experience more enjoyable and less challenging. Each pattern included here has been chosen carefully with the intention of offering you a range of styles while ensuring they’re all fun to create.
Crochet Fingerless Granny Square Mitts
Each pattern comes with an in-depth, step-by-step process that is straightforward to follow. Whether you’re just starting with crochet or you’re well-versed in this craft already, this guide is designed for you. It covers everything from the basics, such as how to form a granny square, right through to the unique designs for the whole mitten.
The fingerless design of these mitts makes them both practical and attractive. They’ll keep your hands warm but your fingers free, allowing you to continue with your daily activities while sporting your handmade accessories.
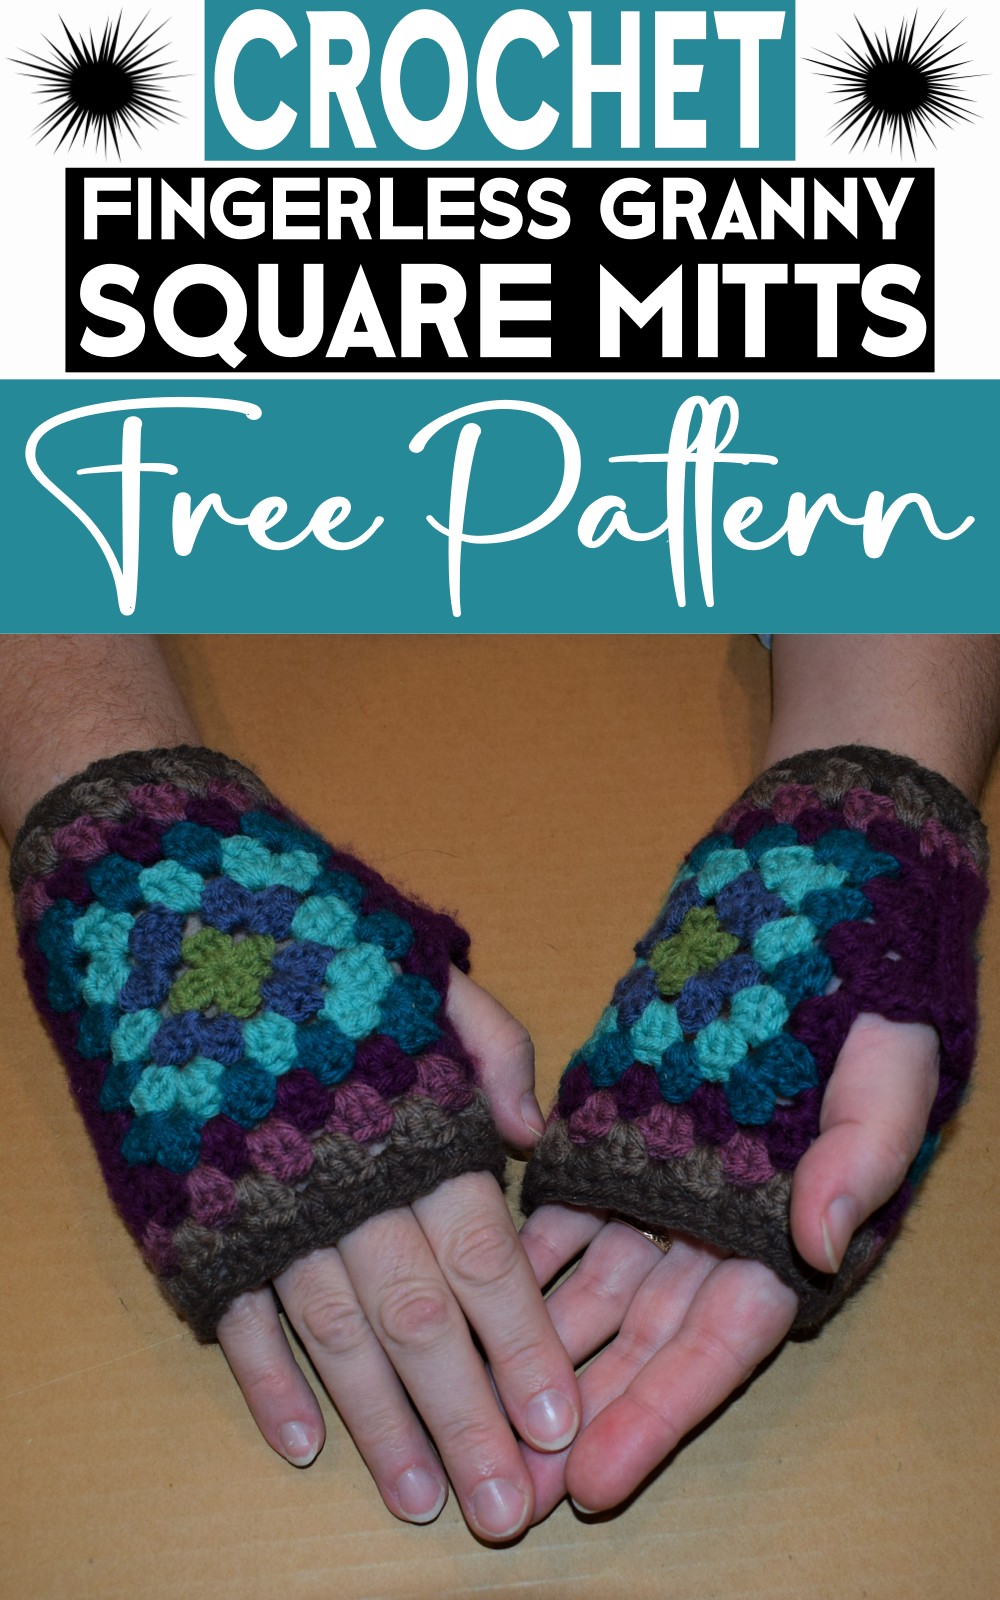
Fingerless Granny Square Mitts
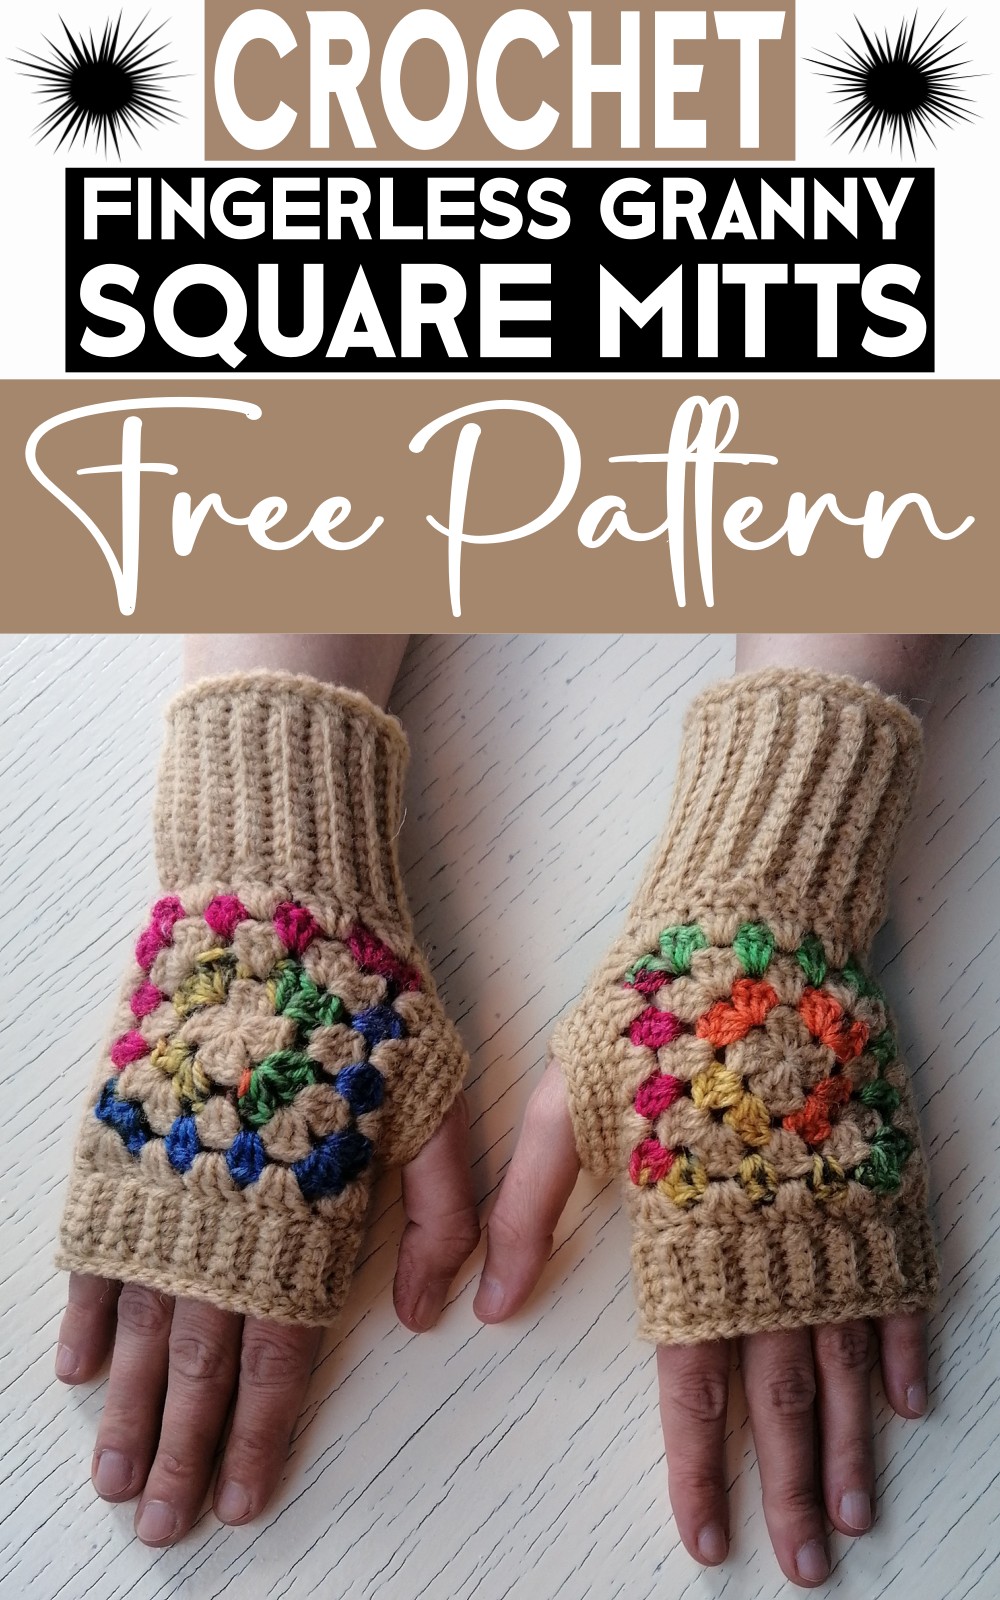
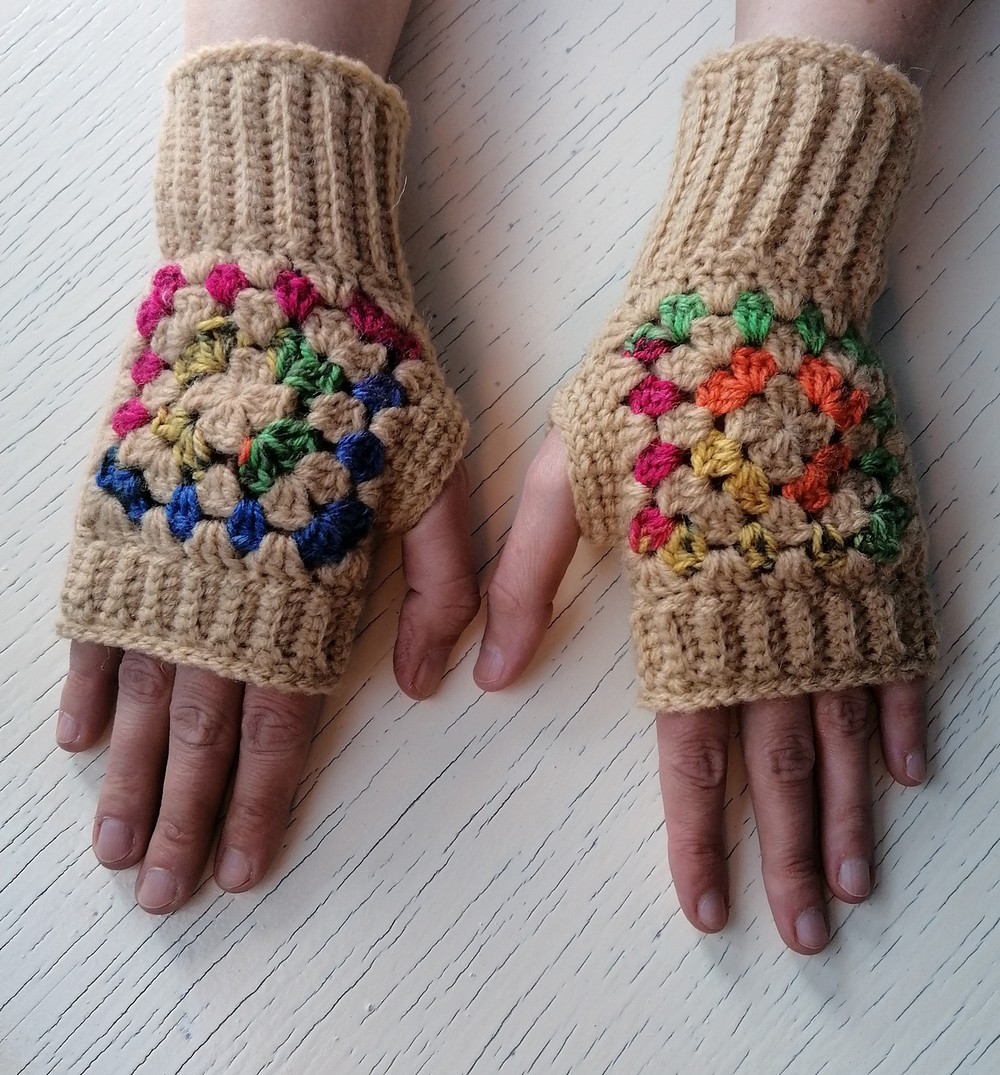
This crochet Granny Square Fingerless Mitts pattern is a delightful pattern that exudes a cozy sophistication. This pattern beautifully marries classic granny square charm with practical functionality. The result is a pair of mitts that are not only stylish and colorful but also perfect for keeping hands warm while leaving fingers free for daily tasks. The creative use of contrasting colors adds a playful twist to the design, making it an excellent project for crochet enthusiasts looking to showcase their skills and inject a splash of color into their wardrobe.
Materials
- Stylecraft Batik DK / Elements in 2 colors
- 3.5mm (E) hook & 3mm (E)
- Darning needle
Size
- One size
Gauge
- Granny square: 3 ¾ inches (9 ½ cm)
Skill Level
- Intermediate
Abbreviations (US Terms)
- sc – single crochet
- dc – double crochet
- ch – chain
- sp – space
- sts – stitches
- sk – skip
- bl – back loop
- mc – main color
- cc – contrast color
Instructions
Sizing: One size fits most. Adjust size by changing the hook size or altering the rounds for the granny squares.
Other notes: Start with mc, and alternate between mc and cc each round. Join new colors with a slip stitch (sl st). Use the larger hook for granny squares and the smaller hook for ribbing.
Granny Square (Make 4)
- With the larger hook, chain 4 and join with a sl st to form a ring.
- Round 1: (Right side) Ch 3, 2dc into the ring, [ch 2, 3dc into ring] 3 times, ch 2, join with a sl st to the top ch 3.
- Round 2: Join new color in any corner sp, ch 3, 2dc in the same sp, ch 2, 3dc in the same sp, in the next and every sp around [3dc, ch 2, 3dc], join with a sl st to the top ch 3.
- Round 3: Join new color in any corner sp, ch 3, 2dc in the same sp, ch 2, 3dc in the same sp, 3dc in each sp across sides, [3dc, ch 2, 3dc] in each corner sp, join with a sl st to the top ch 3.
- Rounds 4 & 5: Repeat Round 3.
Joining Squares
With the right sides together, sew or slip stitch 2 squares along one side. On the opposite side, join only the top 3 sts together, then the bottom 3 to leave a gap for your thumb.
Ribbing
- Row 1: With the right side facing, small hook, and mc, attach yarn at any seam with a sl st, ch 15, sc in the 2nd ch from the hook and in each ch, sl st to the next 2 sts along the bottom of the granny square, turn.
- Row 2: Skip both sl sts, sc in each st working in back loop only, turn.
- Row 3: Ch 1, sc in each st working in back loop only, sl st to the next 2 sts along the bottom of the granny square, turn.
Repeat Row 2 & Row 3 until you have worked around the entire cuff. Do not fasten off. Turning work inside out, slip stitch or single crochet both edges together to join, fasten off.
Join yarn to the top of the mitt with a sl st at the side seam and repeat the ribbing instructions around the top of the mitt, but chain only 4 to start. Fasten off.
Repeat the ribbing instructions around the thumb hole similarly, beginning with a chain of 4. Fasten off and weave in ends. Complete the second mitt with the remaining squares.
Final Touches
Remember to fasten off and weave in all ends neatly. Repeat all steps for the second mitt to create a matching pair.
Crochet Fingerless Granny Square Mitts
Oh, how absolutely delightful the Crochet Fingerless Granny Square Mitts pattern is! Each stitch tells a story of care and warmth, making these mitts not just an accessory but a piece of heartwarming art. The blend of colors and the soft embrace of the yarn, as it weaves through your fingers, bring a smile to anyone lucky enough to wear it. It’s not just about keeping hands cozy; it’s about wearing a hug from someone who crafted it with love. This pattern turns yarn into a magical array of comfort and style, and it’s impossible not to admire the beauty and effort put into every loop and chain.
Fingerless Granny Squares Gloves
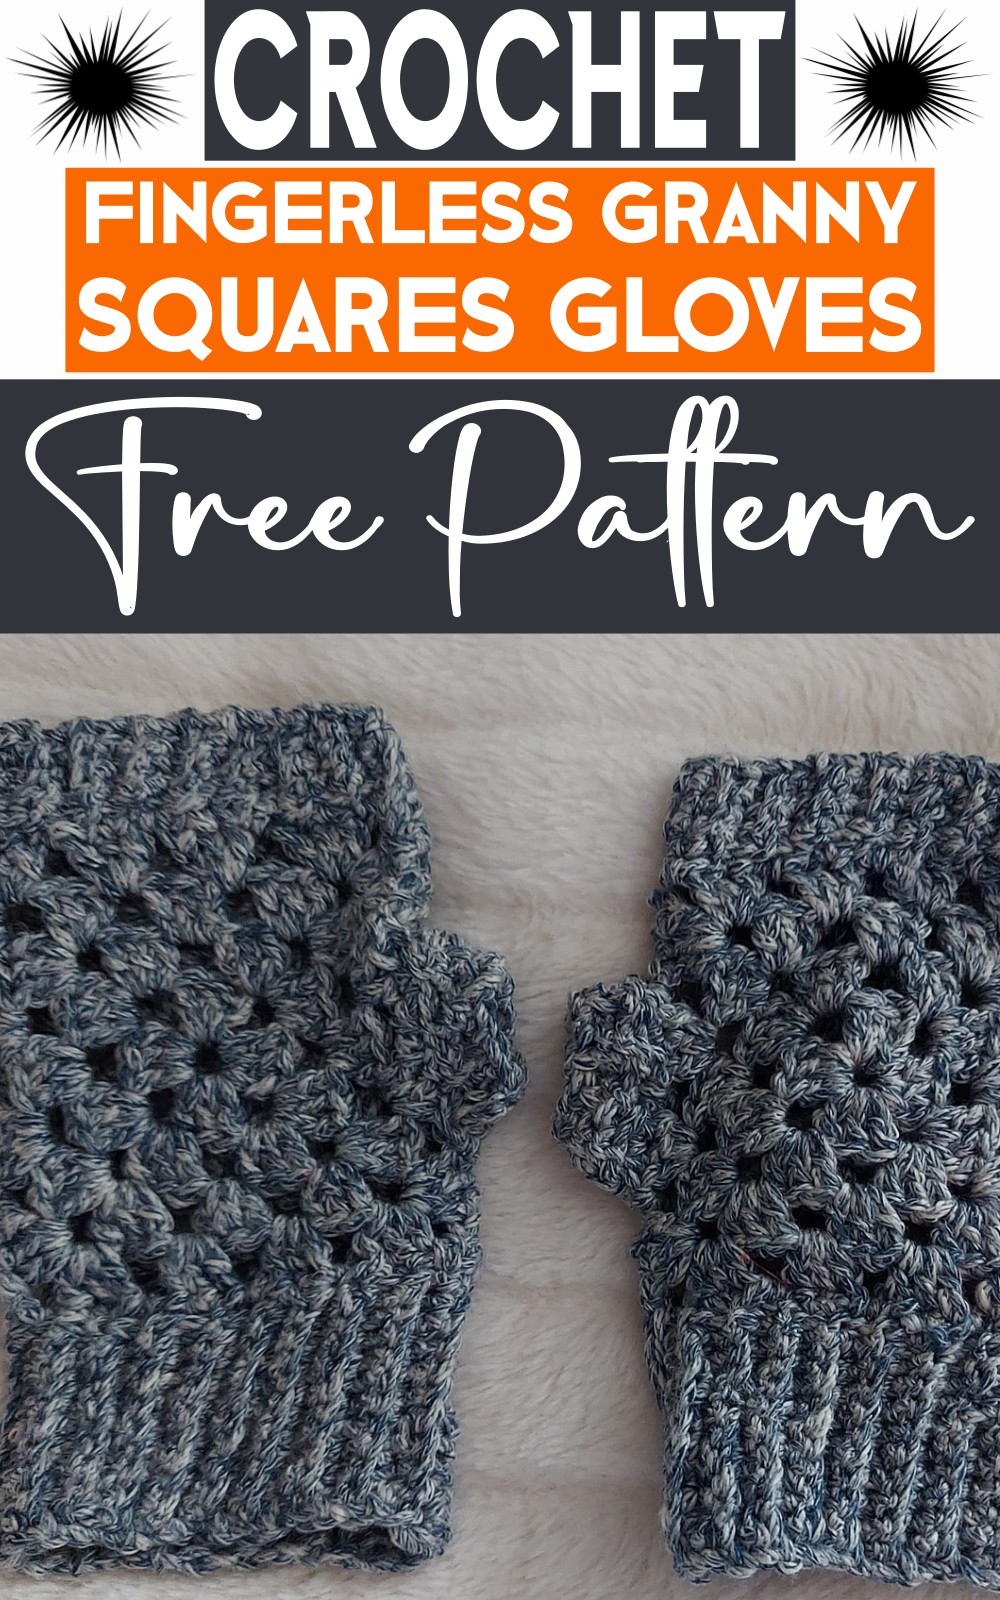
The Fingerless Granny Squares Gloves pattern truly deserves praise and admiration. This pattern is absolutely sensational with its simple yet sophisticated design, bringing together the charm of traditional crochet and contemporary style effortlessly. It doesn’t shy away from showcasing remarkable creativity. Moreover, the comfort and warmth it offers is undeniably exceptional. Ultimately, this pattern encapsulates the perfect blend of style and functionality, representing a testament to the creator’s remarkable talent.