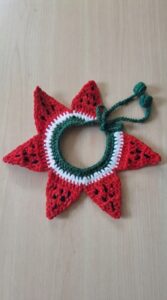
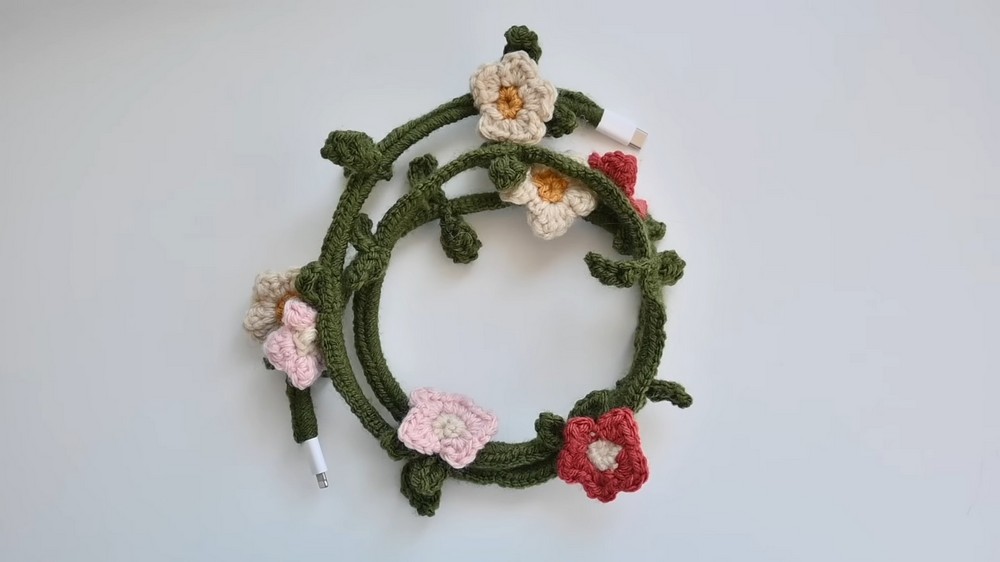
Giving your charger a colorful and cozy makeover! With a crochet charger cover, you can do just that. It's like dressing up your charger in a cute, little sweater. Not only does it look adorable, but it also protects your charger from getting tangled or damaged. You can add little leaves and flowers to make it even prettier. It's a fun and creative way to add a personal touch to something we use every day.
Crochet Charger Cord Cover Vine With Flowers
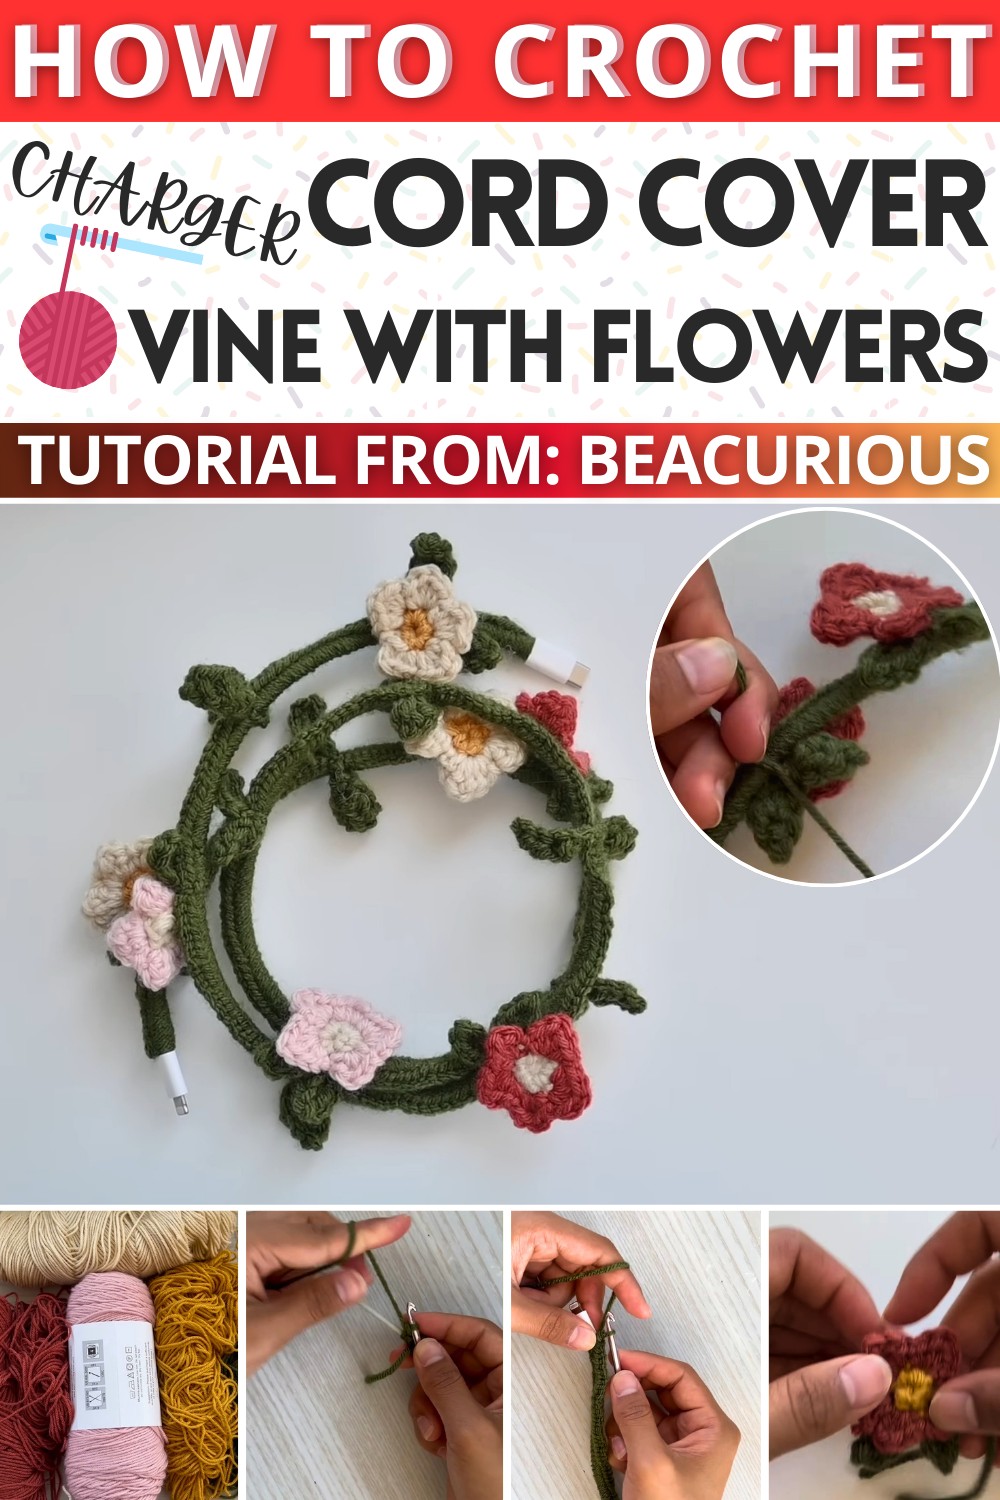
Plus, it's an easy project that you can finish while enjoying your favorite TV show. Get your crochet hook and some colorful yarn, and let's give your charger a charming new look!
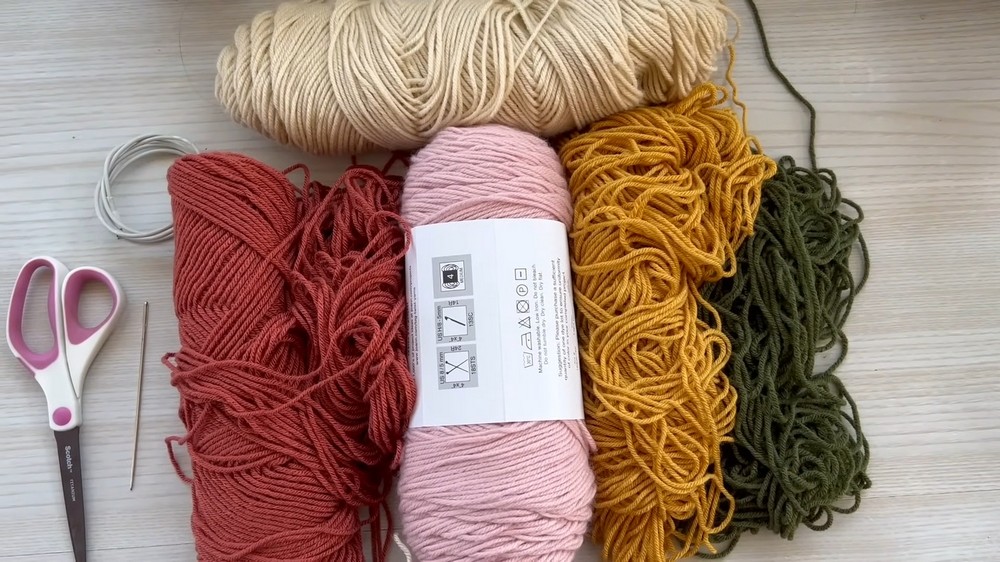
Supplies:
- Charging cable
- Scissors
- Tapestry needle
- Crochet hook (4.25 mm suggested)
- Assorted colors of yarn (weight 4 acrylic recommended)
Charger Cover Instructions:
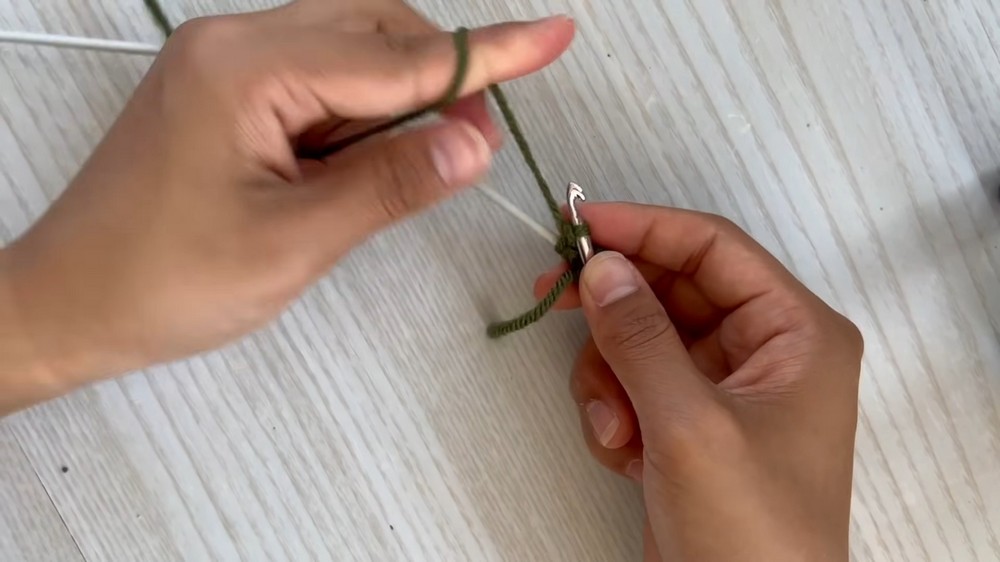
Starting the Cover: Choose the color you want for the vine. Begin by making a loop with the yarn, referring to the end as the tail and the end attached to the ball of yarn as the working side.
- Insert the hook into the loop, place it over the charger, and pull through the working yarn. Tighten the loop on the thicker part of the charger.
- While holding the tail against the charger, make a single crochet by inserting the hook under the charger and the tail, pulling through a loop, and then pulling it through both loops on your hook. Ensure the stitch stays on the thicker part.
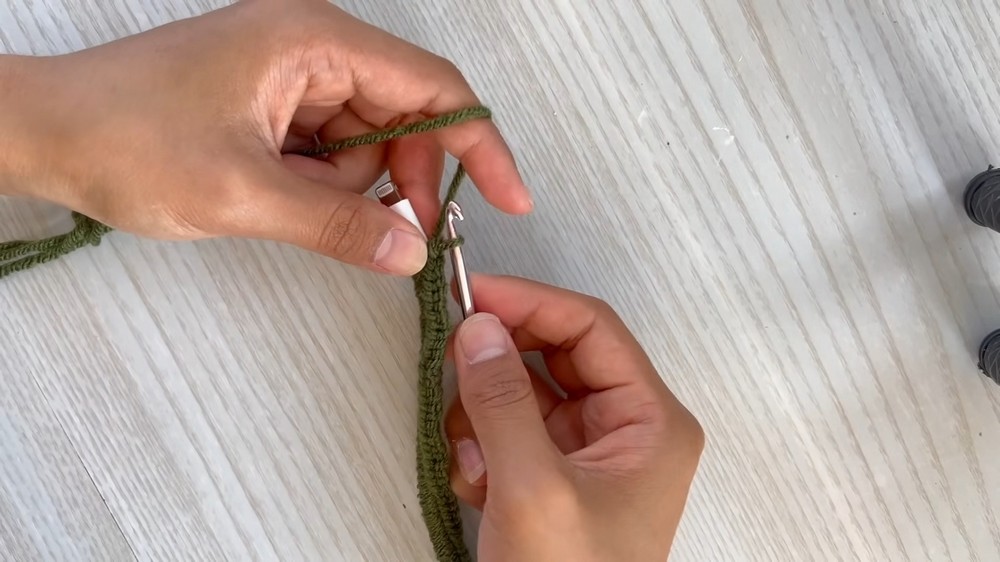
- Continue with single crochets, including the tail in your stitches until you cover the thick part of the charger.
- Once you reach the thinner part, you can let the tail go, and just crochet around the cable until you reach the other end.
- Cut the yarn after pulling a loop through on the other end, and weave in the end with a tapestry needle.
Sprouts (Leaves) Instructions:
- Make a slipknot on your hook.
- Chain 4.
- Skip the first chain and perform a single crochet in the second chain.
- In the next chain, do a half double crochet.
- In the last chain, do a single crochet.
- Slip stitch, then chain 4 again.
- Repeat the sequence to create the second leaf.
- Finish by cutting the yarn and weaving in the ends.
Flowers Instructions:
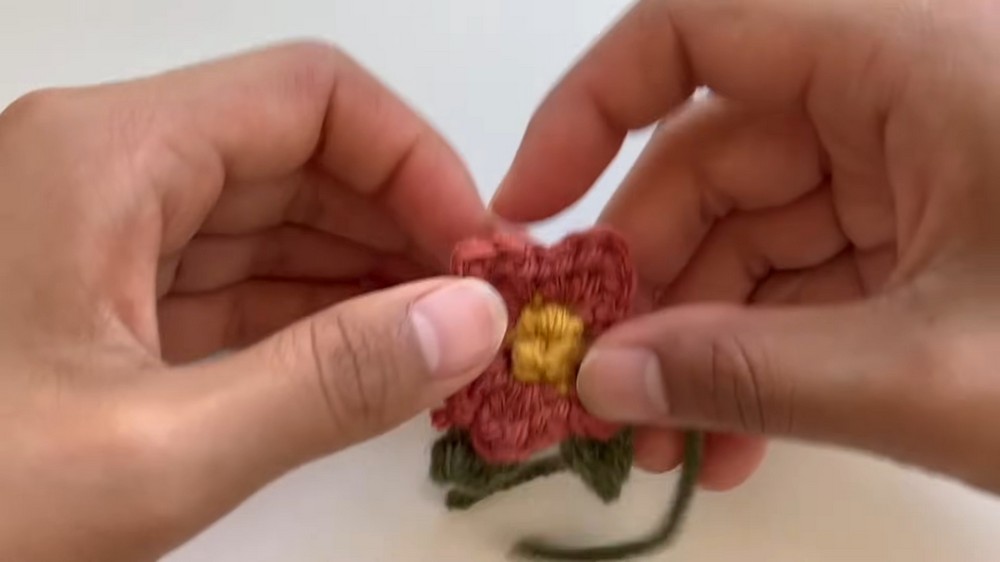
- Center of Flower: Choose the color for the center and chain 4, then slip stitch into the first chain to create a ring.
- Make 5 single crochets into the center of the ring.
- To start the petals, switch to the petal color yarn by pulling it through the stitch where you will slip stitch.
- Petal Pattern: In the same stitch, make a single crochet, half double crochet, double crochet, another half double crochet, and finish with a single crochet.
- Chain 1 and slip stitch into the next stitch. Repeat the petal pattern around the center until you have 5 petals.
- End by slip stitching into the first stitch of the petals.
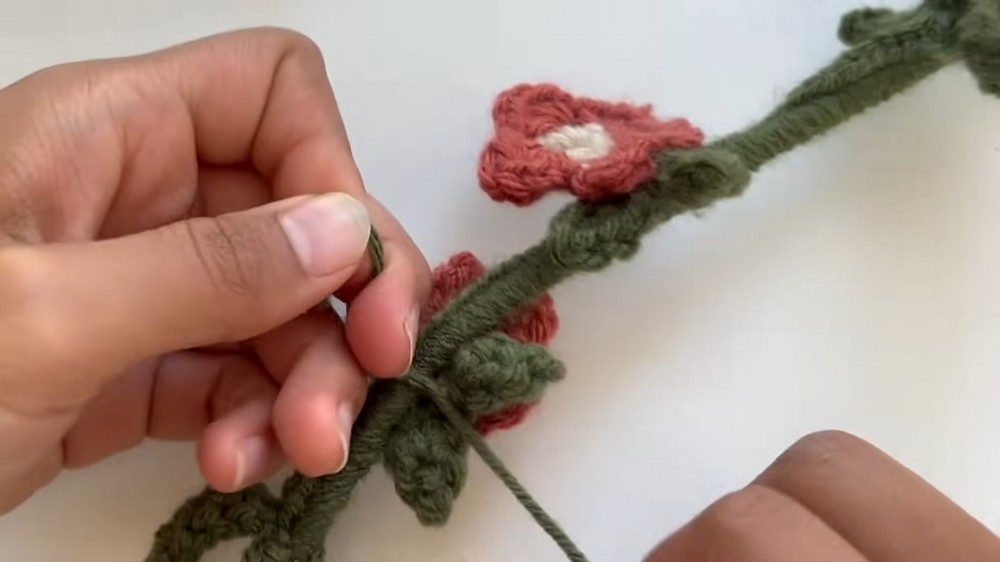
Assembly:
- Weave in all ends except for the greens of the sprouts.
- Attach the sprouts to the base of the flowers with knots and weave in green ends through the back of the sprouts/leaves.
- To attach the flower to the charger, tie the sprout ends to a point on the charger and weave the ends into the leaves for a secure hold.
And there you have it! Your crochet charger cover complete with decorative sprouts (leaves) and flowers. Remember to weave in any loose ends to keep your work tidy. Enjoy your crocheting project!