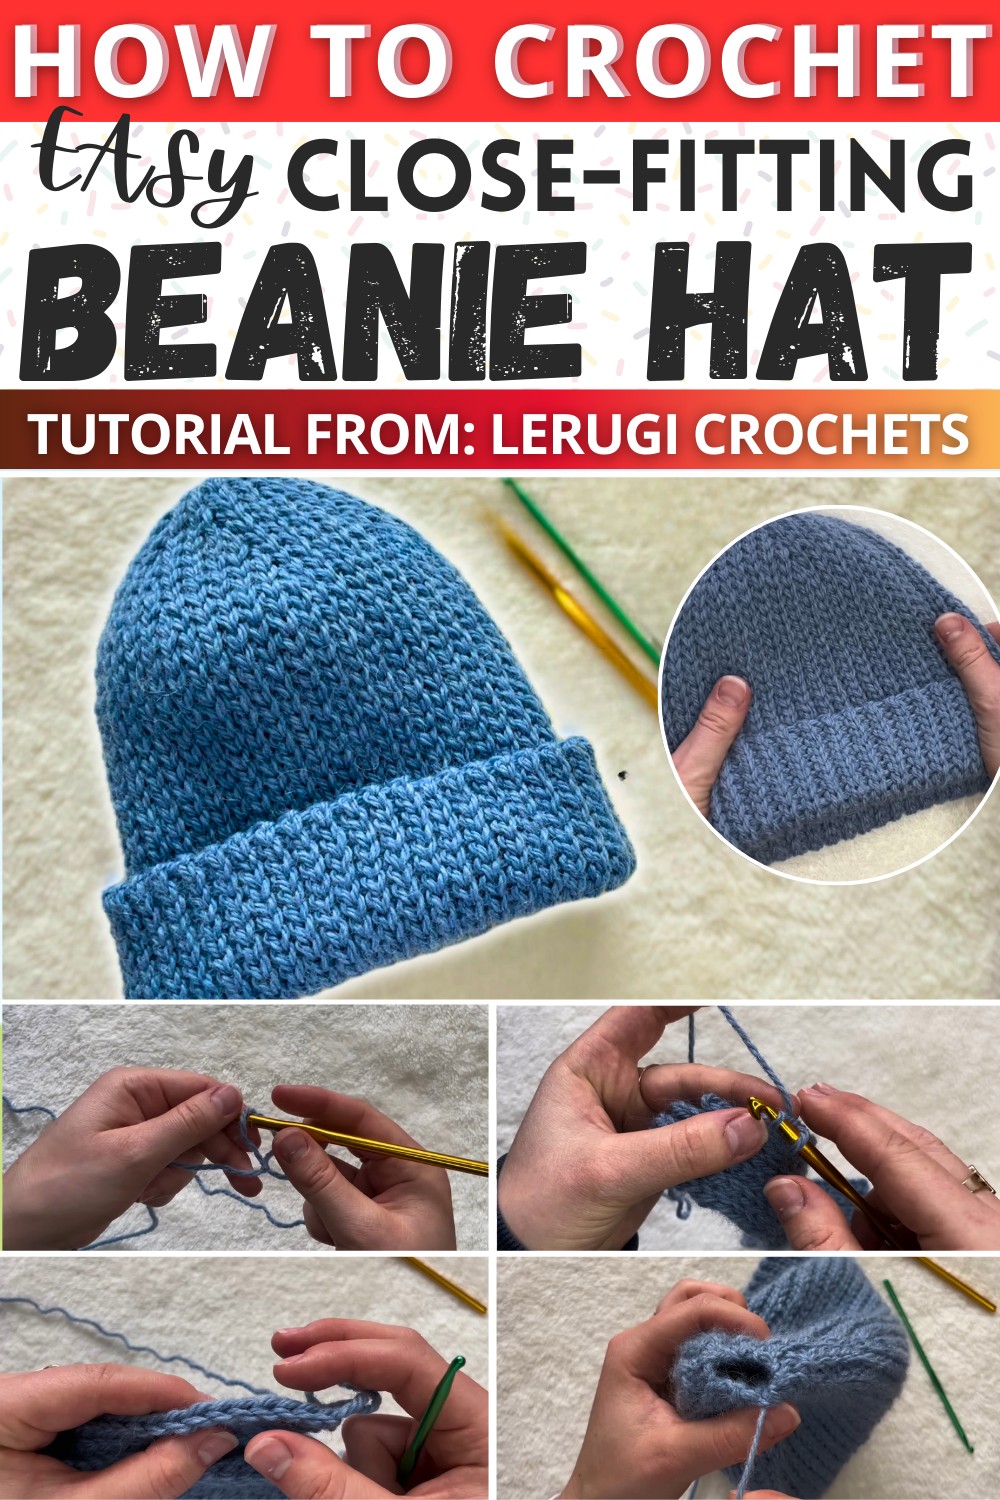
Creating a crochet beanie is like weaving a cozy hug for your head. Imagine taking soft yarn and seeing it transform, loop by loop, into a snug hat. This beanie starts with just a simple chain and grows through rows of slip stitches that look like they were knitted. Each step is like a magic trick, where your hook dances and creates a warm cover that fits perfectly.
Crochet Beanie
As you work your way around, connecting each section with care, you're not just making a hat; you're crafting a little piece of comfort that can brighten up chilly days. When you finally pull that last thread through and finish off your creation, you've not just made a beanie, but a warm, handmade smile for your head.
Materials Needed:
- Yarn: Drops Nepal yarn, a wool and alpaca mix, 50g/75m per ball. You will need about 100g, so 2 balls.
- Hook: 6 mm crochet hook.
- Other: Darning needle.
Pattern Overview:
This beanie is created using slip stitches that mimic a knit look. It forms a flat top without bunching, creating a sleek, comfortable fit.
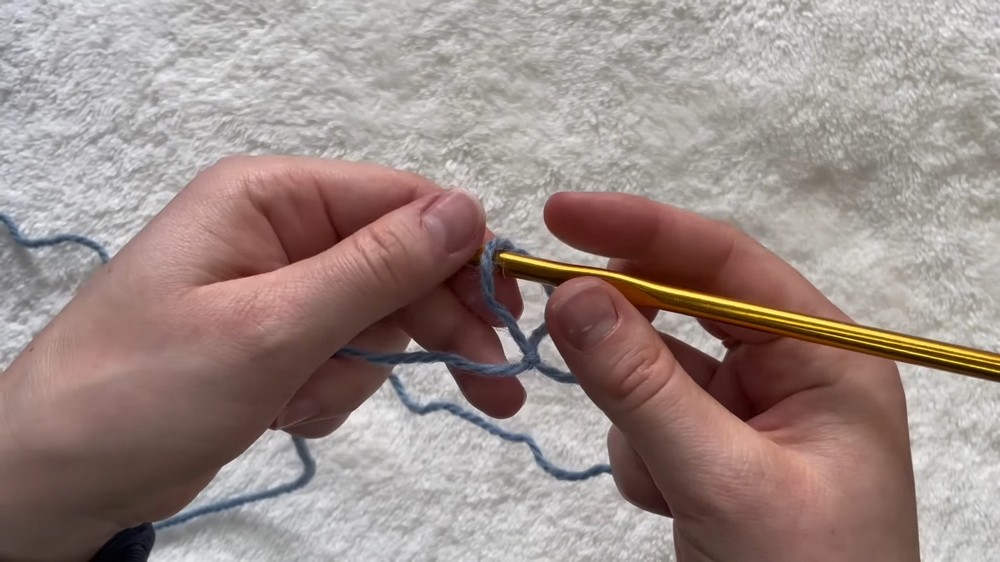
Foundation Chain:
- Start with a slip knot.
- Chain 44 (plus 1 extra for turning, so 45 in total).
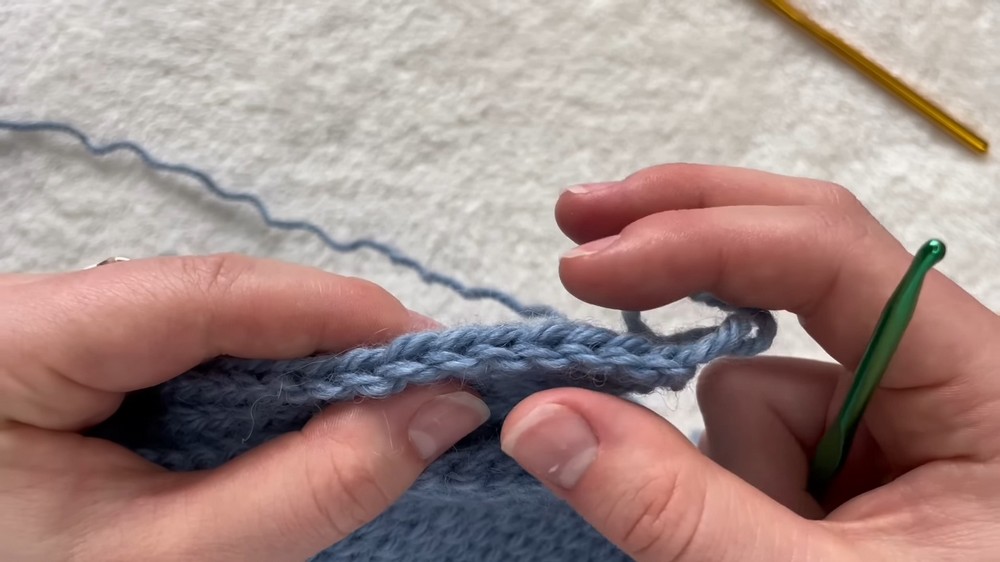
Row 1:
- Starting in the second chain from the hook, insert the hook, yarn over, and pull through all loops. This creates a slip stitch.
- Slip stitch in each chain across the row. You will have 44 slip stitches.
- Chain 1 and turn.
Row 2:
- Skip the chain-1 space.
- Work slip stitches in the back loops only across, making a total of 42 slip stitches.
- Chain 1 and turn.

For Row 3:
- Repeat Row 2: Skip the chain-1, slip stitch in back loops only across (42 stitches).
- Chain 1 and turn.
Row 4 to Row 11:
- Decrease: In each new row, you will decrease the number of slip stitches by working in the back loops only and leaving the last two unworked at the end of each row before you chain 1 and turn.
- By Row 11, you will be down to 34 slip stitches.
Row 12:
Work slip stitches across the row, connecting the edges for a seamless finish as follows:
- Insert hook into a loop at the edge, yarn over, pull through both the loop and the stitch from the previous row. Repeat across.
- This connects the first "block" or section of the beanie. You should now see a structured piece taking shape.
Repeat Process:
- Rows 1-12 are repeated for a total of 7 blocks to complete the main body of the beanie.

Final Steps:
- Connect the edges of the beanie with slip stitches for a seamless look, using the loops on the two sides.
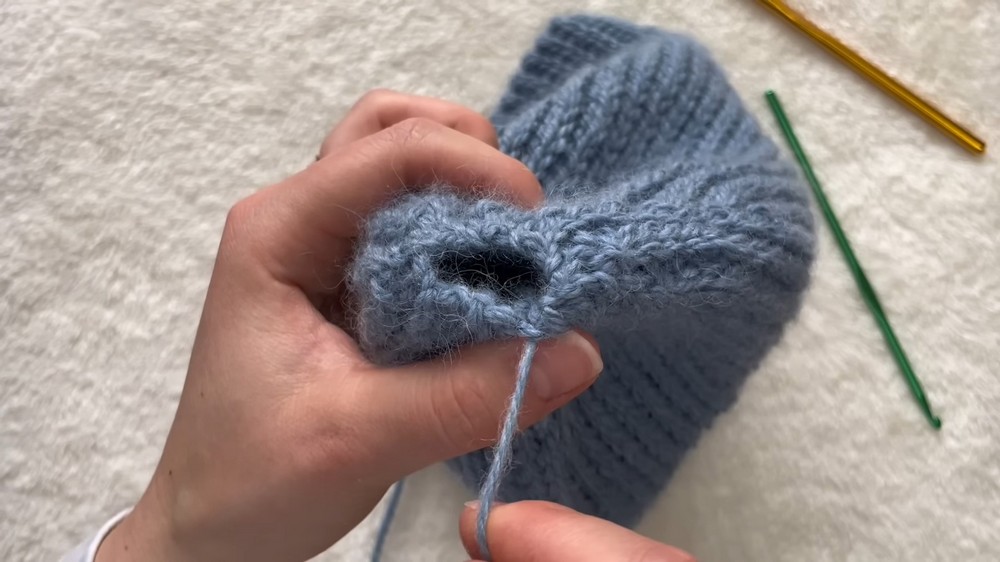
- Close the top: Chain 1, cut a long tail of yarn, thread through the top loops, and pull tight. Secure with knots and weave in ends.
- Finish: Weave in any remaining ends and turn the beanie out so the seam is on the inside.