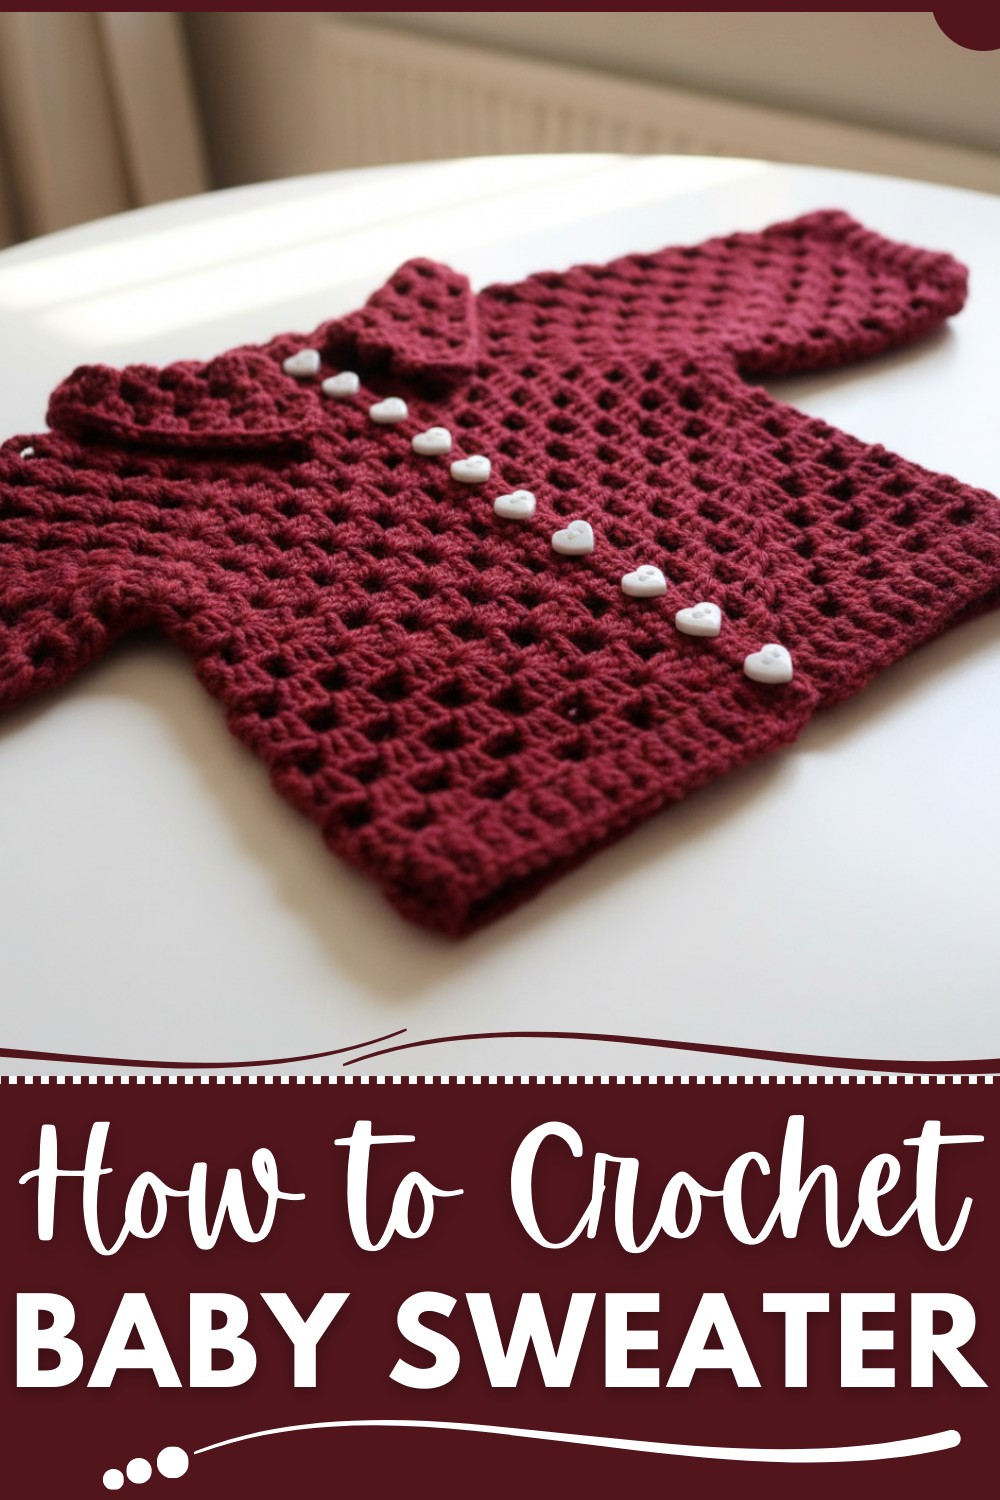
Whipping up a baby sweater with your own two hands? Now that’s a fun challenge worth taking on! Using a crochet baby sweater pattern, you can create something adorable, cozy, and totally unique. A tiny sweater that keeps a little one snug while making everyone around go, Whether it’s for chilly days or family photos, this little creation is a total win.
It also makes for the ultimate baby shower gift, you’ll completely outshine those store-bought outfits because yours comes packed with love! Pair it with booties, maybe a cute hat, and you've got the cuteness overload covered. Bonus? You don’t need to be a crochet pro to make it. It’s simple, meaningful, and seriously fun for anyone who loves crocheting.
Sweet Crochet Baby Sweater Pattern Loved by Moms
Materials
- Yarn:
- Approximately 80 grams of light (DK weight) yarn (your choice of color).
- For a softer and more luxurious finish, opt for a baby-friendly yarn like acrylic or a cotton blend.
- Crochet Hook:
- Use a size 3 mm crochet hook.
- Notions:
- Measuring tape (to ensure proper sizing).
- Buttons for closure (quantity: 10, preferably 1–1.5 cm diameter).
- Scissors to trim yarn.
- Tapestry/Wool Needle for weaving in ends.
Step-by-Step Crochet Baby Sweater
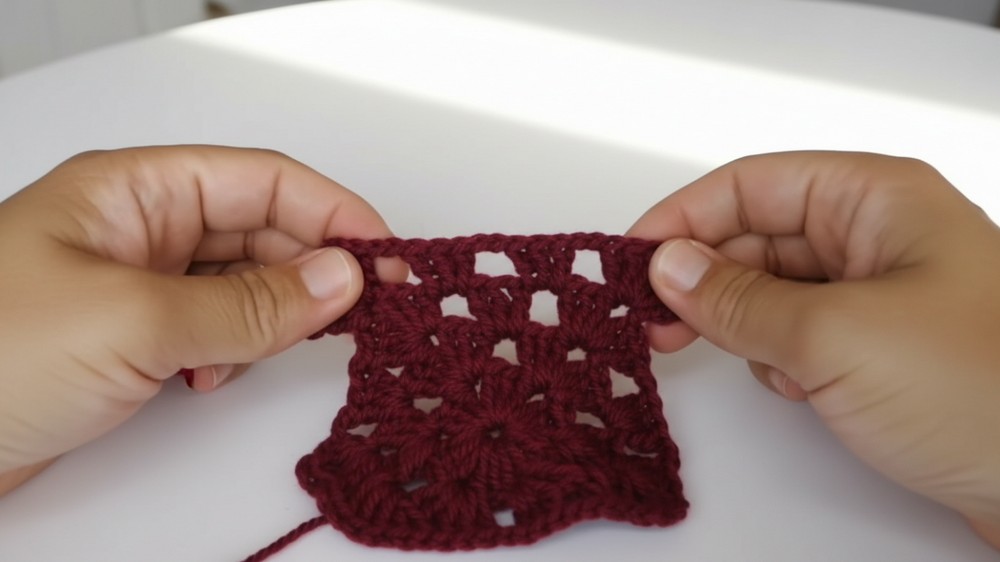
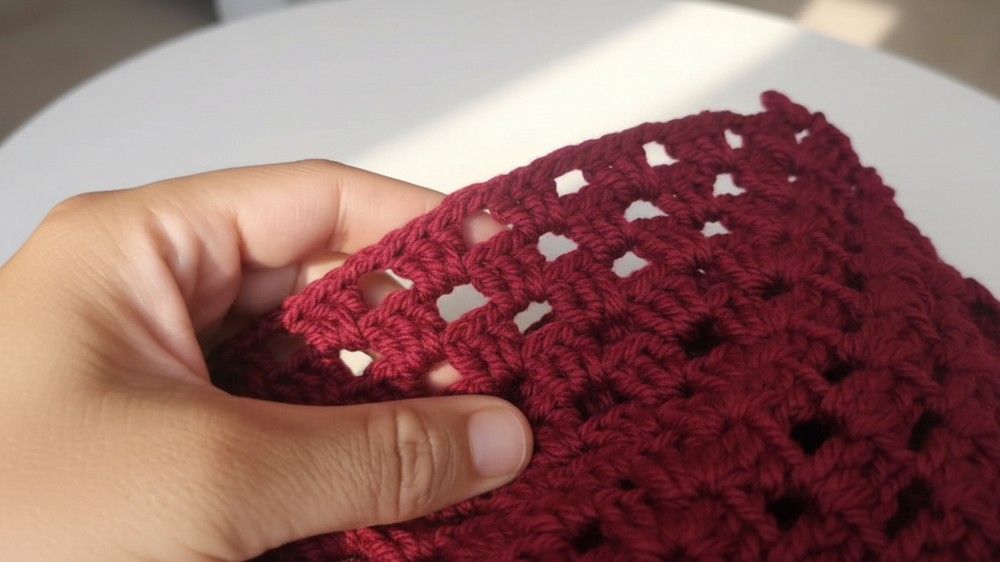
This pattern outlines all the steps to create an adorable baby sweater with button closures. The design is based on two hexagonal motifs joined together, forming sleeves and a body with a beautiful fan stitch and ribbing elements. The sweater is perfect for intermediate-level crocheters comfortable working with shapes and assembly.
Skill Level
- Intermediate to Advanced.
- Familiarity with working in rounds, increasing stitches, slip stitching, and crocheting basic shapes is required.
Abbreviations (US Terminology)
- CH = Chain
- ST = Stitch
- SL ST = Slip Stitch
- DC = Double Crochet
- HDC = Half Double Crochet
- SC = Single Crochet
Special Notes
- This pattern is worked in two separate hexagonal motifs that are joined together to form the sweater.
- The sleeves, bottom, and buttonholes are added after the hexagon assembly.
- Use a loose tension to ensure a soft and comfortable fit.
- Adjust the hexagon size if necessary to fit larger or smaller babies (instructions provided in the pattern).
Pattern
Hexagonal Yoke Section
- Start with a Magic Ring:
- Create a magic ring and secure it.
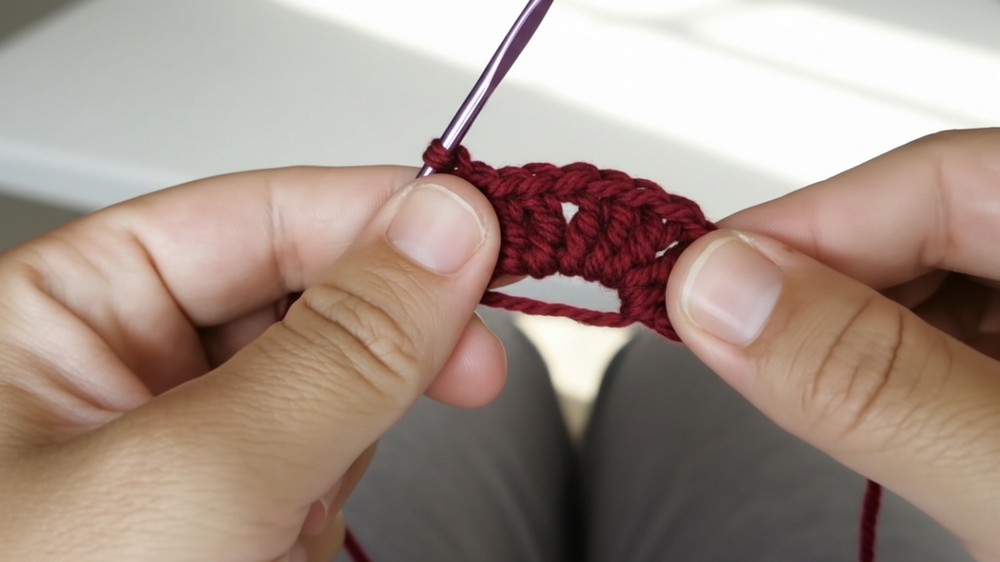
- Round 1:
- CH 3 (counts as the first DC).
- Work 2 DC into the ring, CH 1.
- Repeat (3 DC, CH 1) a total of 6 times to create 6 groups of 3 DC with chain spaces between them.
- Close the round with a SL ST into the top of the starting CH 3.
(You should have 6 groups of 3 DC with 6 chain spaces between them.)
- Round 2:
- SL ST to the first chain space of the previous round.
- CH 3 (counts as the first DC), work 2 DC into the same chain space, CH 2, then 3 DC into the same space (this forms a fan).
- In the next chain space, work 3 DC, CH 2, 3 DC.
- Repeat the above sequence into each of the remaining chain spaces around.
- Close the round with a SL ST into the top of the starting CH 3.
(You will now have 6 fans with 2-chain spaces between them.)
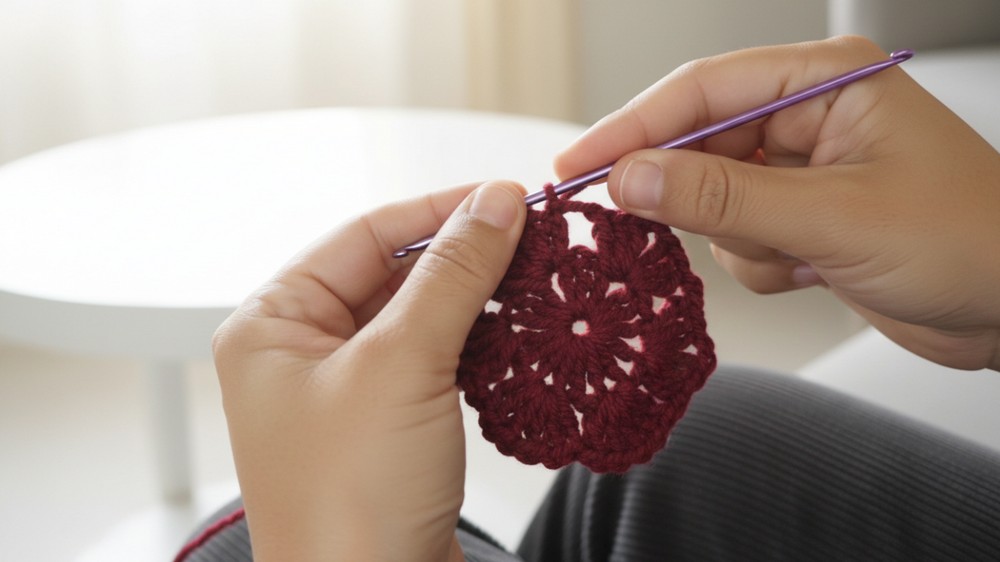
- Round 3:
- Repeat the process: Work 3 DC, CH 2, 3 DC in the chain spaces to maintain the fan shape.
- In the spaces between fans (from the previous round), work 3 DC.
- Close the round with a SL ST.
(The hexagon will now grow to have additional 3-DC groups between the fans.)
- Rounds 4–10:
- Continue growing the hexagon by working 3 DC, CH 2, 3 DC in each fan space and 3 DC in the spaces between fans.
- After completing 10 rounds (or until the hexagon measures 11 cm from the center to a side corner), fasten off.
- Second Hexagon:
- Repeat the same steps to create a second hexagon.
Joining the Hexagons
- Fold Hexagons:
- Fold the two hexagons so that each fan corner aligns with its corresponding corner on the other hexagon.
- Use stitch markers to secure the alignment.
- Seam the Sides and Sleeves:
- With wrong sides facing out, join the two hexagons together.
- Begin at the corner and work using SL ST to join the edges:
- Align the 3 DC clusters and fans, ensuring a neat join.
- Leave the upper portions open for the sleeves (about 3 groups of 3 DC on each side).
- Fasten off and repeat for the other side.
- Turn Right Side Out:
- Flip the garment to the right side to reveal the seams.
Sleeves
- Attach Yarn to the Sleeve Opening:
- Work in joined rounds to shape the sleeves.
- Round 1:
- CH 2 and work HDC into each stitch around the sleeve opening, skipping the joining seam.
- Close the round with a SL ST into the starting CH 2.
- Rounds 2–4:
- Work in HDC spring stitch:
- Alternate front post HDC and back post HDC to create ribbing.
- Close each round with a SL ST.
- Work in HDC spring stitch:
- Fasten Off:
- Cut yarn, secure the tail, and weave in the ends neatly. Repeat for the second sleeve.
Neckline
- Attach Yarn to the Neck:
- Work evenly around the neckline opening.
- Rounds:
- Work fan stitches around the neckline (3 DC, CH 2, 3 DC), ending each round with a SL ST.
- You can make as many rounds as you prefer. The tutorial suggests 4 rounds for a neat finish.
- Fasten Off:
- Cut yarn and weave in any loose ends.
Bottom Edge
- Attach Yarn to the Bottom Edge:
- Begin at the back seam and work HDC evenly around the bottom edge of the sweater.
- Spring Stitch Ribbing:
- Work 2–3 rounds of spring stitch ribbing by alternating front post HDC and back post HDC.
- Fasten Off:
- Secure and weave in loose ends neatly.
Button Band and Buttonholes
- Attach Yarn to One Front Opening:
- Work HDC evenly from bottom to neckline for two rows.
- Buttonhole Row:
- Space buttonholes evenly by working CH 1, skip 1 ST as buttonholes.
- Second Button Band:
- Repeat HDC rows for the other front opening without adding buttonholes.
- Sew Buttons:
- Attach buttons opposite the buttonholes.
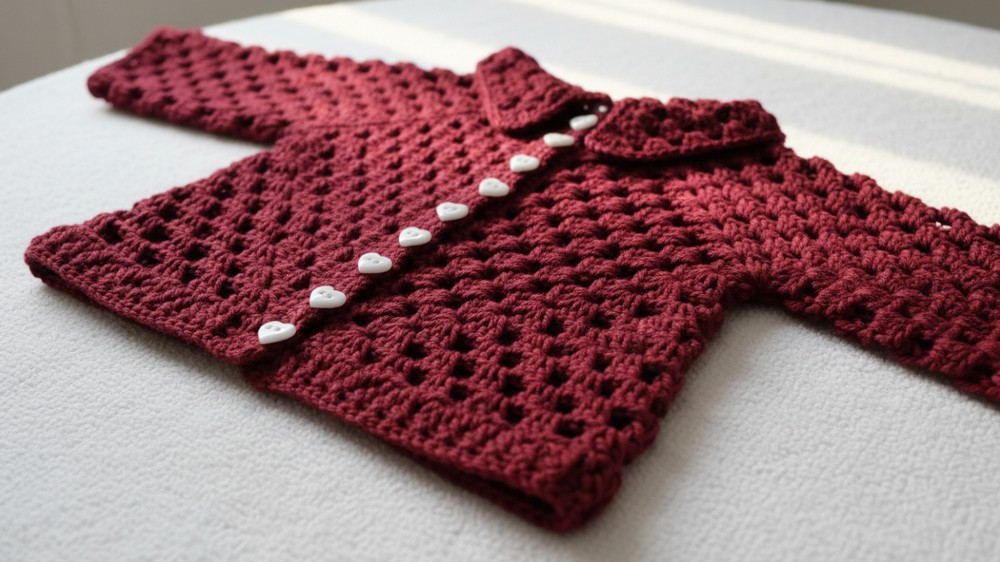
Conclusion
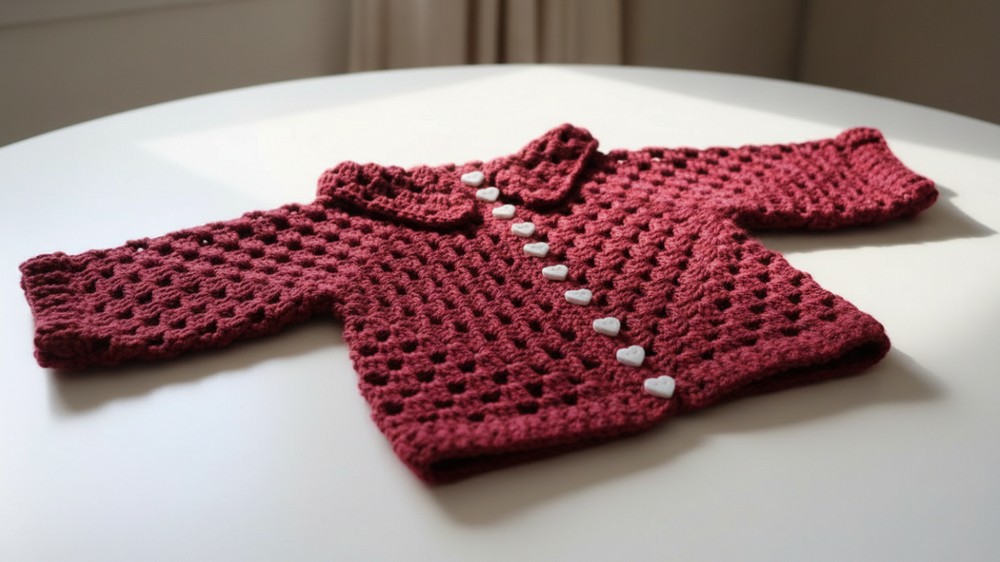
The baby hexagon sweater is complete! This design combines comfort, practicality, and style, making it an excellent gift or addition to any baby wardrobe. The customization options make it versatile for various sizes and aesthetics.
Corrections
- Ensure the hexagon grows symmetrically, and count stitches after each round to avoid misalignments.
Tips
- Gauge Swatch: Test your yarn and hook size to ensure proper drape and size.
- Button Placement: Mark button positions with pins before sewing to achieve uniform spacing.
- Adjust Size: Add or subtract hexagon rounds to fit larger or smaller babies.