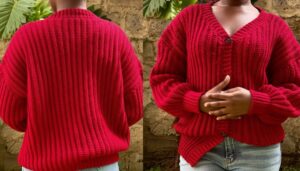
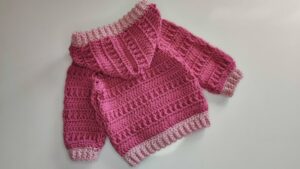
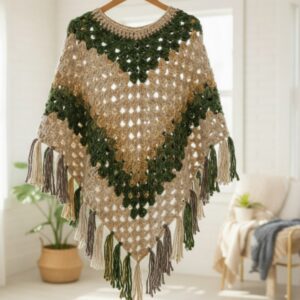
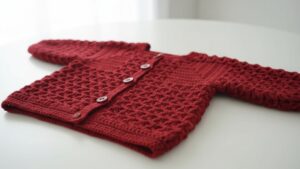
A crisp autumn morning finds a figure walking through rustling leaves, the soft fabric of a poncho shifting gently with each step while the hood shields from the brisk air. Lightweight yet warm, this versatile garment provides comfort without restricting movement, making it perfect for casual outings, park strolls, or cozy moments by a café window. The Free Crochet Poncho With Hood pattern allows crocheters to transform simple yarn into a practical and stylish piece that offers both functionality and visual appeal.
Lovely Crochet Poncho With Hood Pattern
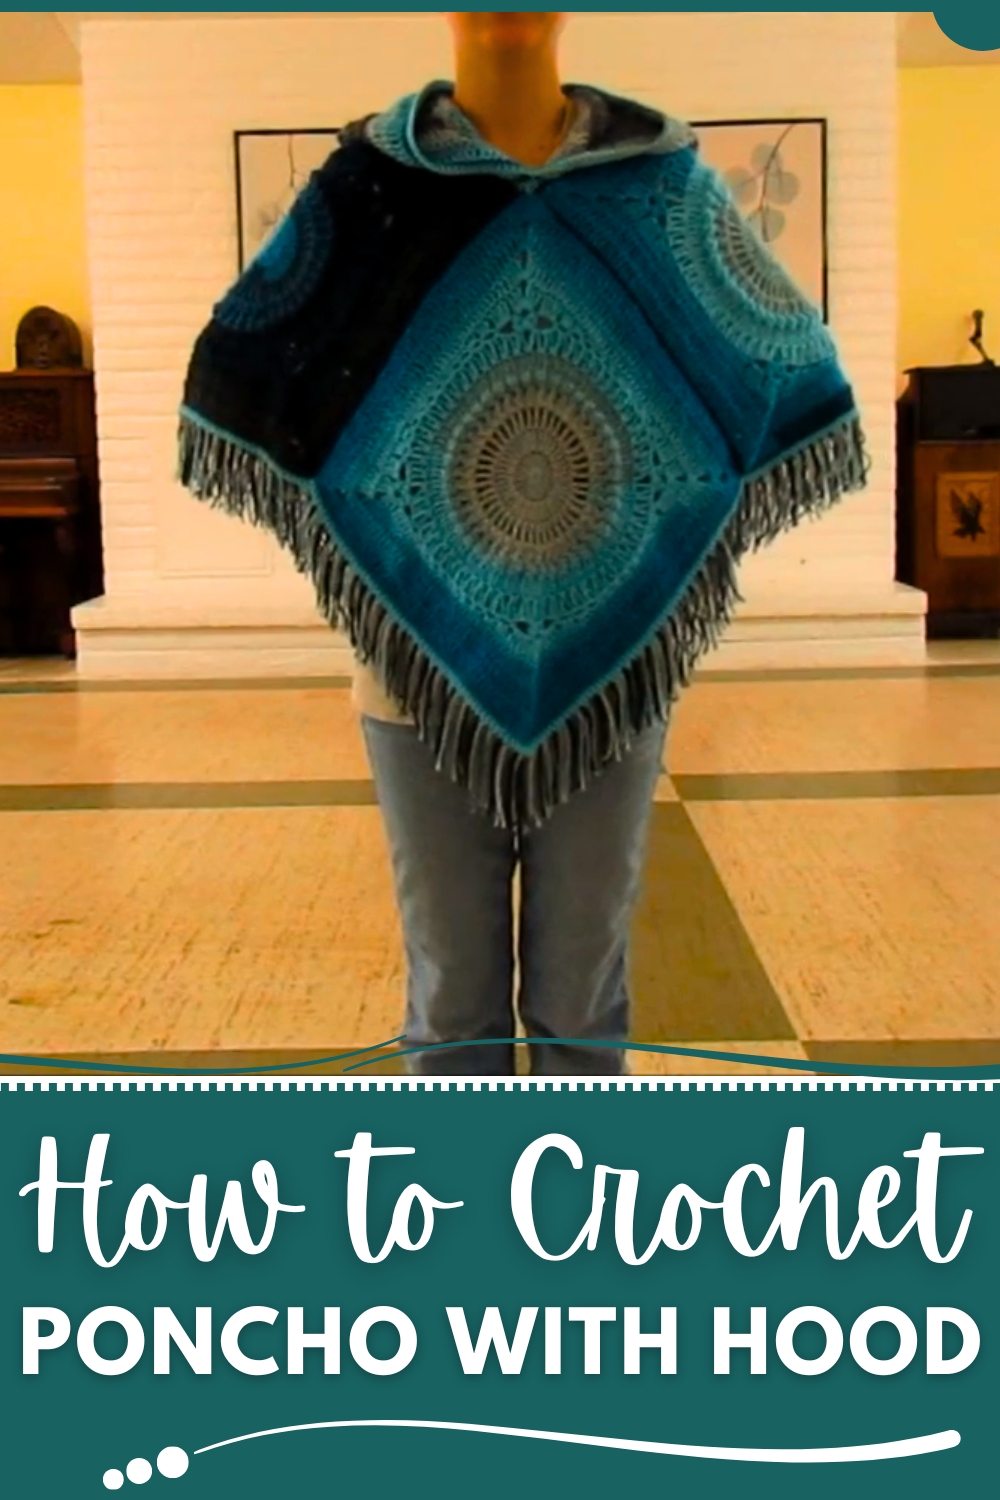
The flowing structure ensures ease of layering over sweaters or tops, while the hood provides added protection against sudden gusts of wind or cool evenings. Repetitive crochet stitches offer a relaxing and rewarding experience, suitable for beginners learning stitch techniques or seasoned crafters experimenting with texture and color. Personalization is easy, whether through bold, statement hues or soft, neutral shades that complement any wardrobe, making each poncho a unique creation.
Beyond personal wear, this poncho serves as a thoughtful handmade gift, combining warmth, style, and the subtle charm of crochet craftsmanship. Each finished Free Crochet Poncho With Hood pattern reflects patience, care, and attention to detail, turning simple yarn into a versatile and cozy garment. It effortlessly adds comfort, charm, and elegance to everyday autumn and winter outings.
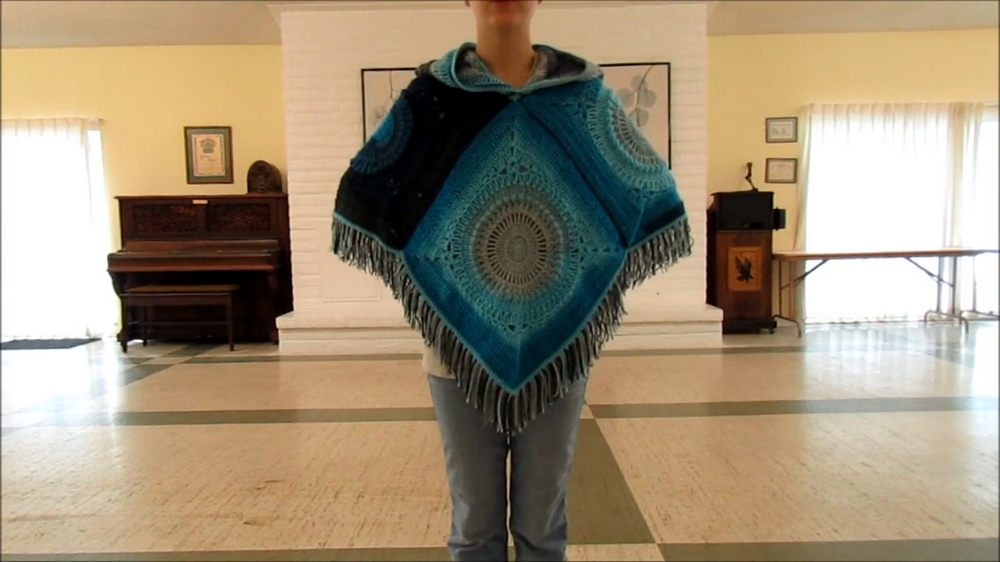
Special Features
- Granny Square Foundation:
- The poncho is made up of six intricately designed granny squares that form the body and hood.
- Customizable Design:
- You can modify the colors, size, and fringe length to suit your preferences.
- Textured Stitches:
- Features a variety of crochet stitches, including bobble stitches and cluster stitches, for added texture and detail.
- Optional Hood and Fringe:
- The design incorporates a practical hood for cooler weather and fringe for a decorative finish.
Materials Needed
- Yarn:
- Lion Brand Mandala Yarn, size 3. Approximately 5–6 skeins for the complete poncho.
- Crochet Hook:
- 5mm crochet hook.
- Additional Tools:
- Stitch markers.
- Yarn needle for assembly and weaving in ends.
- Scissors for trimming and cutting yarn.
Level of Difficulty
- Intermediate:
- The pattern incorporates several techniques, including the magic ring, triple crochet clusters, bobble stitches, and assembly of multiple squares. Beginners can tackle this project with patience and practice.
Tutor’s Suggestions
- Take Your Time:
- With so many rounds and detailed stitches, ensure you go step by step and don’t rush the process.
- Practice Stitches Separately:
- If you’re new to techniques such as the magic ring or bobble stitches, practice them before starting the main squares.
- Count Your Stitches:
- Accurate stitch counts are essential for keeping your squares symmetrical and uniform.
Step-by-Step Instructions
1. Making the Granny Squares
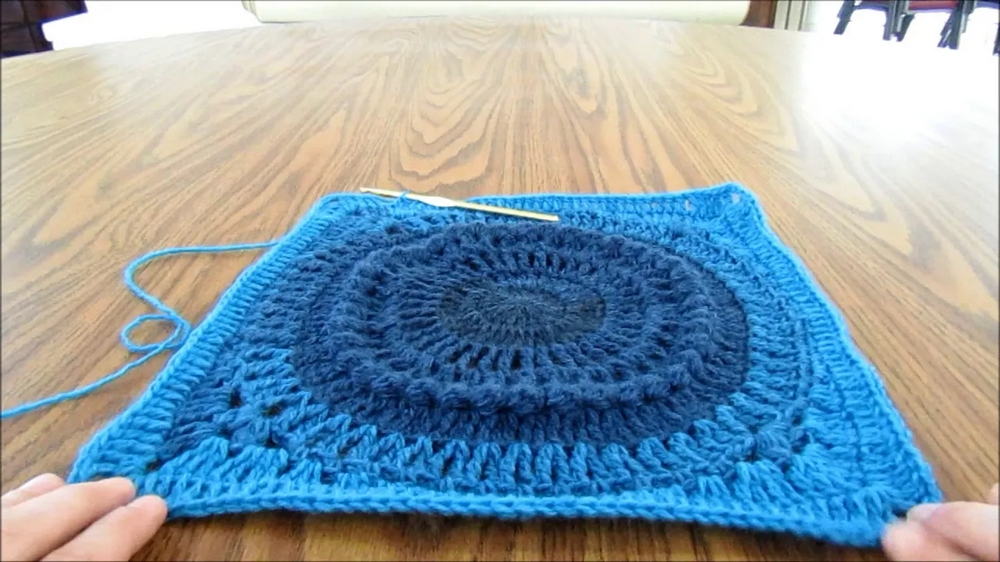
Each Granny Square Measures 15x15 Inches.
Round 1: Magic Ring Base
- Start with a magic ring and chain 3.
- This initial chain counts as a triple crochet.
- Work 20 triple crochets into the magic ring.
- Pull the ring closed tightly and slip stitch into the top of the first triple crochet to complete the round.
Round 2: Increasing Stitches
- Chain 3 (counts as a stitch).
- Work 2 triple crochets into every stitch around.
- Slip stitch into the 3rd chain of the initial chain to join.
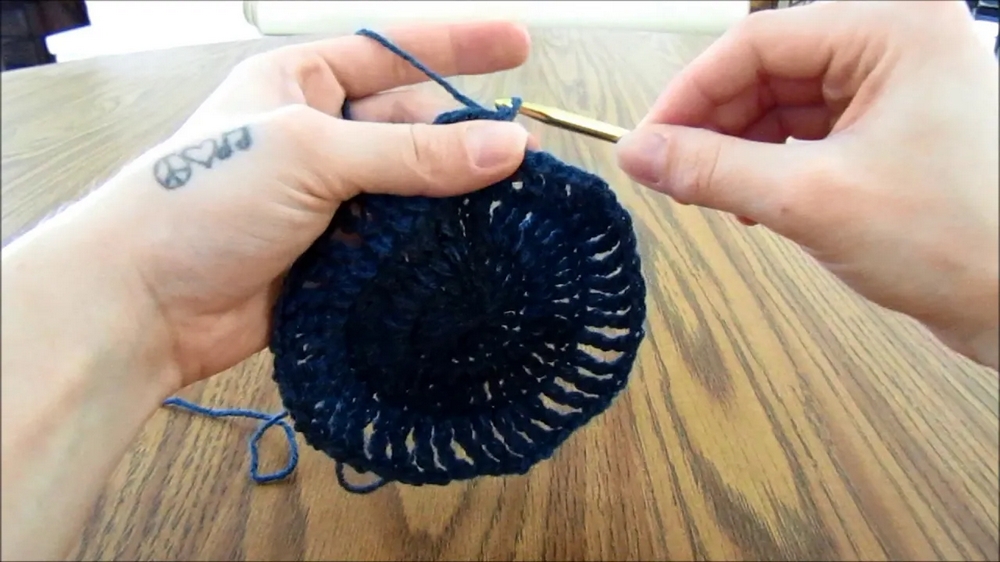
Round 3-4: Mesh and Clusters
- Mesh Round (Round 3): Chain 5 (counts as a triple crochet and chain 1). Alternate between triple crochet and chain 1 into each stitch.
- Cluster Round (Round 4): Work clusters of 3 triple crochets in each chain space. Chain 1 between clusters.
Round 5: Bobble Stitch Round
- Turn your work and chain 2.
- Work bobble stitches by creating 5 double crochets in the chain spaces, leaving the last loop on each crochet. Yarn over and pull through all loops to create the bobble.
- Single crochet in the top of the next cluster. Repeat the bobble stitch all the way around.
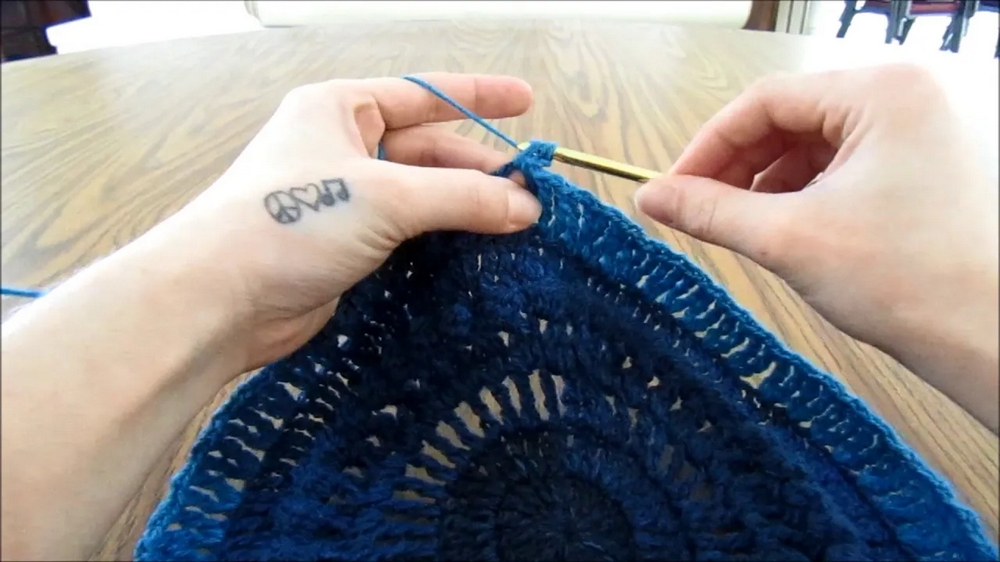
Rounds 6–10: Square Off the Granny Square
- Begin squaring the circle by creating corners with clusters of triple crochets in a chain space.
- For each side: Work variations of single, half-double, double, and triple crochets to form square edges.
2. Assembling the Poncho
Layout of Granny Squares
- Decide the placement of the 4 squares for the body and 2 squares for the hood:
- One square for the front, one for the back, and two squares (folded in half diagonally) for the shoulders.
- Joining Squares
- With the right sides facing each other, whip stitch the edges of the squares using a yarn needle.
- Ensure the corners align perfectly for a symmetrical poncho body.
3. Adding the Hood
- Whip stitch together 2 granny squares along two sides to form the hood.
- Attach the hood to the neckline of the poncho, ensuring the edges align with equal spacing on both sides.
4. Adding the Neckline and Borders
- Neckline: Use single crochet stitches to create a clean neckline edge. Add 1-2 rows, or more if necessary, for your preferred fit.
- Poncho Border: Add 1-2 rows of single crochets around the body of the poncho.
- Work extra stitches in the corners for a smooth and flat border.
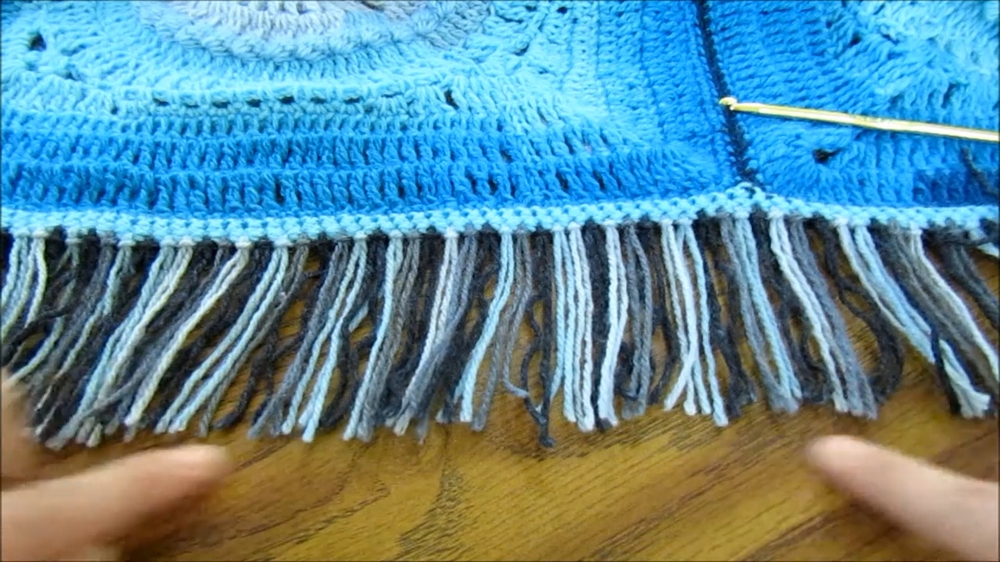
5. Adding the Fringe (Optional)
- Cut yarn into 7-inch strands and fold each strand in half.
- Attach the strands to the bottom edge of the poncho by pulling the folded loop through a stitch, then pulling the ends through the loop.
- Trim the fringe for an even finish.
Uses
- Seasonal Wear:
- Perfect for fall and winter as a warm, layered garment.
- Statement Piece:
- A great conversation starter with its unique granny square design.
- Gift Idea:
- A handmade and thoughtful gift for friends or family.
Final Tip
Practice Makes Perfect: Work on one granny square at a time, focusing on consistent tension and neat stitches. This ensures all the squares are uniform when assembling the poncho.
Conclusion
The poncho made from granny squares is a beautiful, functional, and satisfying project that blends creativity with practicality. While assembling multiple granny squares may seem daunting, the variety of stitches keeps the project fun and engaging.