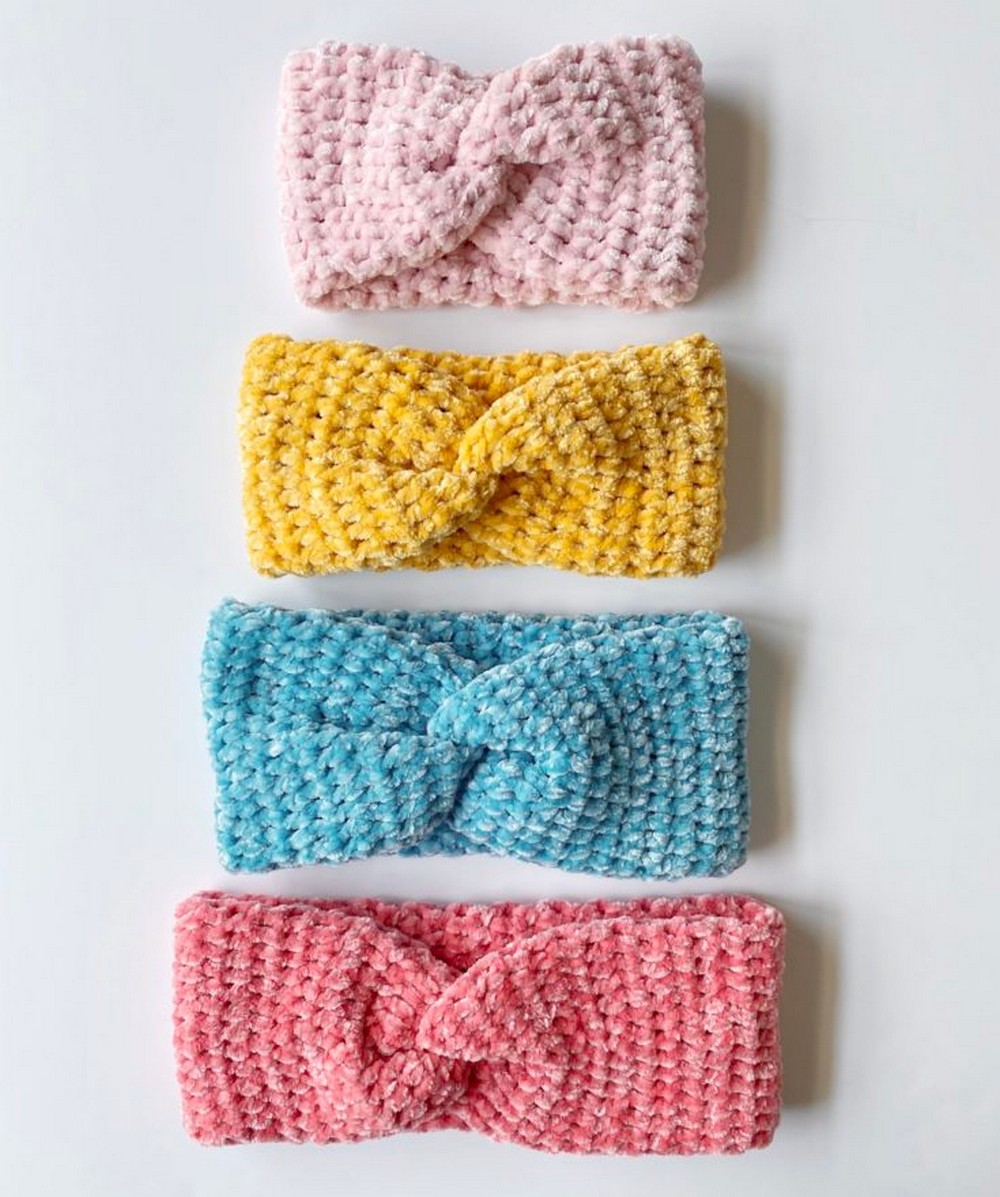
Velvet yarn is a marvel of softness and warmth, making it the perfect material for creating items that are both beautiful and functional. Its luxurious texture is not only gentle on the skin but also provides a level of comfort and coziness, especially appreciated during cooler times. The Colorful Crochet Velvet Twist Headbands harness the rich, plush quality of this yarn, transforming it through a simple crochet pattern into a stylish accessory. They are perfect to gift during Christmas or any occasion, and what's even better, you can make these for anyone, whether babies or adults, because you can easily size them to fit snugly and comfortable. This is a fun and easy crochet project to add a little twist of joy to your day!
Colorful Velvet Twist Headbands

Making Your Crochet Headband
Materials
- 1 large skein Bernat Baby Velvet Yarn (100% polyester, 300 g/10.5 oz, 450 m/492 yds). Any color will make 2 adult-sized headbands.
- Size H/5mm hook
- Tapestry needle
- Scissors
Size
- For a baby/child size, CHAIN 25
- For a teen/adult size, CHAIN 30.
Stitches
- DOUBLE CROCHET (DC): Yarn over (YO), insert your hook, YO, and pull up a loop, YO, and pull through two loops, YO, and pull through the remaining two loops.
- WIDE DOUBLE CROCHET (WDC): YO, insert your hook between stitch posts, YO and pull up a loop, YO and pull through two loops, YO and pull through the remaining two loops.
Step by step Pattern
- ROW 1: Starting in the 4th chain from the hook, work a DC into each chain. Chain 2 and turn.
- ROW 2: Work a WDC in each space across the row (make sure the last WDC is between the last stitch and the turning chain of the previous row.) Chain 2 and turn.
- Repeat ROW 2 until the length measures 3 inches less than your head circumference.
After reaching the desired length:
- Fold in half and slip-stitch the sides together. Alternatively, cut a really long tail and sew them together.
- Cut a long tail to use for sewing the ends together and then turn the headband inside out so the seam is on the inside.
- Fold it in half with the seam facing toward you and place the left edge of the front panel in the center of the back panel.
- Wrap the front right edge around the back and bring the back left edge around to the front, forming a backward “S” shape.
- Using a tapestry needle, sew through all the layers to join the headband.
- Weave in the ends and turn the headband inside out to see your beautiful twist!


