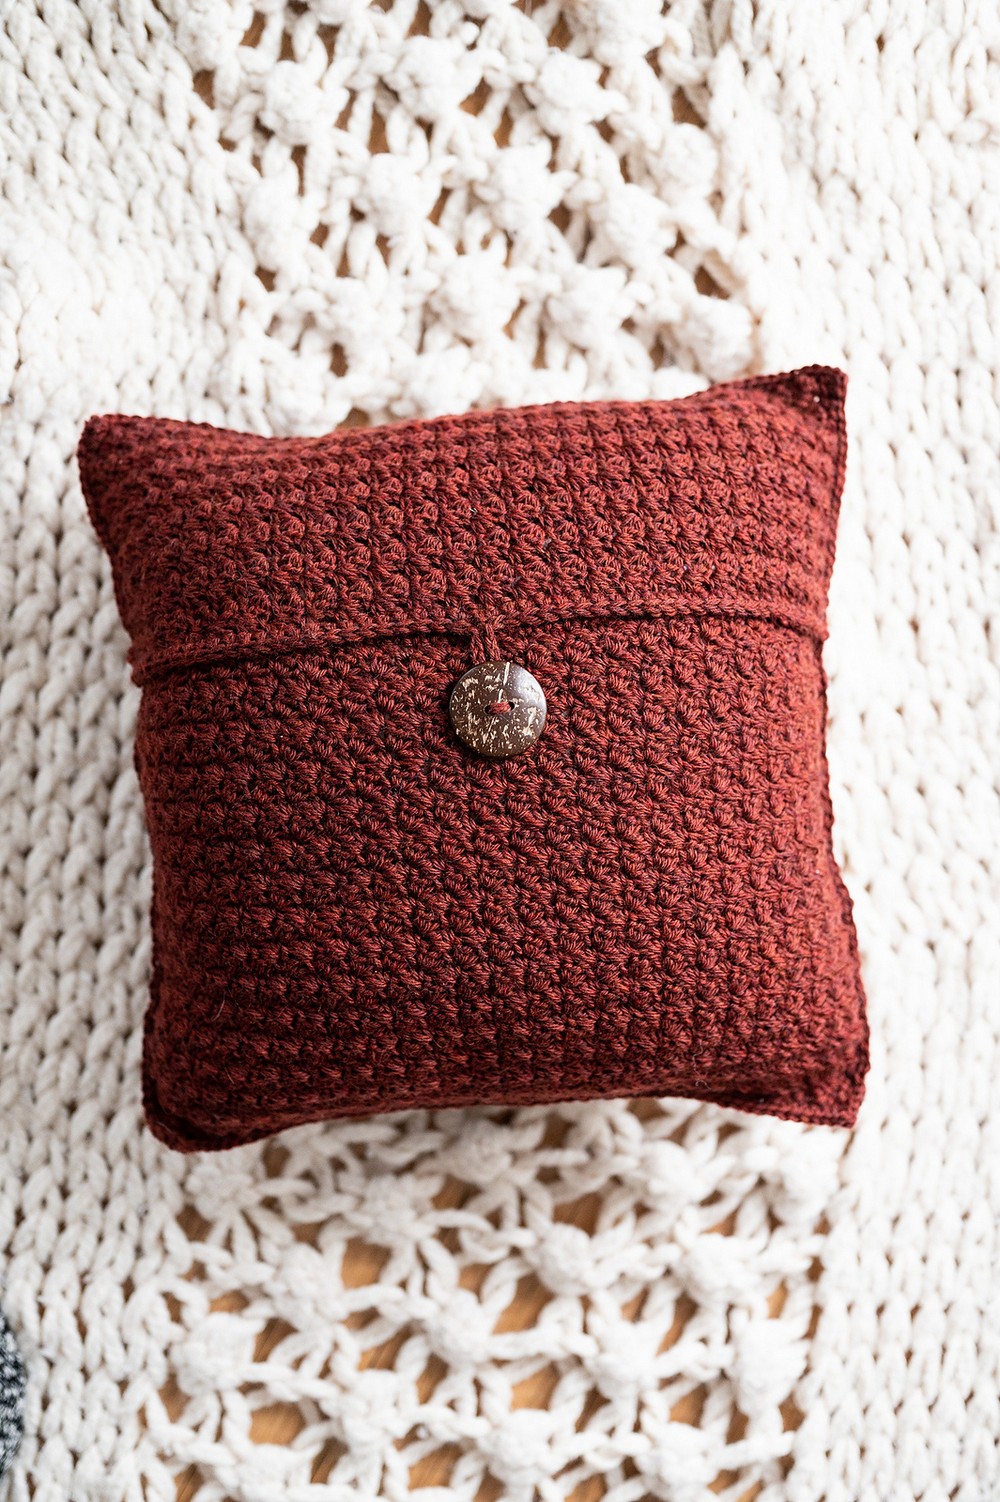
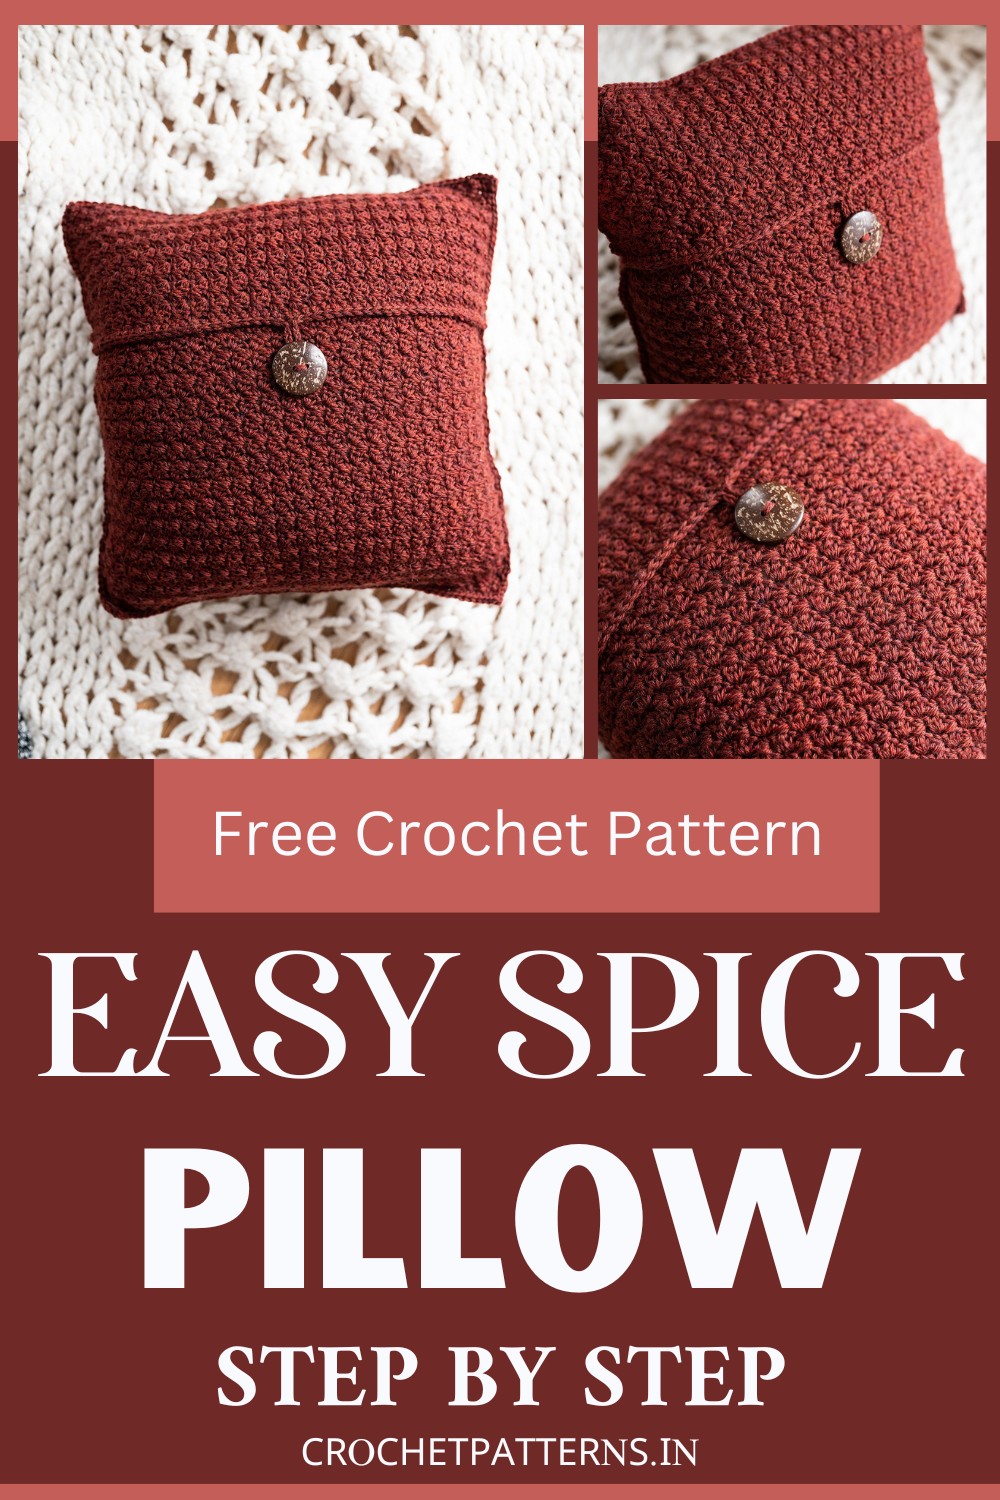
Make your crochet work exciting with this pattern for a pillow cover that has a unique texture! This crochet spice pillow includes a fantastic texture and is made in three parts. It's linked by an uncomplicated but lovely seam. The final touch is a button that reflects your personality, making it a perfect homemade addition to your home decorations.
Crochet Spice Pillow Pattern
Materials:
- US G+/7 4.5mm Crochet Hook
- 5 Skeins of Wool of the Andes Worsted, worsted 4 weight, (100% Peruvian Highland Wool, 110yds/100m, 1.75oz/50g), approximately 520 total yards used
- Large (44mm) button
- 16″ x 16″ pillow form
- Scissors
- Tapestry Needle
Finished Size:
15” x 15” (38 x 38 cm) - Made to fit a 16” x 16” (41 x 41cm) pillow
Stitch Abbreviations:
- Ch – Chain
- Dc – Double crochet
- Fsc – Foundation single crochet
- Hdc – Half double crochet
- Sc – Single crochet
- Sk – Skip
- Sl st – Slip stitch
- St(s) – Stitch(es)
Pattern
Panel A
- Row 1: Fsc 53, turn. – 53 sts
- Row 2: Ch 1, (sc, dc) in first st, *sk next st, (sc, dc) in next st; repeat from * to end of row, turn. – 54 sts
- Row 3: Ch 1, sk first st, (sc, dc) in sc from previous row, *sk next st, (sc, dc) in next sc; repeat from * to end of row, turn. – 54 sts
- Rows 4-47: Repeat row 3.
- Row 48: Ch 1, sc in each st to end of row.
For Panel B (Start with a new skein of yarn)
- Row 1: Fsc 53, turn. – 53 sts
- Row 2: Ch 1, (sc, dc) in first st, *sk next st, (sc, dc) in next st; repeat from * to end of row, turn. – 54 sts
- Row 3: Ch 1, sk first st, (sc, dc) in sc from previous row, *sk next st, (sc, dc) in next sc; repeat from * to end of row, turn. – 54 sts
- Rows 4-33: Repeat row 3.
- Row 34: Ch 1, sc in each st to end of row.
Panel C
- Row 1: Fsc 53, turn. – 53 sts
- Row 2: Ch 1, (sc, dc) in first st, *sk next st, (sc, dc) in next st; repeat from * to end of row, turn. – 54 sts
- Row 3: Ch 1, sk first st, (sc, dc) in sc from previous row, *sk next st, (sc, dc) in next sc; repeat from * to end of row, turn. – 54 sts
- Rows 4-19: Repeat row 3.
- Row 20: Ch 1, sc in each st to end of row, turn.
- Row 21 (Trim & Button Loop): Ch 1, sl st in next 27 sts, ch 12, sl st in same st as previous sl st at base of ch 12, then continue working a sl st into each st to the end of row.
Finishing
- Step 1: Align the Panels [Placing Panel B on A, then Panel C on A]
- Step 2: Work Border [Work sc with panels A & C and A & B held together along the edges. Skip same no. of row ends on Panel C as was left unseamed on the opposite side. Work sl st to first sc of border.]
- Step 3: Attach Button [onto Panel B, approximately 2” from the edge]
- Step 4: Secure Panels (Optional)