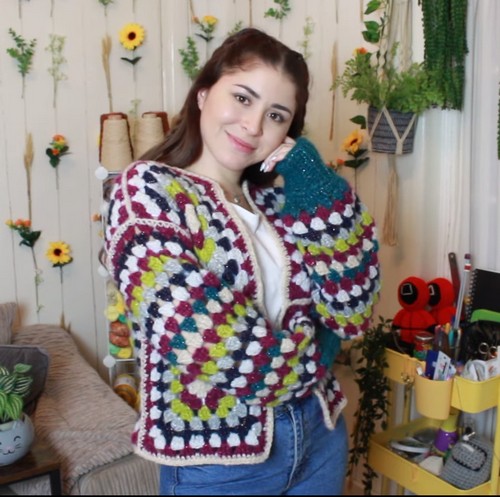
Who says we can't get cozy and stylish at the same time? Indeed, we can see a vivid example of this: the Crochet Granny Square Cardigan. The perfect blend of comfort and fashion allows you to enjoy the warmth of a crochet piece while boasting a chic aesthetic. Below, you will find all sorts of info for choosing the material, written step-by-step illustrations and a complete video tutorial for a smooth process.

Crochet Granny Square Cardigan
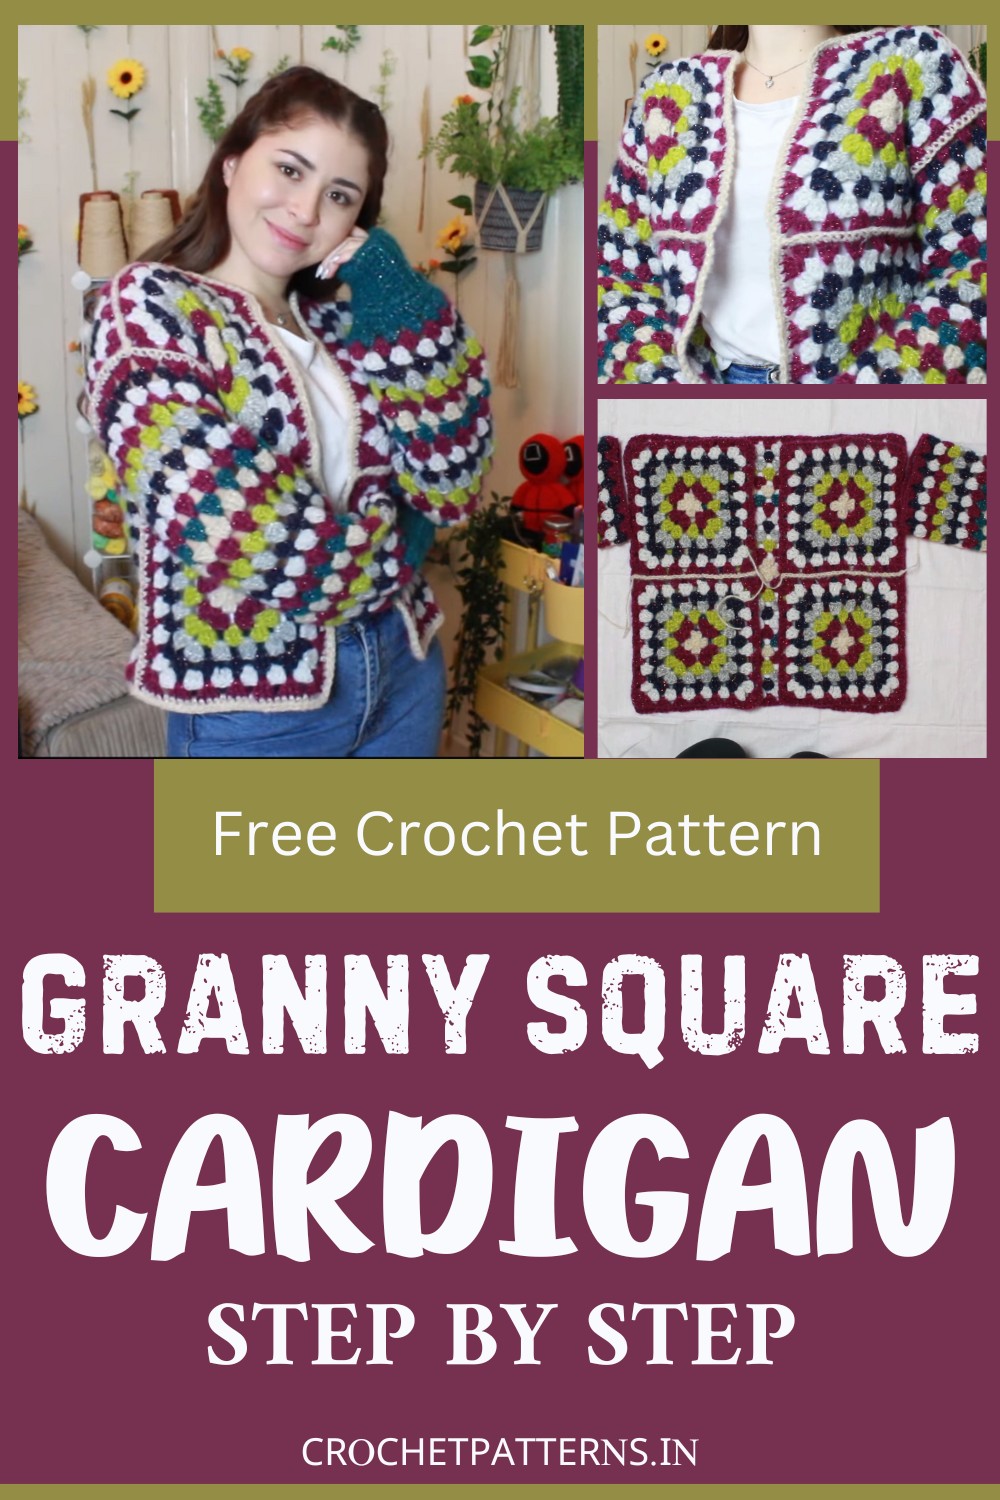
This special crochet sweater has square patterns and bright colors like blue, green, purple, gray, and beige. It has big sleeves that are cozy and great for cool weather. The sleeves have square patterns in many colors and a warm cuff in a unique green-blue color. The middle of the sweater has a large square pattern at the back and four small squares at the front to make a beautiful design. This crochet cardigan is perfect for fall or winter because it is warm and stylish with simple jeans and a white top.
Materials:
- Worsted number 4 medium yarn (multiple colors)
- 6mm crochet hook
- Tapestry needle
- Measuring tape
- Scissors
Step by step Pattern (Summary)
Create the Wrist Cuffs
- Use a slip knot to start.
- Chain 12, which determines the length of the cuffs.
- Skip the first chain, then do single crochets in each remaining chain, making 11 single crochets in total for the first row.
- Chain 1 and turn your project.
- Make single crochet back loops in each row stitch until the desired cuff length is achieved (22 rows were made in your example, creating a cuff 8.5 cm by 19.5 cm long).
Construct the Sleeves
- Join the two sides of the cuff together with single crochets.
- Then, do 3 rounds of single crochets around the top of the cuff.
- Start the granny square pattern from this point, creating clusters of 3 double crochets per stitch.
- Follow the granny square stitch pattern until the sleeve has reached the desired length (in your example, from the beginning of the granny square pattern you created 26 rounds for a total of 53 cm).
- Finish off by doing single crochets and slip stitches around the bottom of the sleeve to prevent it from stretching.
Create the Squares for the Cardigan Body
- For the back of the cardigan, crochet a Granny square that measures half of your bust measurement (for your cardigan, this was 50cm X 50cm).
- For the front of the cardigan, crochet 4 smaller squares - in your example, these were 24cm X 24cm.
Assemble the Cardigan
- Join the squares for the front as per the desired design.
- Attach the assembled front squares to the back square.
- Sew the tops of the granny squares to create the shoulders.
- Sew the attached squares to the sleeves, taking care to align stitches.
- Finally, using the same yarn, sew up the sides of the cardigan to finish your project.

Note:
This is a simplified description of the process. Please refer to the original video for more details and visual guidance. Also, consider adjusting the sizes to fit your measurements and desired cardigan size.


