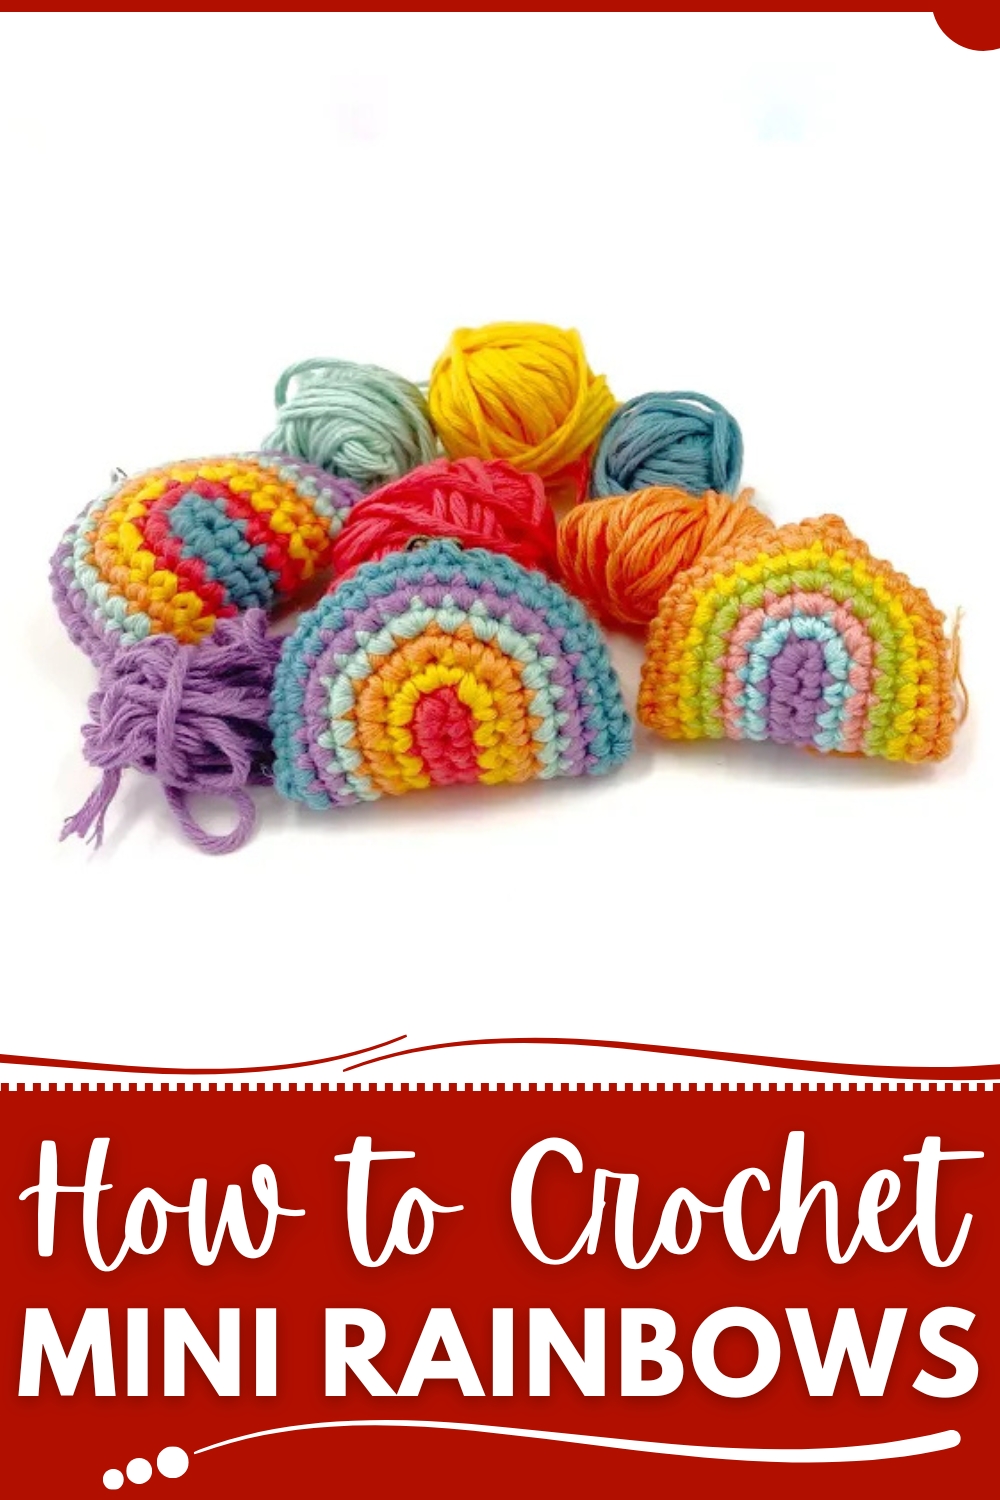
Colorful joy comes alive with the Crochet Rainbows pattern adding charm, versatility, and a playful touch to gifts, décor, and accessories.
After a rainstorm, the sky often comes alive with vibrant arcs of color, inspiring feelings of hope and joy. The Crochet Rainbows pattern captures that uplifting spirit in a small, handcrafted form, turning simple stitches into bright, cheerful accents. Perfect for nurseries, backpacks, keychains, or thoughtful gifts, these rainbows bring warmth and positivity to any space or item they adorn.
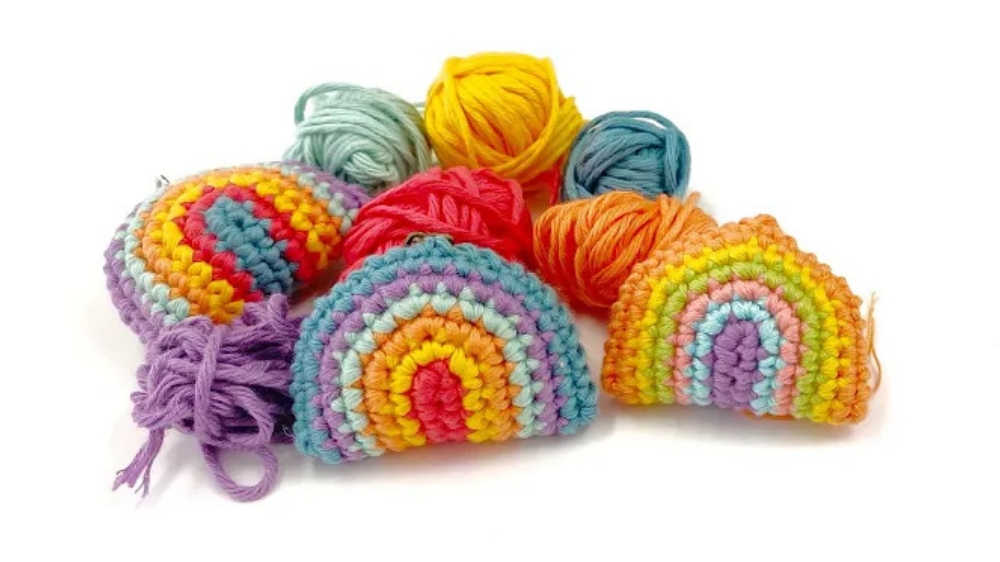
Joyful Crochet Rainbows for Decorative Touches
The pattern features gentle, curved arches made with soft, durable stitches that maintain their shape while remaining lightweight. Layered in vivid, harmonious colors, each rainbow mimics the natural gradient found in the sky, offering a visual delight. Its versatility allows for multiple uses: a single rainbow works beautifully as an applique on clothing or cushions, several can be strung together into playful garlands, and mini versions make charming keychains or bag charms.
Beyond its visual appeal, the Crochet Rainbows pattern provides practical benefits. Its sturdy texture ensures it holds up to frequent use, while its compact size makes it easy to carry, display, or gift. Combining cheerfulness, adaptability, and handmade charm, this pattern turns a simple motif into a meaningful, functional accessory that adds color, joy, and a touch of whimsy to everyday life.
Materials Needed
To create your own mini rainbow, you will need:
- Leftover Cotton Threads: A total of six colors, but repetitions are possible if fewer colors are available.
- Crochet Hook: Select a hook size slightly smaller than the yarn recommendation for tighter stitches (e.g., use a 2.5mm hook for yarn that recommends 3mm).
- Scissors: For cutting yarn cleanly and evenly.
- Stitch Marker: To track rounds easily.
- Needle: For finishing and sewing edges after stuffing the rainbow.
- Stuffing Material: Use cotton or polyester fiberfill to give the rainbow a dimensional look.
Special Features
- Eco-Friendly Craft: Uses leftover cotton threads, preventing waste and encouraging sustainability in crafting.
- No-Sew Color Changes: Invisible color changes make the final product seamless and aesthetically pleasing.
- Quick Project: Can be completed in a relatively short time, making it ideal for busy schedules or creating multiple rainbows at once.
- Highly Customizable: Choose colors, size, and stuffing to match your preferences or needs.
- Versatile End Products: Can be finished as a keychain, a hanging decor piece, or used in various handmade crafts.
Level of Difficulty
The project is beginner-friendly but does require learning some techniques, such as invisible color changes, crocheting in spirals, and sewing edges. While the process is straightforward, extra attention must be paid to counting stitches and maintaining symmetry in the design.
Step-by-Step Instructions
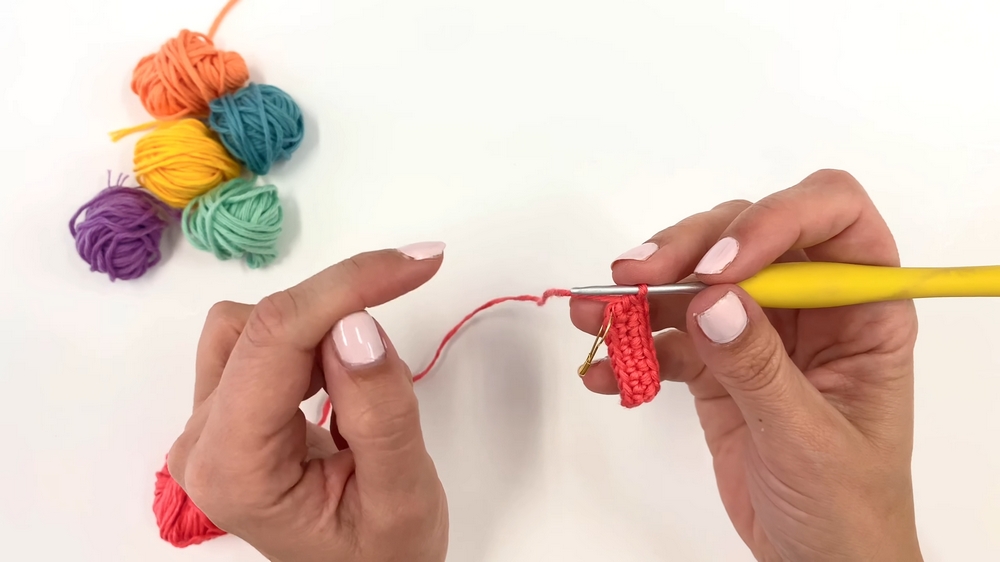
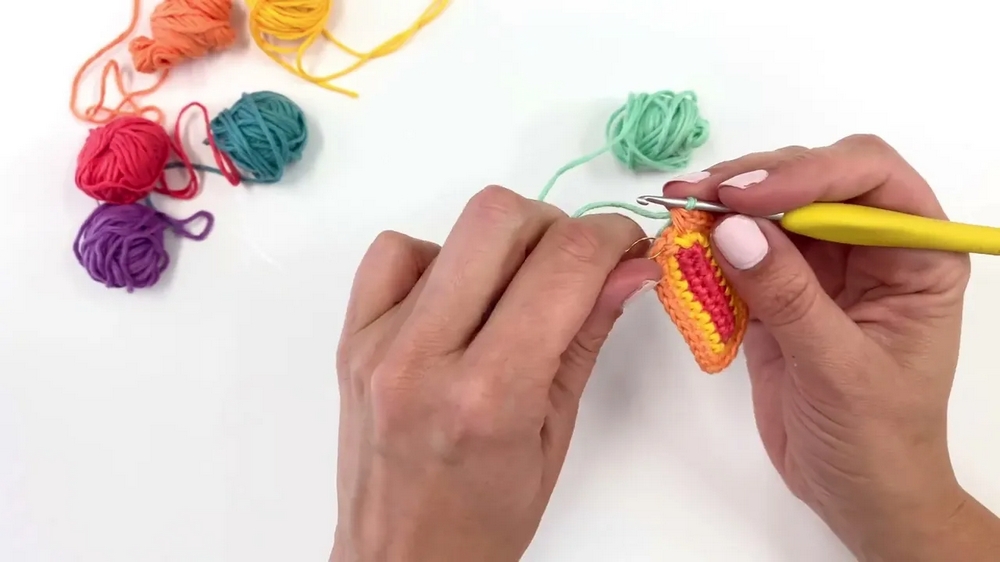
1. Create the Foundation
- Start with Chains: Choose your first color and make 10 chains. This number can be adjusted depending on how large or small you want your rainbow to be.
- Crochet Along the Chain: Skip the first chain and begin crocheting single stitches along the chain.
- Mark the first stitch to track the spiral pattern.
- On the last chain, make 3 single crochets to help turn and start working on the opposite side of the chain.
- Work Along the Other Side: Crochet single stitches along the opposite side until you reach the last chain.
- At the last chain, make 2 single crochets, matching the turn stitches from the other side.
2. Add Color Changes
- Invisible Color Change: Switch threads seamlessly by introducing the new color during the last loop of the previous color.
- Make a knot at the back with the old thread and the new thread to secure the change.
- Pull the slip stitch to hide it and ensure smooth transitions.
- Repeat in Each Round:
- Before each new color, make a slip stitch in the back loop of the marked stitch of the previous round and start the next color using both strands for added durability and a seamless finish.
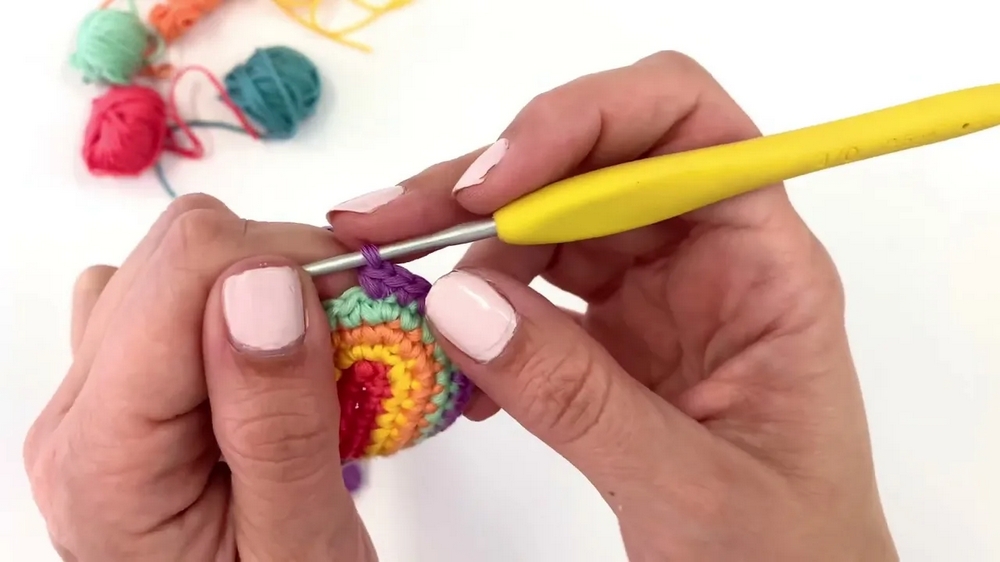
3. Crochet Additional Rounds
- Increase Stitches Strategically:
- On turning points (created during the foundation), increase stitches to maintain symmetry.
- For each round, follow the pattern of stitches plus increases (e.g., Round 2: One stitch, one increase; Round 3: Two stitches, one increase).
- Follow the Tutor’s Trick: Use the increases from the previous round for guiding stitch placements:
- Make a single crochet in the first stitch of the increase.
- Add the new increase to the second stitch of the increase.
- Continue Adding Colors: Repeat this process over additional rounds, adding new threads for color changes until all desired colors are used for the rainbow.
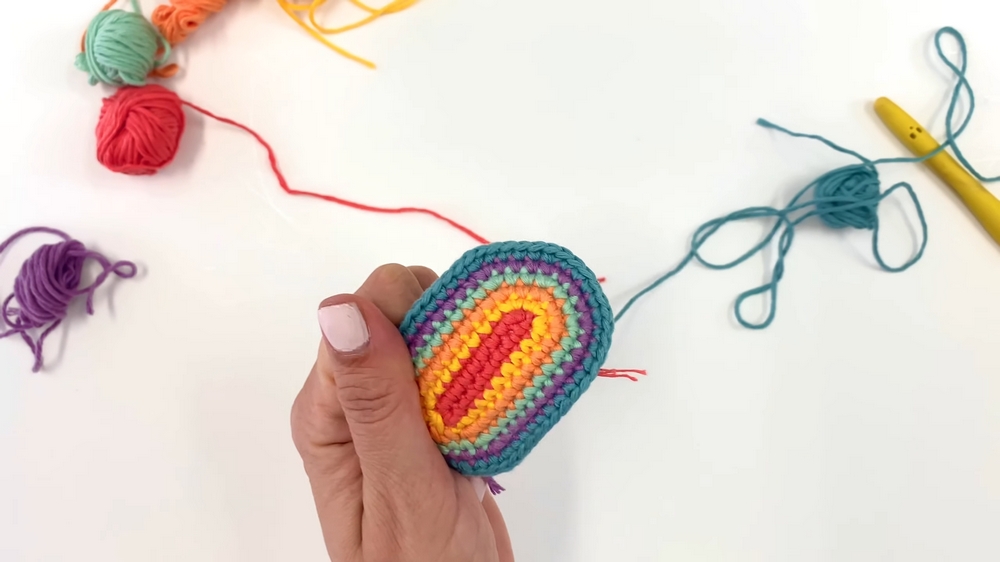
4. Finish the Rainbow Shape
- Closing the Spiral: After completing all the rounds, perform a slip stitch on the final round to close and secure the rainbow shape.
- Prepare for Sewing: Leave a long yarn tail for sewing as you cut the thread.
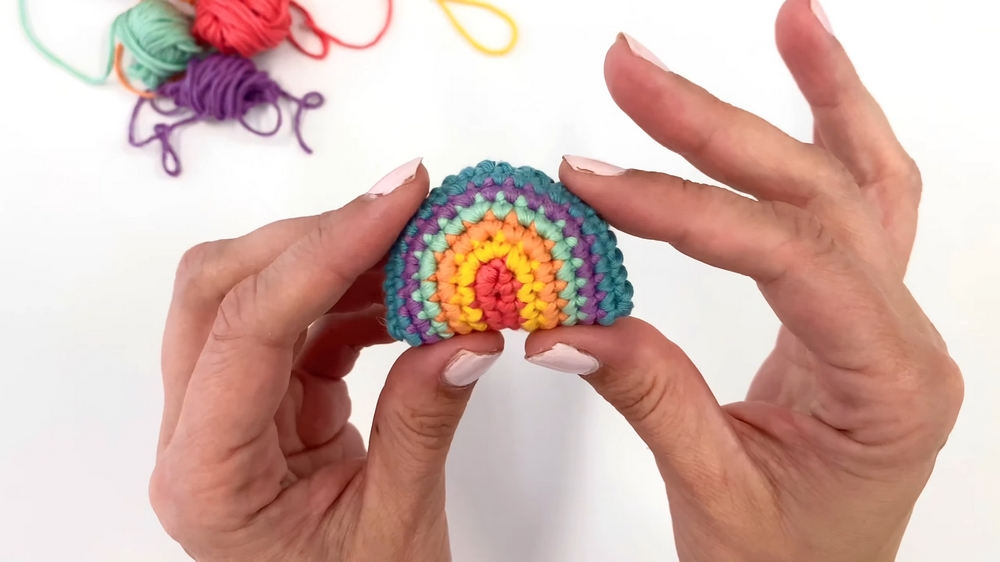
5. Assemble the Rainbow
- Fold the Rainbow: Fold the rainbow in half evenly to shape it into its final form.
- Secure Edges: Use the leftover threads to create knots at the back, ensuring the color transitions don’t unravel.
- Sew the Edges:
- Use the needle to sew parallel stitches between the two edges of the folded rainbow.
- Leave a small opening for stuffing before completing the stitching.
- Add Stuffing: Carefully stuff the rainbow, ensuring it is evenly distributed. Finish sewing and close the gap securely.
6. Customize the End Product
- Add Keychains or Hanging Threads:
- Attach a keychain hook for portability.
- Alternatively, leave a long thread for hanging the rainbow as décor.
- Decorate Further: Add embellishments like charms or creative stitching details for personalization.
Tutor’s Suggestions
- Use Leftover Yarns: The tutor emphasizes reusing cotton threads for sustainability and cost-effectiveness.
- Maintain Tight Stitches: Using a smaller crochet hook helps ensure tight stitches for a well-defined rainbow structure.
- Avoid Excess Marker Use: Instead of marking every increase, simply follow increases from the previous round to avoid clutter during small-scale projects.
- Practice Invisible Color Changes: These enhance the rainbow’s charm by hiding color transition lines.
Uses of the Crochet Rainbow
- Keychains: Make keychains with charms for gifting or personal use.
- Home Décor: Hang them as colorful decorations in rooms or on Christmas trees.
- Gifts: Perfect as handmade gifts for friends and family.
- Craft Projects: Incorporate rainbows in other crochet projects—like bags or wall art.
Tip for Success
Focus on even tension while crocheting and sewing to avoid gaps or loose stitches in the final product. Symmetry is key to creating a professional-looking rainbow.
Conclusion
The mini crochet rainbow is a quick, simple project that combines creativity, sustainability, and craftsmanship. Perfect for beginners, this tutorial equips you with techniques like invisible color changes, spiral crocheting, and symmetrical stitching. The finished product is versatile, customizable, and makes for charming handmade gifts. Whether you opt to use it as a keychain, décor, or simply enjoy the process as a hobby, the project is both fulfilling and fun.