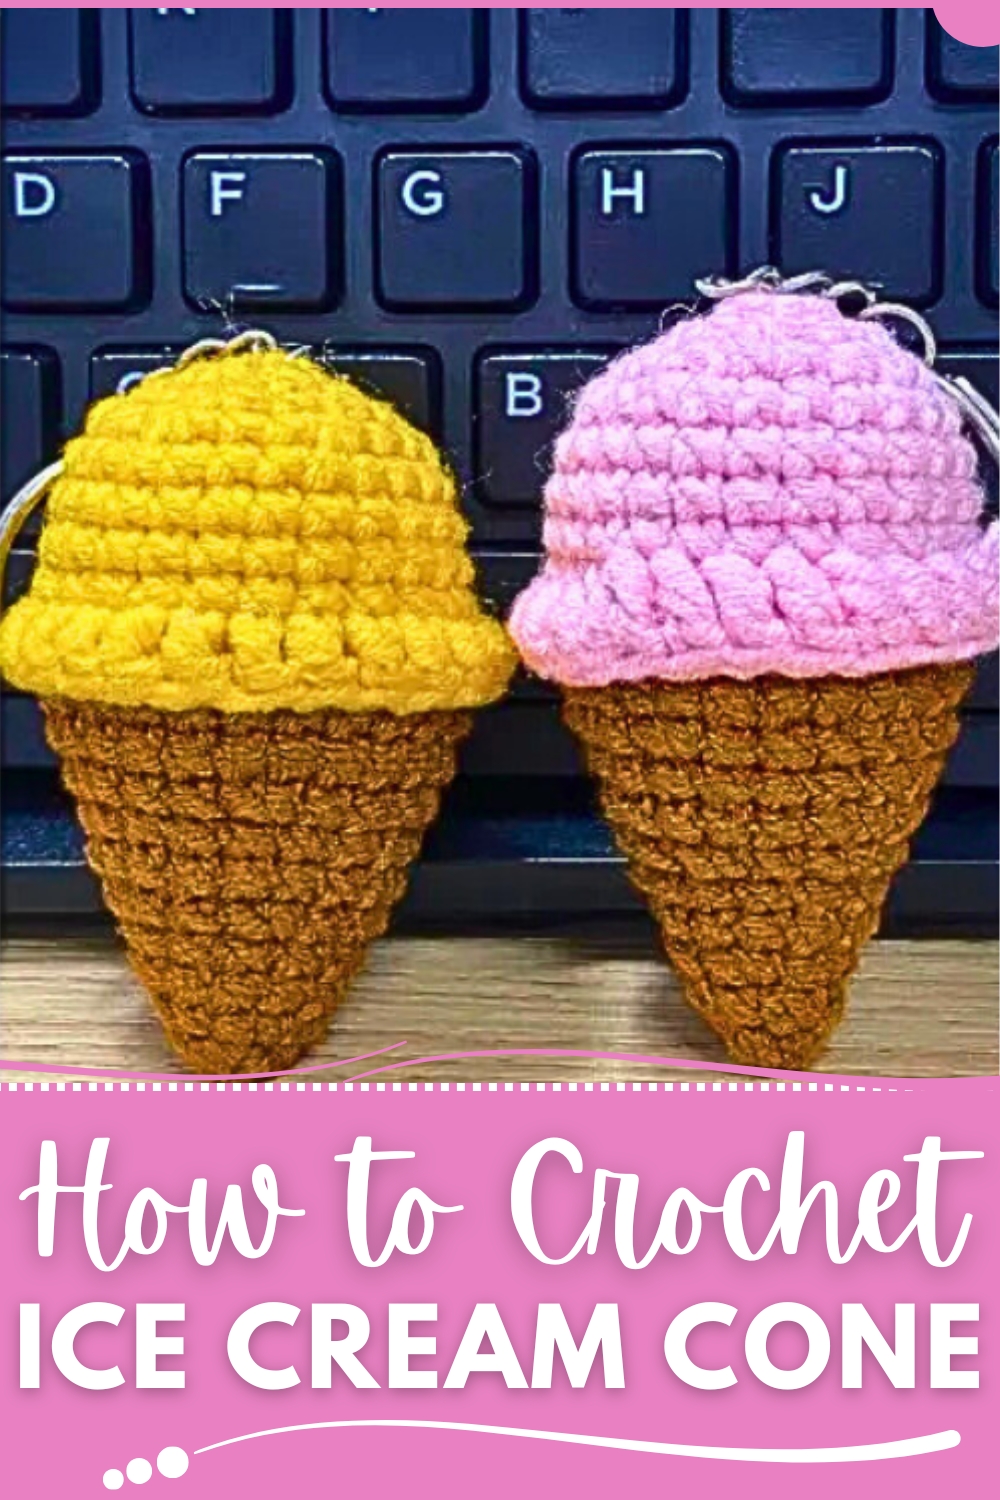
Savor sweet style with Crochet Ice Cream Cone pattern, bringing playful charm and colorful delight to décor, gifts, or displays.
Handmade treasures have always had a way of capturing the heart, offering charm and purpose in equal measure. A crochet ice cream cone isn’t just an adorable décor piece; it’s a whimsical nod to moments of joy shared over a favorite treat. Perfect for children, collectors, or festive settings, this project effortlessly combines practicality and visual appeal. Whether displayed as a playful accessory in a nursery, used as a keychain, or included in imaginative play, it delivers charm in every loop and stitch.
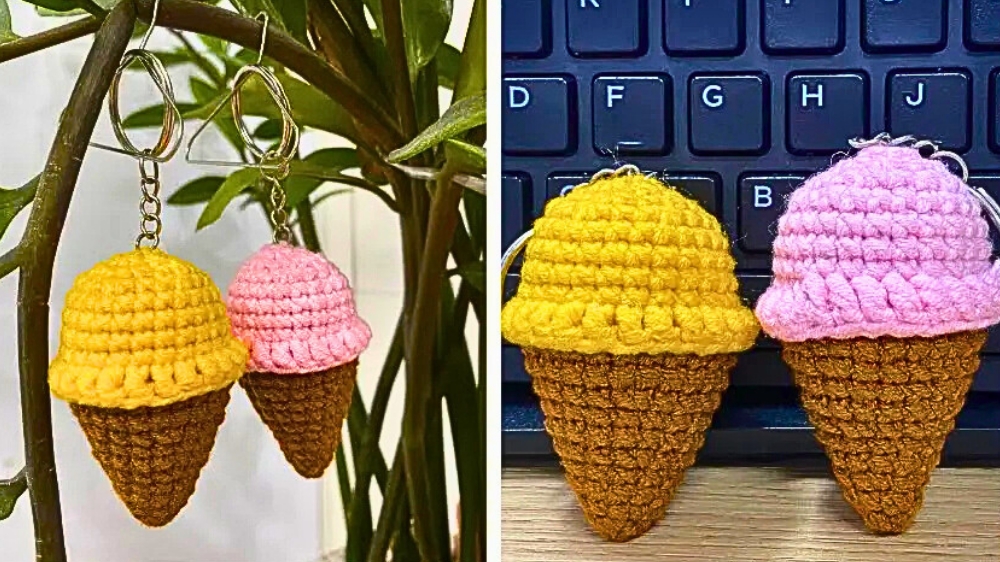
Lovely Crochet Ice Cream Cone for Colorful Seasonal Decor
Beyond its whimsical appeal, this crochet accessory brings value in its versatility and creative potential. It’s lightweight, easy to carry, and makes thoughtful handmade gifts for loved ones. From home décor to playsets, this charming project offers endless applications. With its eye-catching details and practical uses, the crochet ice cream cone proves that something simple can also be delightfully extraordinary.
Materials and Tools
- Yarn: Brown yarn (for the cone) and yellow yarn (for the ice cream). You can use different colors for different ice cream flavors.
- Crochet Hook: An appropriate size for your chosen yarn.
- Stuffing: Fiberfill for stuffing the ice cream scoop.
- Keychain Hardware: A keychain ring and chain (optional, if making a keychain).
- Other Tools: Yarn needle (for weaving in ends and attaching the keychain) and scissors.

This crochet ice cream cone pattern offers a unique opportunity to delight beginners and seasoned crocheters alike. The project begins by shaping the cone’s base—a neatly stitched, textured section designed to replicate the ridged details of a real cone.
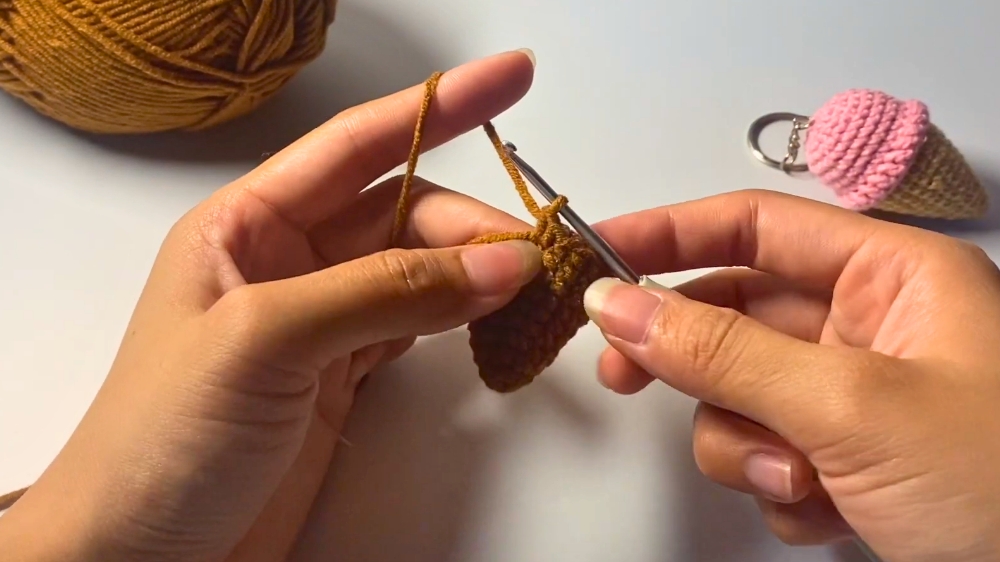
Using simple increases and continuous rounds, the cone comes to life as you build a sturdy yet lightweight foundation.
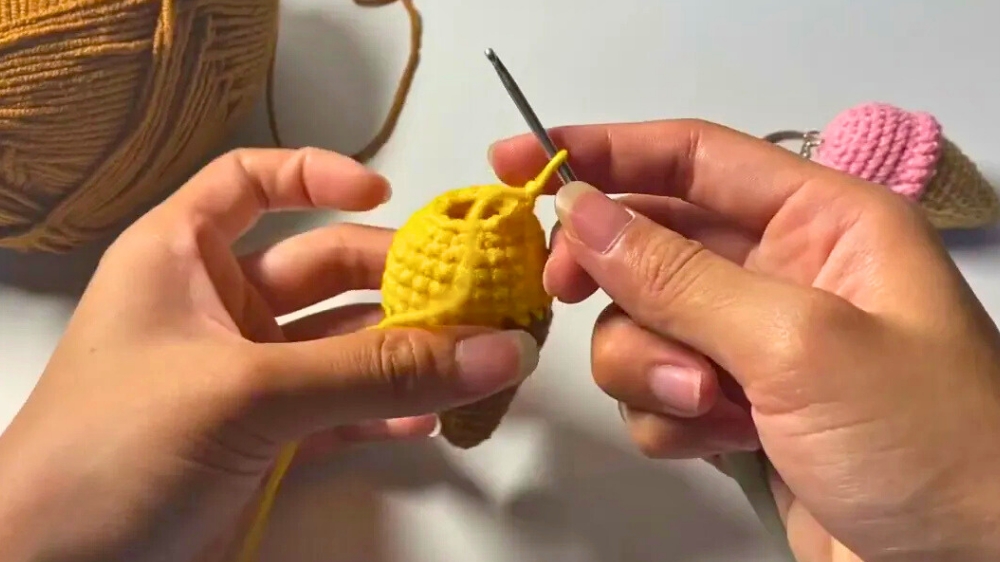
Moving into the softer, more playful element, the ice cream “scoop” takes center stage. This part requires crocheting soft, rounded shapes using shell stitch techniques. These layered stitches mimic the luscious swirls of real ice cream, giving the cone a distinctive and realistic appearance. You can customize the scoops with varied colors such as vanilla, chocolate, or strawberry, adding even more personality to your creation.
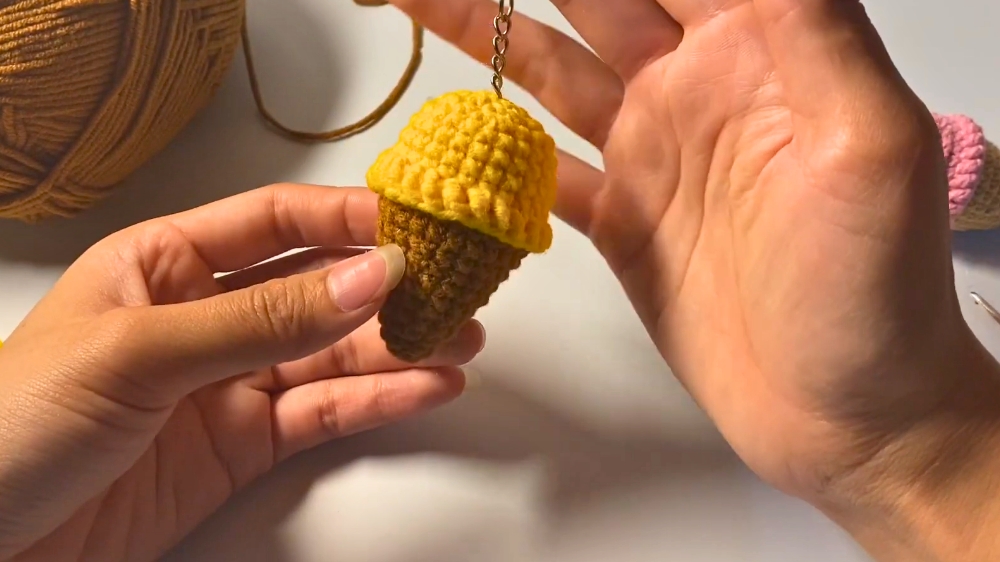
As the project nears completion, playful embellishments enhance its charm. Finishing touches include closing off the cone with neat stitches to ensure a polished and professional result. A small loop can even be added at the top, making it easy to attach keyrings, ornaments, or hangers, expanding the cone’s practical uses.
Difficulty Level
The pattern is described as "quick and easy," making it suitable for beginners who are familiar with basic crochet stitches like magic ring, single crochet (sc), increases (inc), and decreases (dec). The "no-sew" aspect simplifies the process.
Tutor's Suggestions
- The tutor suggests changing the color of the ice cream to create different "flavors" (e.g., yellow for lemon).
- For the keychain, remember to leave a long tail of yarn after finishing the ice cream scoop to attach the keychain hardware.
- The tutor demonstrates how to use the "no-sew" technique for the cone and ice cream body, but explains how to sew the cone texture later.
- The tutor mentions that using a smaller yarn will result in a smaller ice cream cone keychain.
Special Features & Uses
- No-Sew Construction: The main body of the cone and ice cream is crocheted seamlessly, reducing the need for sewing.
- Textured Cone: The added crochet stitches on the cone part create a realistic texture.
- Customizable Flavors: Easily change the color of the ice cream section to create different "flavors."
- Uses: A cute and quick project perfect for keychains, bag charms, or small decorative items.
Step by Step Guide
Conclusion
This tutorial effectively demonstrates how to crochet a charming ice cream cone keychain quickly and easily, even for beginners. The simple construction and customizable colors make it a fun and rewarding project.
Tip
When changing colors, make sure to finish the last stitch of the old color with the new color to create a neat and seamless transition between the cone and the ice cream.