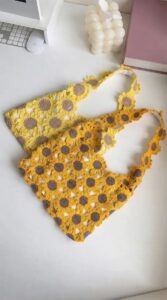
Stitch a practical and stylish crochet bag pattern that combines functionality and charm, perfect for everyday essentials and showcasing individuality.
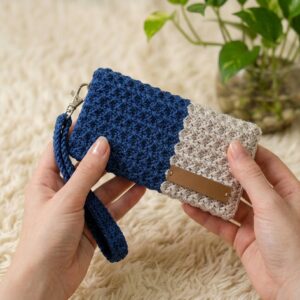
A small yarn pouch offers a handy way to store coins, earbuds, stitch markers, lip balm, or other little bits that usually vanish at the bottom of a larger bag. A crochet bag pattern in mini form is quick to finish, easy to customize with your favorite yarn scraps, and ideal for a relaxing one-sitting project. It also serves as a great skill-builder, helping a crocheter practice tension, shaping, and simple closures like buttons, zippers, or drawstrings on a manageable scale.
Crochet Bag Free Pattern for Reusable Shopping Bags

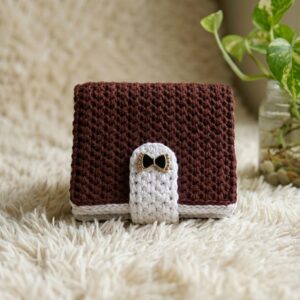
One thoughtful idea is to turn a mini pouch into reusable gift wrap by tucking jewelry, gift cards, or treats inside. Another fun twist is using contrasting colors for the flap and body so the pouch stands out on a keyring or in a handbag. This little project is practical, portable, and an excellent way to turn leftover yarn into something useful and personal.

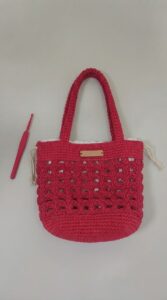
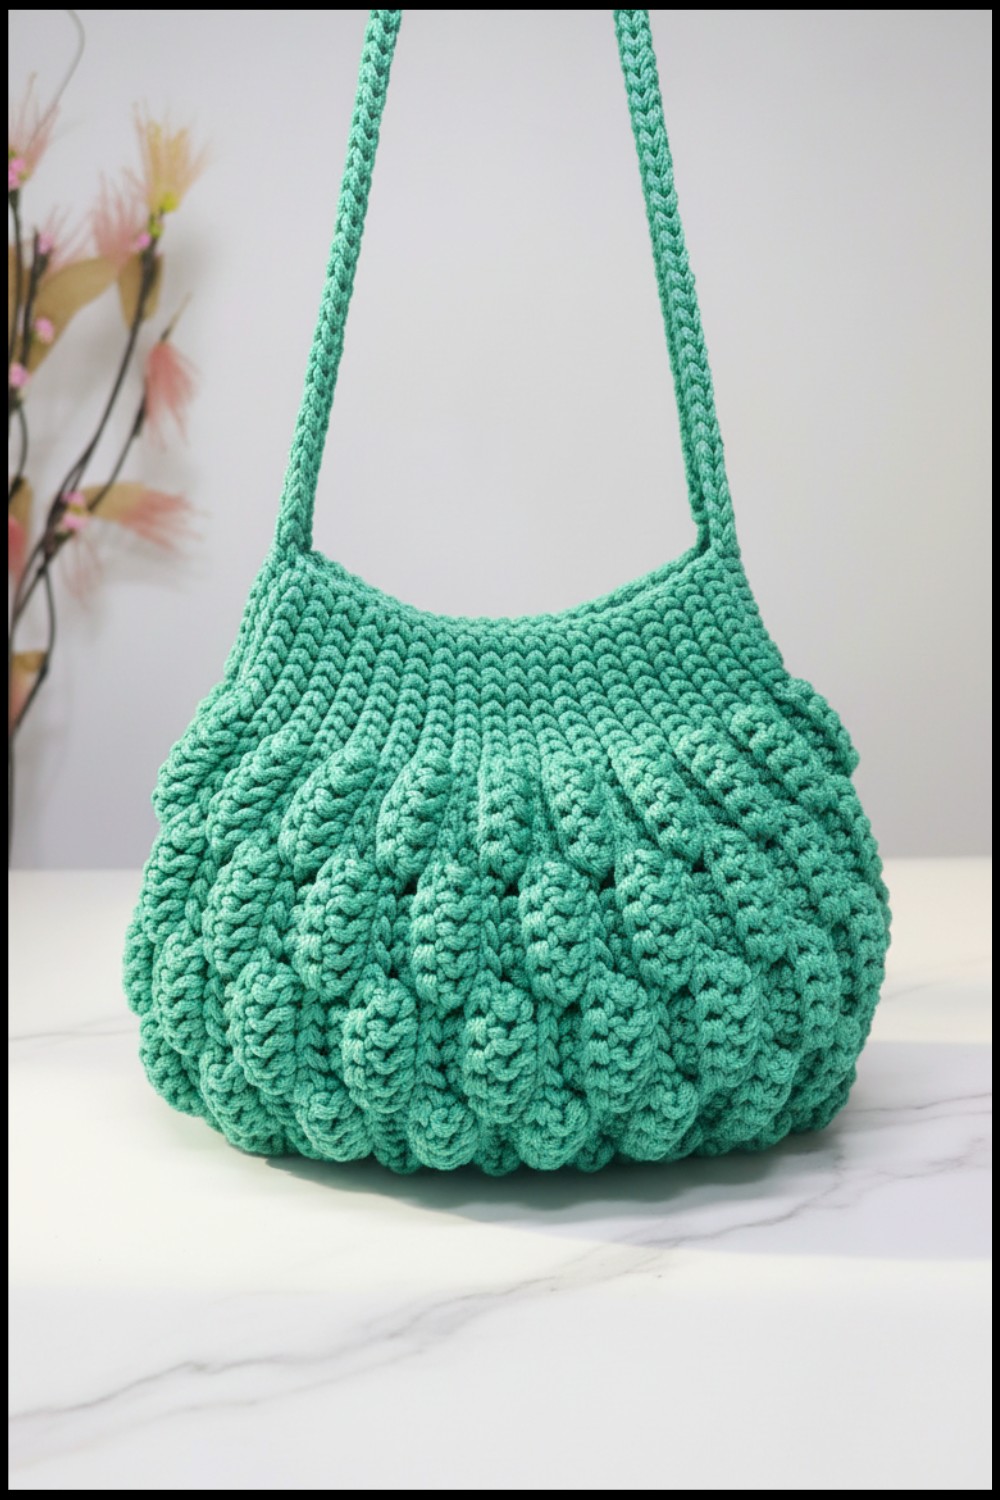
Step-by-Step Pattern for the Amora Bag
Materials Needed
- Yarn: Approximately 200 meters of 5mm polyester yarn.
- Recommended: Lider Acessórios yarn, color 0957.
- The spool used contains 340 meters and results in a total bag weight of 388g.
- Crochet Hook: 4.5mm crochet hook.
- Additional Supplies:
- Scissors
- Yarn needle for weaving in ends
- Invisible thread or nylon thread (for attaching closures, e.g., buttons or clasps)
- A bag clasp of your choice (used here: clasp by Lady Acessórios).
- Optional: A lighter to gently seal the ends of the synthetic fiber yarn and prevent fraying.
Finished Size
- Chain Foundation Approx. Length: 65 cm (adjustable depending on preference).
- Strap Length: 81 cm (adjustable; shoulder strap or handbag options provided).
- This design is flexible; you can make the bag larger or smaller by adding or reducing rows and/or chain stitches.
Special Techniques
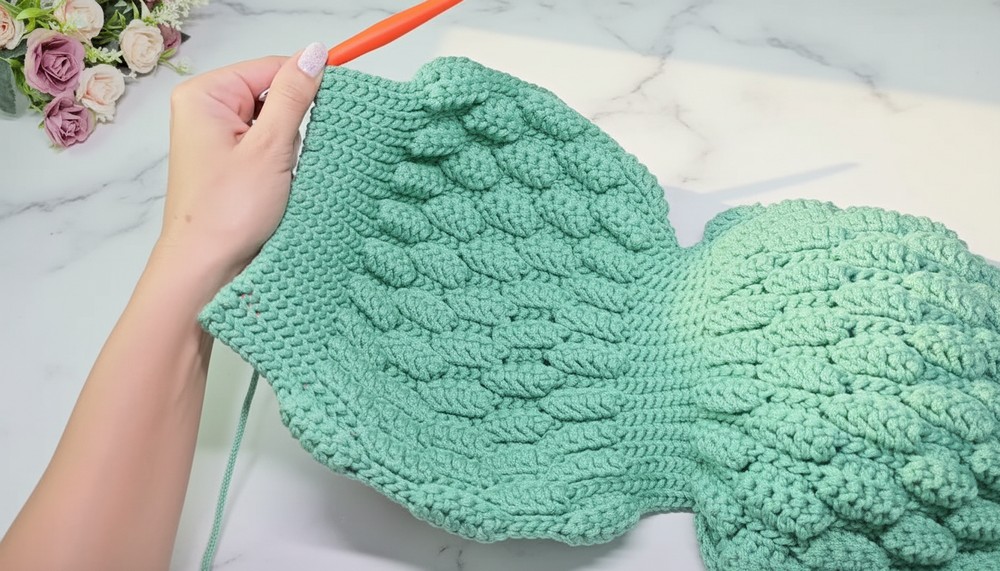
- Working in the Back Loop Only: Certain rows alternate between regular single/double crochet and slip stitches worked into the back loop only to create a raised, textured effect resembling small balls or popcorn stitches.
- Closing with Invisible Finish: Creating a seamless join for professional results.
- Slip Stitch Seaming: Used to join multiple parts of the bag and structure details at the handle junctions.
Gauge
Gauge is not critical for this project. However, consistent tension is key to ensuring the structure of the bag remains uniform and neat.
Pattern Instructions
Base (Row 1)
- Start with a slip knot.
- Chain 81 stitches loosely to form the foundation. Avoid tightening these chains. At the end of this step, your chain should measure approximately 65 cm.
- Turn the chain to work along the back of the stitches.
- Work the first row as follows:
- Skip the first chain, and in the second loop, make a slip stitch.
- Continue making 10 slip stitches.
- Switch to 5 double crochets.
- Alternate between 5 slip stitches and 5 double crochets, repeating this 5 times.
- At the midpoint of the row, make 10 slip stitches (this forms the base of the bag).
- Mirror the process for the second half of the row by alternating 5 double crochets and 5 slip stitches until the row ends.
- The first row is complete, with 80 stitches total.


Rows 2–38 (Bag Body)
From the second row onwards:
- Start each row with a chain stitch and turn your work.
- From the second row onward, always work through the back loop only to create the textured, puff-like stitch.
- Row 2: Follow the pattern established in Row 1.
- Repeat 10 slip stitches, alternate 5 double crochets and 5 slip stitches on each side, with 10 slip stitches in the middle (base).
- Row 3 and onward: Introduce alternation:
- On top of double crochet stitches from the previous row, make slip stitches.
- On top of slip stitches from the previous row, make double crochets.
- This alternation creates the puffed-ball design.
- Every two rows repeat the same stitch layout to maintain consistency. For example:
- Rows 1-2 are identical.
- Rows 3-4 are identical but alternate stitch placement compared to Rows 1-2.

Continue rows until you reach Row 38 or your desired height.
Handles
- Right-Side Preparation: Before starting the handles, ensure the bag is turned inside out.
- Chain 120 stitches (or adjust for your preferred handle length; e.g., fewer chains for a shorter handle).
- Work one row of slip stitches along the top back loops of the chain for a polished, structured strap.
- Attach the handle to the bag:
- Insert the hook through the outer loops of the bag’s opening stitches and secure with slip stitches for the next 10 stitches.
- Repeat this process for the opposite handle, ensuring both handles are symmetrical.

Closing the Bag
- With the bag still inside out, join the sides by working single crochet stitches along the side seams:
- Use the outer loops of the side edges for a flatter, professional seam.
- At the corners of the bag, finish with a row of slip stitches to round out the edges and smooth any uneven transitions.
- Once completed, fasten off, leave a yarn tail, and weave it securely into the stitches.

Finishing Touches
- Turn the Bag Right Side Out: Once all seams are closed and secure, turn the bag right side out. Adjust the corners and align the bottom for a neat appearance.
- Add Closure: Sew a clasp or button to the top center of the bag for secure closure. Use invisible or nylon thread to ensure durability.

Final Tips
- Maintaining the Pattern: Always check stitch counts at the end of each row to ensure consistency. The pattern relies on accurate stitch placement.
- Customization:
- Adjust the height by adding or reducing rows in multiples of 2.
- Use a contrasting yarn for handles or add embellishments like tassels or beads for personalization.
- Sealing Synthetic Yarn: If using polyester or synthetic yarn, seal the ends with a lighter flame to prevent fraying.
- Handle Width: To make the handles thicker, add more rows of slip stitches, reducing the number of stitches in each subsequent row.
Conclusion
The Amora Bag is an elegant and practical project perfect for beginners looking to create a professional-looking crochet accessory. With its textured body, solid base, and stylish handle details, this bag is ideal for casual outings or as a handmade gift. The alternating puffed-ball stitch adds charm, while the structured corners and simple strap design keep it functional.