
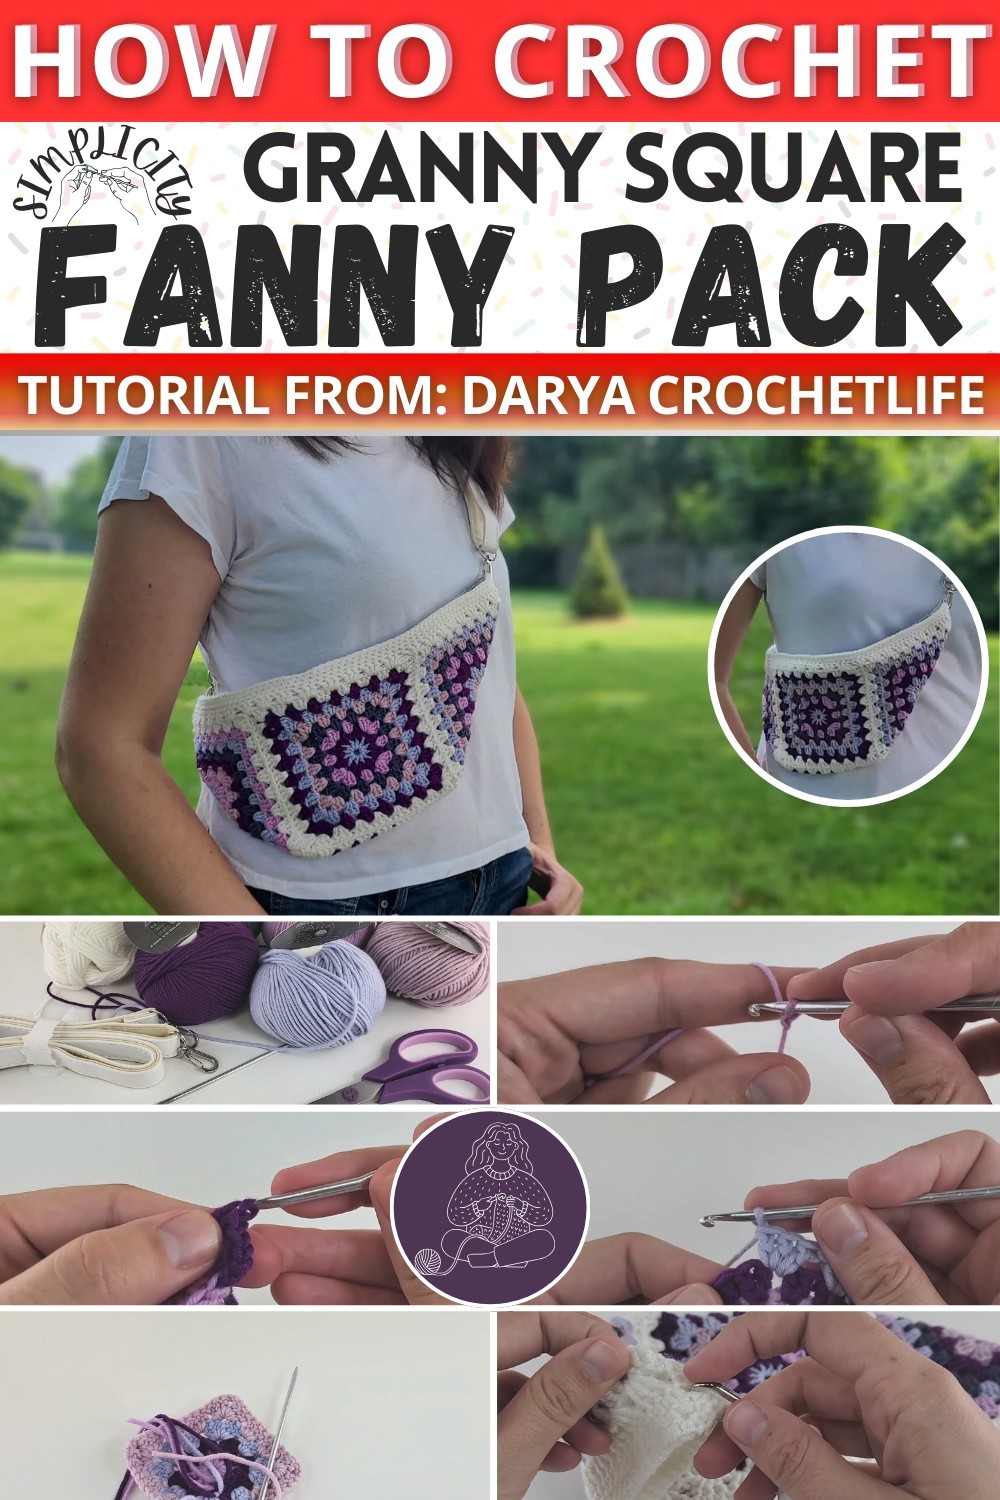
Making Your Crochet Fanny Pack
Materials and Tools:
- Yarn: Six colors total (five colors and one main color - white)
- Five colored yarns: 100g, 250m each, 100% acrylic
- Main color yarn: 50g, 125m each, 100% Merino wool
- Crochet hook: 3.5mm
- Scissors
- Tapestry needle
- Handle: Leather handle (or any other handle you prefer)

Step by step Instructions
Part 1: Crocheting the Granny Squares
Step 1: Creating the Granny Square
- Start with a slip knot.
- Chain 4, then join with a slip stitch to form a circle.
- Chain 3 (counts as 1 double crochet), make 11 double crochets into the circle.
- You should have a total of 12 double crochets.
- Join the round with a slip stitch into the top of the chain-3.
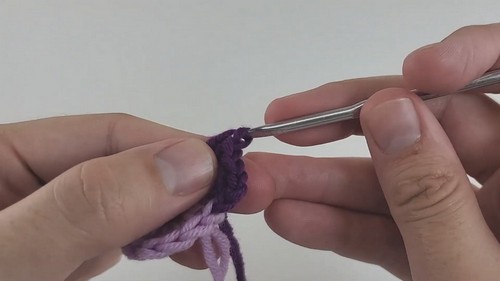
Step 2: Changing Colors and Building the Square
- Attach a new color:
- Drop the current color, yarn over the new color, making a chain with the new color.
- Chain 3 with the new color.
- Cluster Stitch Round:
- Insert hook between the two bars of each double crochet below.
- Make a cluster (of 2 double crochets) in each space around with the new color.
- You should have 24 stitches by the end of this round.
- At the end, join with a slip stitch using the new color.

- Form the Square:
- Chain 3, make 2 double crochets in the first chain space.
- Create clusters of 3 double crochets in subsequent spaces.
- For corners, make a cluster, chain 2, and another cluster in the same space.
- Continue this pattern, alternating between single clusters and corner clusters.
- Change colors and repeat until you've completed 8 rounds.
- Complete 4 Squares Total:
- Ensure each square ends with the main color (white).
- Each square should measure approximately 5.5 inches (14 cm).

Step 3: Connecting the Squares
- Layout the squares:
- Place one square on top and three on the sides, folding the side squares into triangles.
- Sew 3 seams:
- Use the tapestry needle and white yarn.
- Starting at one corner, sew through corresponding stitches from both sides seamlessly.
- Repeat for all edges and open seams.

Part 2: Creating the Bag Structure
Step 4: Crocheting Around the Top
- Cluster round on top:
- Attach the white yarn to a corner and chain 3.
- Crochet clusters in the gaps between clusters, creating a finished edge around the top.
- Make clusters, skipping spaces and connecting new clusters at the joins, ensuring no gaps.
- Do this until you have a uniform edge.
- Single Crochet Rounds:
- Chain 1, make a single crochet in each stitch around.
- Complete 3 rounds like this.
- Finish Off:
- Slip stitch into the first single crochet to finish.
- Cut the yarn and weave in the ends.

Part 3: Attaching the Handle
- Attach the handle:
- Align the handle to the top of the fanny pack.
- Sew or attach as needed, ensuring it is securely fastened.

Final Steps:
- Weave in all yarn ends using the tapestry needle.
- Attach the lining with a zipper as detailed in the second part of the tutorial for a complete finish.


