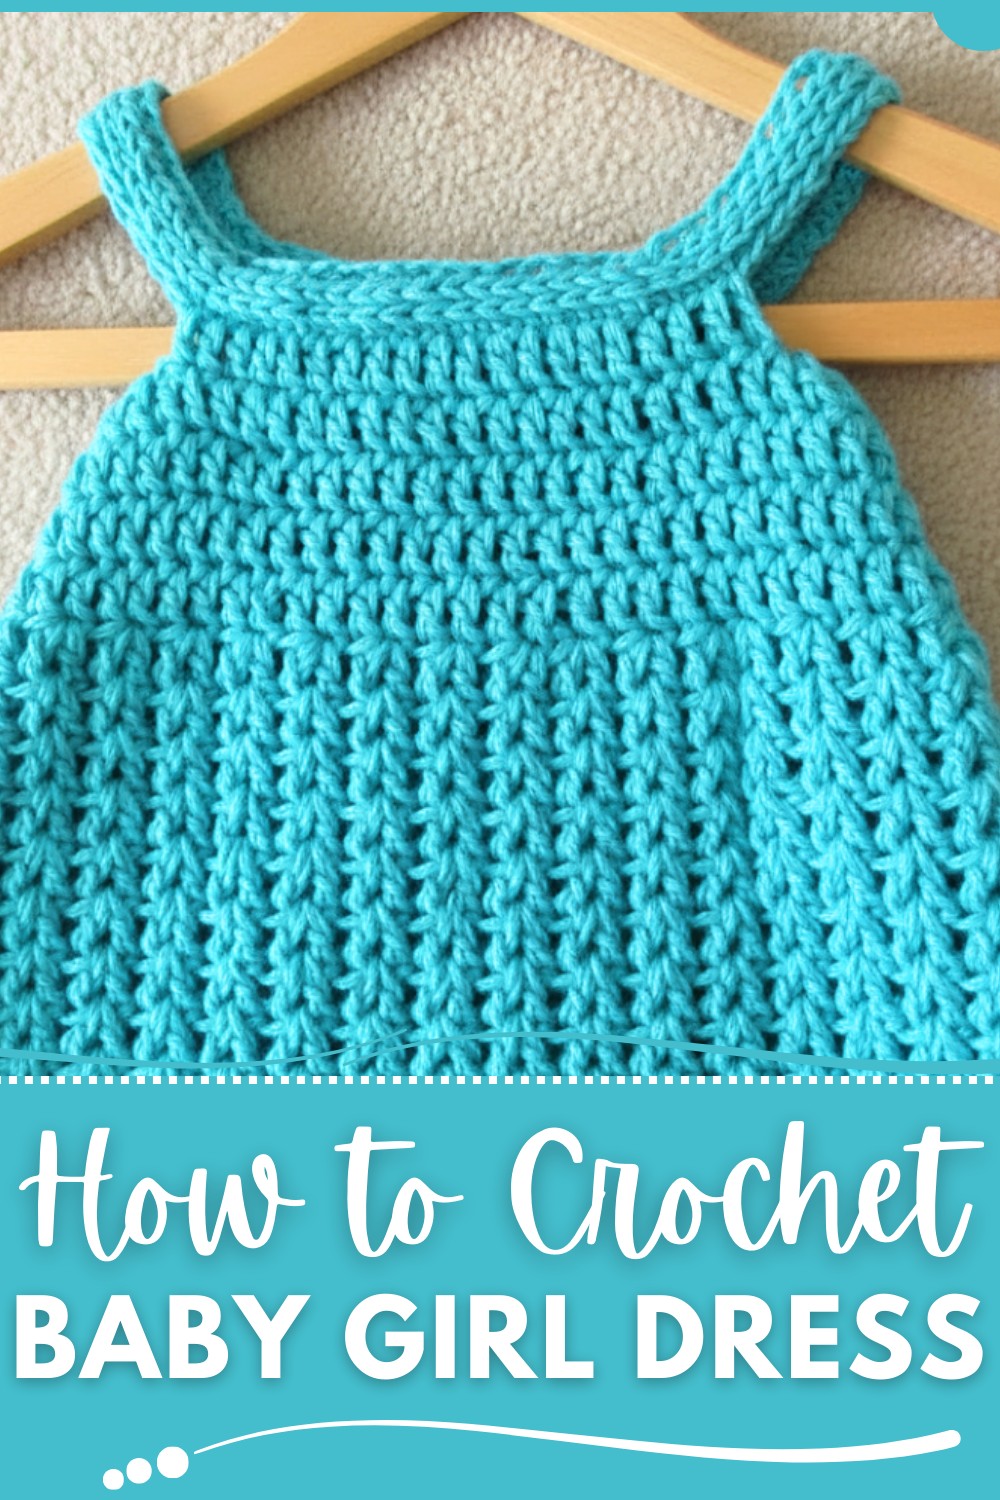
Every handmade creation tells a story, and what better way to celebrate life’s sweetest moments than with a carefully crafted crochet baby girl dress? Perfect for birthdays, family gatherings, or even casual outings, such a delicate piece carries both comfort and charm in every stitch. This crochet baby girl dress pattern provides the opportunity to create a timeless outfit that’s as practical as it is adorable.
Pair it with booties for cooler days or a matching headband for a picture-perfect look. Beyond being a delightful garment, crafting this dress allows you to weave love and care into a keepsake that’s both gentle on baby’s skin and ideal for gifting.
Unique Crochet Baby Girl Dress Pattern for Stunning Outfits
Materials:
- Yarn:
- Two strands of yarn were used for added thickness.
- Fiber options: acrylic, cotton, or blended yarns in 4-ply or DK weight.
- Choose soft yarn for baby sizes.
- Crochet Hook:
- A 5 mm crochet hook (or a size suitable for your yarn weight).
- Stitch Markers:
- Optional but recommended for tracking rounds.
- Measuring Tape:
- Ensures proper sizing for neckline and fit.
- Scissors:
- For cutting yarn at the end.
- Yarn Needle:
- To weave in ends.
Crochet Baby Dress Pattern
This free-flowing pattern walks you through creating a beautiful crochet dress that can be customized in size, from baby to adult. Whether you're creating something delicate for a baby or a flowing piece for an adult, follow the detailed pattern below to complete your outfit successfully.
Pattern Instructions
Step 1: Slip Knot and Foundation Chain
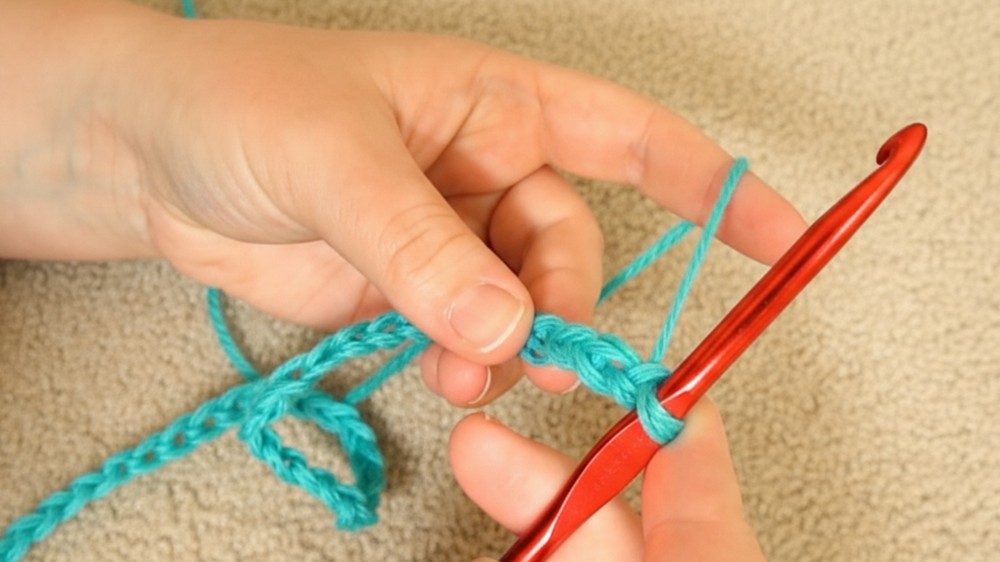
- Begin with a slip knot:
- Hold the yarn, wrap it twice around your finger, pull the first loop over the second loop, and pull the new loop off your finger to form the slip knot.
- Insert your crochet hook and pull tight.
- Create a foundation chain of a length that fits the neckline circumference.
- Ensure the number of chains is a multiple of 4 (e.g., 80 for the example in the video).
- Measure the chain around the neckline of the baby or adult OR use a piece of clothing as a reference.
- Ensure it’s large enough to fit over the head.
Step 2: Forming a Foundation Ring
- Carefully align the foundation chain to avoid twists.
- Join the first chain with the last chain using a slip stitch, creating a circle.
Step 3: Neckline and Straps Section
Round 1:
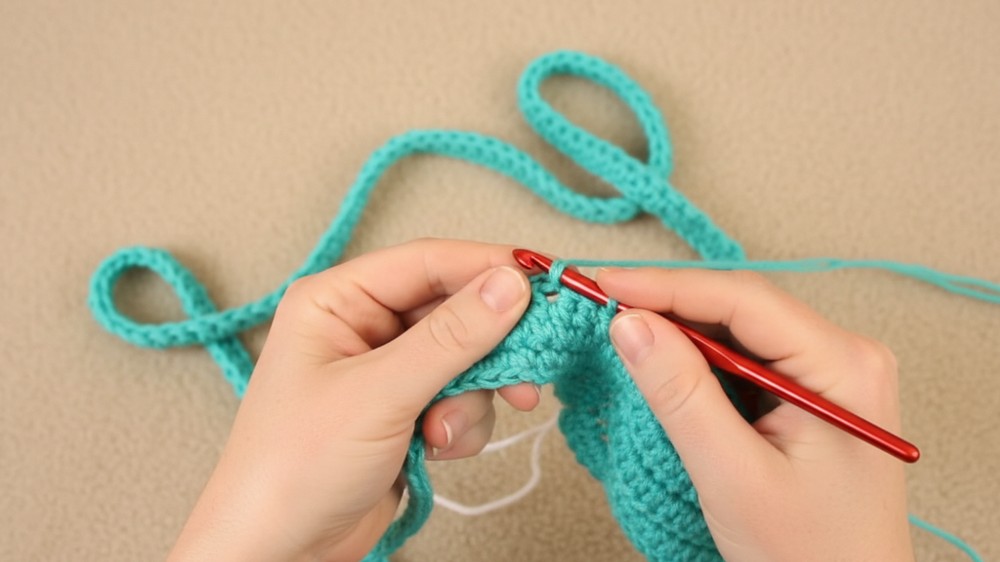
- Work 1 single crochet into each stitch around.
- This forms the first row of single crochets.
- Use a stitch marker after completing the round to track ends and new beginnings.
Rounds 2–3 (or more for a thicker neckline):
- For these rounds, work 1 single crochet into the back post of each stitch.
- Turn your work slightly to locate the back post (the bump at the back of the stitch). Insert your hook and complete the single crochet.
- This creates a textured overlapping effect perfect for the neckline.
Step 4: Dividing the Dress into Sections
- Divide the number of stitches in the neckline (your foundation chain count) into 4 equal sections:
- Front, Back, and the two Sides.
- For example, if you chained 80, each section has 20 stitches.
- Start crocheting half of the back section first.
- Work 10 double crochets (or the appropriate half-section) to form the first part of the back.
- Use division to determine partial stitches if the number per section is odd.
Armholes and Front/Back:
- Chain the number of stitches for one side section (e.g., 20 stitches for 80 chains).
- Skip the equivalent number of stitches on the neckline and start on the front section.
- Work all stitches as double crochets across the front section.
- Repeat the process for the other side section (chain + skip the stitches).
- Complete the remaining back section using double crochets.
Step 5: Bodice/Chest
- Work 1 double crochet into each stitch all the way around (includes chains and previous stitches).
- Repeat this round 3–5 times depending on the required bodice height.
- Add extra length by repeating rounds if desired.
Step 6: Starting the Skirt
- Begin the first round of the skirt.
- Skip 1 stitch, then work 2 double crochets in the next stitch. This creates an artistic structure.
- Repeat this skip-and-double-crochet pattern all the way around.
- For subsequent rounds of the skirt:
- In each round, work 2 double crochets into the space between the 2 double crochets from the previous round.
- Continue this pattern until the skirt reaches your desired length.
Finishing Touches
- At the final row, cut the yarn, pull it through the final loop, and weave in all ends with the yarn needle.
- Block the dress lightly (optional) to enhance its shape.
Tips
- Adjusting Fit:
- For very small or large sizes, carefully measure, or test the fit during key stages.
- Consistent Tension:
- Maintain consistent tension throughout the project for an even look.
- Using Different Colors:
- For a striped or gradient effect, change yarn colors during the chest or skirt section.
- Add Embellishments:
- Sew on buttons, appliqués, or ribbons for added charm.
Pattern Variations
- Color Variations:
- Alternate colors for each skirt round or bodice to create a striped or rainbow effect.
- Use a single solid color for a classic look.
- Customization for Size:
- Baby sizes: Keep the bodice section shorter and reduce the skirt length.
- Adult sizes: Increase foundation chains, stretch the bodice length, and lengthen the skirt for a more dramatic dress.
- Sleeved Option:
- Extend the straps into sleeves by continuing to crochet until desired sleeve length is reached.
Conclusion and Final Look
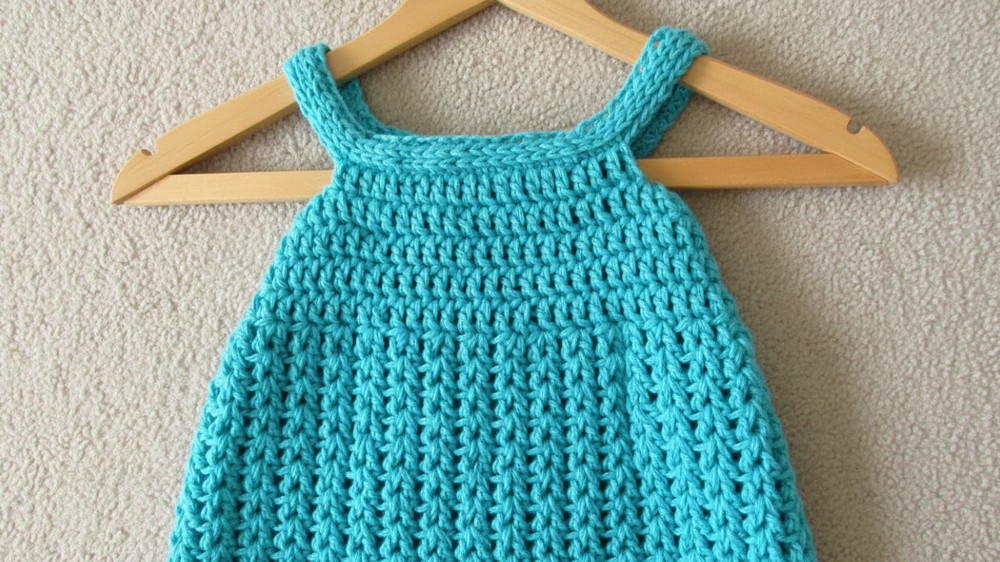
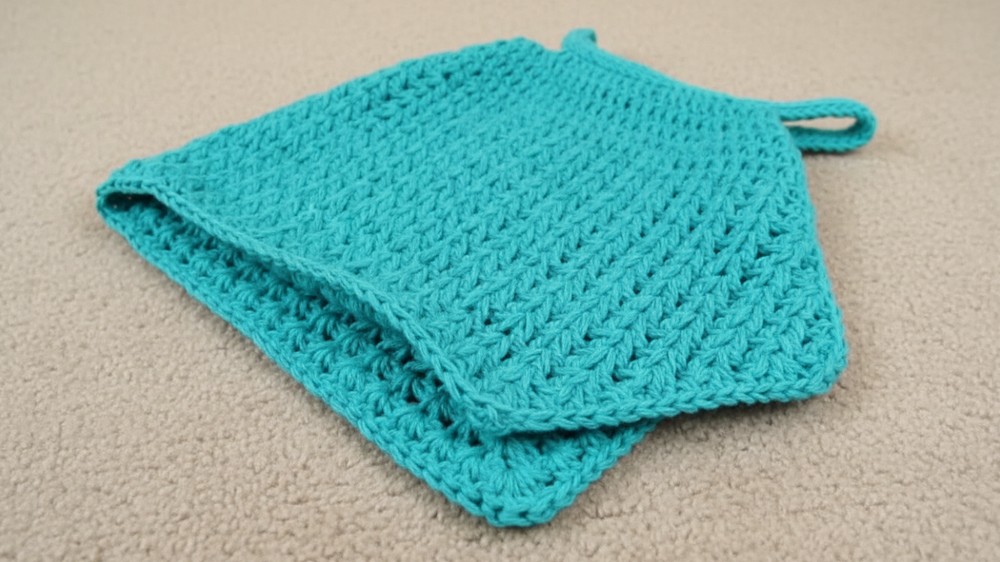
Congratulations on completing your crochet dress! The final piece showcases:
- A textured neckline,
- Generous armholes and comfortable straps,
- A simple yet elegant slightly flared skirt.
This dress’s versatility allows it to be used as baby attire, a toddler sundress, or with adjustments, a casual adult summer dress. Each stitch weaves in both beauty and functionality, crocheted perfectly for comfort and charm.