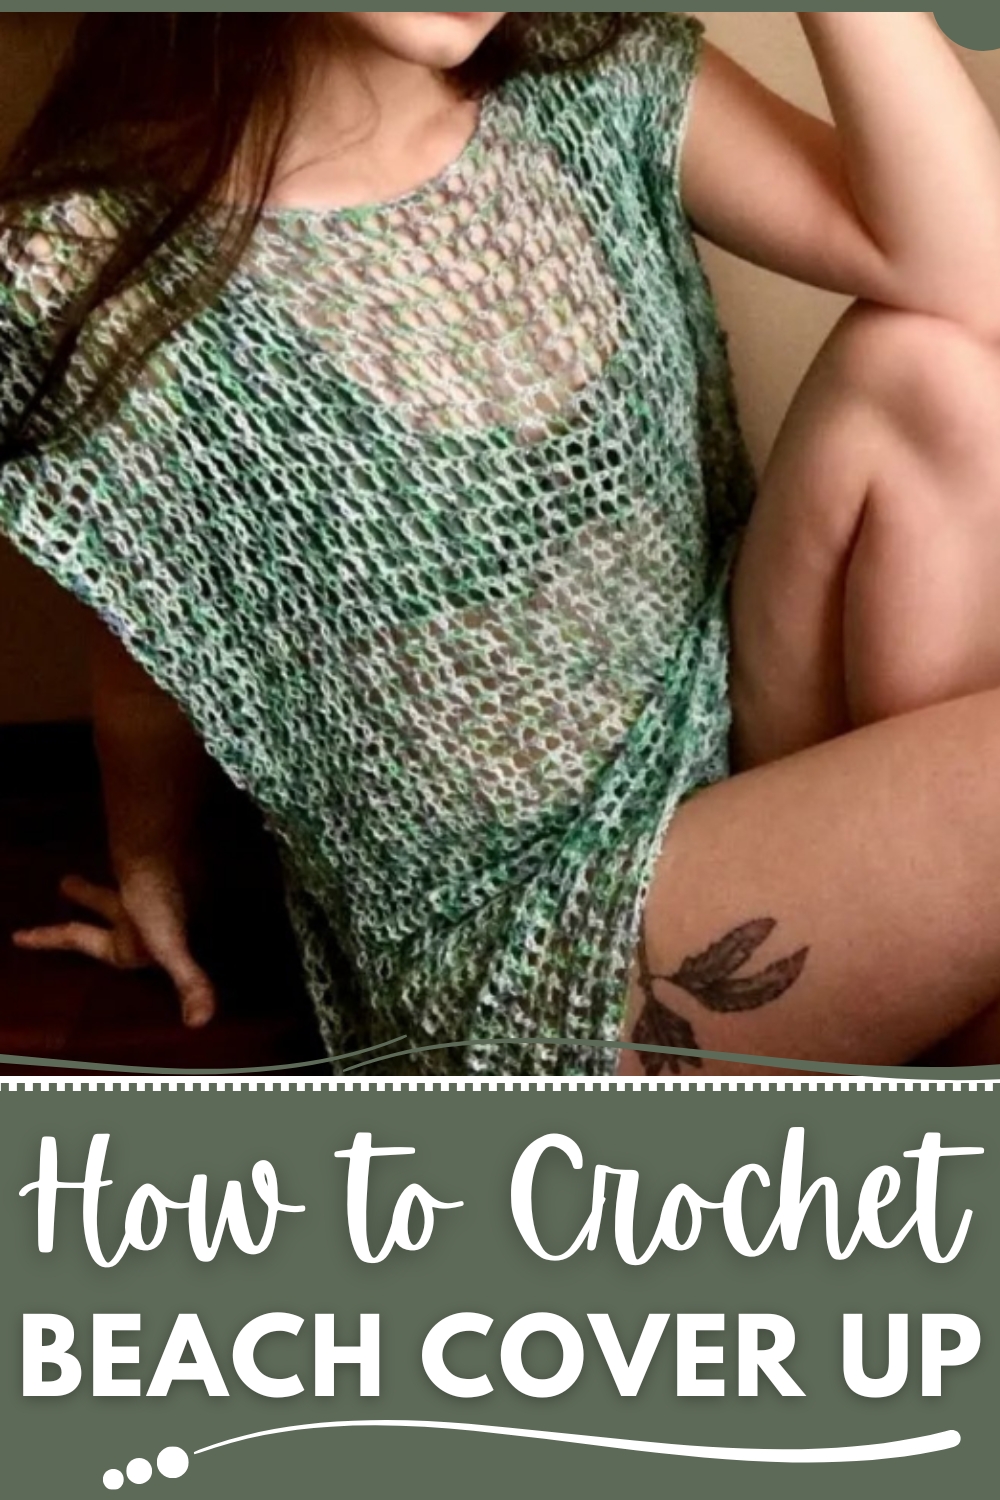
A warm afternoon by the seaside reveals the soft shimmer of sunlight on gentle waves as a lightweight garment flows effortlessly over a swimsuit, adding comfort and style for a day of relaxation. The Free Crochet Beach Cover Up pattern transforms simple yarn into a versatile piece that provides coverage while remaining breathable, making it perfect for lounging on the sand, strolling along the shore, or heading to nearby cafes.
Pretty Crochet Beach Cover Up Pattern to Wear With Confidence
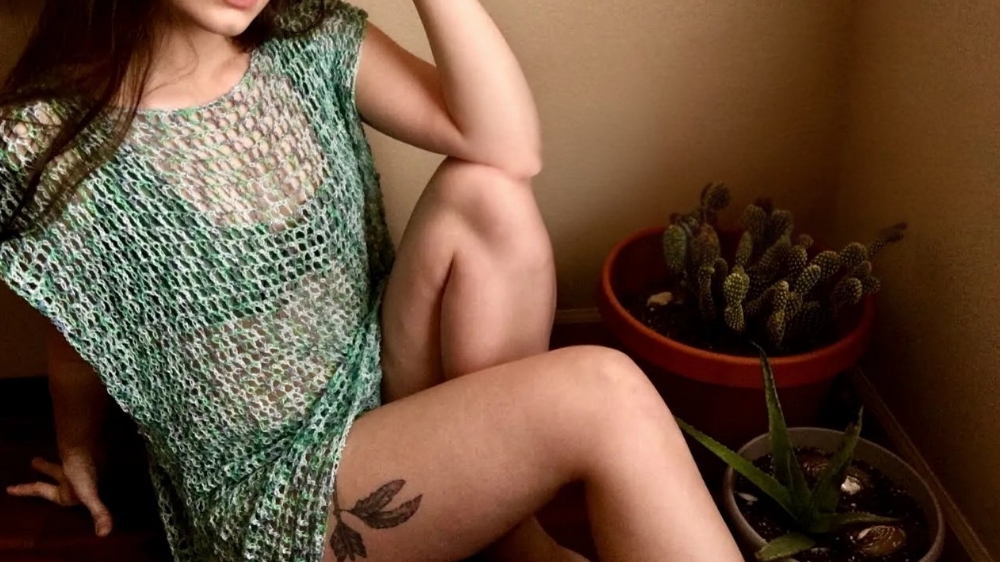
Its airy crochet texture allows for a comfortable fit and freedom of movement, keeping the wearer cool under the sun while offering subtle elegance. Adjustable sizing accommodates different body shapes, ensuring both comfort and a flattering silhouette. Working on this cover-up offers a calming rhythm for crafters, combining repetitive stitching with satisfying progress toward a practical, wearable piece.
Color choices and yarn variations allow personalization, from vibrant summer hues to soft pastels, giving each piece a unique charm. Beyond beachwear, it doubles as a stylish layering option for casual outings, festivals, or poolside events. Each completed cover-up embodies patience, attention to detail, and functional artistry, turning ordinary seaside moments into stylish, comfortable experiences. This handmade garment blends ease, charm, and practicality, enriching sunny days with thoughtful, wearable skills.
Step-by-Step Instructions
1. Materials Needed
- Yarn:
- Summer Nights by Lion Brand yarn (super fine, categorized as 1 weight).
- Approx. 437 yards.
- Alternative: You can use crochet thread if aiming for a more cotton-based cover-up.
- Hook:
- Recommended size based on the yarn: 3.25mm or 3.5mm.
- Tutor's choice: 4mm crochet hook (for fluffier stitches and a more luxurious look).
- Other Tools:
- Scissors and a yarn needle for sewing seams.
- Optional: Measuring tape for adjusting armholes.
2. Setting the Mood
Before starting the project, the tutor suggests creating a cozy environment to crochet in: grab a drink, light a candle, play some background music, and relax while working on this creative endeavor.
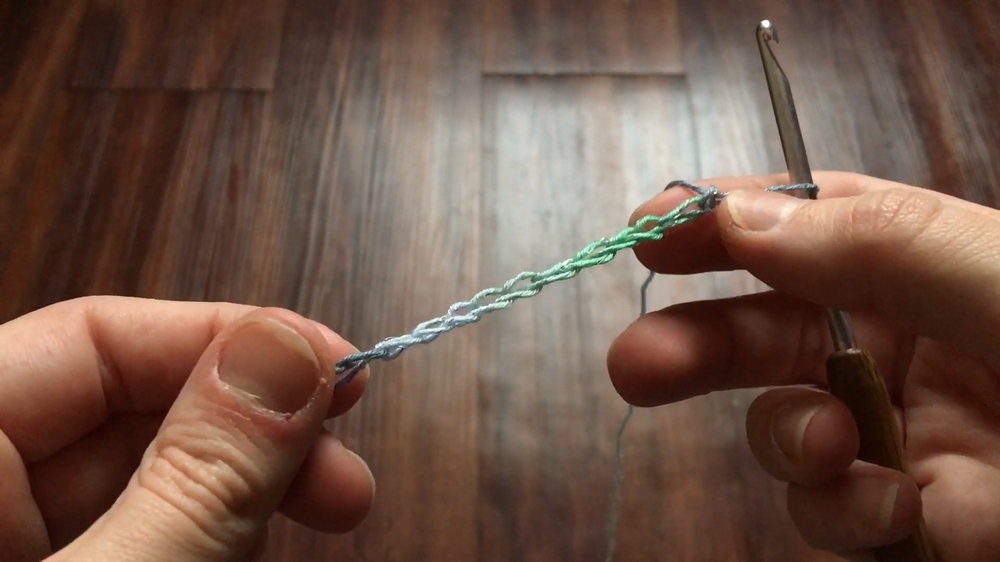
3. Creating the Foundation Chain
- Start with a Slip Knot:
- Begin your project with a slip knot to secure the yarn on your hook.
- Chain 111 Stitches:
- Ensure the chains are loose enough to work into later. Avoid tight stitches.

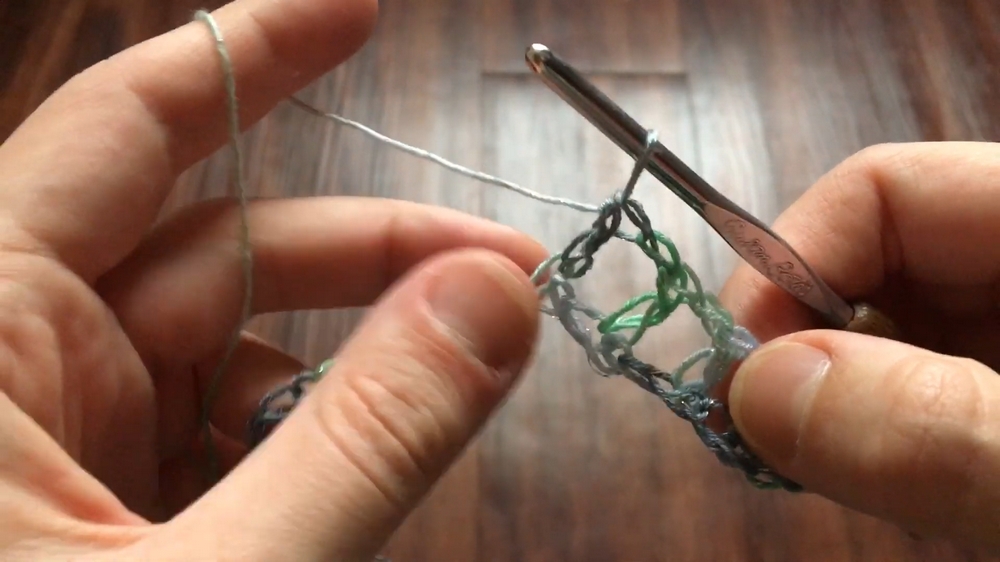
4. First Row: Mesh Pattern
- Skip 4 Chains:
- Count down 4 chains from the hook. In the 5th chain, begin working a double crochet (DC).
- Mesh Design:
- Chain 1. Skip the next chain. Work 1 DC into the following chain.
- Repeat this pattern across the row: chain 1, skip 1, double crochet in the next stitch.
- Tips:
- Where you work the stitches is your preference (into the top, bottom, or middle of the chain loops).
5. Subsequent Rows
- Second Row:
- At the start of the row, chain 4 to create height. Flip your work.
- Double crochet into the previous row’s double crochet.
- Chain 1, skip 1 (the chain space), and double crochet into the next DC.
- Continue working across the row with the same mesh design.
- Repeat for Future Rows:
- All subsequent rows continue the same mesh pattern as Row 2.
- Chain 4 at the start of each row for height, then follow the mesh pattern until the desired length.
- Important Note:
- At the end of each row, you may encounter a tricky part—don’t miss the last skipped chain. Be sure to chain 1 and make a DC into this final stitch to keep your piece properly aligned.
- Total Rows:
- Crochet 50 rows or continue until the desired length is achieved.

6. Creating the Second Panel
Once your first panel is complete, repeat the steps above to create a second identical panel (same number of stitches and rows). Do not tie off the second panel yet, as it will remain attached for assembly.
7. Joining the Panels
- Layer the Panels:
- Lay both panels flat and perfectly aligned on top of each other.
- Slip Stitch for Shoulders:
- Slip stitch or sew together 15 mesh spaces (holes) along the top corners for the shoulders.
- Leave 23 mesh spaces unworked in the center for the neckline.
- Slip stitch 15 mesh spaces on the other side to finish joining the shoulders.
- Tips for Slip Stitching:
- Work loosely to avoid pulling the fabric. Tight stitches can crunch it and make the seam too rigid.

8. Sewing the Side Seams
- Measure Armholes:
- Use a measuring tape to leave 13 inches (or 11 inches for smaller armholes) from the top of the shoulder seam for the armholes.
- Sew the Side:
- From below the measured armhole opening, sew the remaining sides together using a yarn needle or slip stitch method.
- Repeat on the Other Side:
- Follow the same process on the opposite side to secure the second seam.
Optional Finishing Touches
- Weaving in Ends:
- Use a yarn needle to tuck in loose ends neatly at the seams.
- Adding Fringes:
- You may choose to add fringes or decorative elements along the bottom edge for additional flair.
Special Features
- Lightweight Mesh Design: Perfect for creating an airy, breathable sweater or swimsuit cover-up.
- Oversized Fit: Designed to work for sizes extra small to large naturally. For larger sizes, simply add more foundation chains.
- Customizable: Adjust the length of rows or armhole size to suit your preferences.
- Versatile Yarn Options: Crochet thread works well for a more durable swimsuit cover-up, while Summer Nights yarn provides a softer, more luxurious feel.
Level of Difficulty
- Beginner-Friendly:
- The mesh stitch is easy to learn, making this a great project for beginners.
- While repetitive, it’s more time-consuming than technically challenging.
Tutor's Suggestions
- Use Loose Stitches: For easier working and a more polished, airy look, keep your foundation chain and stitches loose.
- Customization: Adjust the starting chain count or row counts to suit your size or desired fit.
Uses and Materials
- Uses:
- Wear as a summer sweater or a breezy cover-up over swimsuits.
- Perfect for beach days, pool outings, or casual summer wear.
- Adds a relaxed yet stylish layer to your wardrobe.
- Materials:
- Super fine yarn (or crochet thread) and a 4mm hook ensure the piece is lightweight and comfortable.
Pro Tip
When assembling the panels, work in good lighting to ensure your stitches align perfectly. This will result in cleaner seams and a polished finished product.
Conclusion
This summer sweater/swimsuit cover-up combines elegance and simplicity, with its lightweight, mesh pattern perfect for warm weather. From beginner crocheters to experienced crocheters, anyone can enjoy creating this versatile and stylish piece.