How To Crochet Raiwë Shawl In Beautiful Gradient Colors
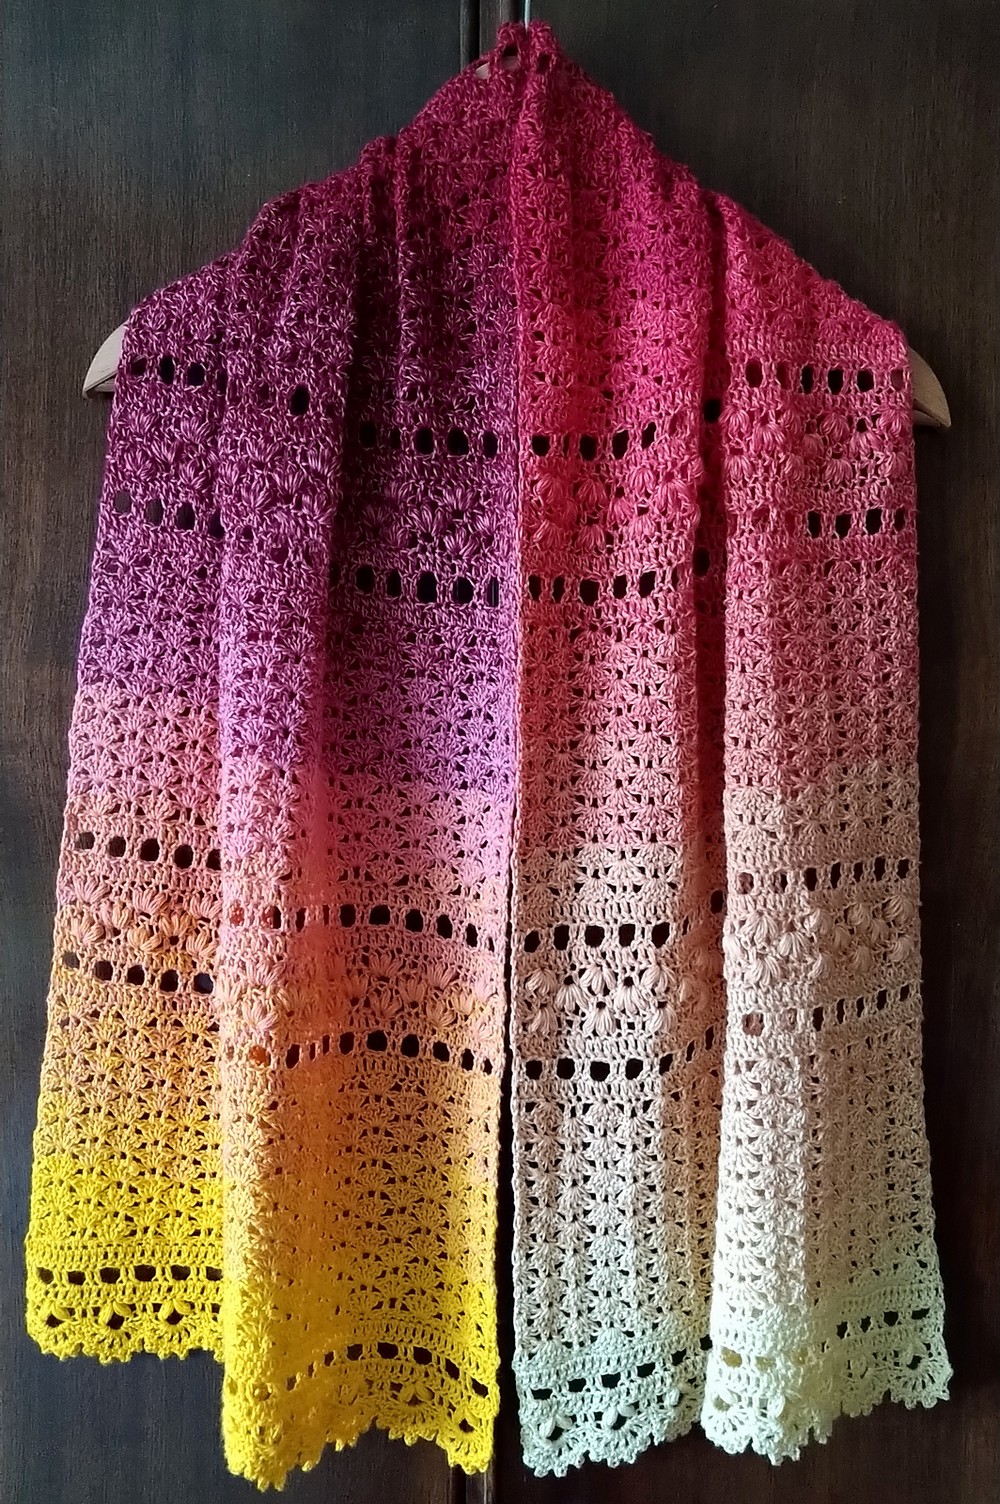
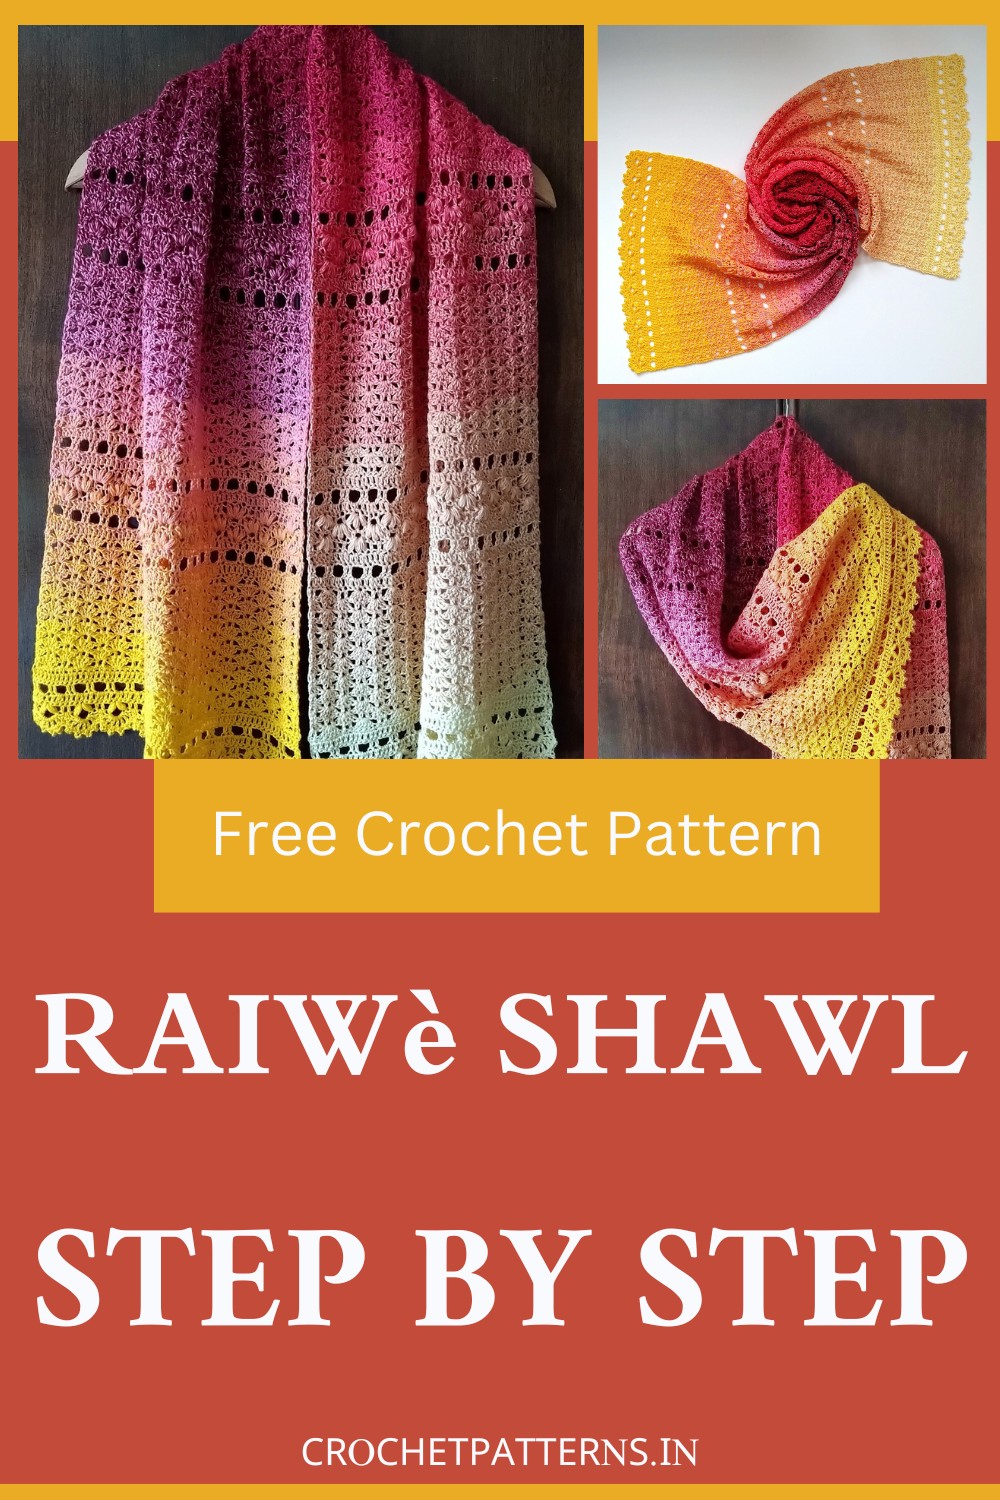
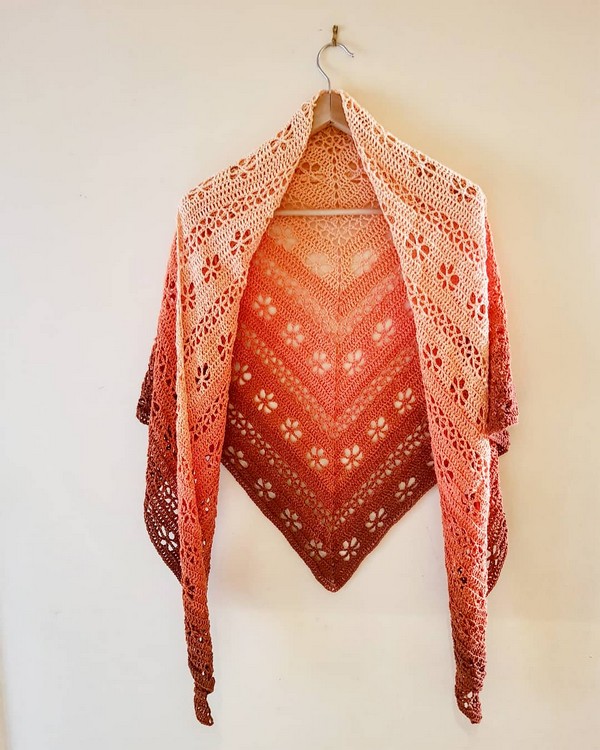
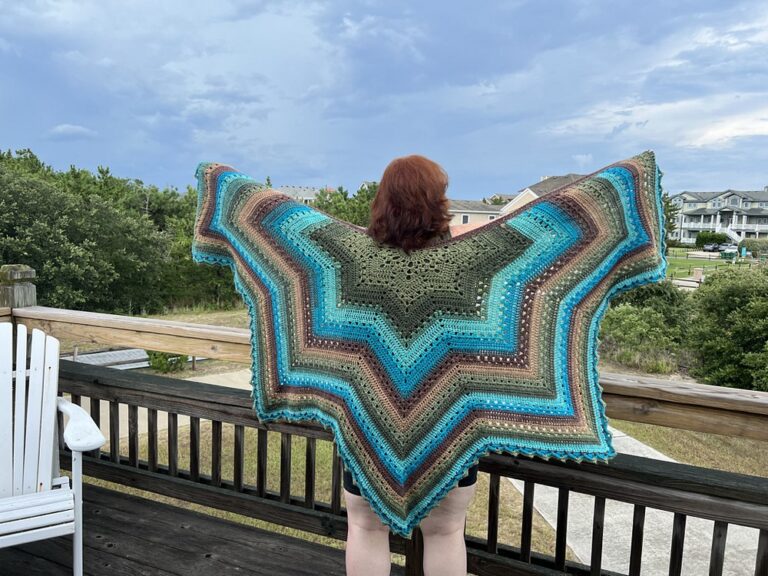
The Raiwë Shawl is a beautiful crochet creation with a mix of interesting textures and colors that change like the morning sky. It feels like a warm hug when worn, with its gentle colors changing softly. The pattern is a perfect mix of skill and coziness, making other crafters look on with envy. Making this shawl shows off the beauty that can be made from yarn and crochet hooks, giving crochet lovers a fun project that ends up being a magical item to keep and love.
Crochet Raiwë Shawl

Materials Needed:
- 3.5 mm (E) size hook (Note: use a 3 mm hook if you crochet loosely)
- 1 Scheepjes Whirl or approx. 1094 yards/1000 meters of fingering weight yarn
- Yarn needle
- Scissors
- Stitch markers (optional)
Stitches Used and Abbreviations:
- CH = chain
- SK = skip
- ST/STS = stitch/stitches
- SC = single crochet
- DC = double crochet
- Puff ST = puff stitch
Special Stitches:
- Puff Stitch (Puff ST): Yarn over hook, insert in stitch, pull up a loop (3 loops on hook). Repeat 3 more times in the same stitch (9 loops on hook). Yarn over and pull through 8 loops, then yarn over and pull through both remaining loops.
Notes:
- Blocking is essential for the lace pattern and to straighten edges.
- Chain 2 always counts as a double crochet.
- The pattern uses US terminology.
- Instructions are divided into sections. Repeat sections as directed.
Pattern
To start:
Begin the pattern with a base chain of 87 stitches.
Row 1:
Work a row of single crochet stitches.
Section 1:
This section involves creating “shells”, which consist of 5 double crochet stitches placed into a single stitch. You will also work single, regular double crochet stitches in between these shells.
Section 2:
In this section, you’ll use puff stitches. The original pattern instructions provide details on how and where to place these stitches, which constitute an important part of the overall design.
Additional Sections:
You will repeat sections 1 and 2 a specific number of times as defined in the detailed instructions for a full shawl’s length.
Borders:
After finishing the body of the shawl and following the instructions on the website, you’ll work on the Outer Border. This decorative border provides additional visual interest and edge stability.
Finishing:
Once you’ve completed all rows and borders, cut your yarn and weave in any loose ends. The last step is blocking your shawl – this ensures the best presentation of your stitchwork, helps the shawl maintain its shape, and evens out any uneven tension.
