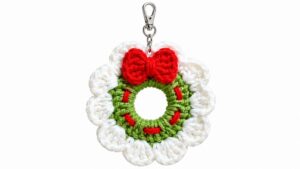
Infuse holiday spirit effortlessly through the Free Crochet Christmas Wreath Pattern that turns simple crochet into beautiful Christmas décor.
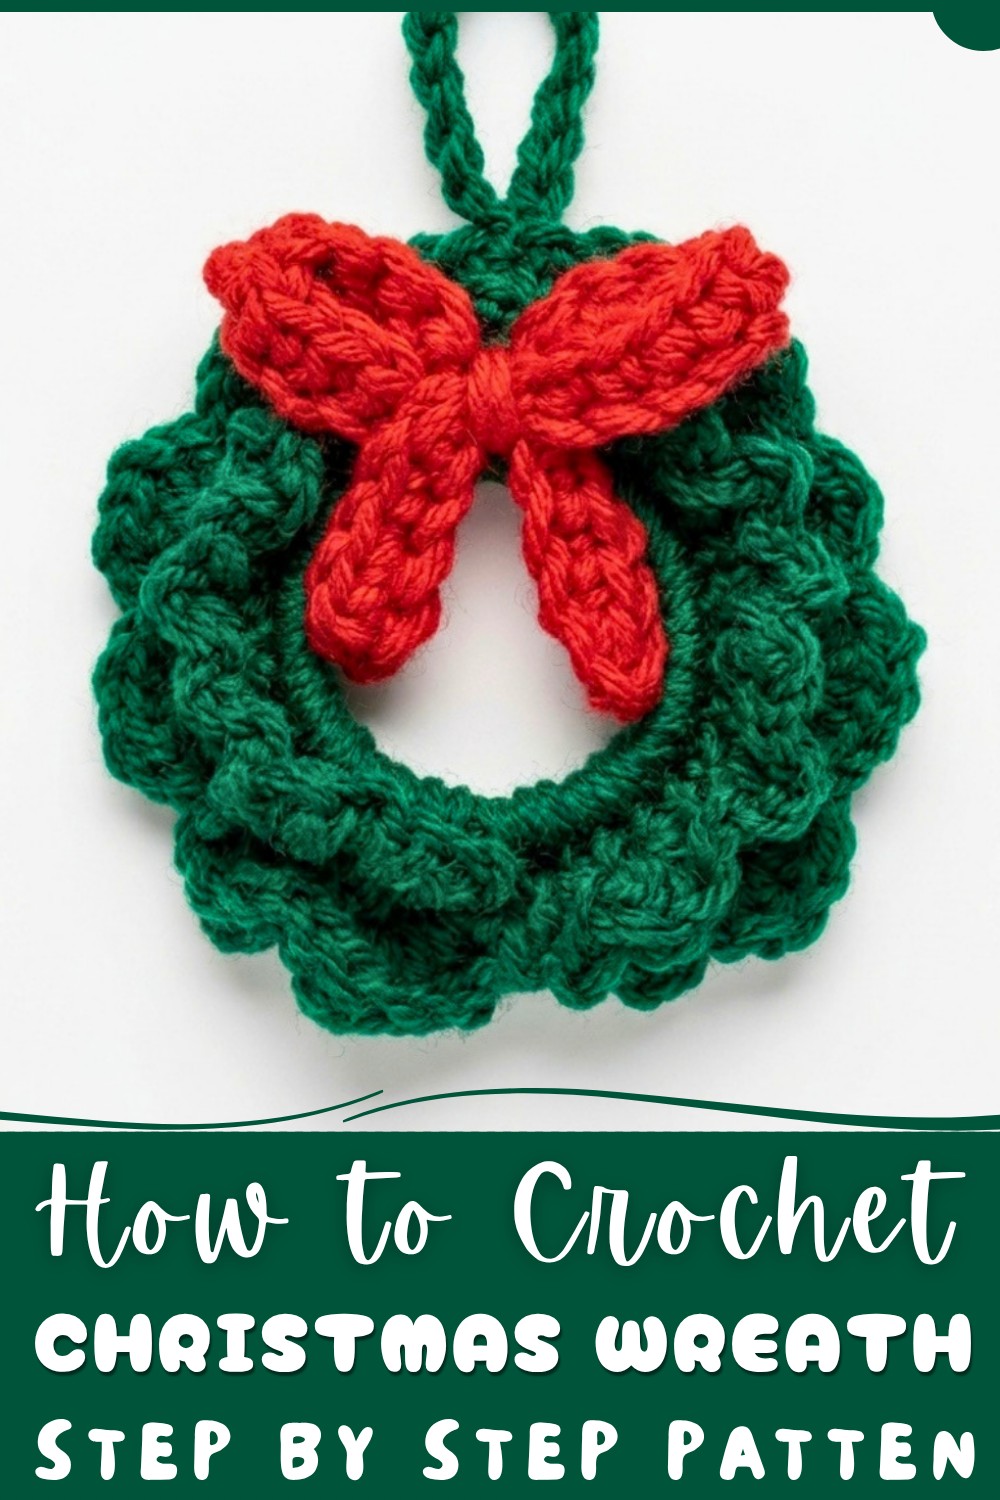
Free Crochet Pattern for Christmas Wreath
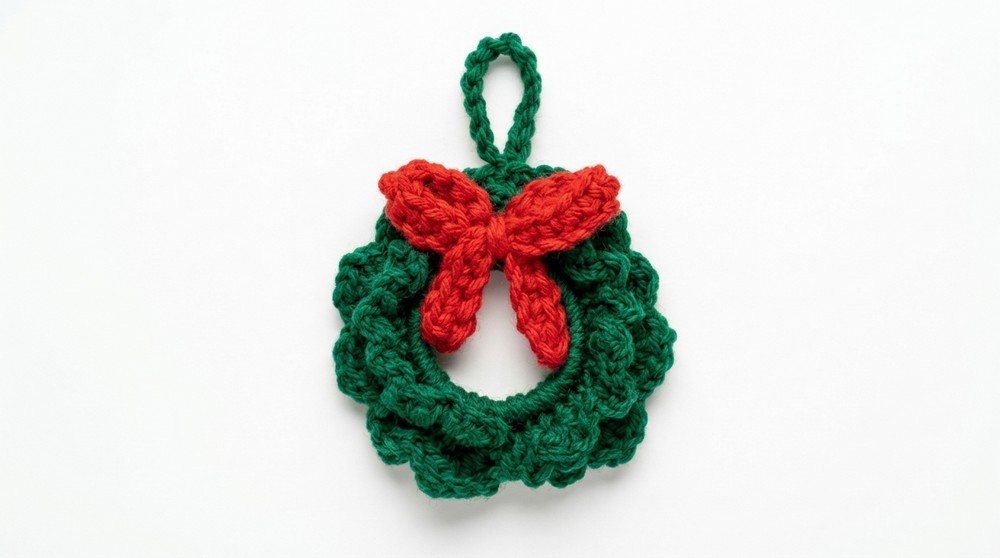
Making this small wreath is a great way to use up leftover yarn scraps during holiday prep. You can customize the bow colors or add small beads to match your festive theme. This quick seasonal project brings cozy joy, bright color, and handmade warmth to your home celebration.
Crochet Christmas Wreath Ornament Pattern
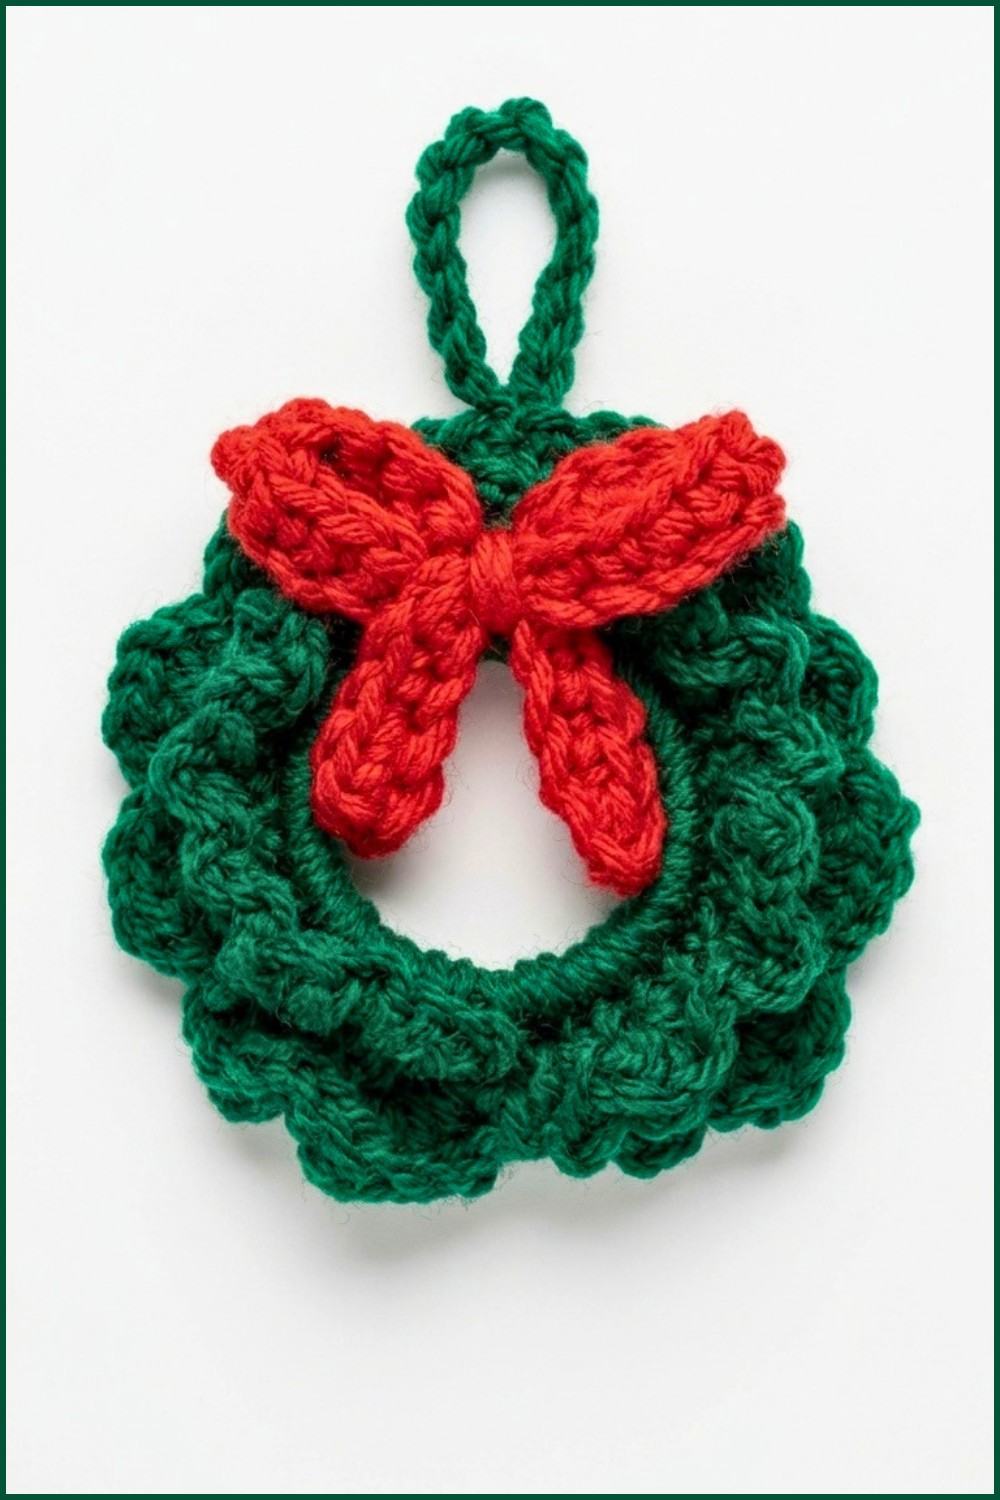
This charming Christmas wreath ornament is crafted over a simple plastic ring base, wrapped carefully with yarn and enhanced with ruffled half double crochet layers creating a lush, festive look. Finished with a neat hanging loop and a matching bow, this pattern offers a quick and satisfying holiday craft ideal for decoration or gifting.
Pattern Highlights
- Uses a plastic ring base for stability and shape retention.
- Two layers of ruffled half double crochet (HDC) stitches provide dimensional texture.
- Working selectively in front loops and back loops for ruffle effects.
- A decorative crocheted bow complements the wreath.
- A chain hanging loop attached securely for easy display.
Notes
- The plastic ring base maintains the wreath's round shape and makes crocheting simpler.
- Wrapping the base completely with single crochet ensures no plastic shows through.
- Maintaining consistent tension on ruffle stitches produces a uniform, fluffy look.
- Front loop and back loop working helps to define distinct ruffle layers.
- The bow is crocheted flat and shaped after finishing, then sewn on for a neat effect.
- Ends are securely woven in for durability.
Skill Level
Intermediate beginner – suitable for those comfortable with:
- Single crochet (SC) and half double crochet (HDC) stitches.
- Working stitches into front loops only and back loops only.
- Creating simple crochet fabric on a non-yarn base.
- Basic assembly and finishing techniques including sewing and weaving ends.
Materials
- Yarn: #4 medium-weight yarn such as Bernat Premium in colors Paddy Green, Red, Sparkle White, and Robins Egg.
- Crochet hook: 4.25 mm.
- Base: 1 ¾ inch plastic ring (commonly repurposed from bottle caps).
- Tools: Darning needle, scissors.
Measurements / Sizing (Optional)
- Wreath diameter approximates 5 inches (based on the 1 ¾ inch ring plus ruffled layers).
- Bow measures roughly 3 inches long before bow shaping.
- Hanging loop approximately 15 chain stitches long (~2 inches).
Gauge and Stitch Pattern
- Gauge is flexible but consistent tension in stitches important for even ruffles and neat wrapping.
- The base row covers the plastic ring fully with single crochet stitches worked around the ring.
- Ruffles formed by combining 3 half double crochets into single stitches interspersed with slip stitches.
Stitch Abbreviations
| Abbreviation | Meaning |
|---|---|
| CH | Chain |
| SC | Single Crochet |
| HDC | Half Double Crochet |
| SL ST | Slip Stitch |
Special Stitches
- Front Loops Only (FLO): Insert hook into front loop of stitch only to create a raised or textured effect distinct from the back loop.
- Back Loops Only (BLO): Insert hook into back loop of stitch to leave front loops free for decoration or layering.
The Crochet Pattern
Step 1: Covering the Plastic Ring
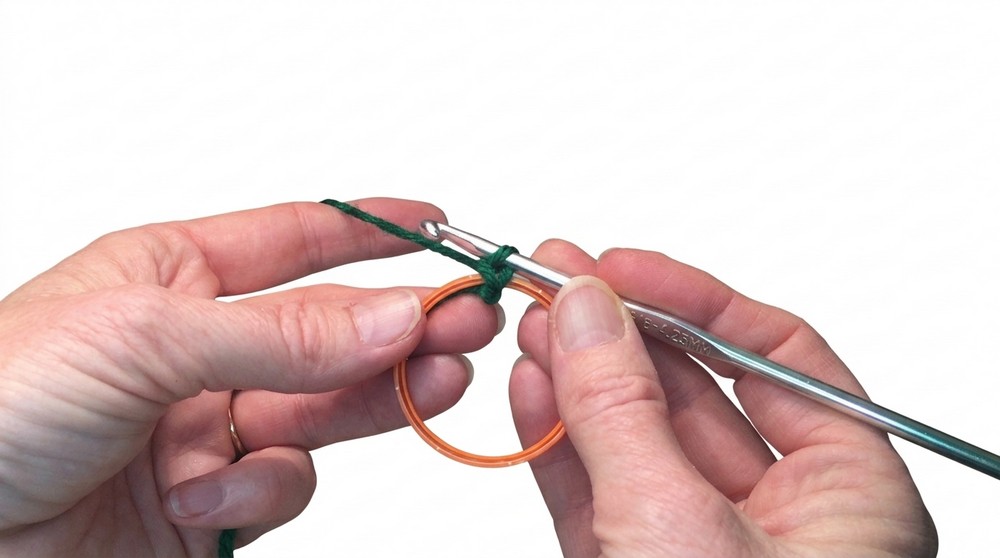
- Begin with a slip knot and attach your chosen color yarn to the plastic ring.
- Chain 1 to secure.
- Work single crochet (SC) stitches all the way around the ring, making sure to tightly cover the entire surface of the ring with yarn.
- Join the round with a slip stitch (SL ST) to the first SC stitch made, creating a neat ring cover.
Step 2: First Ruffled Row – Working in Front Loops Only
- Identify the front loops of each stitch around the now-covered ring.
- Begin with a slip stitch (SL ST) into the first front loop to position the yarn.
- Skip the next stitch, then in the following stitch, work 3 half double crochet (HDC) stitches into the front loop.
- In the next stitch, work a slip stitch (SL ST) into front loop.
- Repeat the pattern: 3 HDC in one stitch, SL ST in next all the way around the ring to create rich ruffles.
Step 3: Base Row for Second Ruffle
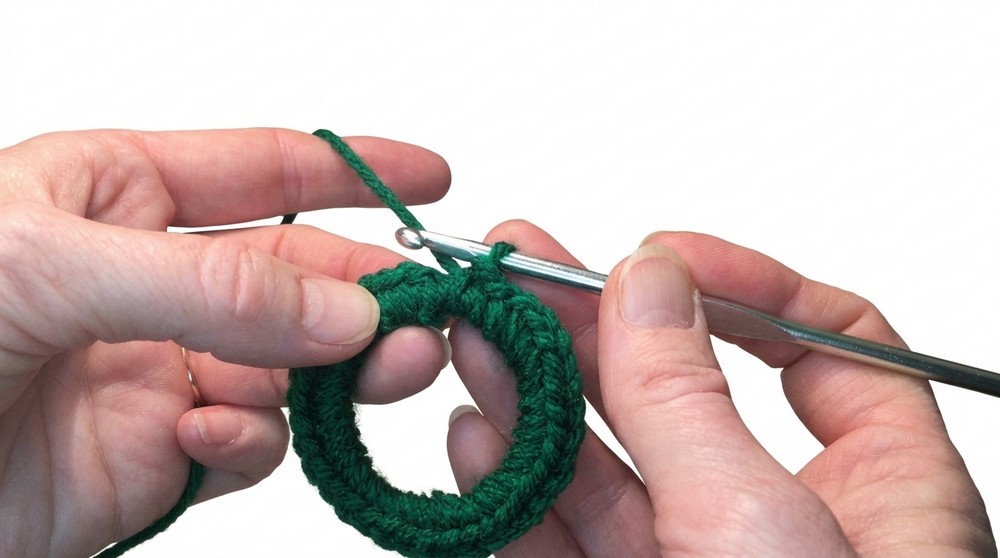
- Chain 1 to start the round.
- Locate the back loops of the stitches from your previous ruffle row—these loops are still visible and accessible.
- Work half double crochets (HDC) into every back loop evenly all the way around the ring.
- Join with a SL ST to the beginning stitch to close this base row for the next ruffle layer.
Step 4: Second Ruffled Row – Repeat Ruffle Pattern
- As you did for the first ruffled row, work into front loops only.
- Repeat the sequence: 3 half double crochets (HDC) into one front loop, slip stitch (SL ST) into the next front loop.
- Continue around the ring to complete full ruffles for a plush double-layered effect.
Step 5: Hanging Loop and Finishing the Wreath
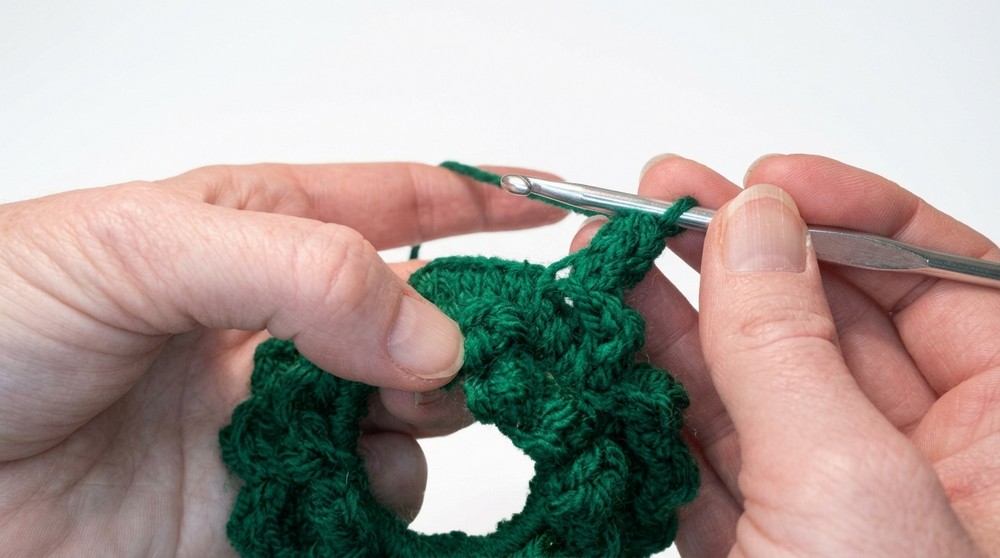
- Chain 15 stitches to form the hanging loop for your ornament.
- Secure the loop by slip stitching back into the starting base of the round.
- Finish by tying off the yarn and carefully weaving in all ends neatly with your darning needle.
Step 6: Creating the Matching Bow
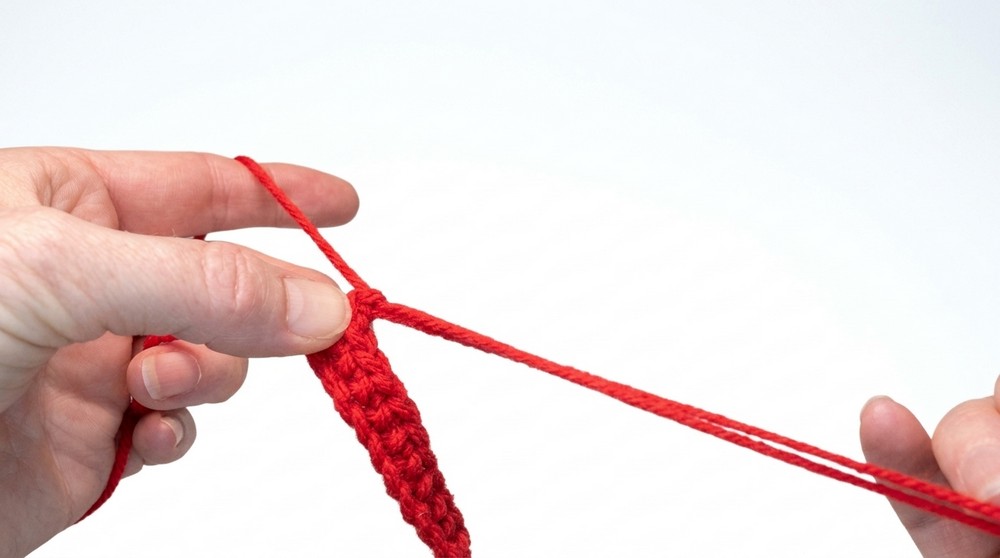
- Chain a foundation chain of 31 stitches.
- Starting in the 2nd chain from hook, work 30 single crochets (SC) across the length of the chain.
- Tie off and weave in any loose ends securely.
- Fold the finished strip into a classic bow shape.
- Use a length of yarn to tightly wrap around the center to maintain the bow’s form.
Step 7: Assembly – Attaching the Bow to the Wreath
- Position the completed bow decoratively over the wreath, preferably near the bottom or side center.
- Using yarn tails and your needle, sew the bow securely to the wreath base.
- Weave in any remaining yarn tails to ensure clean finishing.
Assembly & Finished Size
- The wreath measures approximately 5 inches in diameter once the ruffles are completed over the 1 ¾ inch plastic ring base.
- The bow, when folded, spans about 3 inches across, proportionate for the wreath size.
- Hanging loop of around 15 chains (~2 inches) offers a practical size for hanging from hooks or branches.
- The layered ruffles give a plush, full-textured appearance for a visually appealing ornament.
Conclusion
This Christmas wreath ornament pattern showcases the beauty of simple crochet stitches combined with creative layering techniques to transform a plain plastic ring into a vibrant holiday decoration. The use of front and back loop crochet accents layered with ruffled textures adds a plush and festive touch suitable for any Christmas tree or gifting project. The decorative bow complements the wreath perfectly, tying the look together with charm and functionality.
Ideal for those with intermediate beginner skills, this pattern encourages mastering loop-specific stitches and pattern repetition, while offering opportunities for color customization. Whip up several using seasonal yarn colors for a set of handcrafted ornaments that celebrate warmth, tradition, and creativity this holiday season.