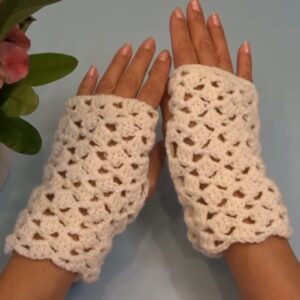
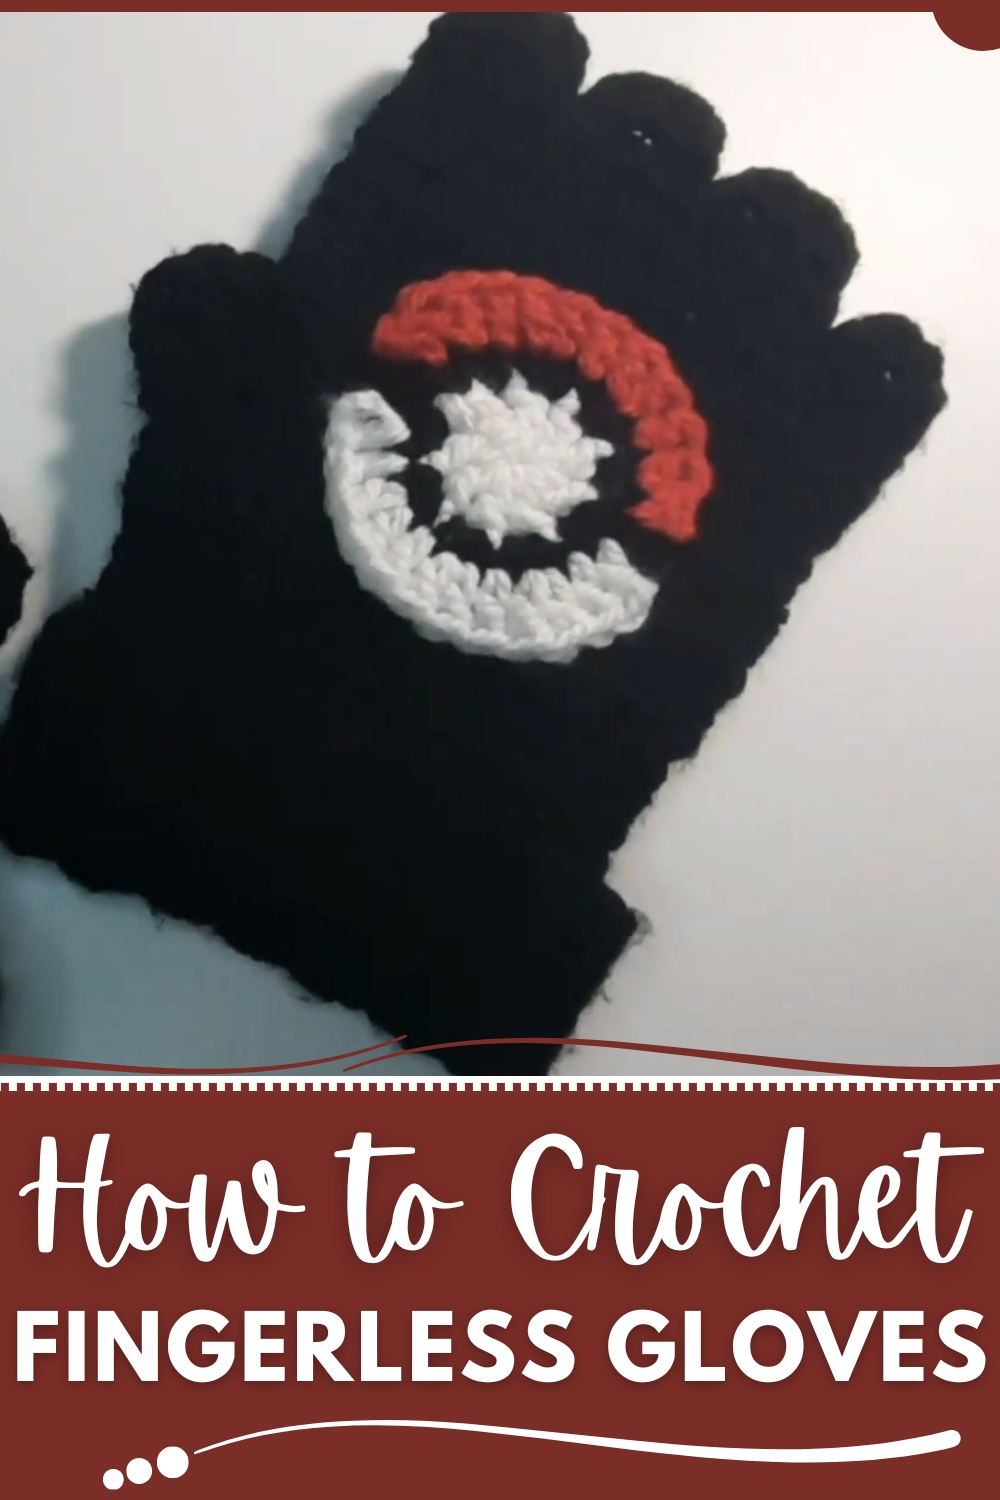
Keep hands warm in style with this Free Crochet Fingerless Gloves Pattern, adding a cozy and versatile touch to winter outfits, outdoor adventures, or gifts.
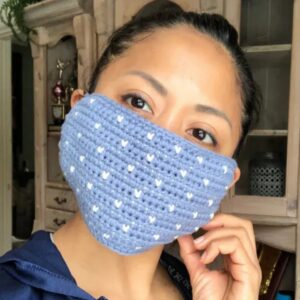
A brisk morning walk along a city street brings the comfort of warmth without sacrificing mobility, as hands slip effortlessly into a pair of snug, handcrafted fingerless gloves. The Free Crochet Fingerless Gloves pattern transforms simple yarn into a versatile accessory that keeps hands cozy while allowing full freedom of movement for typing, texting, or sipping a hot drink. Soft, breathable material ensures comfort throughout the day, while the open-finger design maintains dexterity for everyday tasks.
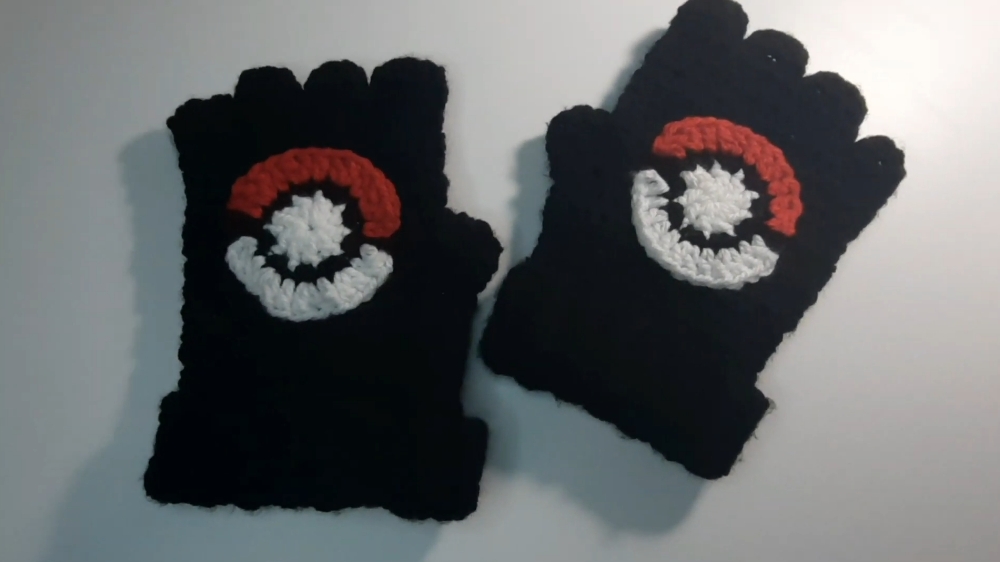
Simple Crochet Fingerless Gloves Pattern to Wear Outdoors
Lightweight yet durable, these gloves can be layered under heavier mittens during colder months or worn alone for transitional weather, offering practical warmth without bulk. Repetitive crochet stitches provide a calming and rewarding experience for crocheters, whether beginners seeking an accessible project or experienced hands adding subtle details. Color choices, stitch variations, and embellishments allow for personalization, turning a simple accessory into a unique statement of style and care.
Beyond practical use, the gloves make thoughtful gifts, carrying the quiet charm of handmade effort. Every finished pair reflects patience, focus, and attention to detail, providing not only warmth and comfort but also a sense of accomplishment. Functional, stylish, and adaptable, these gloves transform ordinary routines into moments of cozy elegance and personal expression.
Step-by-Step Instructions
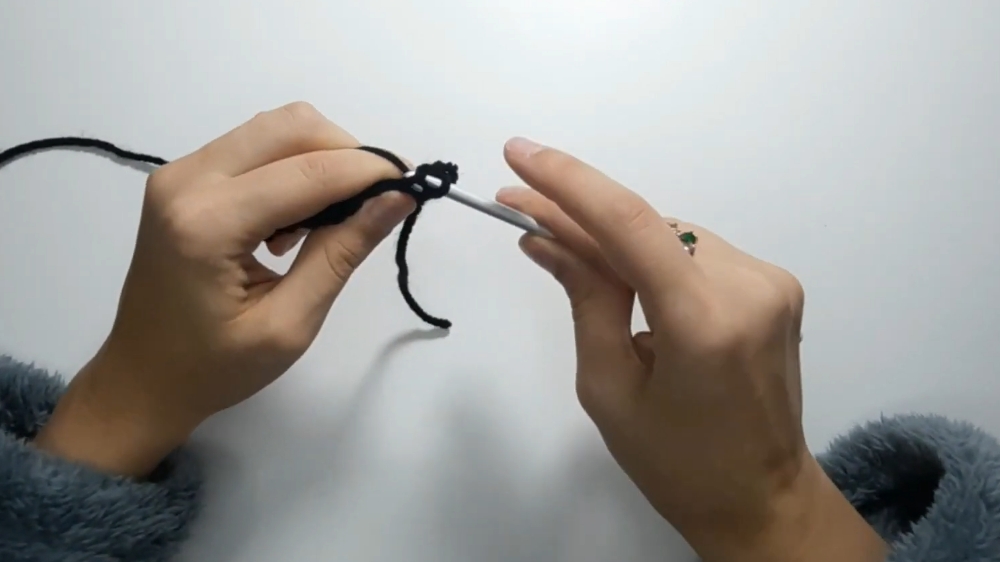
1. Crocheting the Pokeball's Base
- Magic Ring:
- Start with a magic ring and chain three.
- First Round:
- Crochet nine double crochets (DC) into the magic ring.
- Tighten the ring to close the circle and slip stitch into the first double crochet. Cut the yarn.
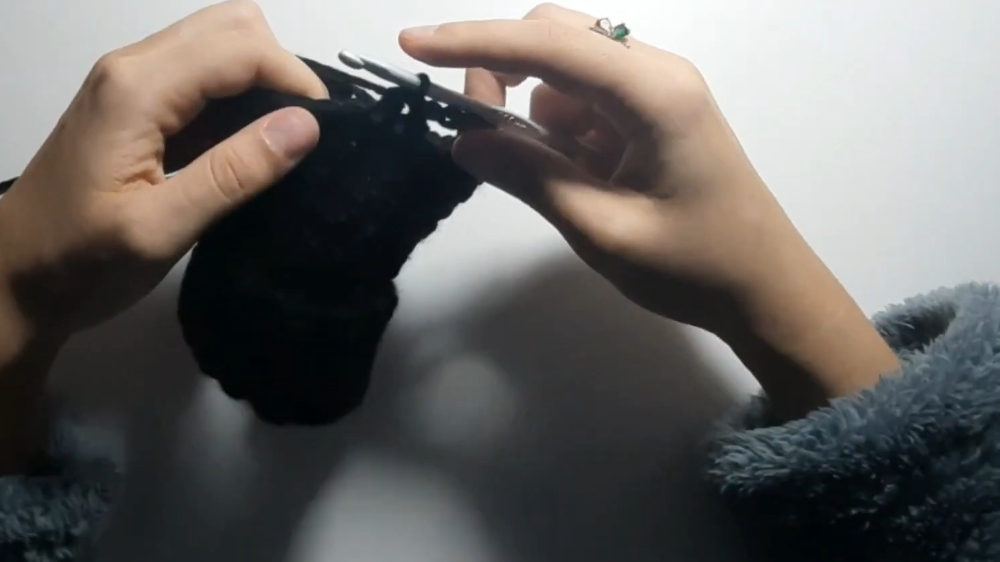
2. Adding Black Yarn
- Attaching Black Yarn:
- Insert your hook into the last slip stitch from the white yarn section and attach the black yarn by chaining one.
- Second Round with Black Yarn:
- Work two single crochets (SC) into each stitch.
- At the end of the round, you should have 18 single crochets. Slip stitch and finish this section.
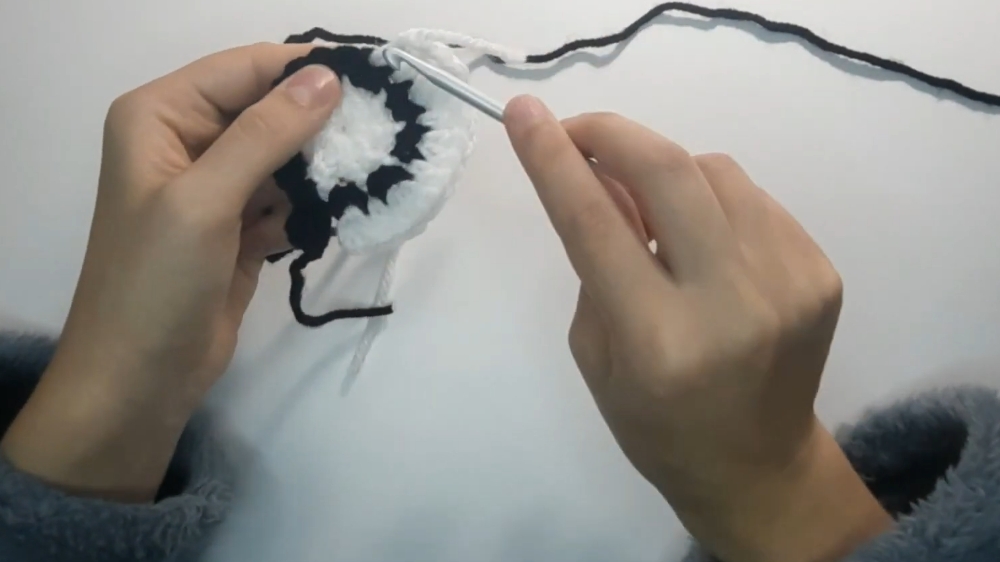
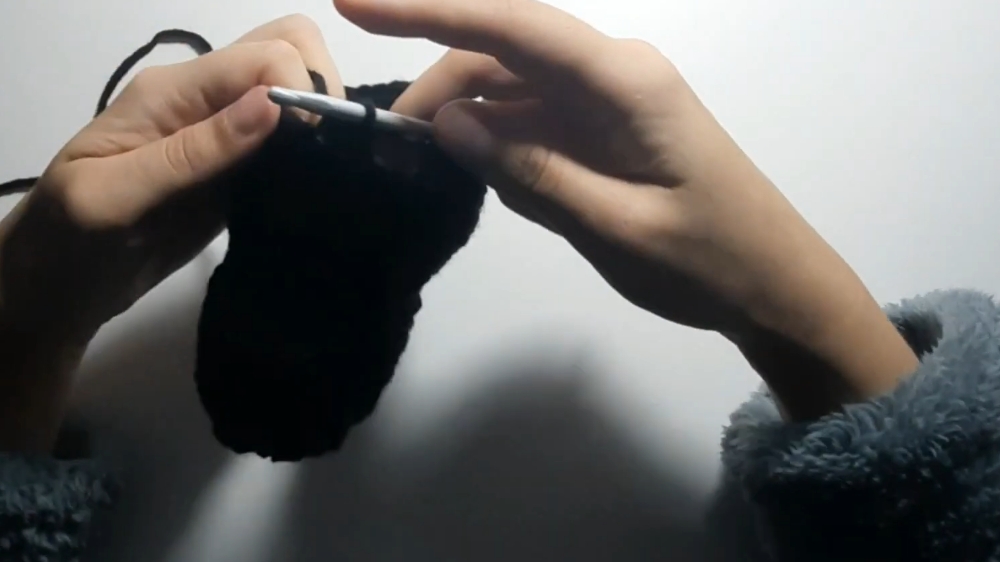
3. Adding White Yarn
- Changing to White Yarn:
- Insert the hook into the next stitch, attach white yarn, and chain three.
- Third Round with White Yarn:
- Place one double crochet (DC) into the same stitch.
- Alternate one DC into the next stitch and two DC into the following stitch, continuing this pattern until the seventh stitch.
- Finish with 13 double crochets in total, including the initial chain three (counted as a fake DC). Cut the yarn.
4. Creating the Black Center Piece
- Attach Black Yarn Again:
- Insert the hook into the eighth stitch from the white yarn area.
- Make two DCs into the same stitch, following the increase pattern from the white section.
- Chain three, work one DC, and cut the yarn.
5. Adding Red Yarn
- Red Yarn Section:
- Insert the hook into the next stitch and attach red yarn. Chain three.
- Continue crocheting two DC into alternating stitches until the round is finished.
- This section should also have 13 double crochets, including the initial chain three. Cut the yarn.
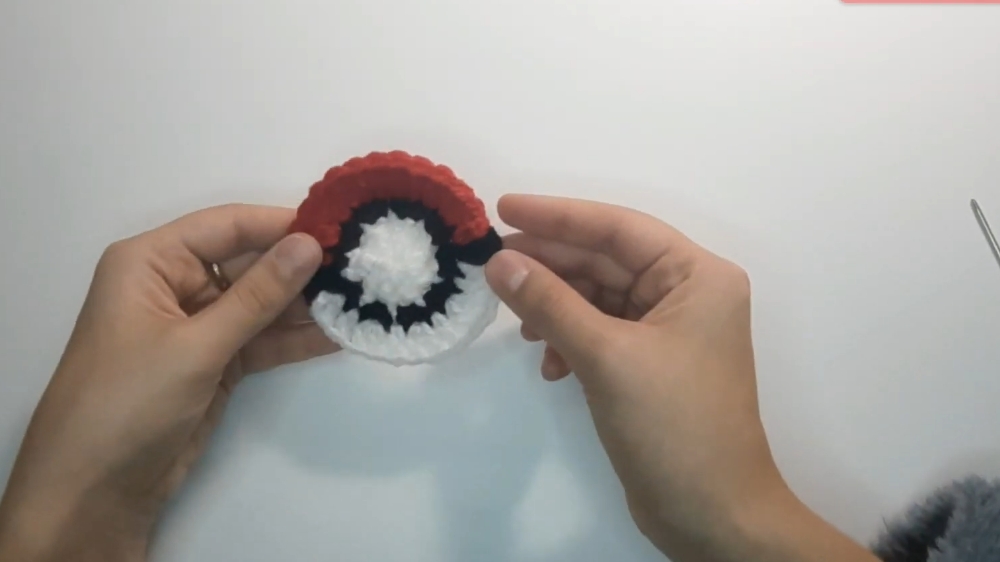
6. Connecting the Pokeball Parts
- Assembly:
- Use a needle to carefully sew the Pokeball parts together.
- Insert the needle between stitches to hide the stitches and keep the piece looking neat.
- If the Pokeball will be attached to an item, you don’t need to worry much about the backside.
7. Crocheting the Bracelet Strap
- Foundation:
- Start with a slip knot and chain 15 stitches.
- Single crochet (SC) into the second chain from the hook and continue SC across for the row. Chain one and turn.
- Subsequent Rows:
- For each row, work back loop only single crochet (SC) stitches, ensuring the strap has a ribbed texture.
- Continue crocheting rows until the strap reaches the desired length to fit around your wrist (e.g., 30 rows for a large size).
- Joining Ends:
- Fold the strap into a circle. Insert the hook through both ends and secure with single crochet stitches.
- Finally, test the size to ensure it is the right fit for your wrist.
8. Creating Space for Fingers
- Finger Space Setup:
- Chain two and work half double crochet (HDC) into each stitch, increasing as needed in the pattern.
- After a few rounds, chain four stitches, skip four spaces, and continue HDC into the fifth stitch to create the thumb space.
- Continuing the Round:
- Work HDC around the entire bracelet to create space for fingers.
- Repeat several rounds using the same technique for consistency and comfort.
Special Features of the Pokeball Bracelet
- Pokeball Design: The bracelet effectively recreates the classic Pokemon Pokeball, making it a playful and thematic accessory.
- Customizable Fit: The ribbed strap can be adjusted to fit various wrist sizes, ensuring comfort.
- Multi-Purpose Usage: The Pokeball motif can also be used as an applique for hats, bags, or shirts.
Level of Difficulty
- Beginner to Intermediate:
- While the tutorial uses basic crochet stitches such as single crochet, double crochet, and half double crochet, transitions between yarn colors and sewing parts require some attention to detail.
Tutor's Suggestions
- Hide Yarn Ends: Use a needle to weave yarn ends neatly for a finished look on both sides.
- Yarn Management: Keep track of yarn changes and take your time when switching colors to avoid visible gaps.
- Check Sizes: Regularly try the strap on or measure it to ensure a snug fit on the wrist.
Uses and Materials
- Uses:
- Wearable accessory for fans of Pokémon.
- Decorative applique for various items.
- Materials:
- Velvet yarn or soft acrylic yarn in white, black, red, and sometimes optional accents.
- 4mm crochet hook for precision.
- Sewing needle to secure components.
Pro Tip
For the cleanest Pokeball design, make sure the alignment of colors during assembly is even. Minor adjustments in placement can drastically improve the visual appeal.
Conclusion
This Crochet Fingerless Gloves is a fun and engaging crochet project that blends creativity with practicality. Whether you're creating it as a Pokémon-themed accessory or a decorative add-on to other items, this bracelet allows you to work with basic stitches while incorporating techniques like color switching and assembly.