Style your hair effortlessly using this free crochet rose hair tie pattern that combines floral charm with a comfortable and secure fit for daily wear.
About the Designer:
A creative crocheter designed this lovely piece and shared clear instructions on the popular YouTube channel, WOWSUPRAVA. The pattern is easy to follow, making it a fun project even for beginners who want to try something new and rewarding.
There’s something very special about wearing a pretty flower in your hair. The Free Crochet Rose Hair Tie Pattern creates a beautiful, soft rose that sits perfectly on a black elastic band. This little flower adds a touch of charm and sweetness to any hairstyle, whether it’s a simple ponytail or a loose bun.
This hair tie looks just like a blooming rose, with delicate petals that curl gently. Its warm, handmade style makes it perfect for all ages and occasions—school days, parties, or even family outings. The rose is soft enough to be comfortable but sturdy enough to hold your hair back all day.
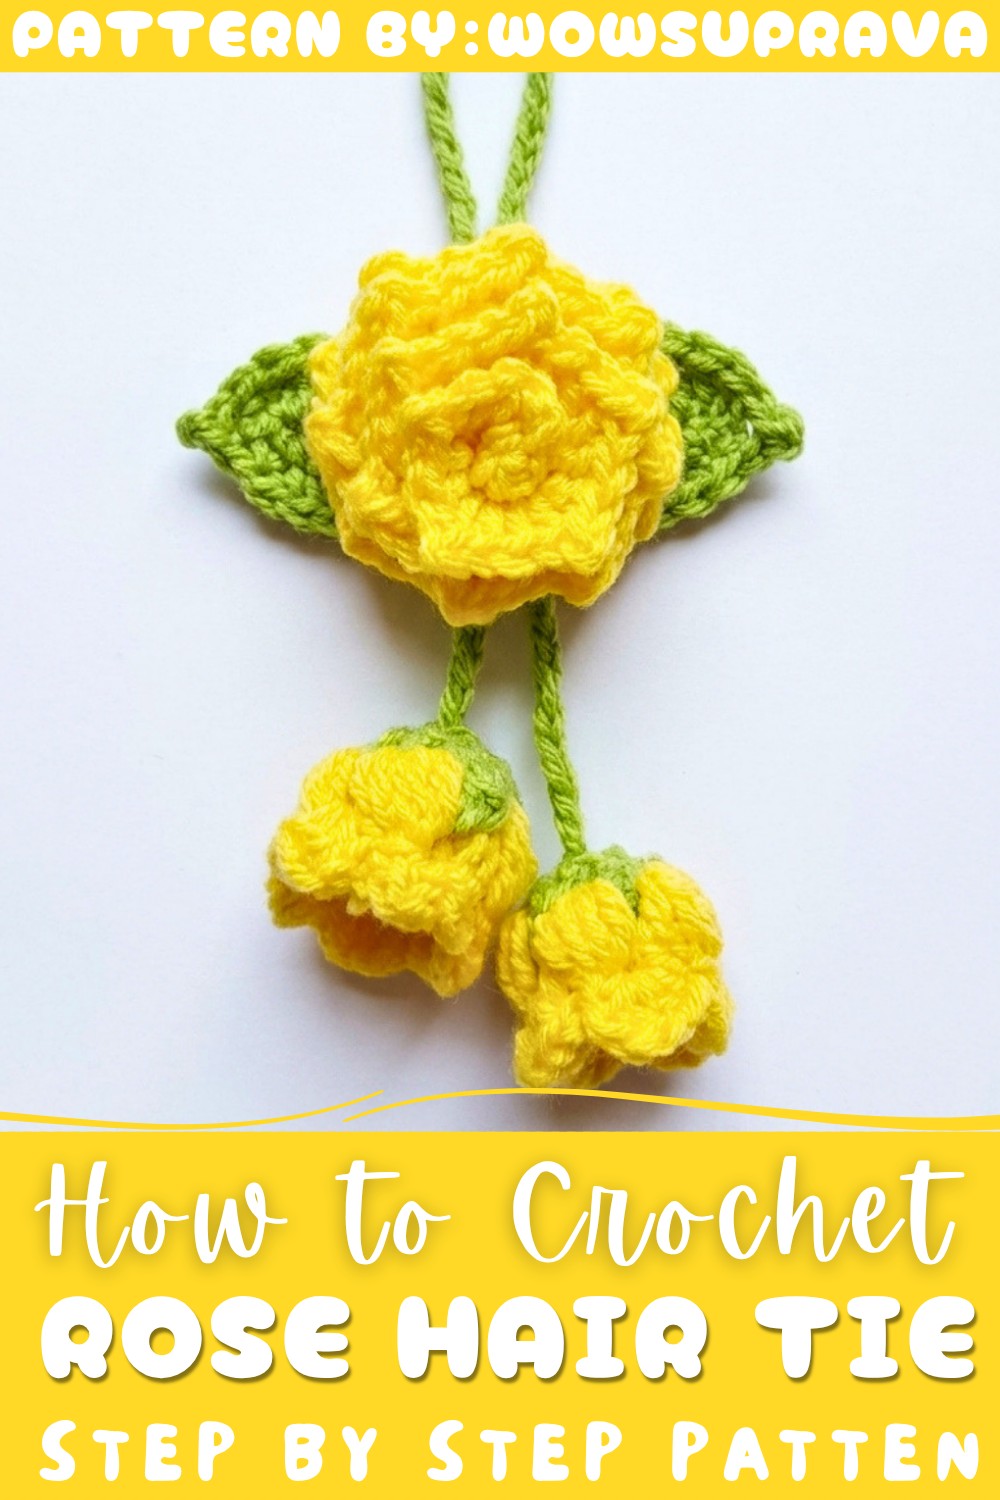
Easy Crochet Rose Hair Tie Pattern for All Skill Levels
People love this finished crochet rose because it adds a personal and unique touch to their look. It’s not just a hair tie; it’s a pretty flower you made yourself, making it extra special. You can create many in different colors and wear them yourself or give them as thoughtful gifts.
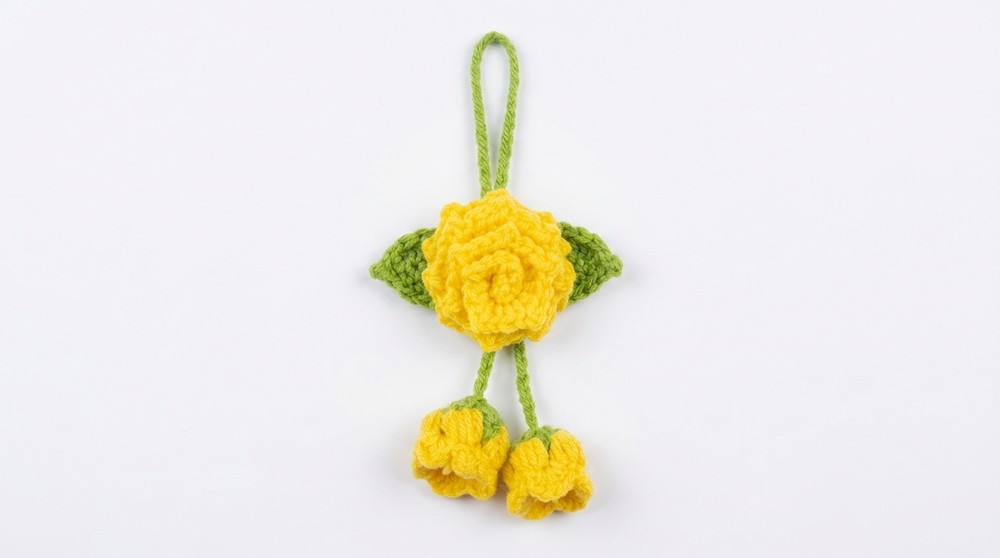
The Free Crochet Rose Hair Tie Pattern is a simple, delightful way to brighten your day and your hairstyle. It’s a small handmade flower that brings big smiles. Give it a try, and you’ll soon have a charming accessory that fits beautifully into your daily life!
Crochet Rose Hair Tie: Detailed Step-by-Step Pattern Guide
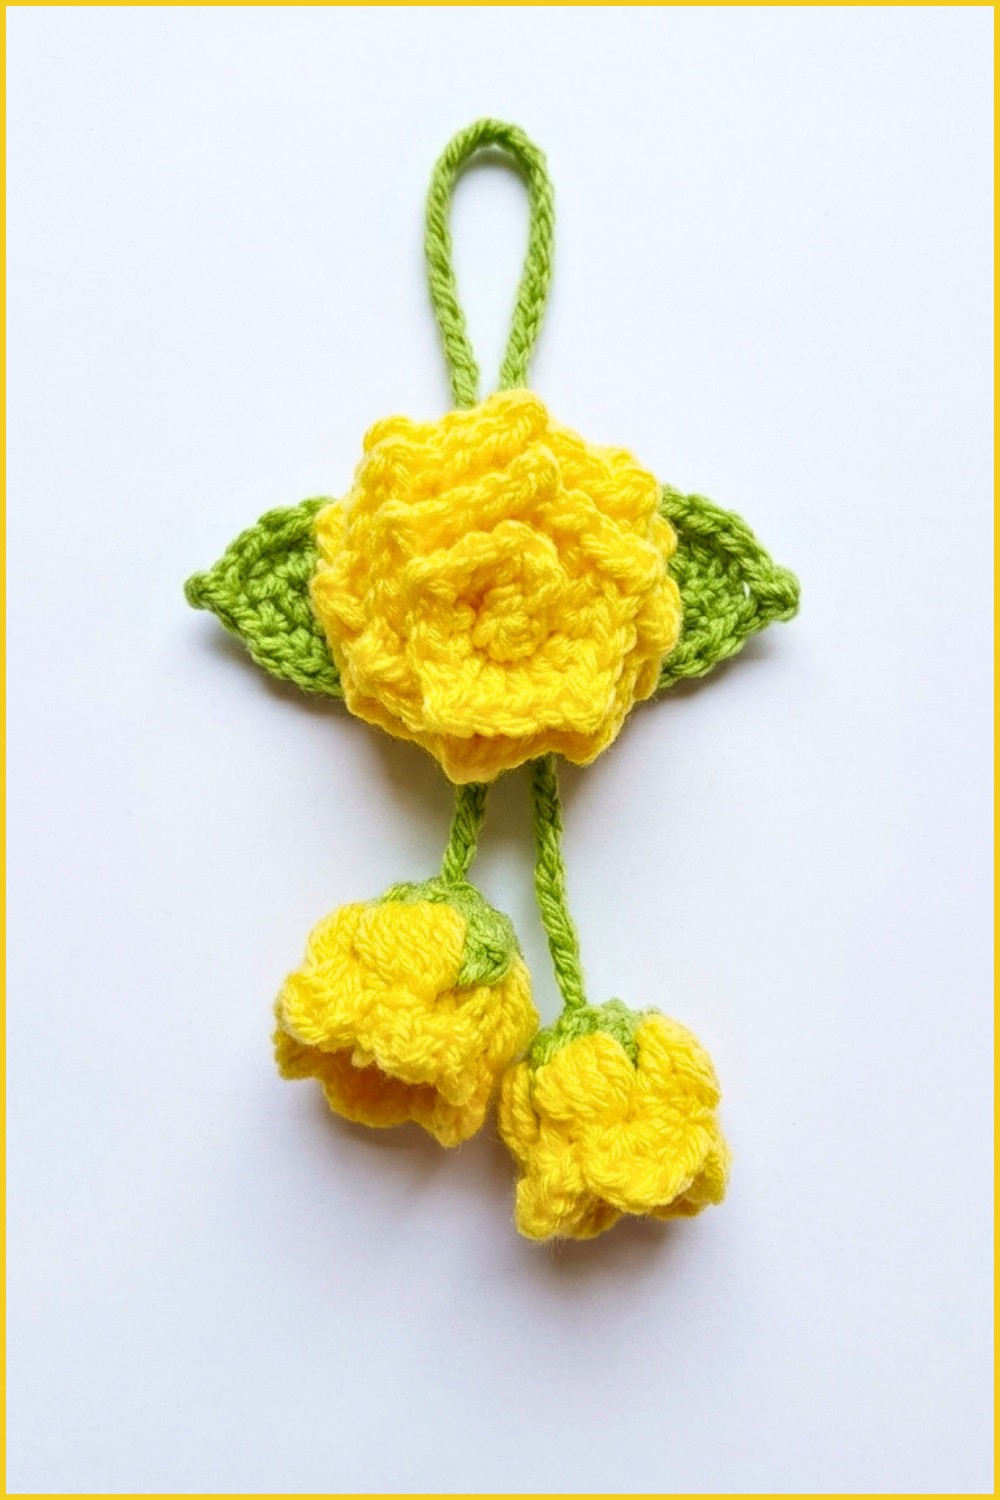
This pattern will guide you through creating a beautiful and elegant crochet rose hair tie. This versatile accessory can be adjusted in size and used not only as a hair tie but also as a charming bag ornament. The design includes a delicate rose, lifelike leaves, and small flower buds, all intricately crafted and assembled on a sturdy base cord. The project combines a variety of stitches and techniques, making it a rewarding and fun crochet experience suitable for those looking to add a handmade floral accessory to their collection.
Quick Overview of Pattern
- The pattern is worked in four main parts:
- The Rose – worked as a long strip with double crochets and picots, then rolled to form the flower.
- The Leaves – shaped on either side of a chain foundation using a sequence of single crochets, half double crochets, double crochets, and picot edging.
- The Flower Buds – crocheted with special popcorn stitches to add dimension, worked from a magic ring base.
- The Base Cord and Assembly – a chain forms the hair tie base, while the floral components are hand-sewn together to finish the piece.
Notes
- Make sure to maintain consistent tension, especially when working the rose strip to ensure uniform petals when rolled.
- Use a stitch marker if you want to mark the beginning of your rows for easier tracking.
- Picot stitches create decorative points and add texture; make sure to chain 1 and slip stitch correctly when forming these.
- When assembling, sew parts through the back loops to keep the front looking neat.
- Yarn tails should be left long enough for secure sewing.
- Feel free to customize the size by adjusting chain lengths or stitch counts based on your preference.
Skill Level
This project is suitable for intermediate beginners who are comfortable with:
- Basic crochet stitches including chain (CH), single crochet (SC), half double crochet (HDC), and double crochet (DC).
- Working with a magic ring for circular motifs.
- Making picot stitches and popcorn stitches.
- Rolling and shaping crochet fabric into 3D objects.
- Simple hand sewing for amigurumi or accessory assembly.
Materials
- Two colors of yarn (suggest cotton or acrylic) suitable for the hook size and your preference (one for rose and buds; another for leaves)
- 3.5 mm crochet hook
- Stitch marker (optional)
- Yarn needle for sewing the components together
- Scissors
- Hair tie band or keyring to attach the finished flower
Measurements / Sizing (Optional)
- The finished rose measures approximately 6–7 cm (2.4–2.8 inches) in diameter when rolled.
- Leaves stretch roughly 5–6 cm (2–2.4 inches) in length.
- Flower buds measure about 2–3 cm (0.8–1.2 inches) each.
- Base cord length is approximately 55 chains long, providing enough length to comfortably tie hair or wrap around the keyring.
Gauge and Stitch Pattern
- Gauge is flexible for this accessory project; however, aim for consistent tightness for well-defined petals and buds.
- The rose strip relies heavily on double crochet (DC) clusters with picots for texture.
- Leaves combine single crochet (SC), half double crochet (HDC), and double crochet (DC) stitches.
- Flower buds form around a magic ring, using popcorn stitches and standard DC and SC stitches for dimension.
Stitch Abbreviations
- CH = Chain
- SC = Single Crochet
- HDC = Half Double Crochet
- DC = Double Crochet
- SL ST = Slip Stitch
- MR = Magic Ring
- Picot = Chain 1, slip stitch into the same stitch or space to form a small decorative loop
- Popcorn stitch = Multiple double crochets worked in the same stitch, joined at the top to create a puff
Special Stitches
Picot Stitch
Make a chain 1, then insert your hook back into the base stitch or space and make a slip stitch (SL ST) to form a small raised decorative bump.
Popcorn Stitch
Work 5 double crochets (DC) into the same stitch or space, remove your hook from the loop, insert it into the first DC of the group, grab the loop with the hook, and pull it through to close the “popcorn” shape.
The Crochet Pattern!
1. The Rose
Foundation:
- Make a slip knot.
- Chain 31 stitches.
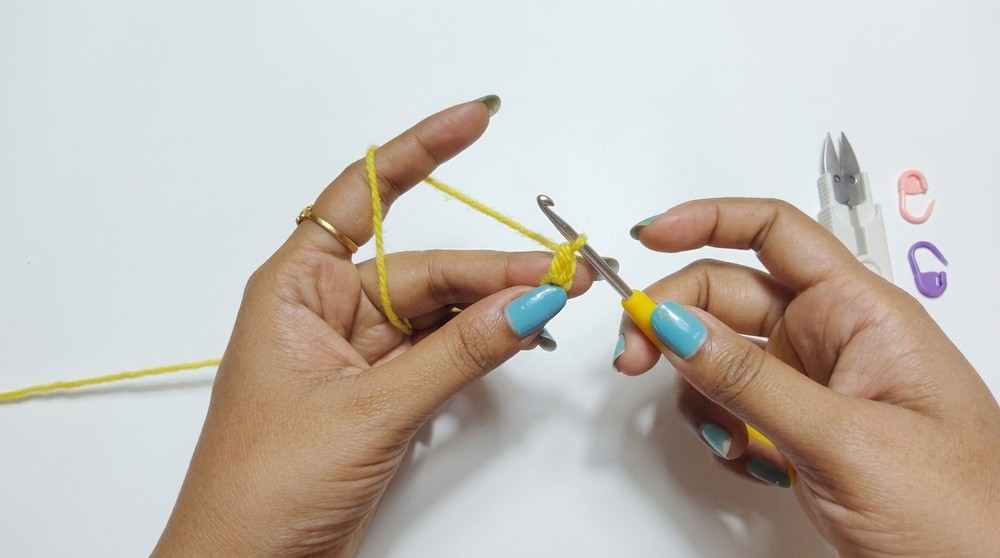
Row 1:
- Skip the first chain from the hook.
- In the second chain from the hook, work 3 double crochets (3 DC).
- In the next stitch:
- Work 2 double crochets (2 DC),
- Then make a picot stitch (chain 1, slip stitch back into the same base stitch),
- Followed by 1 double crochet (1 DC) in the same stitch.
- Repeat this group (2 DC, picot, 1 DC) across the entire chain.
- End the row then cut the yarn leaving a long tail for assembly.
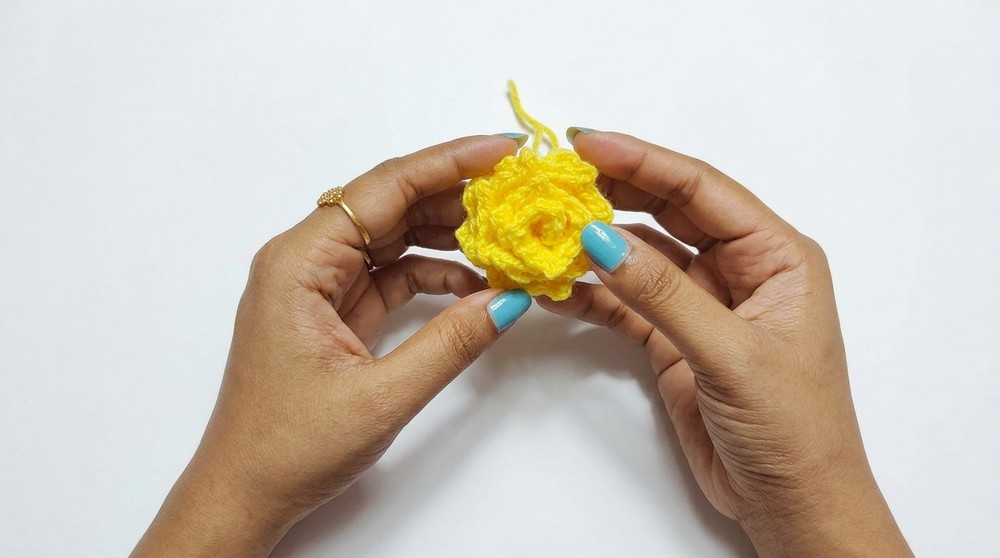
Assembly of Rose:
- Lay the strip flat and start rolling it from one end tightly to form a rose shape.
- Use the long yarn tail and a needle to sew through the layers from the bottom, securing the petals together thoroughly.
- Adjust rolling tightness to your liking for a fuller or more compact rose.
2. The Leaves
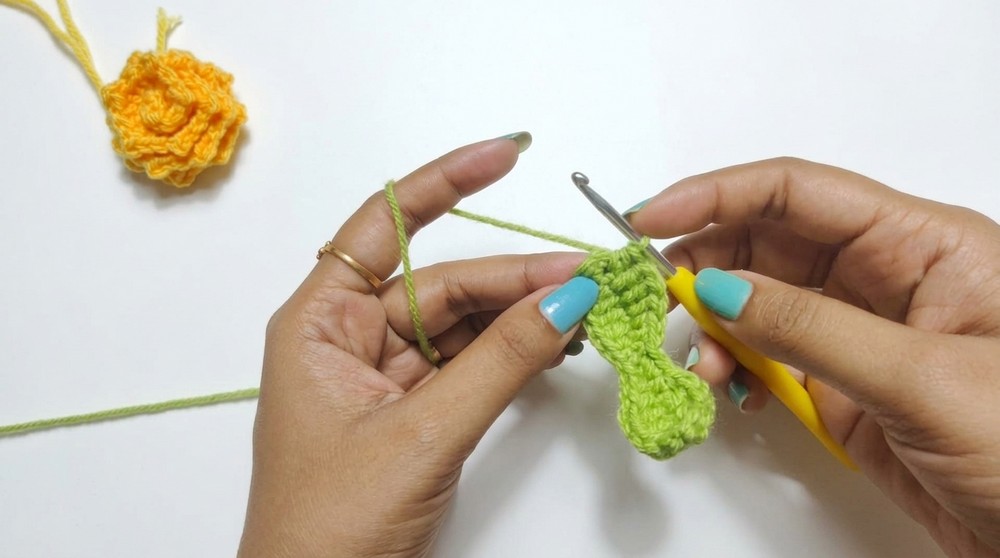
Foundation:
- Make a slip knot.
- Chain 16.
Row 1 (Shaping each side of leaf):
- On one edge of the chain:
- Work 1 single crochet (SC) in the next stitch,
- Then 1 half double crochet (HDC),
- Then 3 double crochets (3 DC), one in each of the next three stitches,
- Followed by 1 half double crochet (HDC),
- Then 1 single crochet (SC).
- Slip stitch into the next chain to mark the tip of the leaf.
- Repeat the same sequence symmetrically on the other side of the chain to form a leaf shape.
Row 2 (Edging):
- Work single crochet (SC) stitches evenly around the entire edge of the leaf to create a neat border.
- Include a picot stitch at the leaf tip for a delicate point: chain 1, slip stitch into the same stitch.
- Continue around to finish the edging.
3. Flower Buds
Foundation:
- Begin with a magic ring (MR).
Round 1:
- Chain 3 (this counts as your first double crochet (DC)).
- Work 4 more double crochets (DC) into the ring, placing a chain 1 space between each DC.
- You should have 5 DC separated by chain spaces around the ring.
Round 2 (Popcorn stitches):
- In each chain 1 space, work a popcorn stitch (5 DC) to create raised, bumpy petals.
- Popcorn stitches add a 3D texture, simulating buds.
Round 3 (Petals):
- Into each popcorn stitch space, work:
- 1 single crochet (SC),
- 2 double crochets (DC),
- 1 single crochet (SC).
- This framing of petals adds fullness and realism.
4. Final Assembly
Base Cord:
- Chain 55 stitches to form the base cord for the hair tie.
Attaching Flower Buds:
- Sew the completed flower buds securely to the ends of this chain.
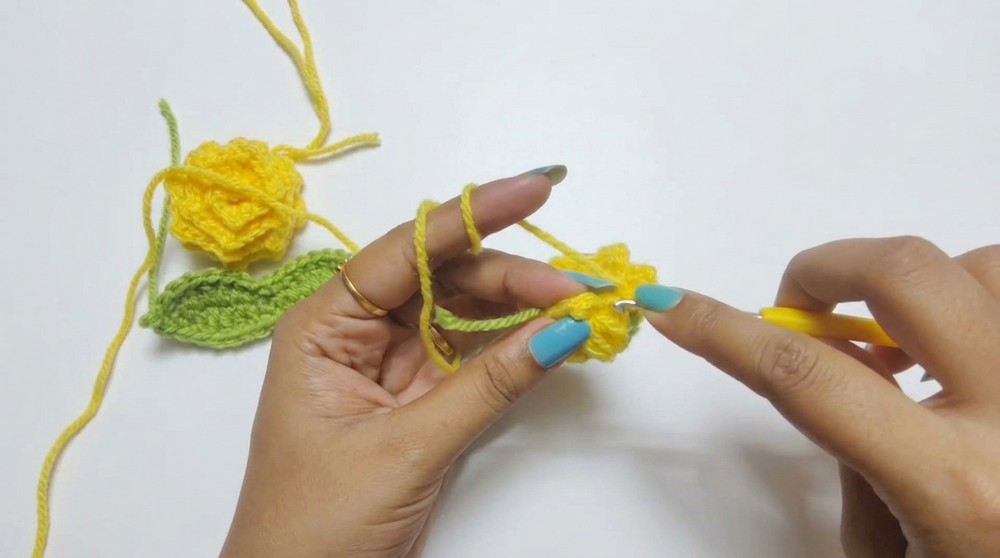
Attaching Rose and Leaves:
- Position the rose in the center of your cord (or hair tie if using one).
- Place the leaves on either side of the rose.
- Using a needle and leftover yarn tails, sew the rose and leaves through their back loops onto the base cord.
- Ensure your attachments are tight so all parts stay securely in place.
Assembly & Finished Size
- The finished hair tie measures about 55 chains in length, which fits well around a ponytail or can be attached to a keyring for use as a bag charm.
- The rose forms a centerpiece roughly 6–7 cm in diameter, with leaves extending elegantly to either side.
- Flower buds add accessory detail to the ends of the tie.
- The overall accessory balances softness with structure thanks to the rolling technique and carefully placed stitches.
Conclusion
This crochet rose hair tie project is perfect for those wishing to combine floral elegance with practical accessory design. The step-by-step process develops your skills in a range of stitches and construction methods, resulting in a beautiful finished piece. Whether you’re looking to embellish your own hairstyle or create thoughtful handmade gifts, this pattern leverages simple techniques to great effect. With attention to detail and patience assembling the components, you will craft an accessory that is both charming and durable.