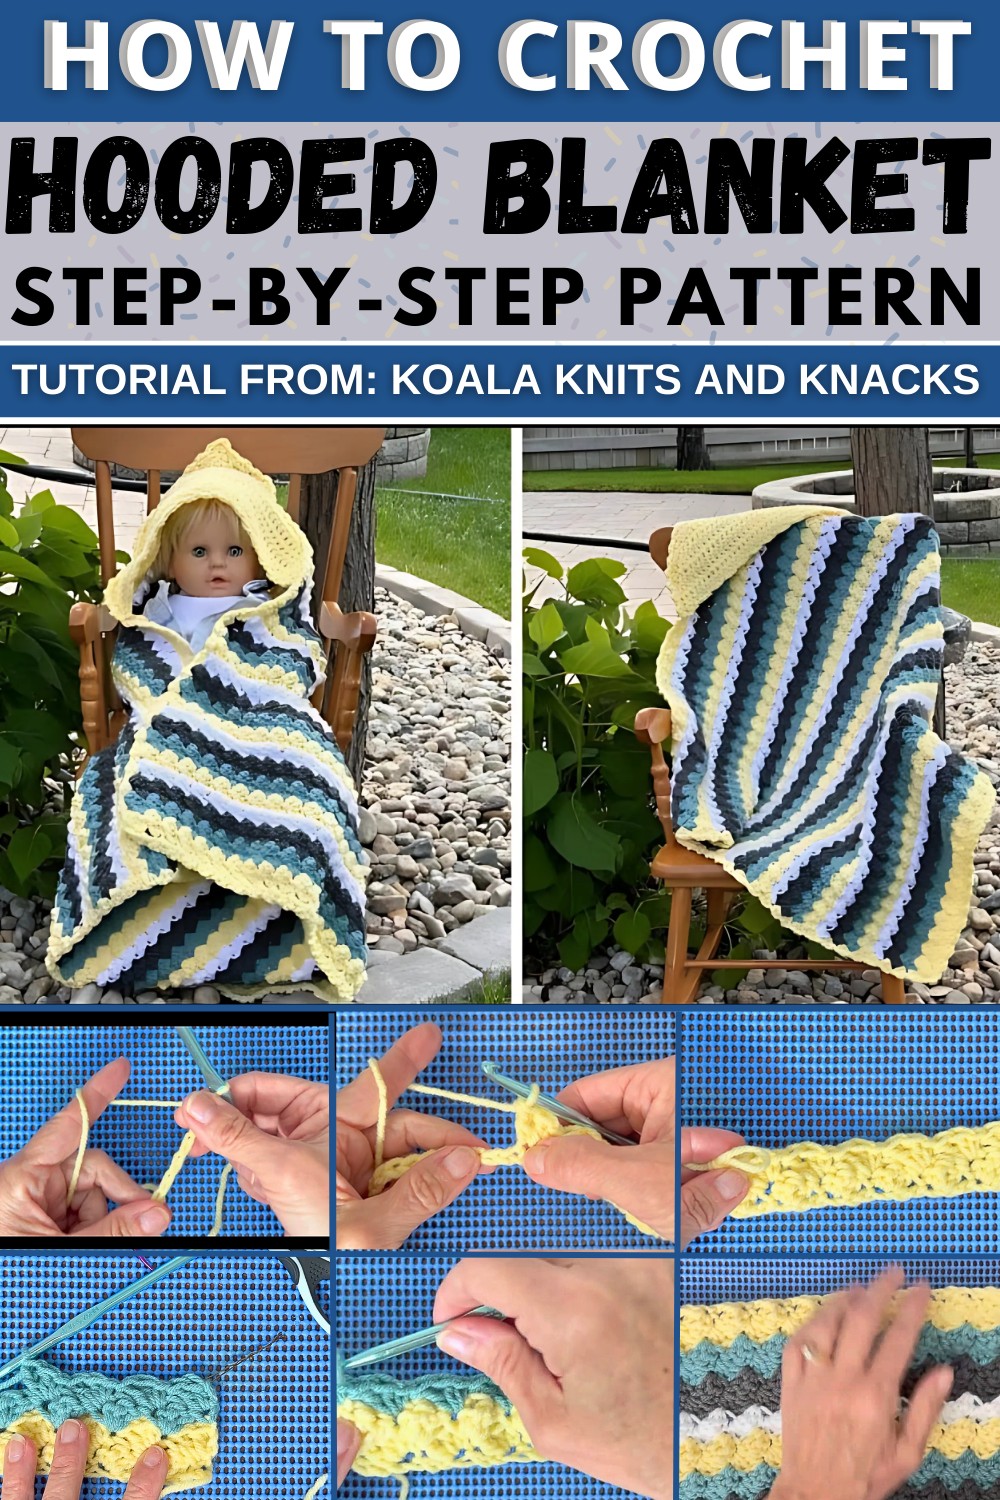
Keep the little ones cozy with this adorable crochet hooded blanket or shawl pattern, tailored for style and snugness.
A soft, cozy blanket is often a baby’s first comfort, providing warmth and security during their earliest days. We have the Crochet Hooded Blanket, a multifunctional masterpiece designed to grow with your child. Unlike traditional baby blankets, this hooded design effortlessly transforms into a snug shawl as your little one grows, making it perfect for infants, toddlers, and even children up to six years old. The added hood offers convenience on windy days or cozy comfort by the campfire. Not just practical, this blanket becomes a cherished keepsake, filled with memories of childhood warmth.
Crochet Hooded Blanket Or Hooded Shawl
Step by step Crochet Hooded Baby Blanket Pattern
This tutorial walks you through creating a beautiful hooded baby afghan, a functional and versatile blanket measuring 28" x 28". The hooded design makes it perfect not just for babies but also for toddlers and even children up to 5-6 years old. It serves as a warm, cozy wrap that can double as a hooded shawl for older kids. This easy and customizable pattern is beginner-friendly and results in a keepsake gift that can be cherished for years.
Materials Needed
To crochet this hooded baby blanket, you will need:
- Yarn: Medium-weight (4) yarn
- Main color: Craft Smart Yarn in Light Yellow (1 full ball approximately 7 oz/198g)
- Accent colors: Small amounts of Craft Smart Yarn in Arctic Green, Charcoal Gray, and Bernat Premium White (about 16 oz in total for the blanket).
- Hook: J-10/6 mm crochet hook
- A metal hook is recommended for a smoother glide.
- Additional tools:
- Scissors
- Yarn needle for weaving ends
- Stitch markers (optional)
Key Abbreviations (US Terminology)
- ch: Chain
- sc: Single Crochet
- dc: Double Crochet
- sl st: Slip Stitch
- st(s): Stitch(es)
Step-By-Step Instructions
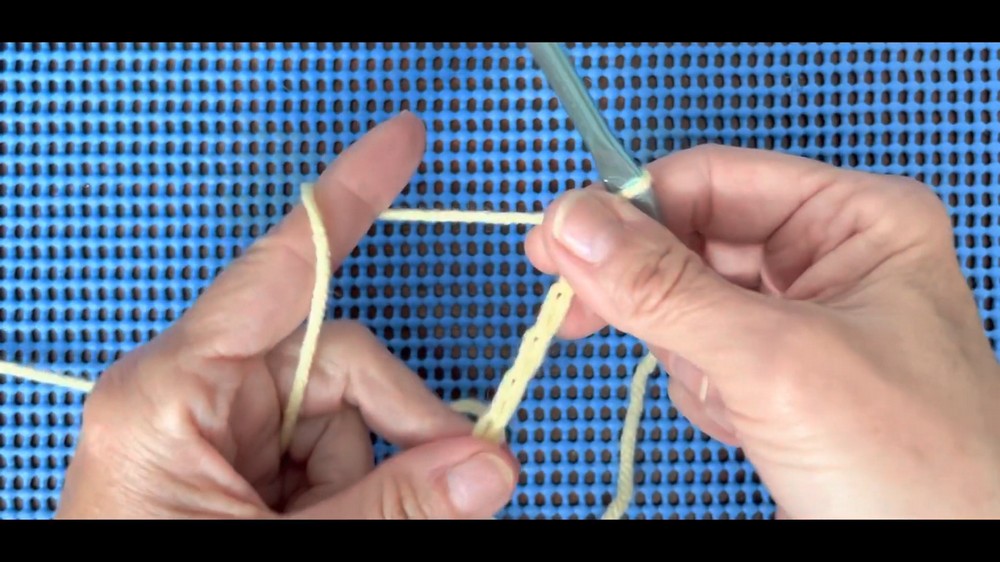
Step 1: Foundation Chain
- Make a slip knot on your hook.
- Chain multiples of 3 until your foundation chain measures approximately 28 inches (about 93-96 chains for most tensions).
- Pro Tip: Use a looser tension for your foundation chain.
- Adjust the chain count to exact multiples of 3 as needed, ensuring it measures close to 28".
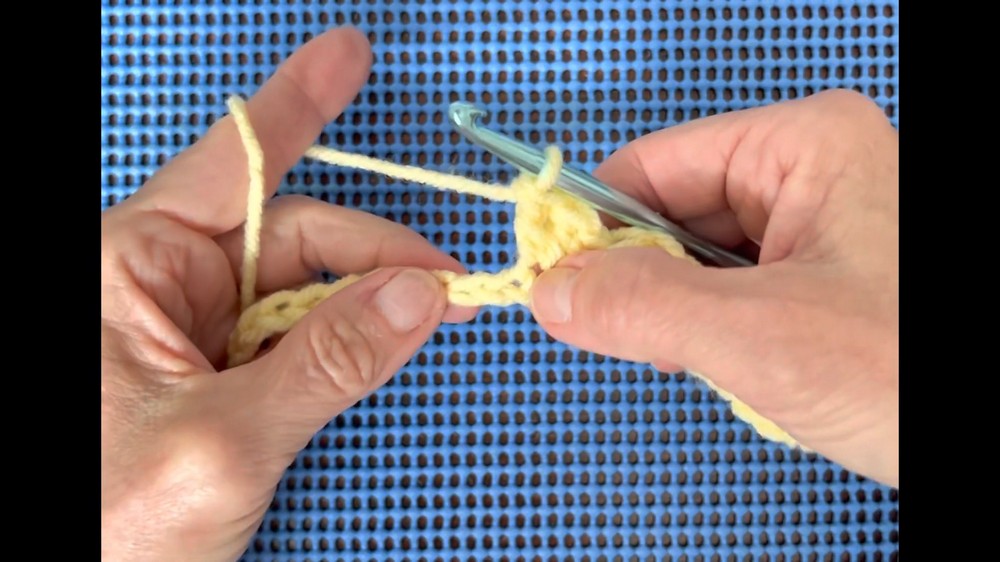
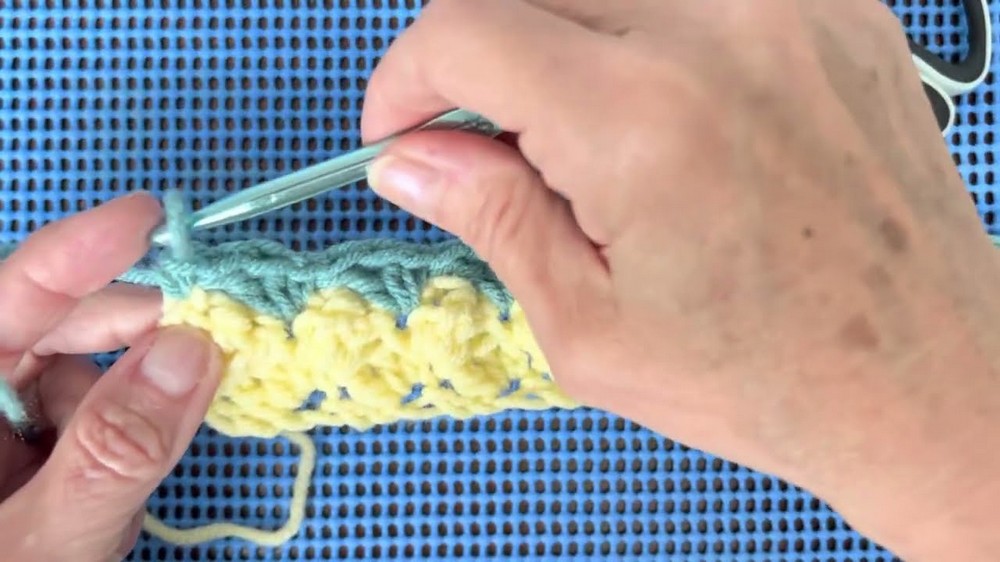
Step 2: Begin Row 1 (Foundation Row)
- Starting from the third chain from the hook, place:
- 2 dc in the same stitch.
- Skip the next 2 chains. In the following chain:
- sc and 2 dc.
- Repeat this sequence (skip 2, sc and 2 dc into next chain) all the way across the row.
- In the final chain: 1 sc only.
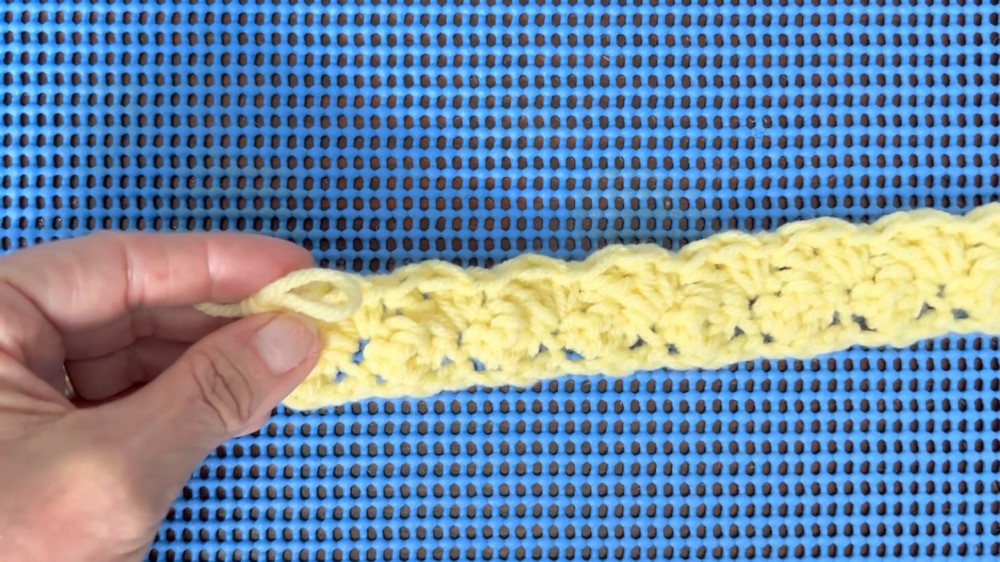
Step 3: Begin Row 2
- Chain 2 and turn your work.
- (Treat this ch-2 as your initial turning chain.)
- In the first sc of the row (directly below the base of ch-2):
- Place 2 dc.
- Skip the next 2 stitches.
- In the next sc from Row 1:
- Work sc and 2 dc in the same stitch.
- Repeat the sequence (skip 2, then sc and 2 dc in the next sc) across the row.
- End row by working 1 sc into the top of the turning chain from the previous row.
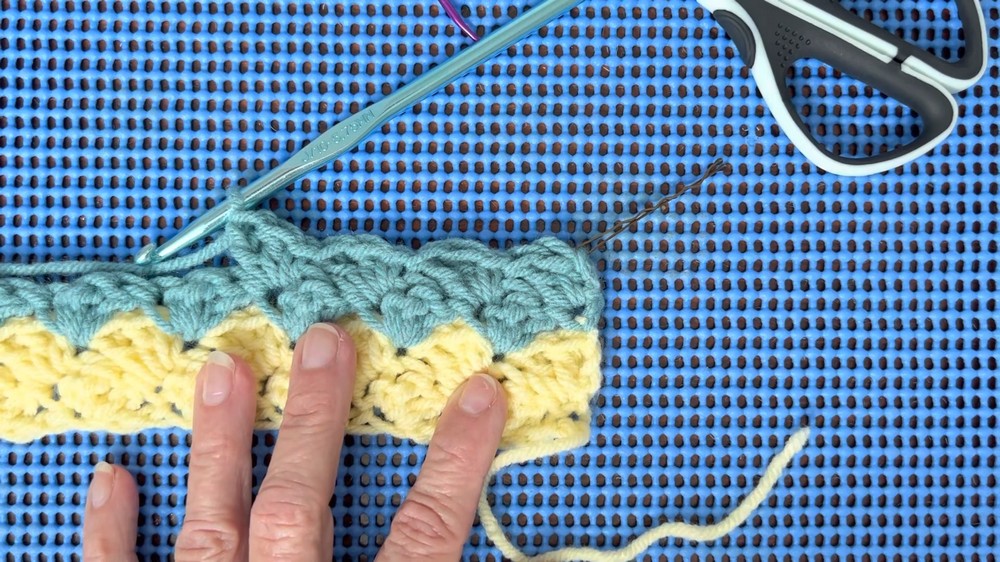
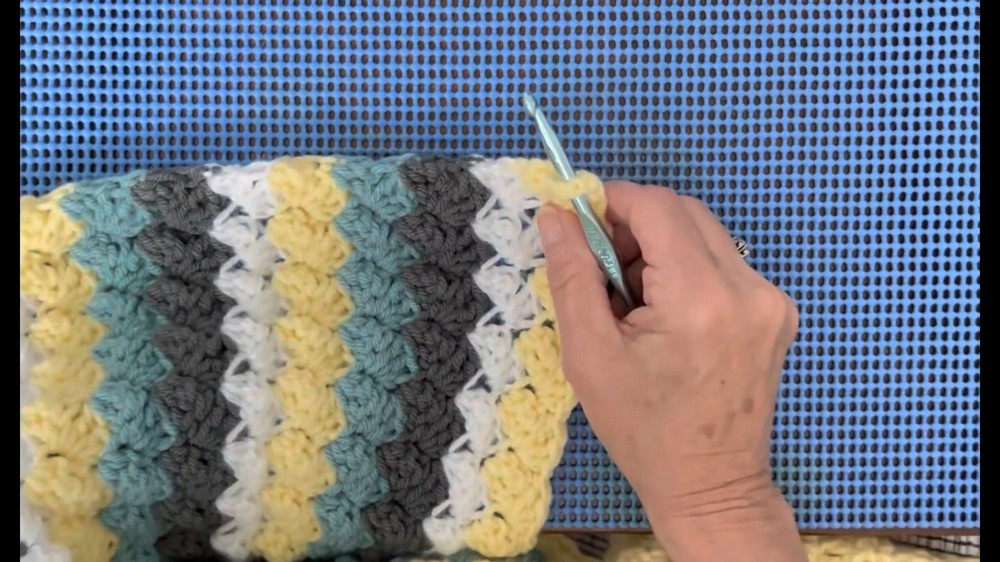
Step 4: Continue Rows 3 to 68
- Repeat Row 2 for a total of 68 rows (or until the blanket measures 28 inches square).
- Alternate colors every 2 rows if desired, or follow this pattern:
- Yellow, Green, Gray, White (repeat sequence).
- Finish the final row in the same color as Row 1 (for symmetry).
Step 5: Create the Hood
- Begin by chaining 4 and working into the base of the chain:
- Place 2 dc in the 4th chain from the hook.
- Chain 3, turn your work, and place:
- 2 dc in the first dc, then 1 dc in each remaining stitch across. In the final turning chain:
- Place 3 dc.
- For the following rows:
- Even-numbered rows: Start with 2 dc at the beginning of the row and end with 3 dc.
- Odd-numbered rows: Start with 1 dc at the beginning of the row and end with 2 dc.
- Repeat rows until the hood piece measures 48 sts wide.
Edging the Blanket and Hood
Edging the Blanket
- Attach your yarn at a corner of the blanket.
- Work the same stitch pattern used in the rows (sc + 2 dc) around all edges.
- In each corner, place:
- 1 sc and 2 dc for a consistent scalloped look.
Attaching the Hood to Blanket
- Fold the hood into a triangle.
- Align the base of the hood to one corner of the blanket (right sides facing up).
- Using your hook and yarn, attach the hood with whip stitches or by crocheting through both layers with sc.
- Ensure a smooth, seamless join.
Finishing Touches
- Secure yarn ends: Use a yarn needle to weave in all ends.
- Adjust tension: Lightly tug on the fabric edges to shape them evenly.
- Optional: Add a pom-pom or decorative tassel to the hood tip for a playful touch.
Conclusion
This hooded baby blanket is not only practical but also fun to create, with its repetitive one-row pattern and customizable design. Whether you make it for a new baby or as a thoughtful gift, this blanket will be cherished as a comforting and cozy accessory for years to come.