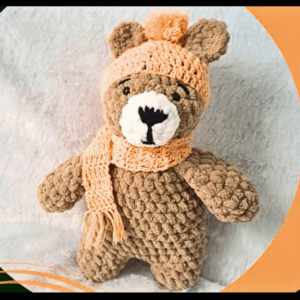
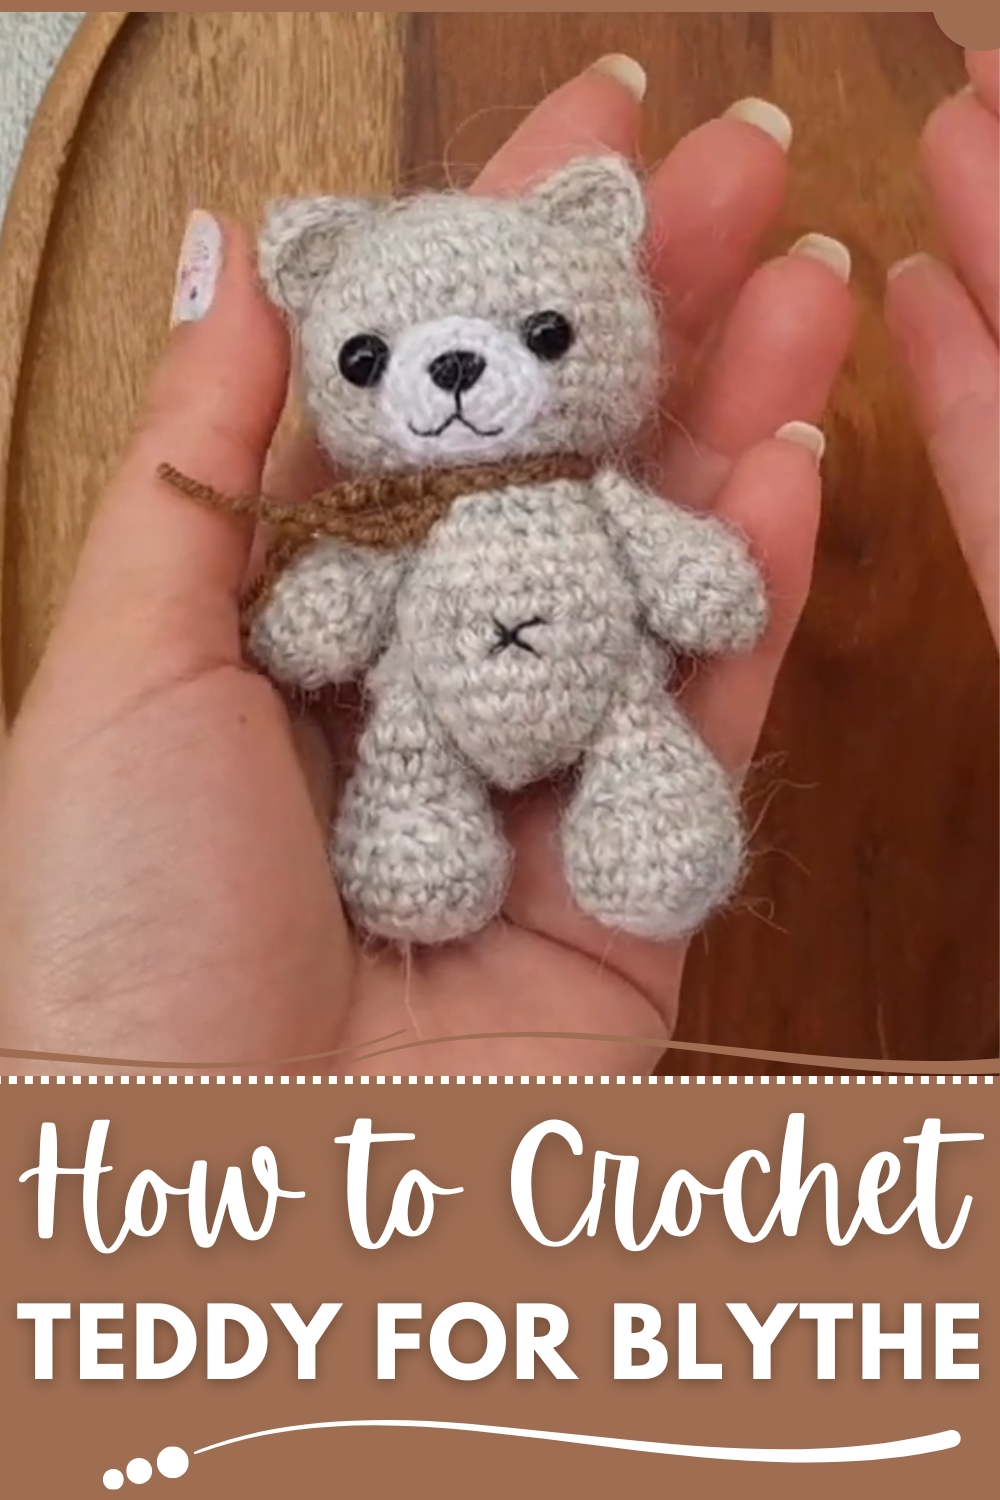
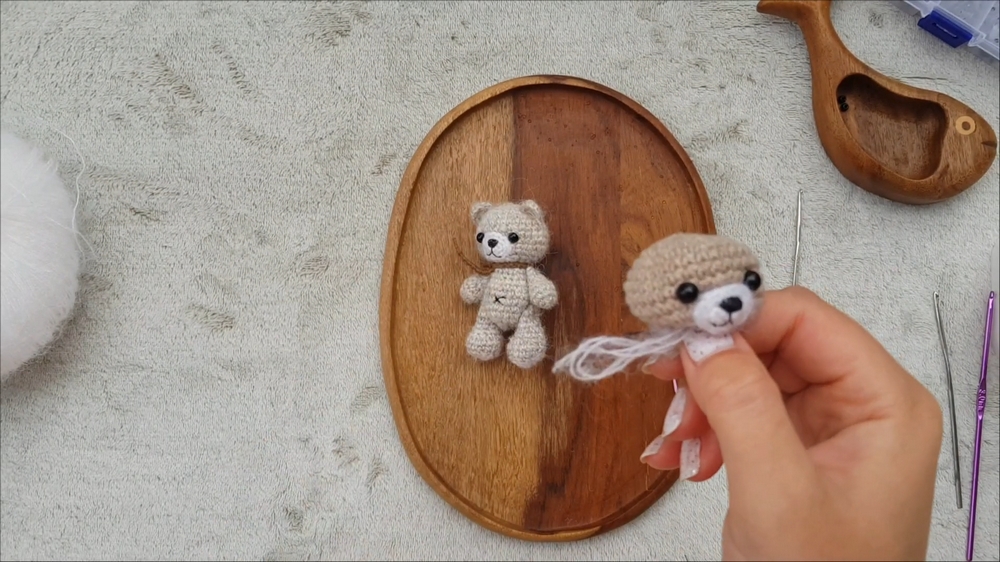
Delight doll lovers with this Free Crochet Teddy for Blythe Pattern, a tiny and adorable project perfect for gifts, doll displays, or collectible charm.
A tiny bear can hold an entire world of affection, especially when shaped to match the delicate charm of a Blythe doll. This Free Crochet teddy for Blythe pattern introduces a heart-warming companion that brings character and softness to any doll collection. The petite size makes it a delightful accessory, perfectly suited for dollhouse displays or as a pocket-sized keepsake for a child’s quiet moments.
Playful Crochet Teddy for Blythe that Kids Can Cherish
Thoughtful details, like expressive ears and a gentle silhouette, allow each bear to carry its own personality, whether dressed in playful colors or left in subtle neutrals for timeless appeal. Beyond simple decoration, this miniature friend encourages imaginative play, giving Blythe dolls an endearing partner for tea parties, storytelling sessions, or cozy shelf scenes.
Because it requires only a small amount of yarn, it is an inviting project for anyone who enjoys working with fine stitches and creating heirloom-quality treasures. The finished teddy can serve as a charming gift, a collectible accent, or a sentimental token that celebrates care and attention to detail. Whether nestled in a doll’s arms or sitting sweetly on a desk, the Free Crochet teddy for Blythe pattern offers both a soothing pastime and a lasting emblem of warmth and nostalgia.
Special Features
- Movable Limbs: The teddy’s arms and legs are movable, adding an interactive and playful touch.
- Compact Size: The teddy bear is miniature, making it ideal for doll accessories or hanging decor.
- Flexible Materials: The design allows experimentation with different types of yarn for unique looks (e.g., fluffy for cozy bears).
- Beginner-Friendly Shape: The simple structure includes mostly circular and oval shapes formed with standard amigurumi techniques.
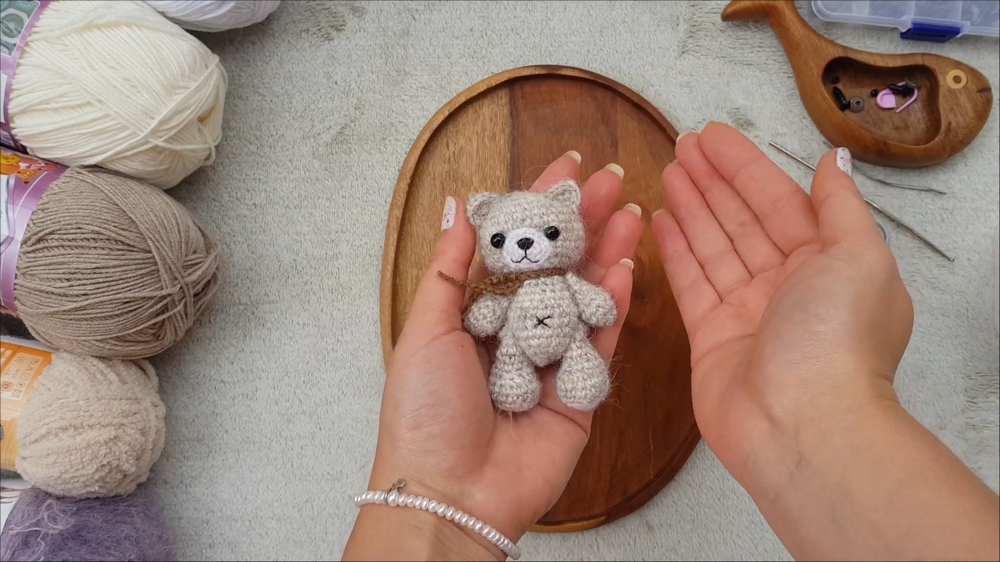
Materials Needed
- Yarn:
- Main color: Alize Cotton Gold (or similar cotton-acrylic mix) in "152".
- Accent color: Use another yarn or blended yarn like alpaca fiber or Angela Alpaca for fluffiness.
- Optional: Additional yarn for a scarf.
- Crochet Hook: A size 2mm or appropriate hook depending on the thickness of the yarn.
- Stuffing: Fiberfill or toy stuffing material.
- Eyes: Plastic eyes (around 0.6mm) or small black beads.
- Thread: Black thread for facial details and strong thread to make limbs movable.
- Extras:
- Scissors for cutting yarn and thread.
- A large needle for assembly.
- Stitch marker to keep track of rows.
Step-by-Step Instructions
1. The Head
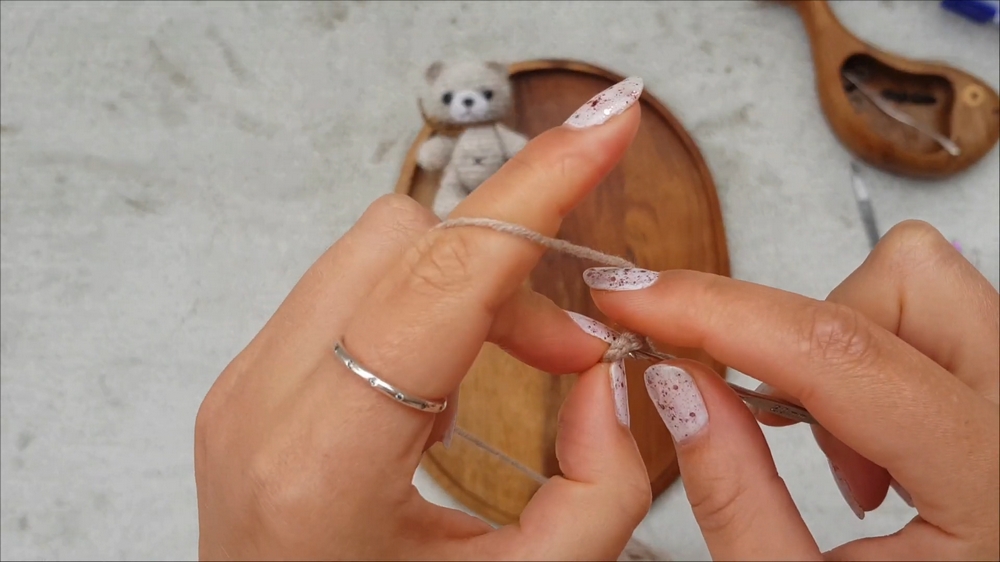
- Create a magic circle with 6 single crochet stitches. Close the circle with a slip stitch.
- Rows 2–5: Gradually increase the number of stitches (add 6 stitches per row). You will end with 30 stitches in Row 5.
- Rows 6–9: Work evenly in single crochet (30 stitches per row).
- Rows 10–12: Begin decreasing stitches (remove 6 stitches per row). End with 12 stitches in Row 12.
- Leave a short tail and trim.
2. The Nose & Face Panel
- Work an oval shape starting with a magic circle (6 stitches).
- Row 2: Crochet 3 stitches into the first stitch, single crochet into the next two, and repeat—this forms the oval.
- Row 3: Continue with increases on the curved edges to make the oval larger.
- Leave a long tail for sewing.
- Before attaching the panel, embroider the nose and mouth details with black thread.
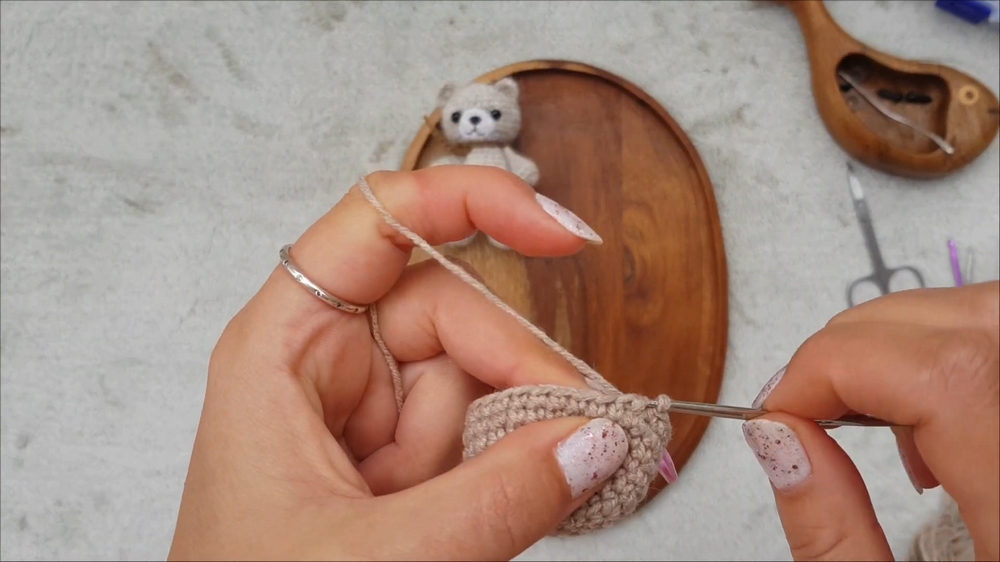
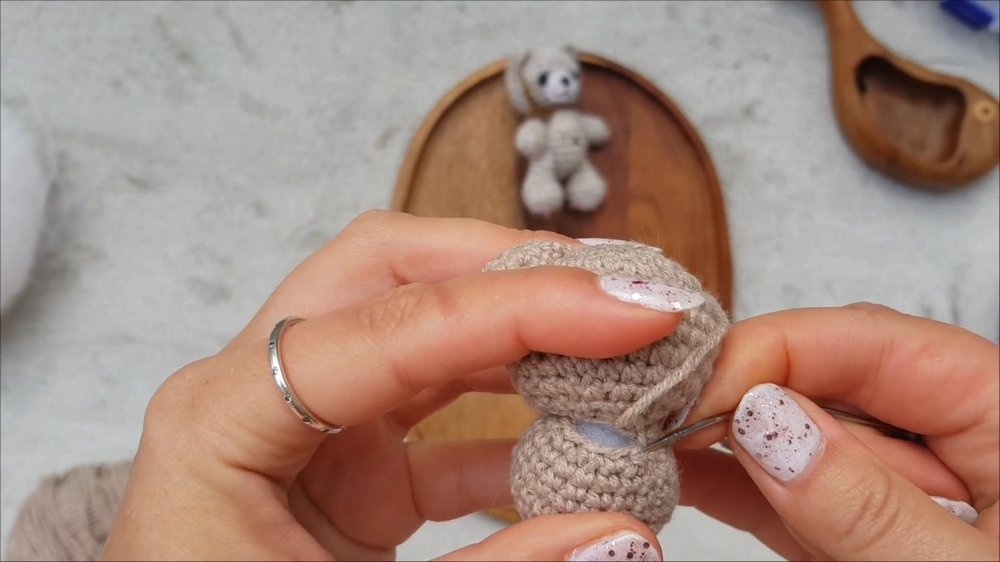
3. The Body
- Start with a magic circle of 6 stitches.
- Gradually increase the stitches up to 24 stitches in total.
- Work evenly for 3 additional rows.
- Begin decreasing stitches until the base is small enough to close. Leave a long tail for attaching the body to the head.
- Stuff the body before closing.
4. The Arms
- Create a magic circle with 5 stitches.
- Row 2: Increase each stitch to 10 stitches in total.
- Rows 3–4: Work evenly in single crochet (no increases).
- Row 5: Begin decreasing (e.g., 4 decreases followed by 2 single crochets).
- Work the final rows in single crochet, finishing with 6 stitches.
- Stuff lightly before closing. Leave a long tail for attaching.
5. The Legs
- Begin with a magic circle of 6 stitches.
- In Row 2, increase to 12 stitches by doubling each stitch.
- Row 3: Alternate between single crochets and increases to reach 15 stitches.
- Change yarn color for the middle section. Work evenly for 3 rows.
- Start decreasing stitches (3 decreases in a row).
- Stuff the leg and finish with 9 stitches. Leave a long tail for sewing.
6. The Ears
- Start a magic circle with 5 stitches.
- Row 2: Double the stitches in each stitch to make 10 stitches.
- Close the round and leave a long tail for sewing. Make two ears.
7. The Tail
- Begin with a magic circle of 5 stitches.
- Increase to 10 stitches and finish with a single row of even crochet.
- Leave a long tail for sewing the tail to the back of the body.
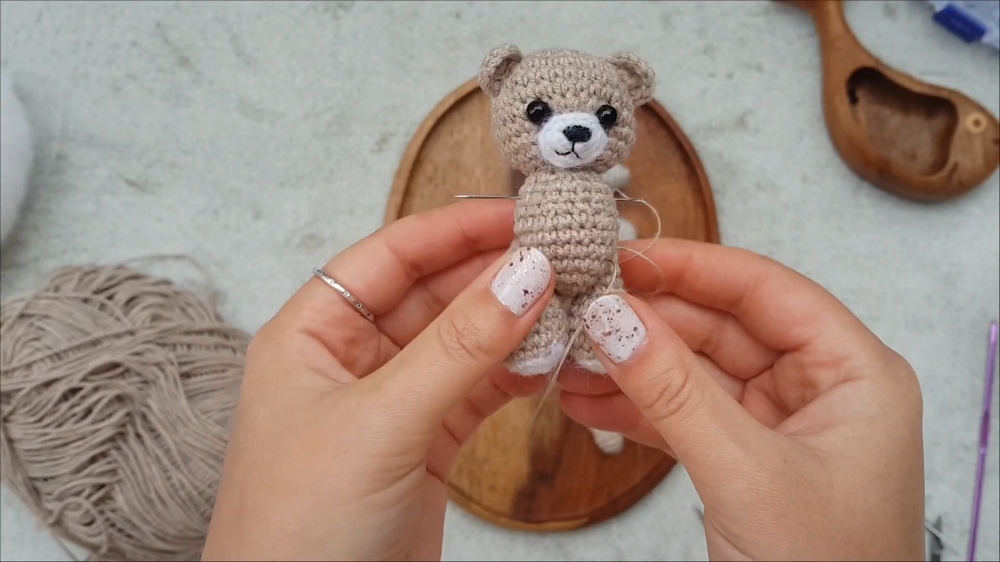
8. Assembly
- Head and Body: Sew the body to the head using the long tail left from the body. Align the stitches carefully.
- Arms and Legs: Using a strong thread, attach the arms and legs to the body, ensuring they are movable. Tie knots securely inside the body.
- Ears and Tail: Sew the ears symmetrically onto the top of the head and the tail to the back of the body.
- Eyes: Insert plastic eyes at a distance you find cute and fasten them from the back.
9. The Scarf
- Chain a long foundation (length depends on how you want the scarf to wrap around the neck).
- Optionally, slip stitch into each chain for a thicker scarf.
- Wrap the scarf around the teddy's neck and tie it as desired.
Level of Difficulty
- Beginner to Intermediate: The stitches are simple (magic circle, single crochet, increases, decreases), but the assembly and movable limbs may require moderate skill and patience.
Tutor’s Suggestions
- Yarn Choice: For fluffy texture, use soft alpaca blends or “Alize Softy,” but avoid very bulky yarns.
- Hook Tips: Select a hook with a comfortable grip and a tip that is neither too blunt nor too sharp for smoother manipulation of stitches.
- Precision: Use stitch markers to track rows, especially for shaping parts like arms and legs.
Uses
- Designed as a companion for dolls or as decor for blinds.
- Can be used as a keychain, bag charm, or a thoughtful handmade gift.
- Ideal for mini photoshoots due to its movable limbs.
Tip
When sewing pieces together, use pins to secure placement beforehand. This ensures symmetry and proper alignment of limbs, ears, and facial features.
Conclusion
This adorable crochet teddy bear is a rewarding project that blends creativity, functionality, and artistry. With its easy customization options using yarn types and colors, you can make something truly unique.