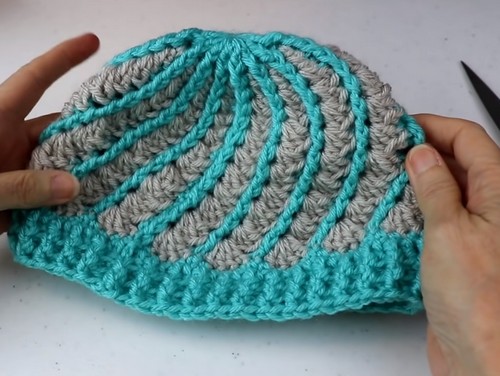
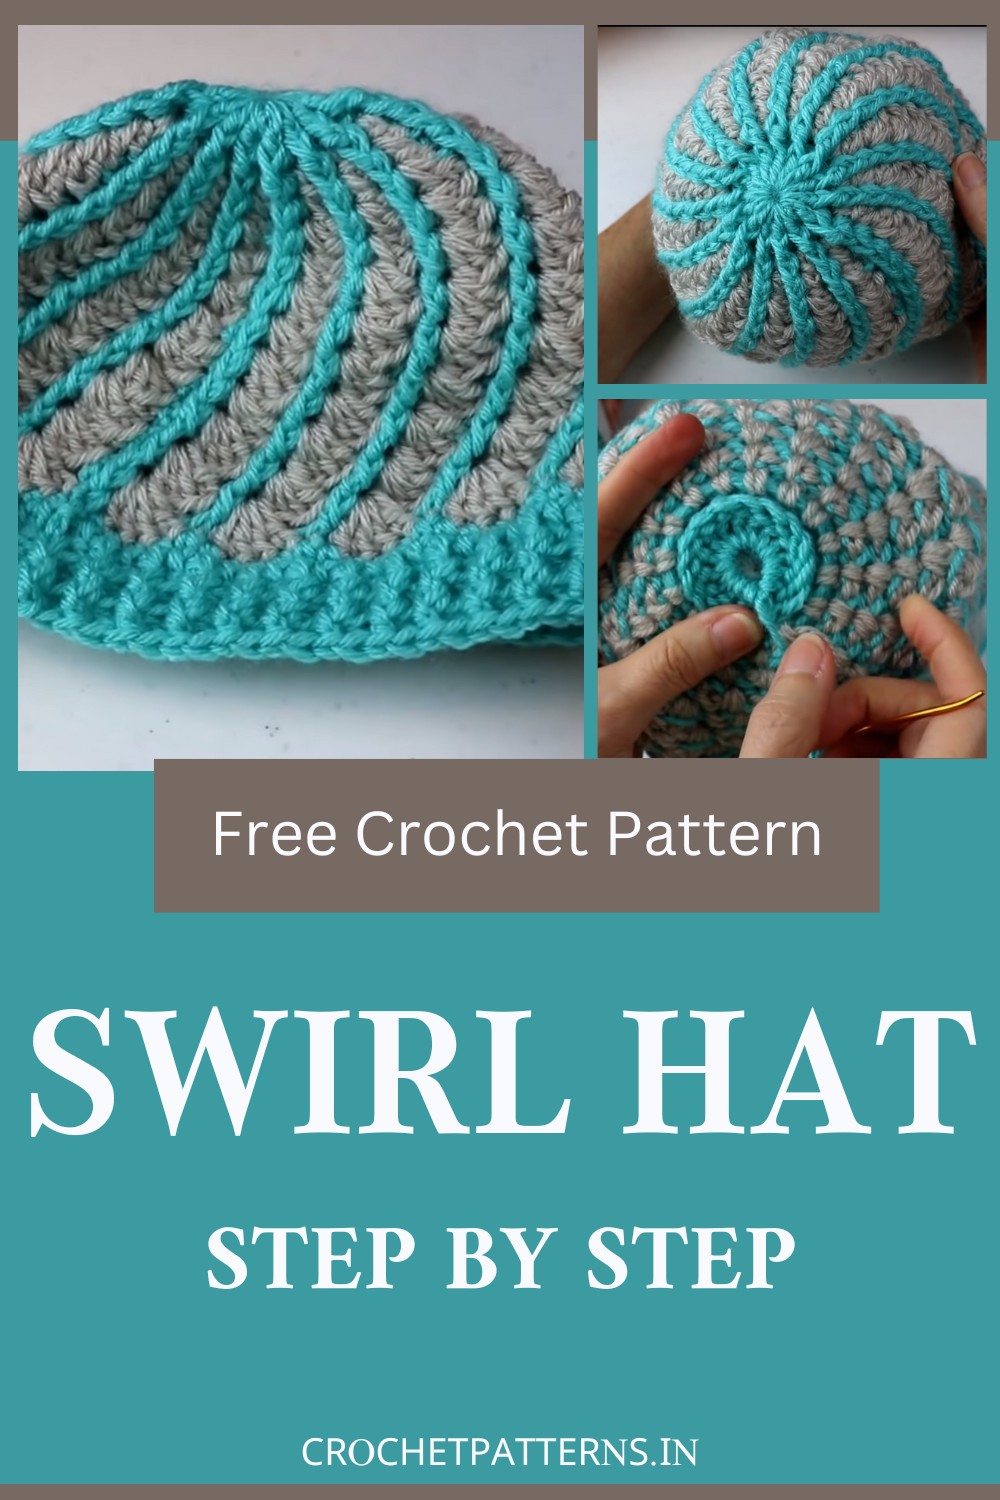
Bring yourself into crocheting with the Swirl Hat tutorial, an intricate pattern showcasing unique design and colorwork techniques. This hat is not recommended for beginners due to its complex construction and sizing, but it stands out with its mesmerizing swirl effect. Perfect for advancing your crochet skills, the pattern offers a captivating look, making it a truly divine accessory.

Making of Crochet Swirl Hat
Here, you can find all the necessary materials and a summary of how to make a Swirl Hat.
Materials Required:
- Worsted weight yarn (Aqua and Linen colors, or any two colors of choice).
- Hook Size 6mm (J) for the main project and a smaller 5mm (H) hook for the hat band.
- Scissors for cutting the yarn.
- Yarn needle for weaving in the ends.
- Tape measure to measure the circumference and height of the hat.
Pattern Summary:
The Crochet Swirl Hat is a visually striking accessory that combines engaging textures with a delightful two-tone color pattern. This detailed guide instructs you through the process of creating it.
Starting the Crown
The hat commences with either a magic circle or a chain 3 method, working 15 double crochets into the first chain to create a sturdy foundation. It's crucial to ensure the stitches are snug and the circle is pulled tight to avoid holes at the hat's apex.
Establishing the Swirl
You will engage in front post double crochets when transitioning to the distinct swirl pattern. This row involves a front post double crochet in each of the 15 stitches, which lays the groundwork for the hat's swirling texture.
Introducing Contrast Colors
In the following rows, you will add a different color of yarn to create a contrasting effect for the swirl design. You will alternate between front-post double crochets and standard double crochets to achieve this effect. Keeping your workspace organized and twist-free is important for the best results.
Increasing for Size
To achieve the hat's desired size, increase the number of double crochets in each space, which, in turn, ramps up the hat's curvature. Consistent measurement throughout this stage is essential to tailor the hat to the intended recipient's size.
Shaping the Hat
The pattern progresses with rows of consistent increases, refining the swirl effect and enabling the hat to take on a contoured shape. This part of the process demands careful attention as it influences the overall fit.
Finishing with the Band
Finally, you conclude the hat with a ribbed band. You switch to a smaller hook size for a snug and comfortable fit. You work the band using both front and back post double crochets, which provide elasticity and enhance the form of the hat.
Sewing in Ends
Securing and weaving in the ends is the last step, presenting a tidy and polished look to your crochet swirl hat. The process culminates in a stretchy and aesthetic casual wear piece.

Video Tutorial:


