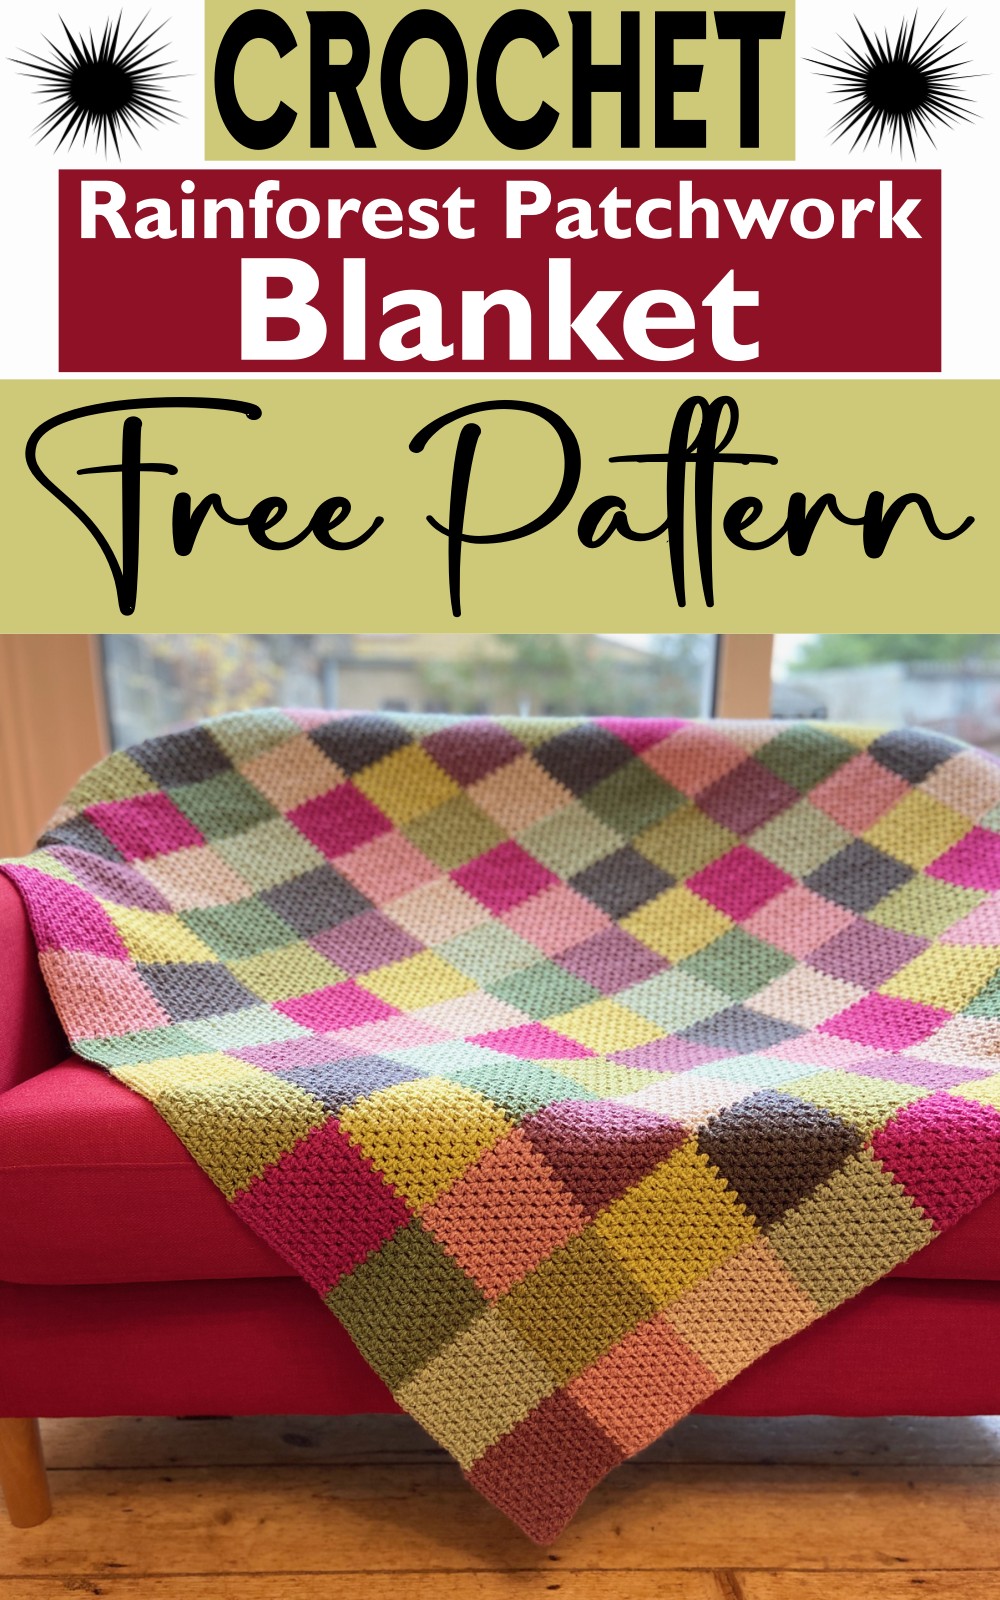
The crochet Rainforest Patchwork Blanket pattern strikes a perfect balance between creativity and artistry. Manifesting the very essence of the rainforest with its complex and diverse ecosystems, this pattern transcends the border of simple yarn crocheted to become a textured tapestry of color and life. It's striking to look at, not only for the vibrant mix of colors that depict the richness and variety found in a rainforest but also for its intricate clusters and detail that add depth and character to each square.
Crochet Rainforest Patchwork Blanket
Simultaneously appealing to the eye and the touch, this blanket can serve as both a marvelous, functional piece to keep you warm and as a visual feast that enhances the aesthetic of any room. More than just a crochet pattern, it's a playful exploration of color and texture that challenges one's skills and promises a rewarding crochet piece.
Materials:
- Crochet Hook: 4mm or size needed to achieve gauge.
- Yarn: DK weight yarn in nine colors, 100g/295m of each. Sample uses Stylecraft Special DK in nine colors:
- Cypress (A) – (100g/295m),
- Parchment (B) – (100g/295m),
- Grape (C) – (100g/295m),
- Meadow (D) – (100g/295m),
- Pale Rose (E) – (100g/295m),
- Graphite (F) – (100g/295m),
- Pistachio (G) – (100g/295m),
- Fuschia Purple (H) – (100g/295m),
- Lincoln (I) – (100g/295m).
Abbreviations/Crochet terminology:
- UK terms are used throughout.
- ss – slip stitch
- htr – half treble crochet
- ch – chain
- to – instructions between asterisks will be repeated as specified
Instructions:
- This blanket will work in vertical strips. You start with the first strip and add subsequent strips, joining the previous strip as you go along.
- Each vertical strip will work in 12 color blocks, each made up of 14 rows.
- The blanket is worked in Half-Treble Crochet (htr in UK terms, or hdc in US terms) in groups of two half-treble stitches (htr clusters).
Making:
- Row 1 – 2htr in 3rd ch from the hook, *skip 1 ch, 2htr in next ch*, repeat from *to* until last 2 chains, skip ch, 1htr in last chain, (Fig 2) ch2, turn;
- Row 2 – for row 2 and subsequent rows, you will be working in the spaces between the htr clusters from the row below as follows: 2htr in the first space (the first space is between the single htr worked at the end of row 1 and the 2htr), 2htr in each space until the last space (in between the 2htr and turning chain from the row below), insert 1htr in this last space, (Fig 3) ch2 turn;
- Row 3 – 2htr in 1st space, 2htr in each space until last space, 1htr in last space, ch2, turn;
- Rows 4-13 – repeat row 3;
- Row 14 – repeat as for row 3, but when you come to the working the last htr, stop before the final yarn over (Fig 4) and introduce yarn B (Parchment) for the final yarn over (Fig 5);
- Rows 15-27 – work as for row 3, using yarn B (Parchment) (Fig 6);
- Row 28 – work as for row 14, introducing the new color (yarn C – Grape) on the last yarn over;
Subsequent Rows
Continue to work 14 rows in each color until you have completed 12 color blocks (you should have a total of 168 rows for the first vertical strip).
The second strip will work by joining the 1st vertical strip. A video tutorial for the joining method can be found here.
- Foundation Row – Using yarn G (Pistachio) (Fig 7), attach to the end of the foundation row with a ss (placement indicated in Fig 8) of the 1st vertical strip (Fig 9), chain 17 (Fig 10);
- Row 1 – 2htr in 3rd ch from the hook, *skip 1 ch, 2htr in next ch*, repeat from *to* until last 2 chains, skip ch, 1htr in last chain (Fig 11), ss into row 1 of the 1st vertical strip (around the post of the end stitch) (Fig 13) (placement indicated in Fig 12), ch1 (Fig 14), ss in row 2 of the 1st vertical strip (around the post of the end stitch) (Fig 16) (placement indicated in Fig 15), turn (Fig 17);
- Row 2 – For row 2 and subsequent rows, you will be working in the spaces between the htr clusters in the row below. 2htr in the space between the single htr and the first group of 2htr from the row below (Fig 18), 2htr in each space until the last space (in between the 2htr and turning chain from the row below), insert 1htr in this last space, (Fig 19) ch2 turn (Fig 20);
Continue...
- Row 3 – 2htr in 1st space, 2htr in each space until last space, 1htr in last space (Fig 21), ss into row 3 of the 1st vertical strip (around the post of the end stitch) (Fig 23) (placement indicated in Fig 22), ch1 (Fig 24), ss in row 4 of the 1st vertical strip (around the post of the end stitch) (Fig 26) (placement indicated in Fig 25), turn (Fig 27);
- Rows 4-13 – repeat as for row 3, ss into the corresponding row from vertical strip 1 at the end of each odd-numbered row, ch1 and ss into the row above to start an even-numbered row;
- Row 14 – repeat as for row 3, but when you come to the working the last htr, stop before the final yarn over and introduce yarn E (Pale Rose) for the final yarn over (Fig 30);
- Rows 15-27 – work as for row 3, using yarn E (Pale Rose) (Fig 31 & 32).
Colour order for the second vertical strip
- Continue working on the 2nd Vertical Strip in the following color order:
Subsequent Vertical Strips
- Continue to add vertical strips as per the instructions for the second vertical strip until you have a total of 12 vertical strips.
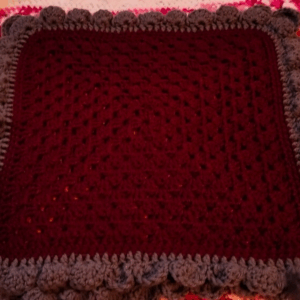
Weave in all of your ends! You can add a border if you wish; I decided not to add one.