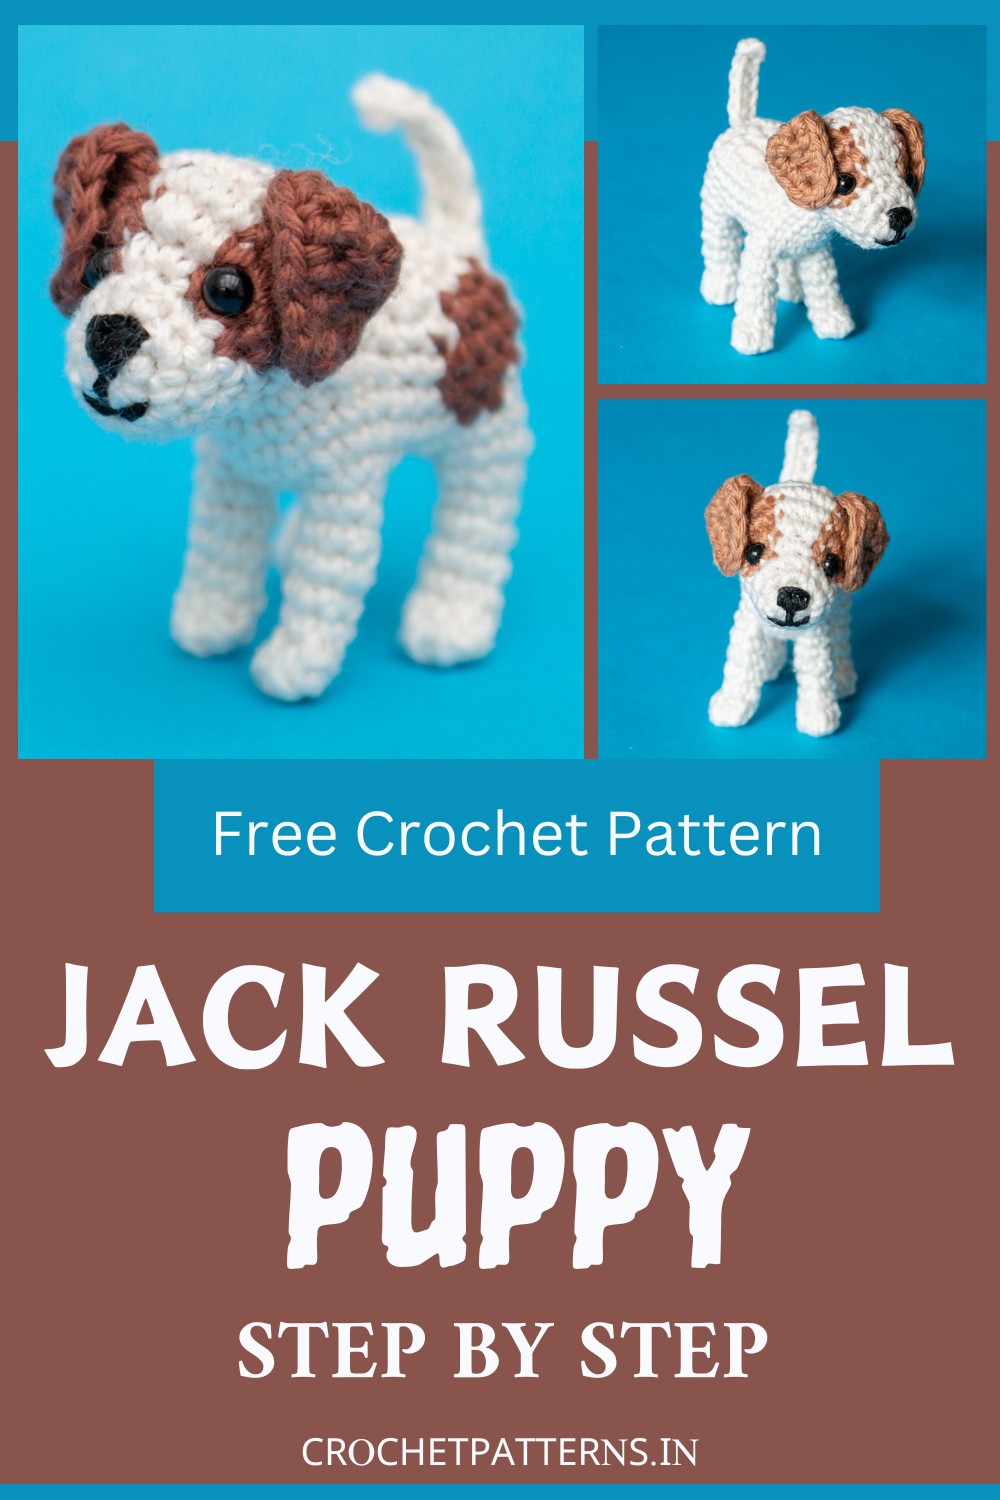
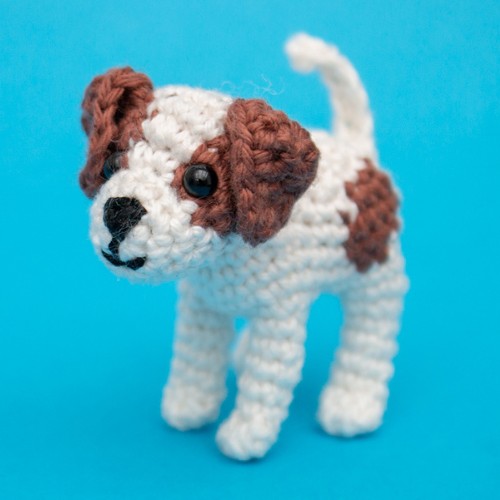
Following this pattern, you can make your little toy crochet Jack Russel Puppy that looks like a cutie. You need to know how to make crochet loops and stitch them together. This puppy has parts like legs, a belly, a head, ears, and a tail that you make separately and then sew together to make it look like a cute puppy. You'll use some stuffing to make it soft and cuddly. When you finish, you'll have a sweet little toy puppy to keep or give to someone special.
Crochet Jack Russel Puppy
Materials and Tools
- DK/light worsted weight cotton yarn (suggested colors: Champagne White and Coffee Bean)
- Black embroidery thread
- 2.5mm crochet hook (US sizes B-1 or C-2)
- 5mm safety eyes
- Yarn needle (preferably with a bent tip)
- Large-eyed sewing needle
- Stitch marker
- Sewing pins
- Fiberfill for stuffing
- Small flat pliers (optional for inserting safety eyes)
Abbreviations
- R = row
- Rnd = round
- St(s) = stitch(es)
- Ch = chain
- Sc = single crochet
- Inc = single crochet 2 in the same stitch
- BLO = back loops only
- Dec = invisible decrease (Insert hook in front loops of next 2 stitches, yarn over, pull through both front loops, yarn over, pull through 2 remaining loops)
- BLO dec = back loop only decrease
- [...] = series of stitches to be repeated
- *... = times the series of stitches is to be repeated
- (...) = stitch count once round is complete
Puppy Amigurumi Pattern
Forelegs (Make 2)
- Rnd 1: Sc 8 in magic ring (8 sts)
- Rnd 2: In BLO: [sc 2, Dec]*2 (6 sts)
- Rnd 3-6: Sc 6 (6 sts)
Hind Legs (Make 2)
- Rnd 1: Sc 8 in magic ring (8 sts)
- Rnd 2: In BLO: [sc 2, Dec]*2 (6 sts)
- Rnd 3-6: Sc 6, last rnd [sc 2, inc 1]*2 (8 sts)
Belly
- Ch 4, Rnd 1: Begin sc in 2nd ch from hook, sc 4 in last ch, then on other side sc 3 in the last ch (10 sts)
- Follow the pattern as described for detailed rounds until you assemble the belly around the legs.
Head
- Start with white yarn: Sc 6 in magic ring (6)
- Inc in each st around (12)
- Follow the pattern for detailed increases and color changes for the head and face details.
Ears (Make 2)
- Ch 3, sc 2, starting from the 2nd chain from the hook, follows the pattern for shaping the ears.
- Sc around the edge of each ear to finish.
Tail
- Ch 7, sc 6 starting in the 2nd ch from the hook.
Assembly
- Attach ears and safety eyes, embroider the nose, and sew the head to the body.
- Stuff fiberfill as needed before closing sections.
Finishing Touches
- Sew all parts together according to the arrangement of the puppy's body, attaching the tail and positioning the ears correctly.
- Use sewing pins to help position the parts before final sewing.