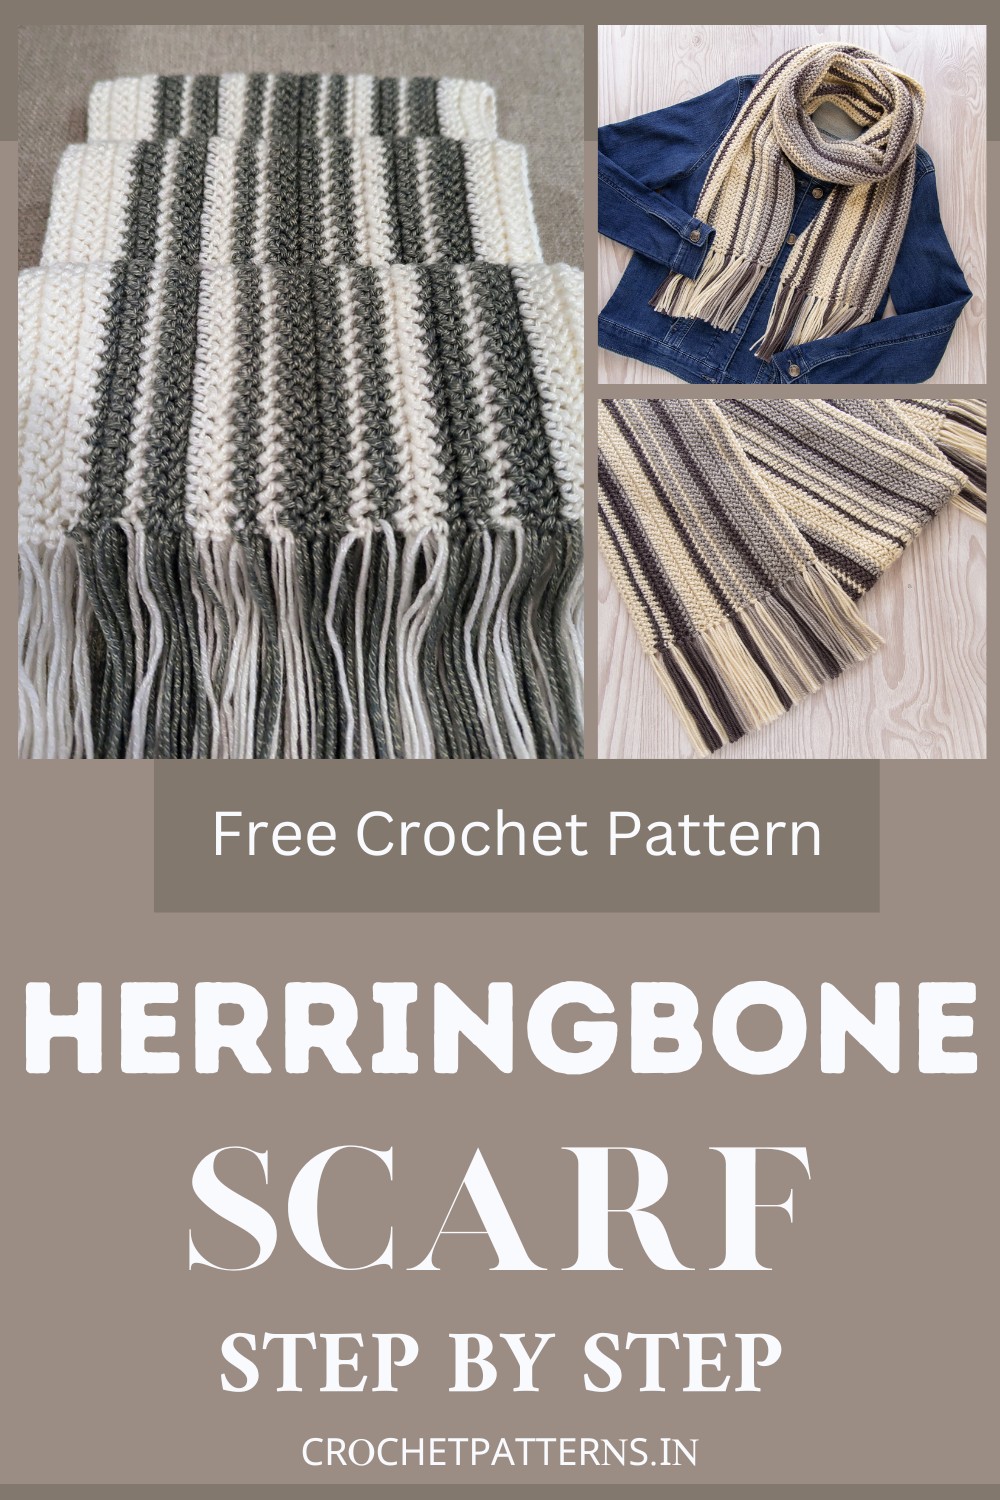
How To Crochet Herringbone Scarf Pattern Step By Step

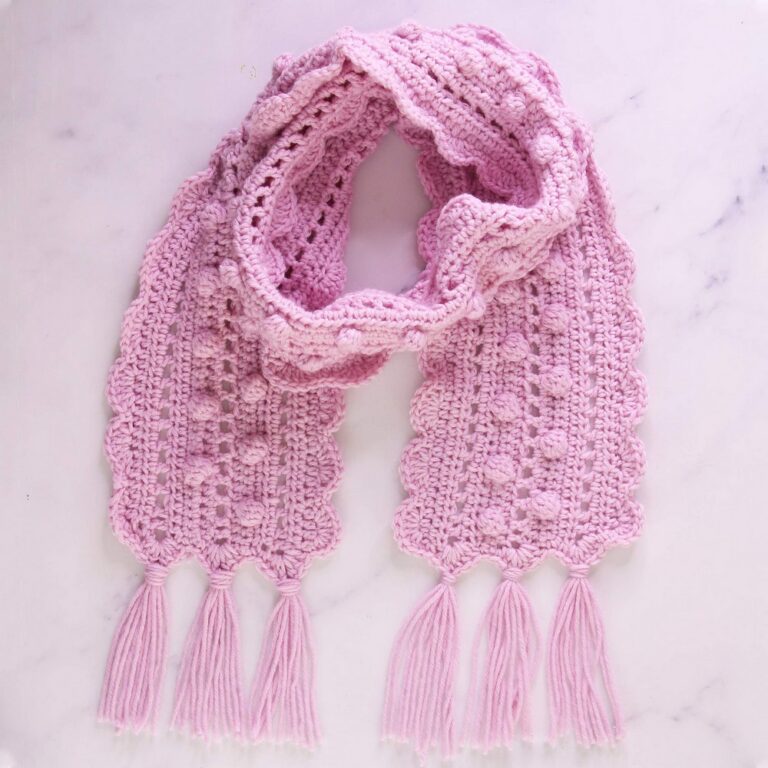
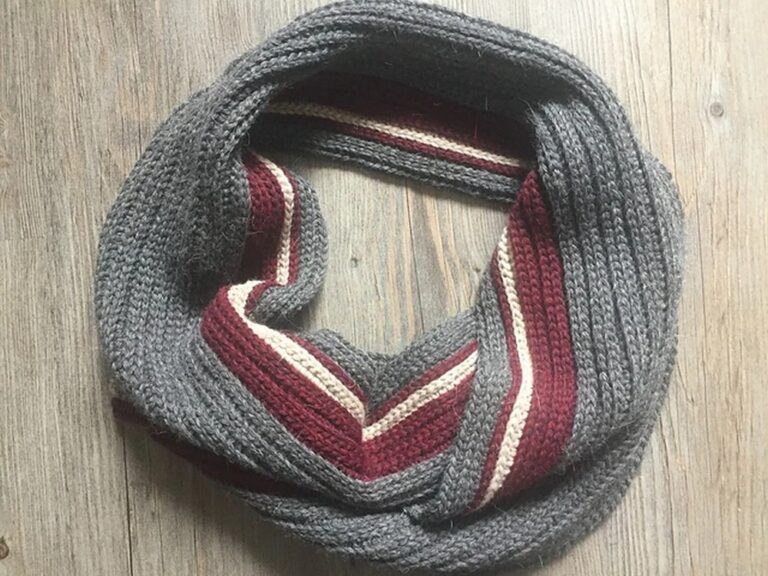
This Crochet Herringbone Scarf Pattern is an example of beauty and craftsmanship. Its intricate herringbone stitch creates a luxurious texture that not only looks stunning but feels cozy against the skin. The thoughtful combination of color blocks adds a modern twist to a classic design, making it a perfect accessory for any outfit. The versatility of the pattern means it can easily be customized to fit personal tastes or to make a heartfelt, personalized gift.
Crochet Herringbone Scarf Pattern
Materials:
- Approx. 205 yards #4 Worsted Weight yarn in Color A.
- Approx. 165 yards #4 Worsted Weight yarn in Color B.
- Approx. 96 yards #4 Worsted Weight yarn in Color C.
- US Size J (6.0 mm) crochet hook (or size needed to obtain gauge).
- Scissors
- Ruler or measuring tape.
Abbreviations:
- beg: beginning
- ea: each
- nxt: next
- st(s): stitch(es)
- ch: chain
- CA: Color A
- CB: Color B
- CC: Color C
- *Fsc: foundation single crochet
- *Herr-hdc: herringbone half-double crochet
Special Stitches:
- Foundation Single Crochet:
To begin, chain 2. Insert the hook into the 2nd chain from the hook. Yarn over and pull up a loop. Yarn over and pull through one loop on the hook (one chain made). - Herringbone Half-Double Crochet:
Yarn over, and insert hook into specified stitch. Yarn over, pull up a loop, and pull the first loop on the hook through the second loop on the hook. Yarn over and pull through both remaining loops on the hook.
Pattern Instructions:
- Row 1: Begin with Color A yarn. Ch 2, fsc in 2nd ch from hook. Work 199 more fsc.
- Or, alternatively, ch 201, sc in 2nd ch from hook and in each chain stitch across.
- Herringbone Row: Ch 2, turn. Herr-hdc in the same stitch and in each stitch across.
Next, you’ll be working your stripes with each color change, making sure every time you change colors, you leave a tail at least 6″ long of the old and new yarn to be included later in the fringe. Follow this sequence of rows for each respective color (CA: Color A, CB: Color B, CC: Color C):
- Change to CC and work 1 Herringbone Row.
- Change to CA and work 1 Herringbone Row.
- Change to CC and work 2 Herringbone Rows.
- Change to CB and work 1 Herringbone Row.
- Repeat this pattern until you reach 25 rows total. Tie off Color A, leaving a tail at least 6” long.
Finishing
Once your scarf is crocheted, you want to block the scarf and add fringe to the scarf edges.
For blocking:
- For natural fibers, pin project out on foam-blocking mats. Spray with water until fully saturated, and allow to dry.
- For acrylic fibers, pin project out on an ironing board or several layers of towels. Hold a steaming iron 2-3” over the surface of the fabric, making sure all of the fabric is penetrated by the steam. Allow to cool/dry.
For adding the fringe:
- Cut 12” lengths of yarn. You’ll need 40 lengths of Color A, 36 lengths of Color B, and 20 lengths of Color C.
- Attach them to the ends of the scarf, matching the fringe color to the color of each row.
- Fold two lengths of the yarn in half, then grab the folded part with the hook.
- Pull the yarn through the edge of the scarf, then grab the “tails” of the length of yarn and pull them all the way through the folded loop.
- Continue this process until you’ve added two strands of fringe to the end of each scarf row.
Finally, steam your fringe to ensure it lays straight and remove any kinks or bends in your fringe. Trim the fringe straight across so the ends hang evenly.