Design a fun and versatile crochet drawstring pouch in under an hour, an easy, creative project for storing lip gloss, cards, and tiny treasures.
Constantly digging through your bag for tiny things like coins, keys, or earbuds? This little crochet drawstring pouch is a clever way to keep all those small essentials in one neat, stylish place. It’s created with just a bit of yarn and a hook, turning leftover scraps into something surprisingly practical and cute.
How to Crochet Drawstring Pouch for Everyday Use
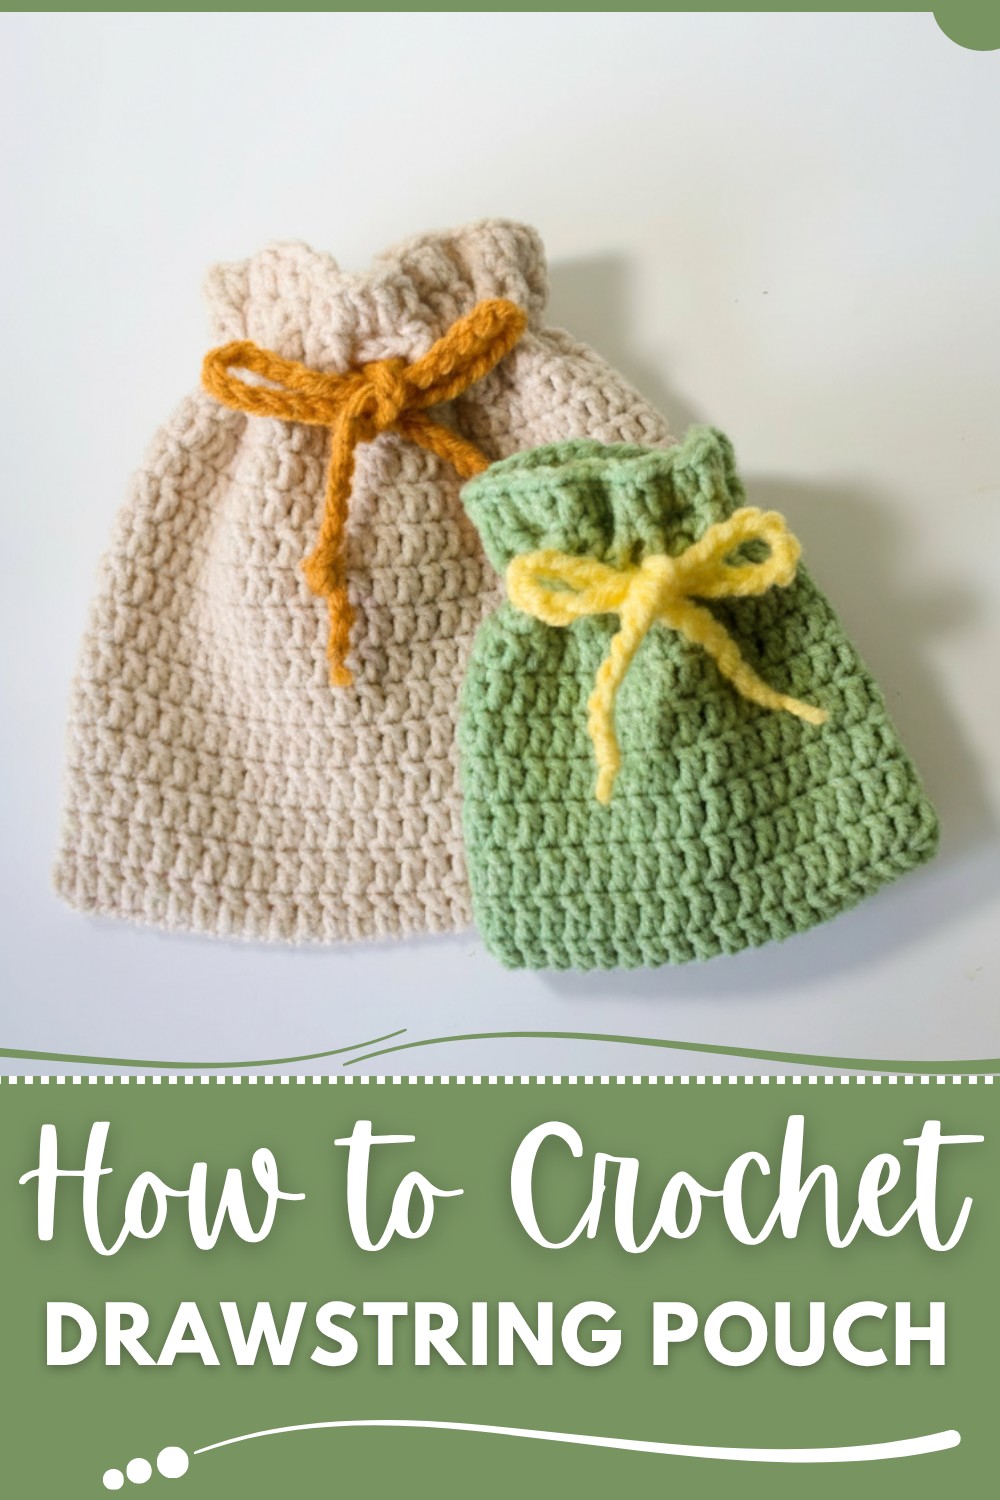
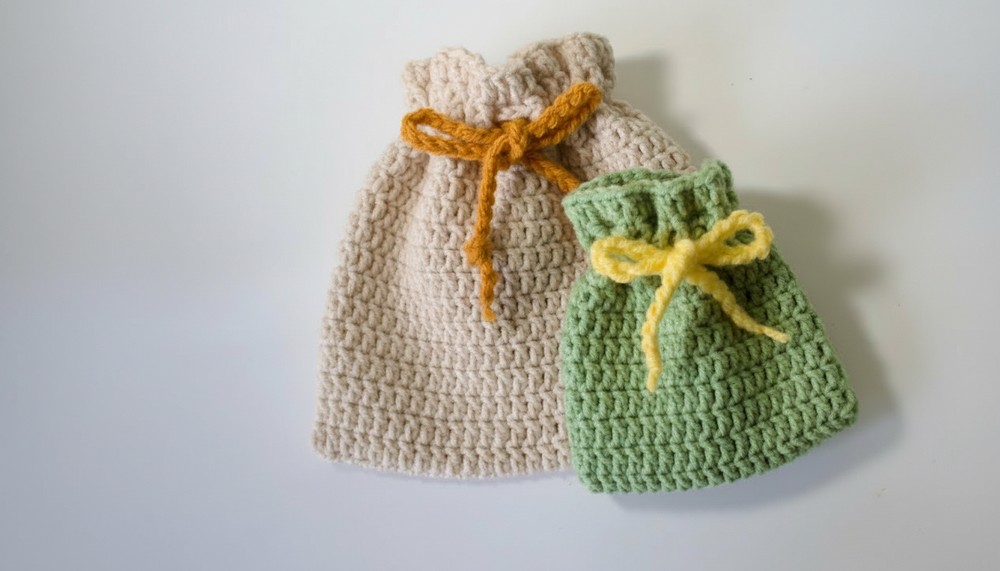
The pouch starts as a simple chain that grows into a neat, compact tube worked in a continuous spiral, so there are no obvious joins or bulky seams. A row of textured stitches around the top adds a subtle decorative band, giving it a more polished, handcrafted look. A long crochet cord is then threaded through the upper openings, so you can pull both ends to close it securely and keep everything inside from falling out.
Drawstring Pouch Crochet Pattern
Because the size and color are easy to adjust, this pouch can be made to match any style, soft pastels, bold stripes, or minimalist neutrals. It works well as a coin purse, jewelry keeper, earbud holder, or even a tiny gift bag. Simple construction, a tidy finish, and everyday usefulness make it a small project with a lot of impact.
Skill Level:
- Beginner to Intermediate
Materials:
- Yarn:
- Weight 3 (light) yarn (or scrap yarn). Example: Acrylic.
- For a sturdier pouch, you may use weight 4 (medium) yarn.
- Crochet Hook:
- 3.5mm for weight 3 yarn.
- If using weight 4 yarn, choose a 4.5mm or 5mm hook, depending on your tension preferences.
- Scissors.
- Optional Tools:
- Stitch Markers (to keep track of starting stitches).
- Darning Needle (to weave in ends neatly).
Key Abbreviations:
- ch = chain
- dc = double crochet
- sl st = slip stitch
- sk = skip a stitch
- st(s) = stitch(es)
Special Notes:
- The pouch is worked in continuous rounds (spiral style) without joining rounds until instructions specify otherwise.
- Use stitch markers to keep track of the starting point of each round.
- This pattern uses US Crochet Terminology.
- The finished size will vary depending on yarn weight and hook size. Approximate height of the pouch using weight 3 yarn is 4-5 inches (10-12 cm).
Pattern Instructions
Part 1: Starting the Base of the Bag
- Make a slip knot and attach your yarn to the hook.
- Chain (ch) 21.
- Work 1 double crochet (dc) into the second chain from the hook.
- Place 1 dc into each chain across, stopping at the last chain (20 dc).
Part 2: Beginning the Spiral Rounds
- Rotate your work to begin working on the opposite side of your foundation row.
- Without chaining, place 1 dc into the same stitch as the last dc. This begins the spiral.
- Work 1 dc into each stitch along the underside of the foundation chain, bringing you back to your starting point.
- Do not slip stitch to join; continue working around in a spiral.
Part 3: Building the Height of the Bag
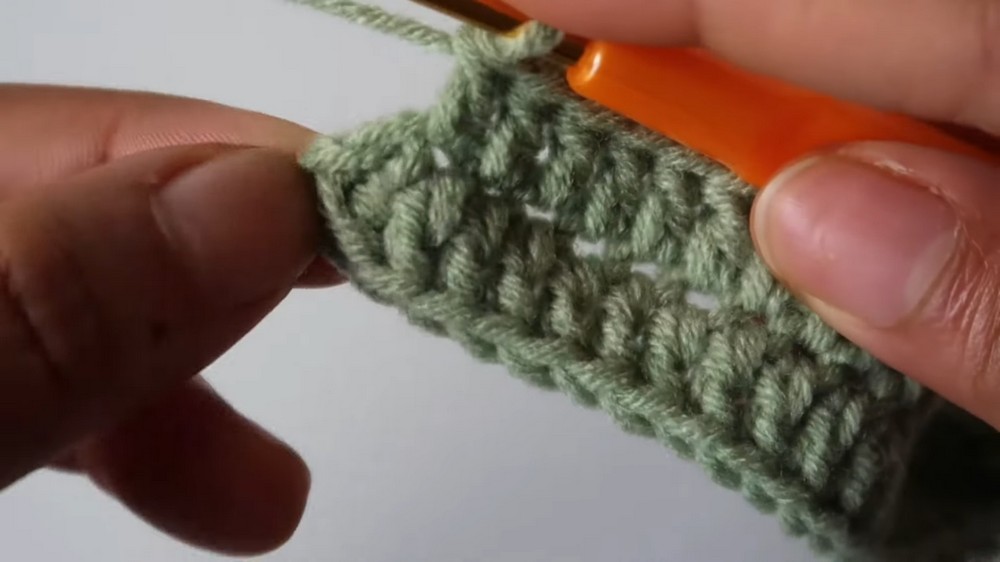
- Place 1 dc into each stitch all around, maintaining a spiral motion without increases or slip stitches.
- Repeat Round 3 (1 dc in every stitch) until you achieve your desired height.
- Example: You might want 10 rounds total for a medium-sized pouch.
- Use a tape measure to adjust the height according to your preference.
- Example Reference:
- After 10 rows, the bag should begin forming a pouch-like shape.
Part 4: Decorative Stitches (Optional)
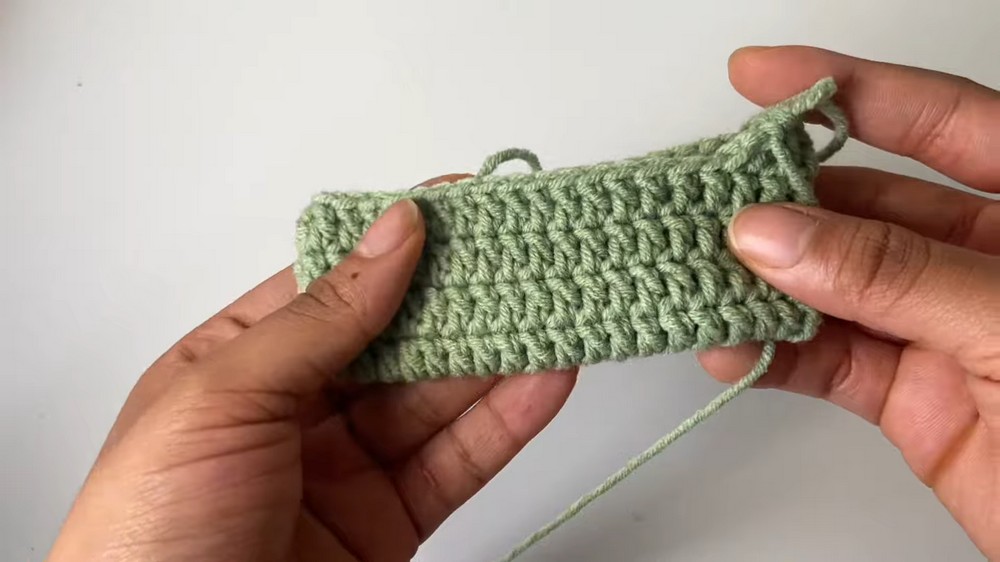
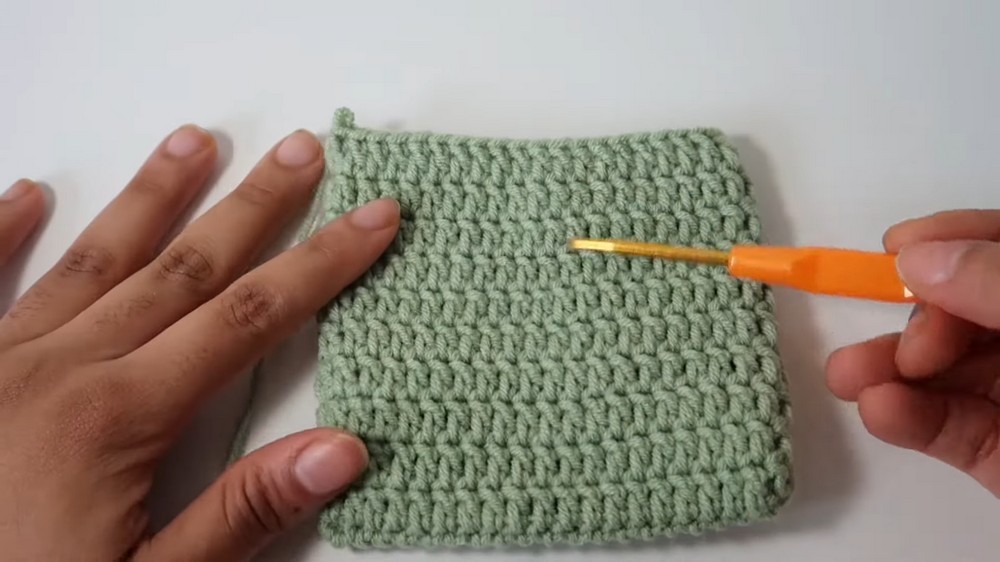
- Once the desired height is reached, incorporate decorative front and back post double crochet stitches for texture:
- First Front Post Double Crochet (FPDC): Insert the hook from the front and around the post of the next dc stitch, yarn over, and pull up a loop. Complete the dc as normal.
- First Back Post Double Crochet (BPDC): Insert the hook from the back around the post of the next dc stitch, yarn over, and pull up a loop. Complete the dc as normal.
- Repeat the following alternating pattern around:
- 2 FPDC, 2 BPDC.
- Continue the front-and-back post pattern until you’ve worked one complete round.
Part 5: Final Row
- Work 1 dc into each stitch all around for one final clean round.
- Finish off: Slip stitch into the next stitch to close the round, then chain 2 and cut your yarn. Pull through the loop and tighten to secure.
Part 6: Drawstring Cord
- Start by making a slip knot.
- Chain 55 (or more depending on desired length).
- Cut off the yarn and pull through to secure.
Part 7: Inserting the Drawstring
- Determine which side of the bag will be the front.
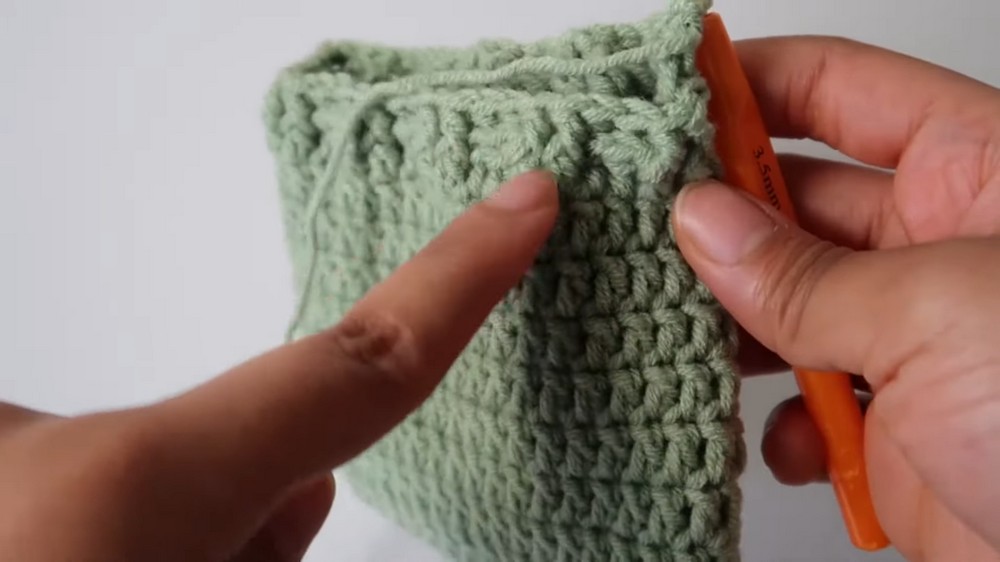
- Insert the drawstring in and out of the pouch through the previous front-and-back post round.
- To do this:
- Thread the cord over 2 front post stitches and under 2 back post stitches.
- Continue threading the cord in this manner around the bag until you meet the starting point.
- To do this:
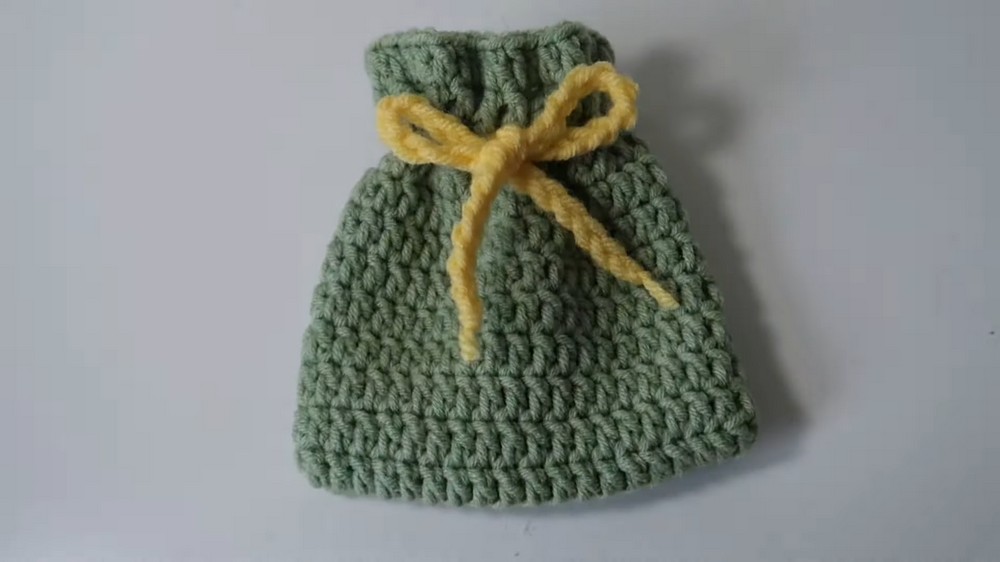
- Once you've threaded the drawstring through, pull it in both directions to close the pouch like a drawstring bag.
Finishing the Pattern
- Weave in all loose ends with a crochet hook or darning needle for a neat finish.
- Trim excess yarn neatly.
- Test the drawstring to ensure it cinches the pouch properly.
Pattern Adjustments & Corrections
- Size Adjustment:
- For a larger or smaller bag, adjust the number of starting chains or the height rows.
- For a firmer base, use a tighter tension or switch to a smaller crochet hook.
- If the pouch doesn't spiral neatly: Adjust your starting stitch placement for a seamless transition. A stitch marker can also help you stay on track.
Conclusion
Congratulations on completing this easy yet stylish drawstring pouch! Perfect for storing small items or as reusable gift packaging, this versatile piece can be customized with colors, textures, and drawstring variations. This project is an excellent stash buster and takes less than an hour to complete, making it an ideal beginner-friendly project with room for creative exploration.
Tips for Maintaining Your Pouch
- Washing Instructions: Hand wash or machine wash on gentle. Lay flat to dry to maintain its shape.
- Prevent Fraying: Ensure all loose ends are woven in properly to prevent unraveling.
- Customization: Use decorative beads on the drawstring ends for added flair, or create a longer strap for a mini crossbody bag.