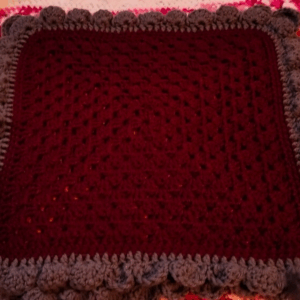
Upgrade your lounging essentials with the Crochet Chunky Blanket Pattern that offers comfort, style, and homemade flair in every stitch.
Nothing compares to the comfort of a warm, chunky blanket on a chilly day. Whether draped across the couch or layered on your bed, a blanket can add both coziness and aesthetic appeal to any space. The Crochet Chunky Blanket Pattern takes this idea to the next level by adding the Susette Stitch, known for its textured yet streamlined design. This pattern results in a dense but soft fabric with a beautiful drape, making it perfect for both decorative purposes and functional warmth. Not only does it hold up well to daily use, but its eye-catching appearance transforms any room instantly with handmade authenticity.
Crochet Chunky Blanket Pattern
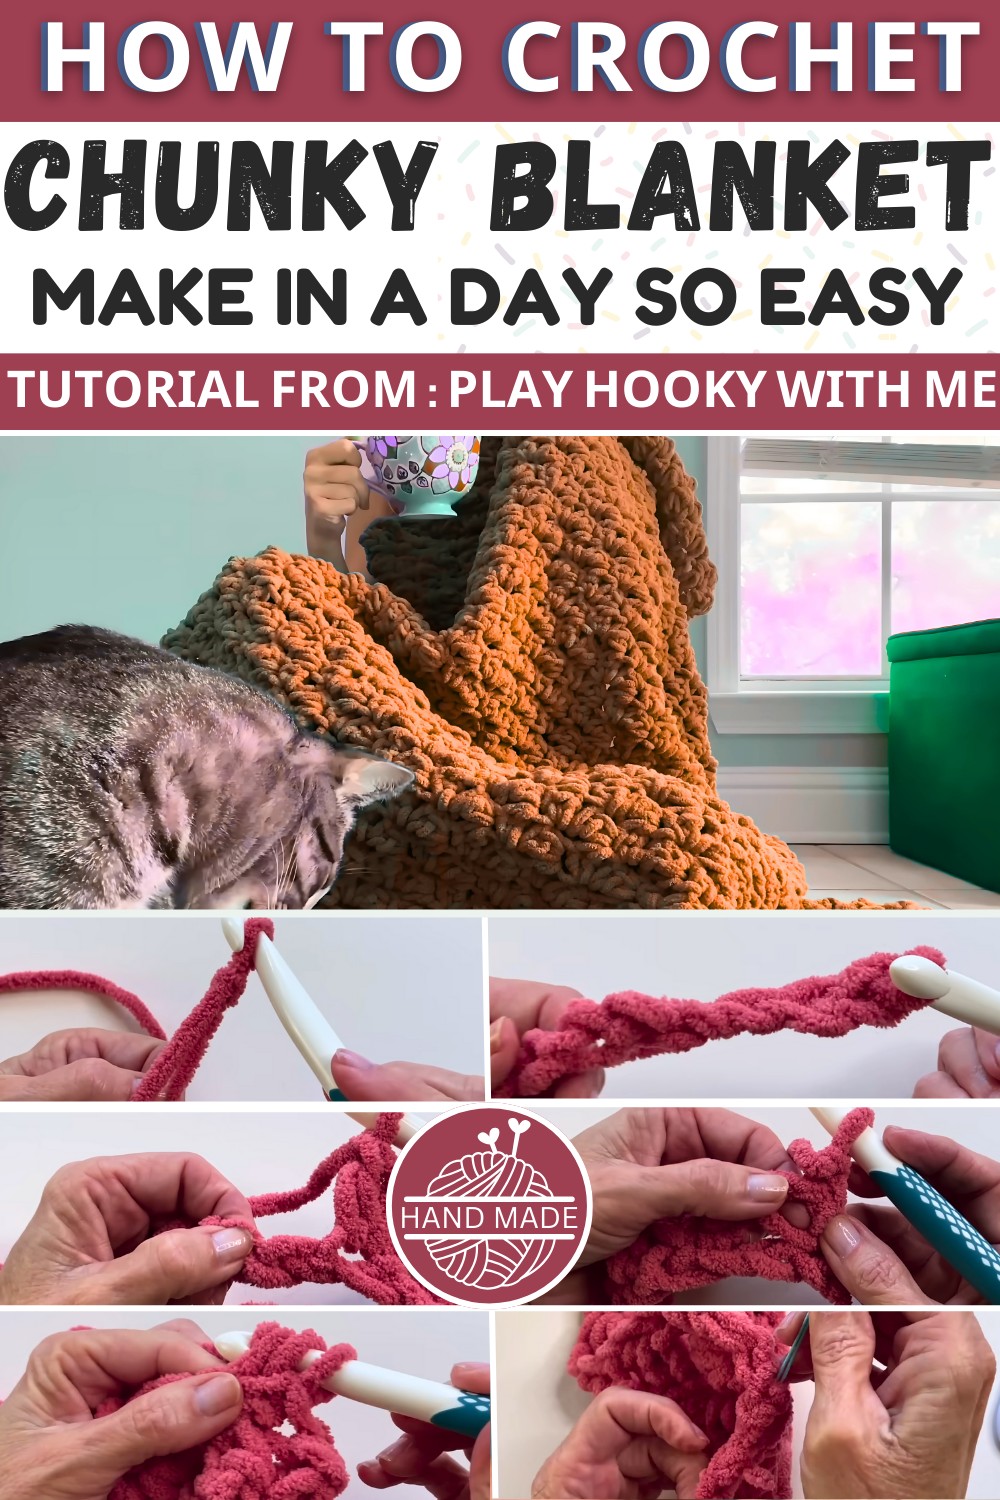
How To Crochet Chunky Blanket
The tutorial explains how to create a cozy blanket using the Susette Stitch, a simple one-row repeat made with single and double crochets. This stitch is similar to the blanket stitch but easier and faster to complete. The resulting fabric has a lovely texture and drape, making it perfect for blankets. The Susette Stitch is beginner-friendly, great for relaxation, and can be worked on autopilot once the basics are understood.
Materials
- Yarn: Bernette Blanket Yarn (approximately 4 skeins are required for a 4 ft x 5 ft blanket).
- Crochet Hook: 12 mm crochet hook (recommended hook size is 8 mm, but a larger hook improves the fabric’s drape).
- Finishing Supplies: Finishing needles (e.g., Susan Bates finishing needles) for weaving in ends.
Optional:
- Fray check for preventing yarn fraying at tips.
- Extra yarn for color changes or stripes.
Abbreviations of Stitches
Here are the common crochet abbreviations used:
- ch: Chain
- sc: Single Crochet
- dc: Double Crochet
Pattern Steps
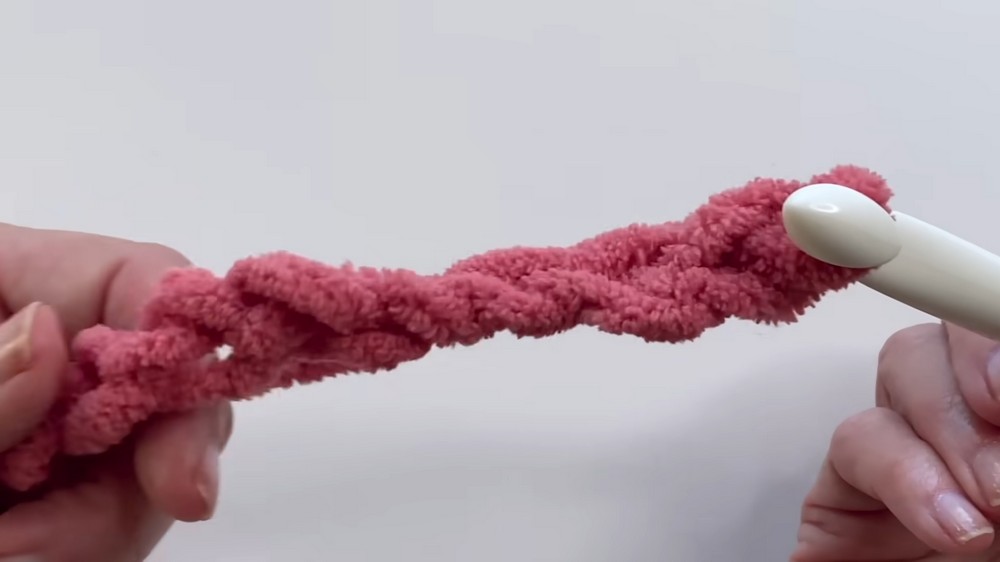
Step 1: Starting the Chain
- Begin with a slip knot on your hook.
- Create a foundation chain using an even number of stitches. For resizing:
- Approx. 17 chains per foot of width are needed.
- Example for a 4 ft x 5 ft blanket: Begin with 60 chains for width.
- Example for a 5 ft x 6 ft blanket: Begin with 86 chains.
- Once your chain is complete, add 2 extra chains for turning. These count as the turning chain, ensuring the number of stitches returns to the even number you initially chained.
- For example: If you made 60 chains, you’ll add 2 for a total of 62 chains; however, your stitch count will remain 60.

Step 2: First Row
- Work into the second chain from the hook:
- Place one single crochet (sc) and one double crochet (dc) into the same stitch.
- Skip the next chain, then:
- In the following chain, place one sc and one dc, all within the same stitch.
- Repeat this sequence:
- Skip one chain, then in the next chain, create one sc and one dc.
- At the end of the row, you’ll notice two remaining chains:
- In the last chain, do just one sc.
- Chain 1, turn your work.
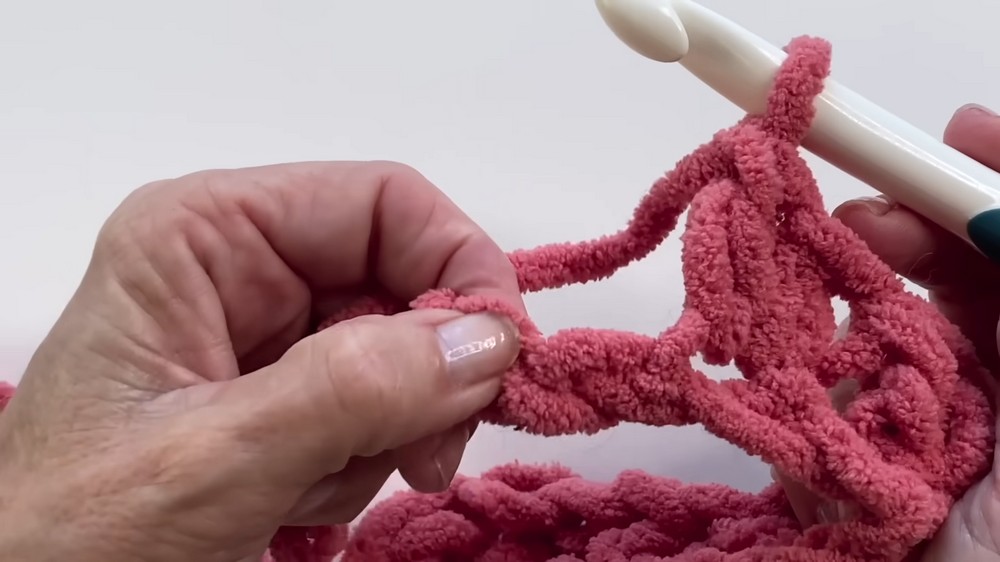
Step 3: One-Row Repeat
- After turning, you’ll work into the single crochets (sc) from the previous row:
- To easily locate the sc, look for a diagonal space or bar of yarn created by the previous stitch.
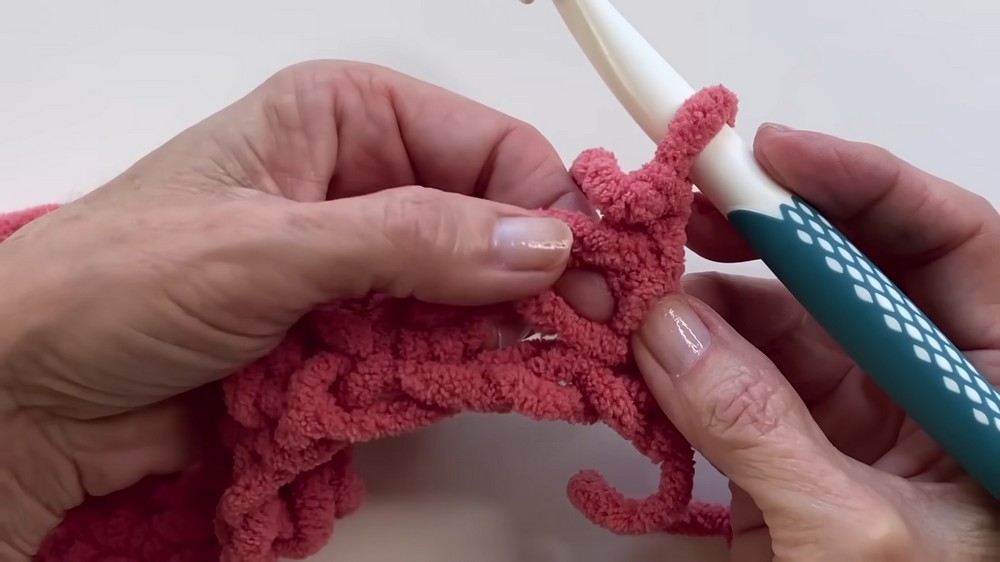
- In the identified sc:
- Place one single crochet (sc) and one double crochet (dc) in the space.
- Skip the double crochet (dc) from the previous row, and work into the next sc.
- Place one sc and one dc into the sc space.
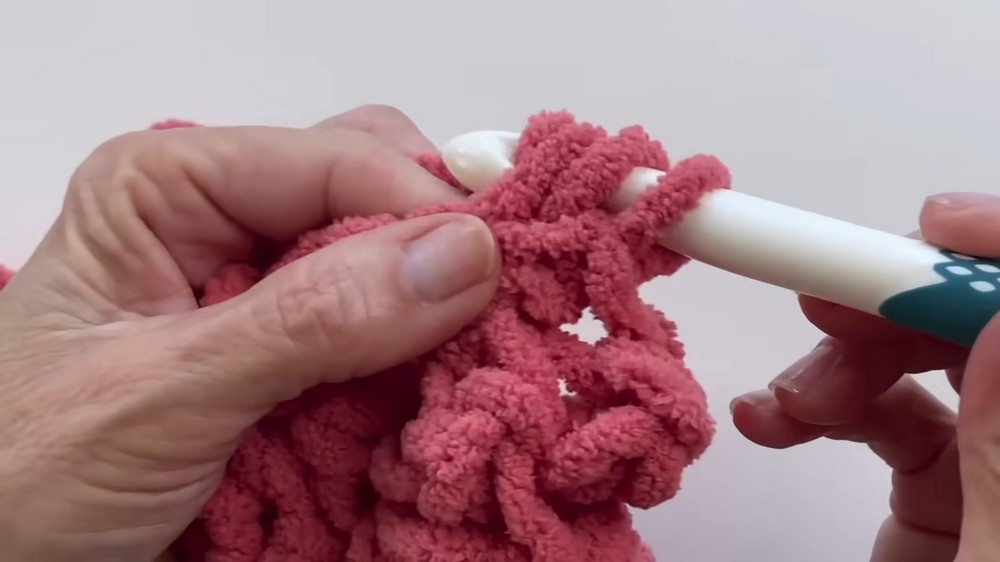
- Repeat this sequence until you reach the end of the row:
- Place one single crochet (sc) in the final stitch.
- Chain 1, turn your work.
- Continue repeating this pattern row-by-row until the blanket has reached your desired height.
Step 4: Optional Color Changes
(To create stripes or switch colors):
- When you reach the final stitch of a row, begin your sc as you normally would:
- Pull through the yarn, then introduce the new yarn color.
- Pull the new yarn through the two loops on your hook to complete the stitch.
- Tie the yarn ends together and weave them in using a needle or crochet hook.
Step 5: Adding a New Skein of Yarn
If joining a new ball of yarn:
- Use a Fisherman’s Knot (also known as a Magic Knot):
- Place two ends of yarn parallel to each other.
- Tie one end to the bottom portion and the second end to the top portion, creating two small knots.
- Pull the knots tightly together and trim any excess yarn.
- Continue crocheting with the newly joined yarn.
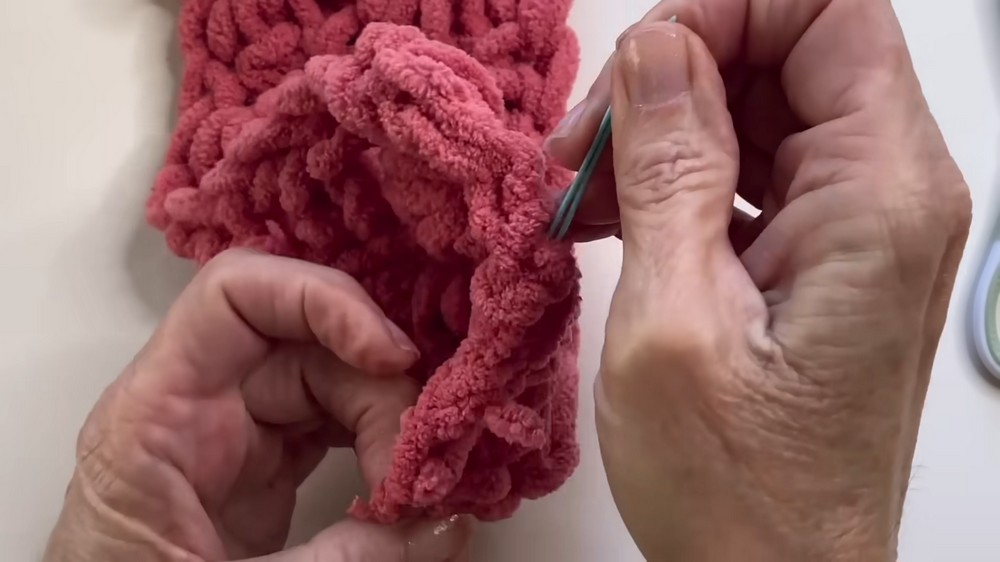
Step 6: Finishing the Blanket
- Once the desired blanket height is reached, add one chain to fasten off.
- Trim the yarn and weave in the loose ends using a finishing needle or crochet hook.
- Apply Fray Check (optional) to the ends of the yarn to prevent fraying.
Conclusion
The Susette Stitch is a fast and efficient way to create beautifully textured blankets. Its simple one-row repeat makes it beginner-friendly and ideal for relaxation. While the blanket stitch provides a similar aesthetic, the Susette Stitch is quicker and less time-consuming. With its versatile design, you can adjust the dimensions as desired, change colors for stripes, or add texture with knots for secure yarn transitions. This pattern is perfect for a cozy DIY project or gifting!