Enjoy making a granny bucket hat with this free crochet pattern, offering bold color ideas, simple methods, and a versatile design that suits any occasion.
Protecting yourself from the sun while staying stylish can feel like a challenge, but a crochet bucket hat offers the perfect solution. Its soft texture, playful structure, and functional brim keep the sun off your face while adding a charming touch to your outfit. This versatile accessory pairs beautifully with casual wear, making it a go-to choice for all seasons.
Crochet Bucket Hat with No Increase Rows With Free Pattern
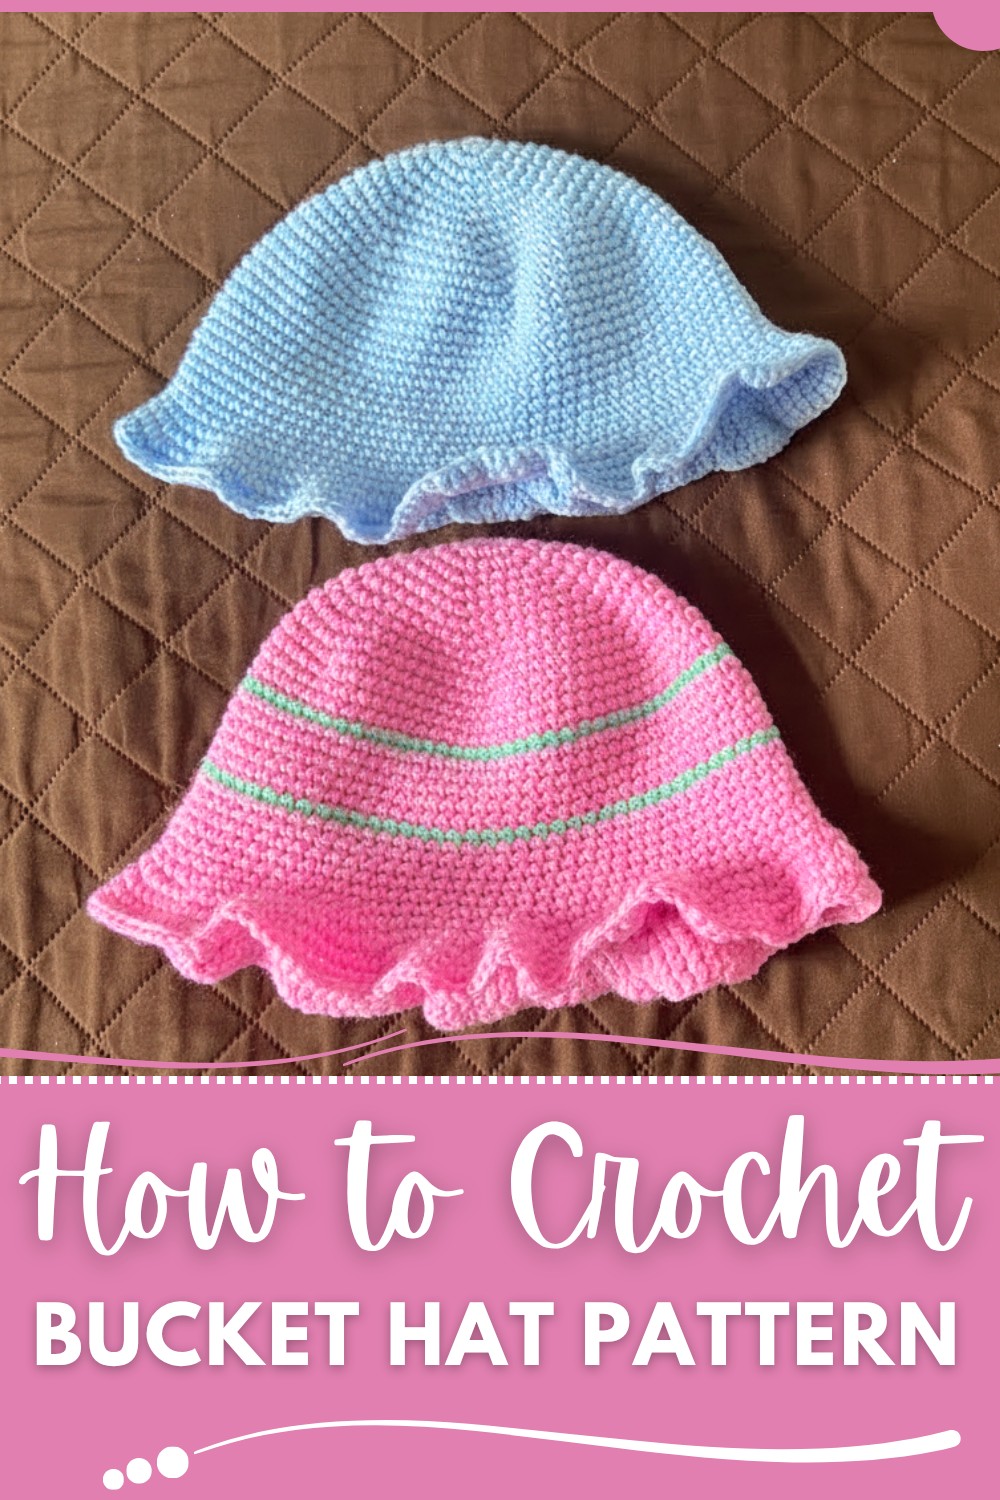
A crochet bucket hat is lightweight and comfortable, crocheted from soft acrylic yarn using a 5 mm hook, ensuring durability and ease of use. It begins with a sturdy magic ring and builds steadily using simple stitches like single and double crochet, creating a neat and attractive shape. The wide, adjustable brim allows for a classic or dramatic look, depending on your preference, giving you complete control over the final design.
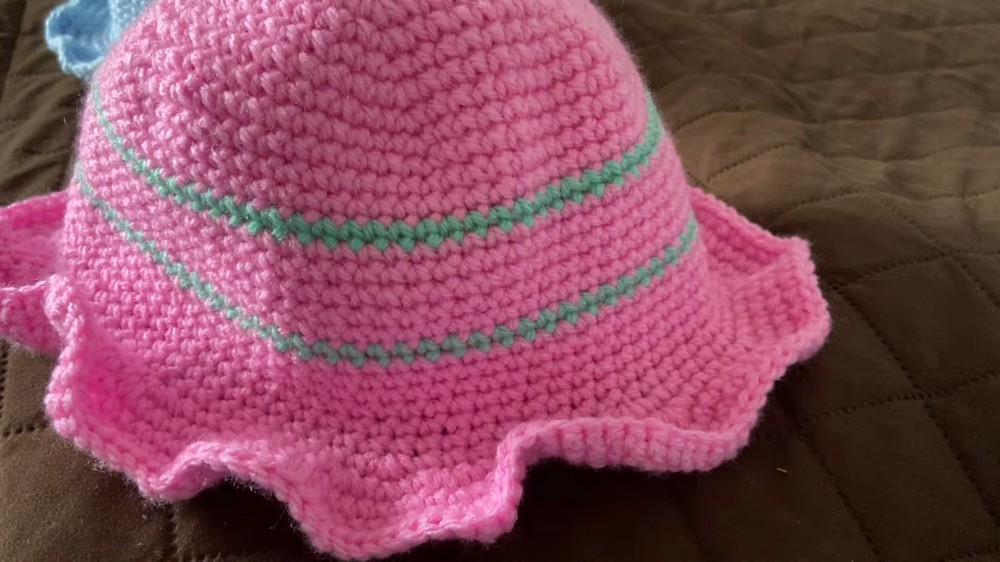
Crochet Cotton Candy-Inspired Bucket Hat Pattern
Whether you’re looking for sun protection, a stylish addition to your wardrobe, or a thoughtful handmade gift, this hat meets all those needs. Its simplicity makes it ideal for beginners, yet its timeless style appeals to experienced crocheters as well. With just a few materials and easy-to-follow steps, this hat is a practical and beautiful solution for adding comfort, shade, and personality to your day.
Bucket Hat Structure Overview
- Top (Crown): Circular base measured to fit the top of your head.
- Side (Body): Straight edge continuing from the crown to form the sides of the hat.
- Brim: Decorative and slightly flared edge giving the hat its bucket shape.
Finished Size
- Suitable for Adult Head Circumference (~22”-24”).
- Adjust row counts for smaller or larger sizes by following the instructions for additional rows as described in the pattern.
Materials
- Yarn:
- Size 4 medium worsted weight yarn in two colors (e.g., pink and green for a cotton candy look).
- 100% acrylic yarn is recommended for durability, but cotton works well too.
- Crochet Hook:
- 5mm (H/8) crochet hook.
- Stitch Markers:
- At least one to mark important stitches.
- Darning Needle:
- For weaving in ends.
- Tape Measure or Ruler:
- To measure the crown for head fitting.
- Scissors:
Pattern Details
Special Techniques
- Magic Ring: Used to start the crown with a secure circle.
- Increases: Adding multiple stitches in a single stitch to expand circle diameter.
- Color Changes: Switching yarn mid-row for alternating colors.
- Slip Stitch Join: For seamless transitions between rounds.
Step-by-Step Pattern
Part 1: Crown of the Bucket Hat
The crown begins as a flat circle and is worked in continuous rounds with increases to achieve the desired width.
Round 1 - Magic Ring:
- Start your magic ring: Wrap yarn around your fingers to form a loop. Insert your hook into the loop, yarn over, and pull up a loop. Chain 1 to secure.
- Insert 6 single crochets (sc) into the ring. Pull the tail to close the ring tightly.
- Do not join. Mark the first stitch with a stitch marker.
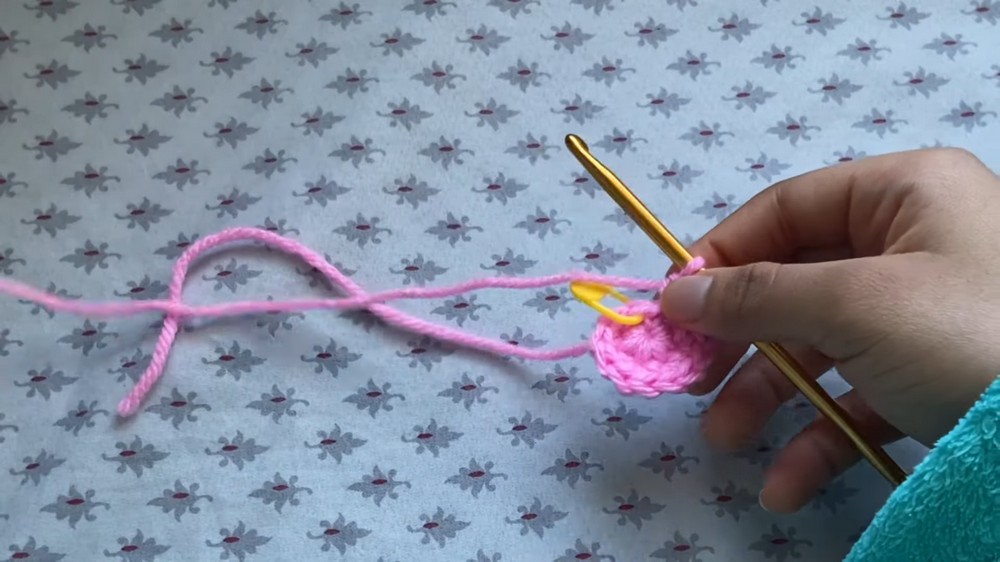
Round 2:
- Insert 2 sc into every stitch from Round 1.
- At the end, you should have 12 stitches.
Round 3:
- Work the following pattern:
- 1 sc into the first stitch, 2 sc into the next stitch (increase).
- Repeat this around the circle.
- Total stitches: 18 stitches.
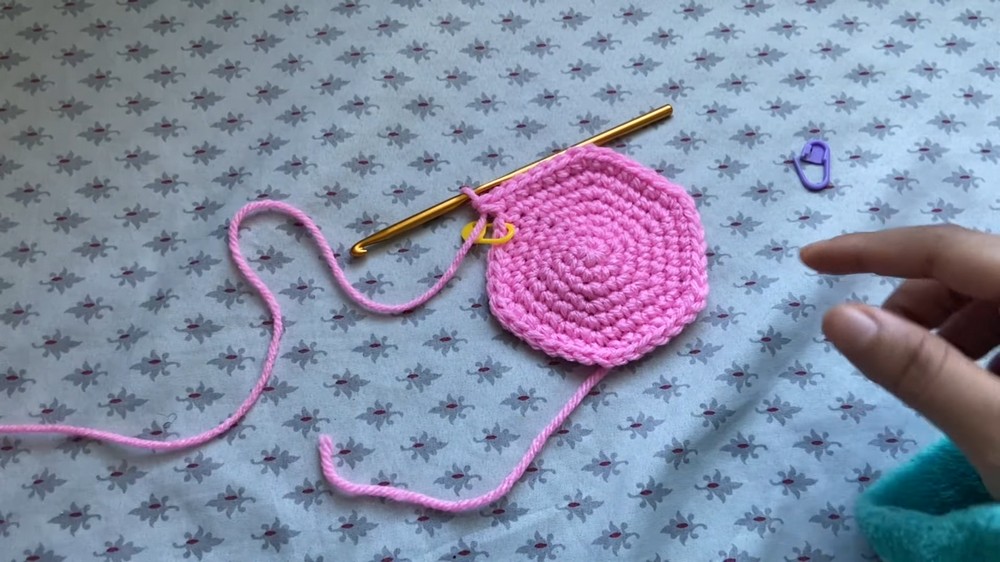
Round 4:
- Work the following pattern:
- 1 sc into each of the next 2 stitches, then 2 sc into the third stitch (increase).
- Repeat around the circle.
- Total stitches: 24 stitches.
Round 5-13:
- Continue following the increase pattern, adding 1 extra single crochet stitch before every increase in each row.
- Example for Round 5: 1 sc into each of the next 3 stitches, 2 sc into the fourth stitch (increase).
- Example for Round 13: 1 sc into each of the next 12 stitches, 2 sc into the 13th stitch (increase).
- Stop once the diameter of the crown matches the top of your head using the tape measure. Adjust row counts as needed.
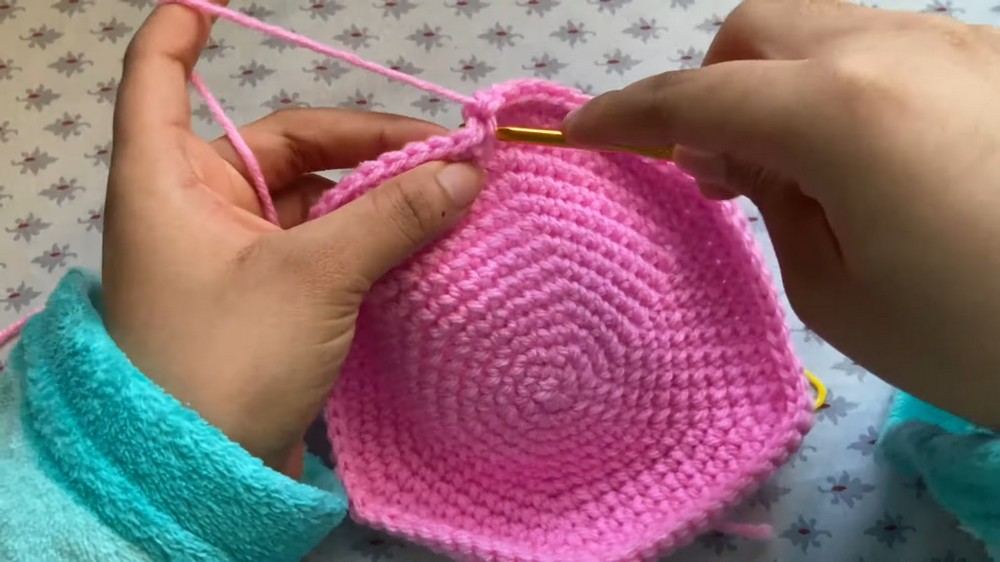
Part 2: Body of the Bucket Hat
The sides are worked in non-increase rows to form the downward structure.
Rows 14-29:
- Remove the stitch marker and start working single crochets (sc) into each stitch around.
- Work 16 rows of no increases total.
- Tip: Ensure the sides extend to cover the desired depth on your head.
- Mark your first stitch at every row to track progress.
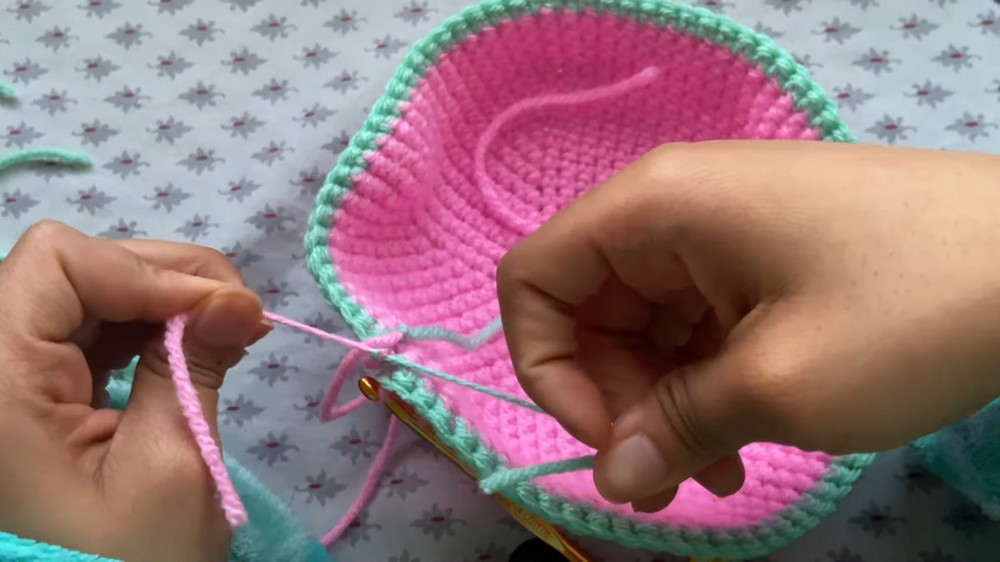
Part 3: Brim of the Bucket Hat
The brim adds flared edges to the hat and is worked with increases.
Row 30 (Start of Brim):
- Work single crochets into every stitch following the pattern below:
- 1 sc into each of the next 8 stitches, 3 sc into the 9th stitch (increase).
- Repeat around the row.
Row 31:
- Increase every 5 stitches:
- 1 sc into each of the next 5 stitches, 3 sc into the 6th stitch.
Rows 32-34:
- Work non-increase rows of single crochet for 3 rows to finish the brim.
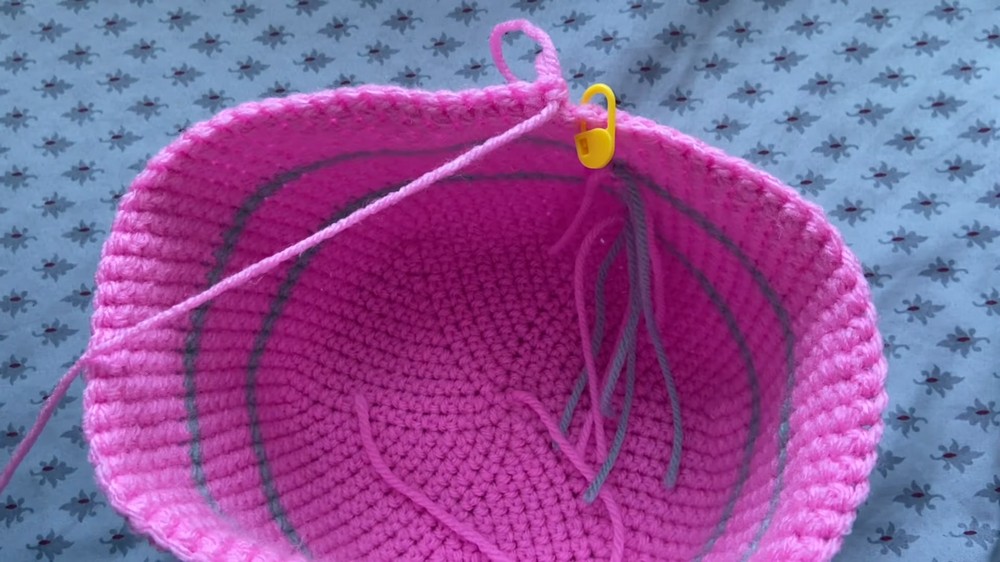
Part 4: Color Changes
Switching colors adds a striped, cotton candy-inspired aesthetic.
How to Change Colors:
- Cut the current yarn and pull through the last stitch.
- Join the new yarn and secure using two knots.
- Continue working single crochet stitches with the new color.
Finishing the Pattern
- At the end of Row 34, slip stitch into the next stitch.
- Chain 2, cut the yarn, and pull through to fasten off.
- Use the darning needle (or hook) to weave in all loose ends on the inside of the hat.
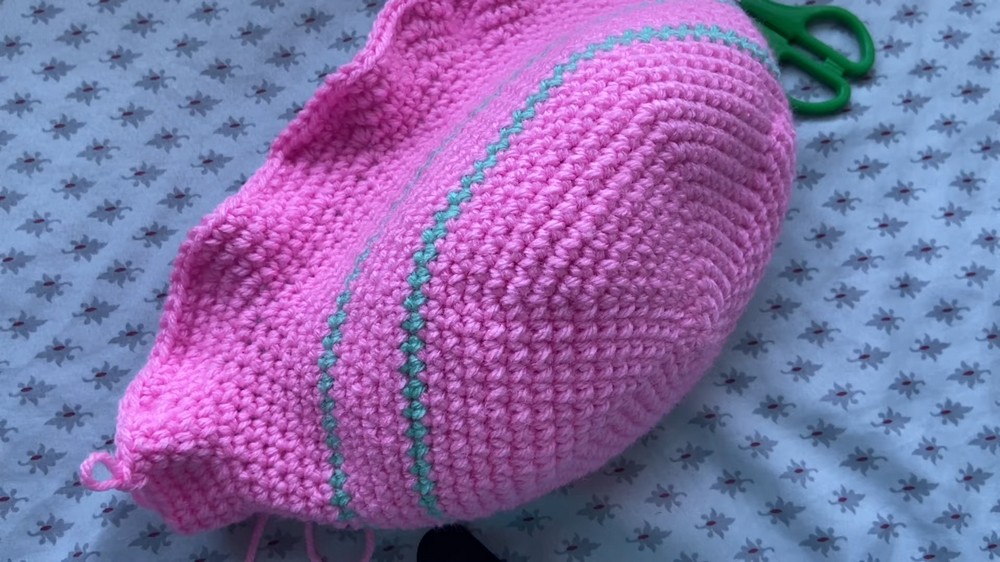
Final Touches
- Block the Hat: Wet block the hat to achieve a uniform shape, especially for the brim.
- Clean Up Ends: Trim excess yarn neatly on the inside of the hat.
- Additional Decorations: Add flowers, buttons, or appliqués for a personalized touch.
Final Words
Congratulations! You’ve just completed a beautifully handmade bucket hat inspired by cotton candy. This design is versatile, stylish, and customizable. Wear it proudly or gift it to someone special!
Tips to Maintain the Pattern
- Washing Instructions: Hand wash with mild detergent and lay flat to dry for best results.
- Storage: Avoid prolonged exposure to direct sunlight to prevent fading.
- Customizations: Experiment with different yarn textures and colors for a unique look.