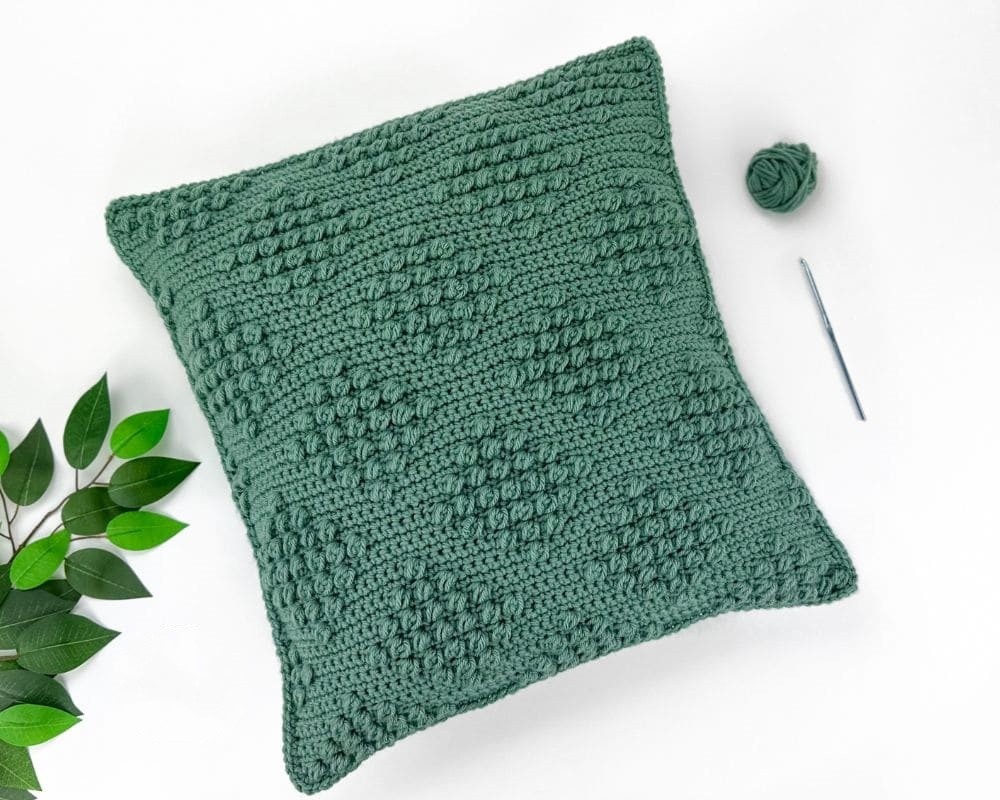
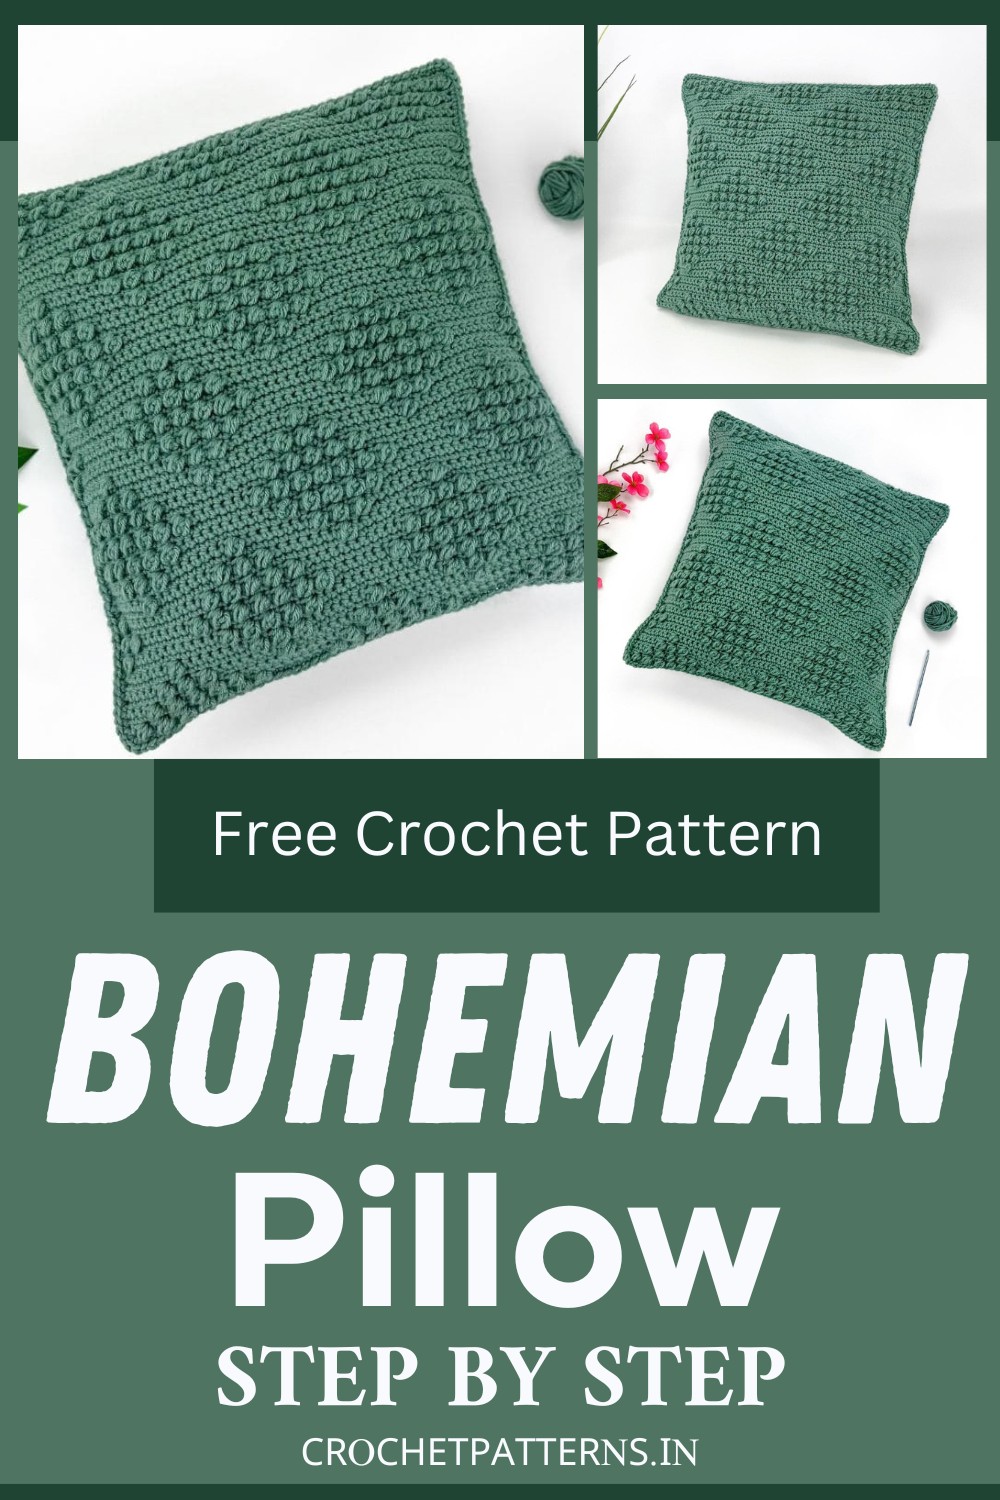
Transform your home decor with this stylish easy Bohemian Crochet Pillow Pattern. It’s a modern boho crochet pillowcase that’s removable and a perfect accent pillow for any room in your home!
Crochet Bohemian Pillow Pattern
Materials
Yarn: Approx. 750 yds of any size 4 (medium), 100% acrylic yarn. I used Impeccable Solid by Loops and Threads in the color “Green Lagoon.” This yarn is size 4 (medium) and 100% acrylic. A skein is 285 yds / 260 m and 4.5 oz / 127.5 g. I used 3 skeins (2 and ¾ to be exact).
Crochet Hook Sizes: F/5 (3.75 mm) for the front and H/8 (5.00 mm) for the back. Or sizes needed to obtain gauge.
Other Materials: yarn needle, pins, scissors, measuring tape, and a thick 18” x 18” pillow insert.* Optional: 3 x 25mm buttons for the back, thread, and sewing needle.
*The size of your pillow insert depends on how tightly you crochet and how stretchy your yarn is. I found I needed a thick 18” x 18” pillow insert (with a depth of 6”). Mine also fit over a 20” x 20” pillow insert.
Abbreviations
- ch = chain
- st = stitch
- sts = stitches
- sl st = slip stitch
- sc = single crochet
- dc = double crochet
- RS = right side / front
- WS = wrong side / back
Gauge
- Front: 4″ x 4″ = 12 sts and 15 rows (following the pattern for Piece A (the front) and measured on the wrong side).
- Back: 4″ x 4″ = 12 sts and 11 rows (following the pattern for Piece B or C (the back)).
Pattern Notes
- Always work in the first stitch, the stitch attached to the chain.
- Chains never count as stitches.
Special Stitches
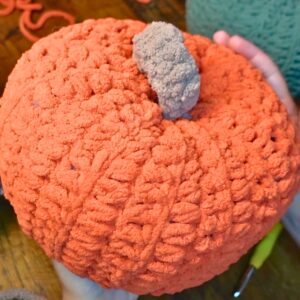
Puff = A Puff stitch in this pattern is an hdc3tog (half double crochet three together) in the same stitch.
Here’s how to make a Puff: Yarn over. Insert the hook into the designated stitch. Yarn over and pull through a loop (3 loops on hook). Yarn over and insert the hook into the same stitch. Then yarn over and pull through a loop (5 loops on hook). Later yarn over and insert hook into the same stitch. Yarn over and pull through a loop (7 loops on hook). Yarn over and pull yarn through all 7 loops.
Piece A: Front Pillow Panel
Front Pillow Panel Notes:
- Each row has 55 stitches.
- Your work may curl or look misshaped. This will be corrected once the pillow is assembled.
Start: With F/5 (3.75 mm) hook (or size needed to obtain gauge), chain 56.
For Row 1 (only) work into the back ridge loops.
Row 1 (RS): In the second ch from hook, sc. Sc in each ch across. (Reminders: each row has 55 stitches. Chains never count as stitches).
Row 2 (WS): Ch 1 and turn. (Reminder: always work in the first st – the st attached to the ch).
- [Sc in the next st. Puff in the next st.] x 7 (meaning to complete the instructions in brackets a total of 7 times).
- Sc in the next 7 sts.
- [Puff in the next st. Sc in the next st.] x 6.
- Puff in the next st.
- Sc in the next 7 sts.
- [Puff in the next st. Sc in the next st.] x 7.
After Row 2, work should measure approx. 17” wide (it should grow to 17.5” wide after Row 21).
Continue...
Row 3 (RS): Ch 1 and turn. Sc in each st across.
Row 4 (WS): Ch 1 and turn. Sc in the next 3 sts.
- [Puff in the next st. Sc in the next st.] x 4.
- Puff in the next st.
- Sc in the next 11 sts.
- [Puff in the next st. Sc in the next st.] x 4.
- Puff in the next st.
- Sc in the next 11 sts.
- [Puff in the next st. Sc in the next st.] x 4.
- Puff in the next st.
- Sc in the next 3 sts.
Row 5 (RS): Repeat Row 3.
Row 6 (WS): Ch 1 and turn. Sc in the next 5 sts.
- [Puff in the next st. Sc in the next st.] x 2.
- Puff in the next st.
- Sc in the next 7 sts.
- Puff in the next st.
- Sc in the next 7 sts.
- [Puff in the next st. Sc in the next st.] x 2.
- Puff in the next st.
- Sc in the next 7 sts.
- Puff in the next st.
- Sc in the next 7 sts.
- [Puff in the next st. Sc in the next st.] x 2.
- Puff in the next st.
- Sc in the next 5 sts.
Row 7 (RS): Repeat Row 3.
After Row 7, work should measure approx. 17” wide and 2” high.
Continue...
Row 8 (WS): Ch 1 and turn. Sc in the next 7 sts.
- Puff in the next st.
- Sc in the next 7 sts.
- [Puff in the next st. Sc in the next st.] x 2.
- Puff in the next st.
- Sc in the next 7 sts.
- Puff in the next st.
- Sc in the next 7 sts.
- [Puff in the next st. Sc in the next st.] x 2.
- Puff in the next st.
- Sc in the next 7 sts.
- Puff in the next st.
- Sc in the next 7 sts.
Row 9 (RS): Repeat Row 3.
Row 10 (WS): Ch 1 and turn. Sc in the next st.
- Puff in the next st.
- Sc in the next 11 sts.
- [Puff in the next st. Sc in the next st.] x 4.
- Puff in the next st.
- Sc in the next 11 sts.
- [Puff in the next st. Sc in the next st.] x 4.
- Puff in the next st.
- Sc in the next 11 sts.
- Puff in the next st.
- Sc in the next st.
Row 11 (RS): Repeat Row 3.
Row 12 (WS): Ch 1 and turn.
- [Sc in the next st. Puff in the next st.] x 2
- Sc in the next 7 sts.
- [Puff in the next st. Sc in the next st.] x 6.
- Puff in the next st.
- Sc in the next 7 sts.
- [Puff in the next st. Sc in the next st.] x 6.
- Puff in the next st.
- Sc in the next 7 sts.
- [Puff in the next st. Sc in the next st.] x 2.
Continue...
Row 13 (RS): Repeat Row 3.
Row 14 (WS): Repeat Row 10.
After Row 14, work should measure approx. 17” wide and 4” high.
Row 15 (RS): Repeat Row 3.
Row 16 (WS): Repeat Row 8.
Row 17 (RS): Repeat Row 3.
Row 18 (WS): Repeat Row 6.
After Row 18, work should measure approx. 17” wide and 5” high.
Continue...
Row 19 (RS): Repeat Row 3.
Row 20 (WS): Repeat Row 4.
Row 21 (RS): Repeat Row 3.
After Row 21, work should measure approx. 17.5” wide and 6” high. Rows should continue to be approx. 17.5” wide for the remainder of the pattern.
Rows 22 – 41: Repeat Rows 2 – 21.
After Row 41, work should measure approx. 17.5” wide and 11.5” high.
Rows 42 – 61: Repeat Rows 2 – 21.
After Row 61, work should measure approx. 17.5” wide and 17” high.
Row 62 (WS): Repeat Row 2.
Row 63 (RS): Repeat Row 3.
Fasten off and weave in loose ends.
Pattern Chart
Piece B: Bottom Back Pillow Panel
PIECE B: BOTTOM BACK PILLOW PANEL
Start: With an H/8 (5.00 mm) hook, chain 51.
For Row 1 (only) work into the back ridge loops.
Row 1 (RS): In the second ch from hook, sc. In the next ch, dc. *In the next ch, sc. In the next ch, dc.* Repeat from * to * across. (50 sts – reminder: chains never count as sts).
Row 2 (WS): Ch 1 and turn. Sc into the 1st st (the top of the last dc you completed). Dc into the next stitch (the top of the sc from the previous row). *Sc into the next st. Dc into the next stitch.* Repeat from * to * across. (50 sts).
After Row 2, work should measure approx. 17” wide. (It should grow to 17.5” after Row 6).
Rows 3 – 40: Repeat Row 2.
After Row 40, work should measure 17.5” wide and 15” high.
Fasten off and weave in loose ends.
Piece C: Top Back Pillow Panel
Follow instructions for Piece B from Start – Row 2.
Rows 3 – 12: Repeat Row 2 (of Piece B).
After Row 12, work should measure approx. 17.5” wide and 4.25” high.
Row 13 (RS): Ch 1 and turn. Sc in each st across. (50 sts).
Row 14 (WS): Ch 2 and turn. Dc in each st across. (50 sts).
After Row 14, work should measure approx. 17.5” wide and 5” high.
Fasten off and weave in loose ends.
While not pictured here, you could sew buttons onto Piece B and have them go through the dc sts made on Piece C.
The buttons would make the back more secure and look lovely!
Pillow Assembly
Place Piece A (the front) wrong side up, with the Puff sts facing down. Than Place Piece B (bottom of back) wrong side down directly over Piece A, with the ch row at the bottom. Place Piece C wrong side down directly over Piece A, with the row of dc sts at the bottom.
Note: Piece C will slightly overlap Piece B.
Pin the three pieces in place. Flip the pinned pieces over so the Puff stitches are now facing up/you.
With an H/8 (5.00 mm) hook, attach yarn to the bottom left corner st with a sl st. Make 2 sc in the same corner st. Sc all around the pillow cover, single crocheting the panels together. At each corner, make 3 sc in the same st.
When arriving back where you started, slst into the 1st sc to join (don’t make 3 sc in last/4th corner).
Fasten off and weave in all loose ends.
Once assembled, pillow cover should be 18” x 18”.
Put your pillow insert inside and now you have a new bohemian crochet pillow cover!