Let us show you a super fun and easy way to make adorable crochet bird with our pattern that's so simple you'll enjoy every minute of creating these cute little birds in all the colors you love. Imagine having your flock of colorful, elegant crochet birds - how cool would that be? We're here to guide you through each step to make sure your bird comes out looking fantastic. So, let's start this fun crochet adventure together and bring these charming birds to life by yourself in no time.
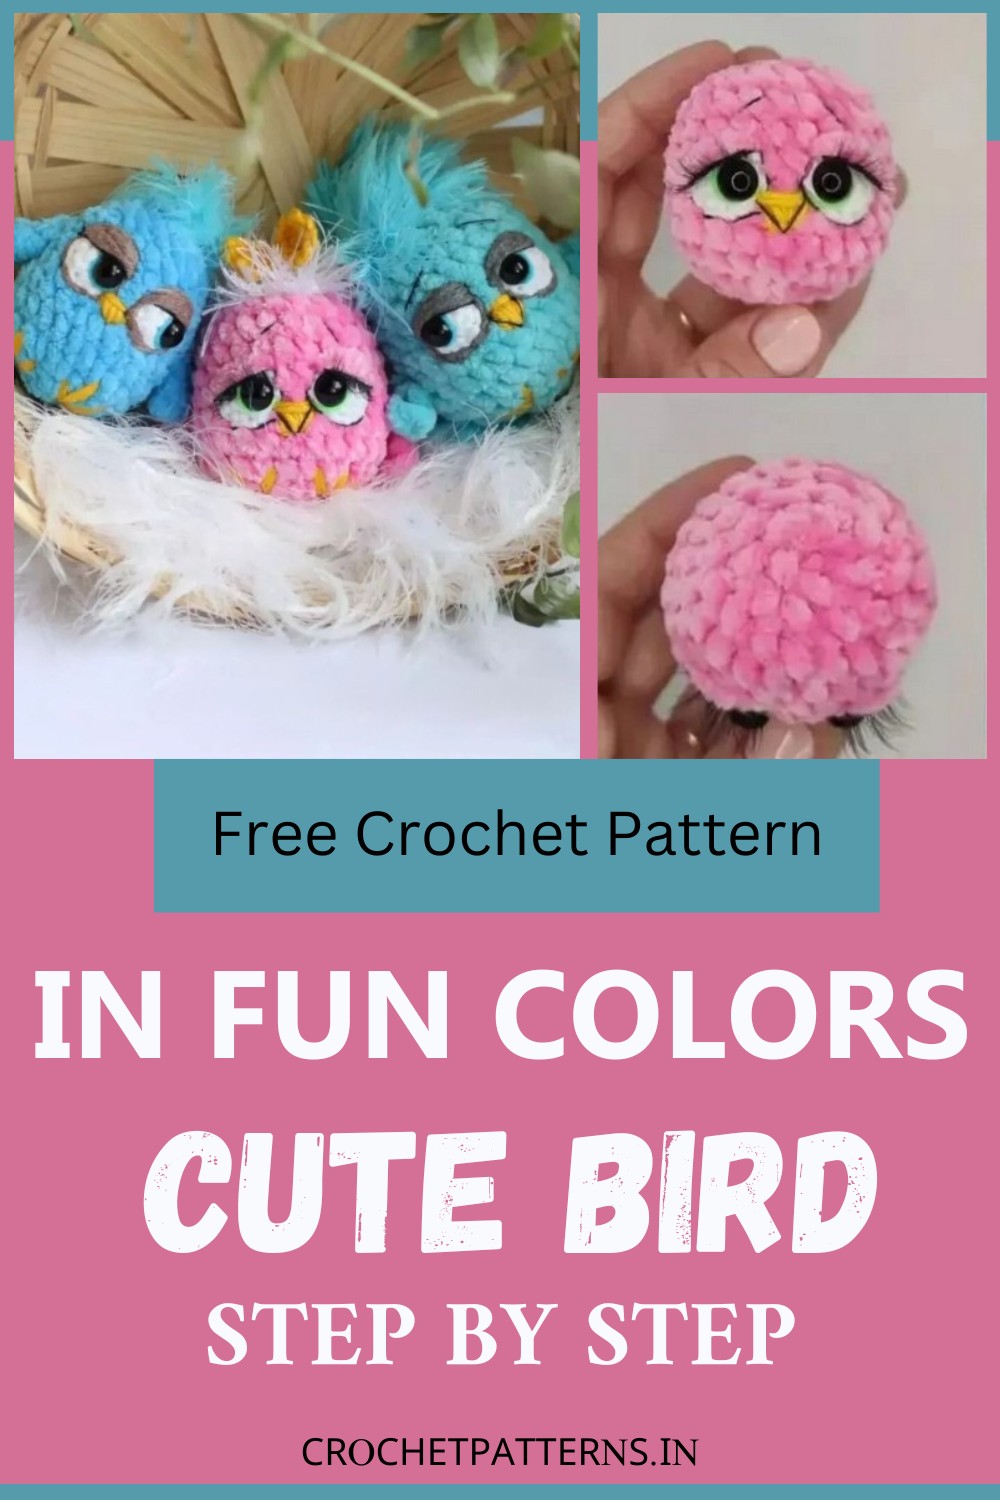
Crochet Bird Pattern
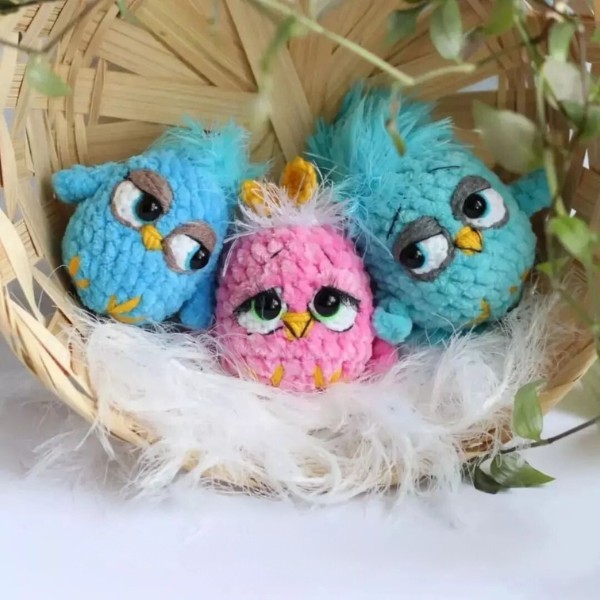
Design and pattern by @shu.toys
Required materials
- Himalaya Velvet yarn - pink
- YanArt Jeans yarn - white (for the whites of the eyes), yellow (for the beak and legs), green (for the irises)
- YanArt Samba yarn - for the crest
- Hook 3,5 mm - for plush yarn
- Hook 1,25-1,5 mm - for thin yarn
- Filler
- Needle and thread for sewing.
- Black sewing thread for the design.
- Safety eyes (8-9mm) – necessarily on a long leg.
- Eyelashes 10-12 mm (1 pc) - optionally
Select the size of the eyes in proportion to the size of your toy. The size of the toy will also depend on the density of your crocheting, yarn and the size of the hook. The toy turns out about 5-6 cm (1,97-2,36 inches) if you use the required materials.
Whites of the eyes (2 pcs)
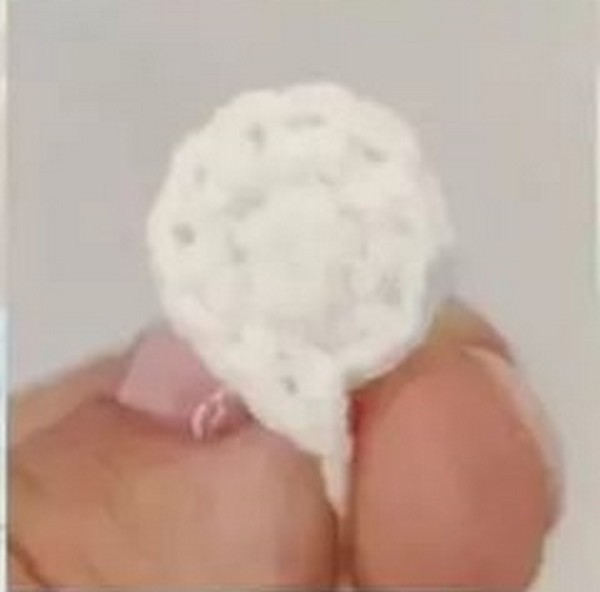
- 1. 6 sc in MR (6)
- 2. 6 inc (12)
Fasten and cut the yarn, leaving a long end for sewing.
Body-Head

- 1. 6 sc in MR (6)
- 2. 6 inc (12)
- 3. 12 inc (24)
- 4. 10. 24 sc (24) - 7 rounds
First, insert the eyes in the whites of the eyes between rounds 1-2, then insert the eyes in the head between rounds 7-8, as shown in the photo (at a distance of 2 sc).
Sew on the whites of eyes. Embroider iris with thin yarn, eyelids with plush yarn.
Body-Head
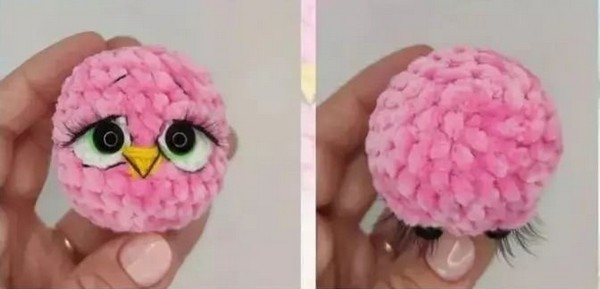
Embroider the outline of the eyes with black thread, as shown in the photo. Embroider the eyebrows. Glue the eyelashes (1 is divided into halves, glued with glue" Moment Crystal"). Embroider a triangle nose, and embroider the outline as shown in the photo.
- 11. (2 sc, dec) * 6 (18)
- 12. (1 sc, dec) 6 (12)
- 13. 6 Dec (6)
Fasten and cut the yarn, leaving a long end. Tighten the loops with the help of the needle and the remaining yarn.
Wings

- 1. Attach the yarn to the side of the toy between rounds 5-6, crochet 3 ch.
- 2. From the 2nd ch from the hook, 2 sc, sl st. Fasten and cut the yarn.
Bow
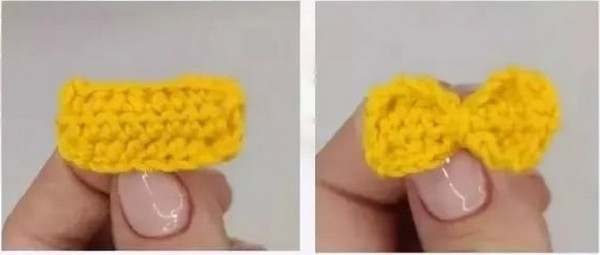
- 1. 10 ch (10)
- 2. From the 2nd ch from the hook, 9 hdc (9)
- 3. 4. ch, 9 hdc (9) - 2 rounds
Fasten and cut the yarn, leaving a long end for sewing. Using a needle or hook, pass the yarn through the loops to the center of the item and tie it to make a bow.
Assembly Design
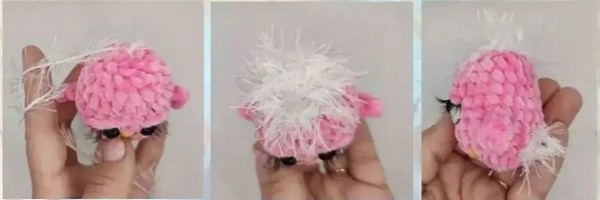
Join the textured yarn in the center on the top and crochet in a spiral way a few rounds. Comb the hair so that the fluff sticks up.
Do the same for the tail in rounds 3-4.
Embroider the legs in yellow in rounds 4-5 in the front.
Sew a bow on the top of the head.


